Shadow Photography (Tips and Secrets You Need to Know)
Isn’t it cool that in shadow photography, the absence of light is just as important as its presence?
In shadow photography, you get to learn how to see and shape darkness.
And can then use it to create compelling photographs.
Which can transform a flat image into a dynamic story, with shadows adding depth, mood, and perspective to images.
But, shadow photography involves understanding how shadows affect the composition and mood of your images.
It requires a keen eye for detail and a creative approach to manipulating light.
So, I want to share some tips and secrets you need to know that will help you capture the beauty of shadows.
From finding the right angle to using shadows as a creative element in your compositions, this article will guide you through what you need to know about shadow photography.
Key Takeaways
- Shadows add depth, dimension, and drama to photographic compositions.
- Employing shadows as main subjects can simplify and strengthen an image’s narrative.
- Mastering shadow use in photography can heighten contrast, texture, and visual interest.
What is Shadow Photography?
Shadow photography is an artistic pursuit that emphasizes the use of shadows to add depth, shape, and drama to images.
It plays on the areas where light is not present due to an object blocking it. And said another way, it’s the practice of using these absence-of-light areas as key elements in your photographic composition.
Understanding Shadows in Photography
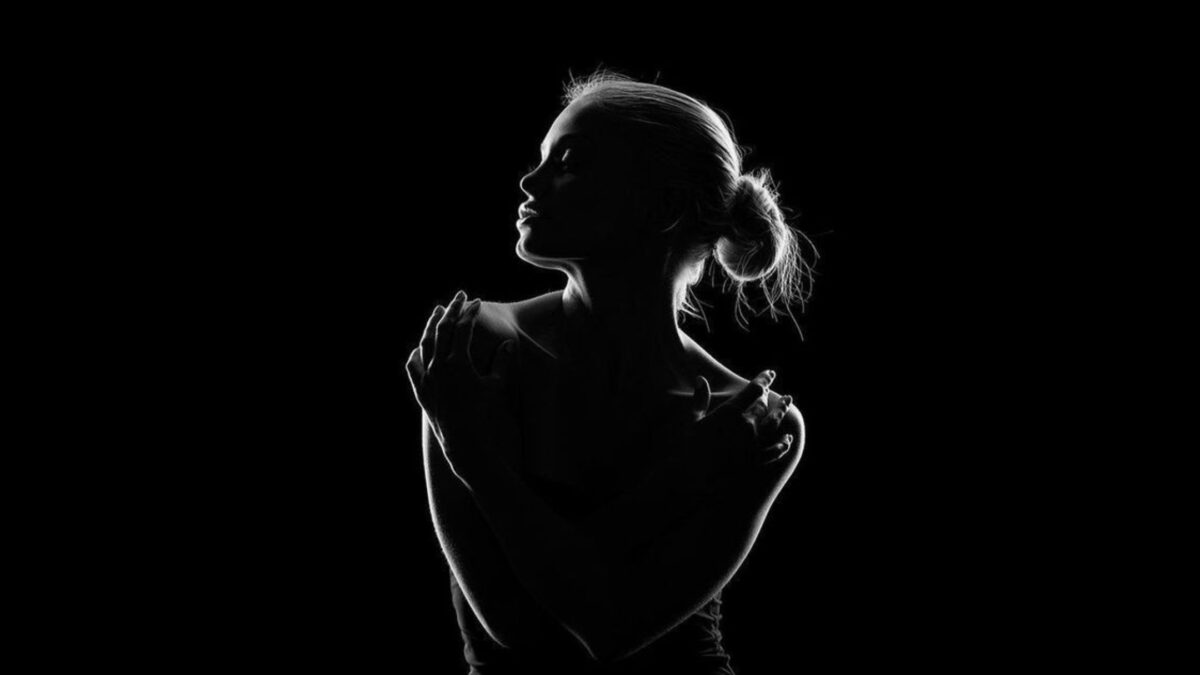
Shadows are a natural byproduct of light. When an object obstructs light, it casts a shadow, varying in intensity and edge sharpness based on several factors:
- Angle of Light: As the light source’s angle shifts, so does the shadow’s shape and length.
- Direction of Light: Moving the light source from front to side or behind the object can dramatically alter the shadow cast.
- Temperature of Light: Light color temperature affects the shadow’s hue, conjuring different moods in the photograph.
- Quality and Size of Light Source: A large, diffuse light creates softer shadows, while a small, intense light yields sharper ones.
Creating Shadow Photos
To create compelling images, start by observing how shadows change with light’s interaction with objects. Experiment with positioning both the light and the subject to discover how these changes affect the mood and narrative in your photography.
Then use this awareness to capture existing shadows in new ways or manipulate lighting conditions to produce unique shadow effects.
Because when you embrace the darker side of light in photography, shadows cease to be mere background elements.
They can become the focal point, carving out an evocative and visually striking story that captivates the viewer’s eyes and imagination.
The Benefit of Negative Space in Shadow Photography
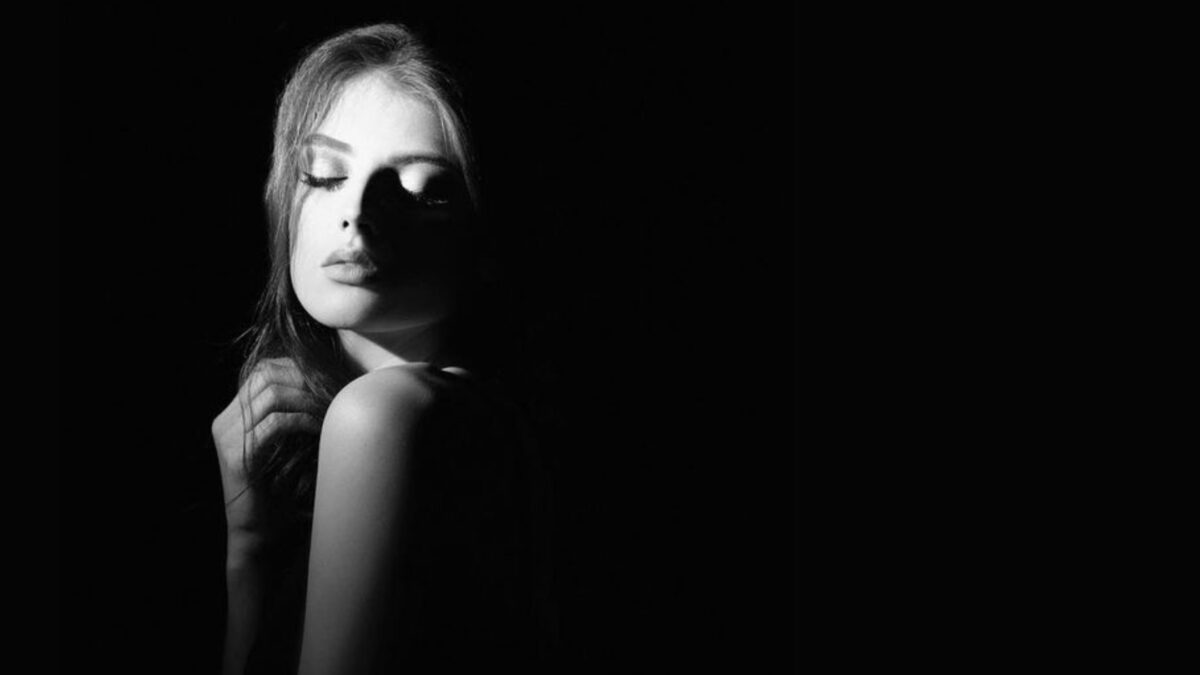
Using negative space in your photography can improve the visual appeal of your images.
By adding areas devoid of elements or subjects, you draw attention directly to your focal point. This creates a strong, compelling narrative between light and shadow.
Negative space in photos also:
- Improves Balance: Negative space provides a counterweight to the primary subjects in your frame. By doing so, it fosters an aesthetic equilibrium that’s pleasing to the eye, bringing out an inherent beauty in your composition that might otherwise go unnoticed.
- Promotes Simplicity: Embracing a minimalist approach, negative space removes clutter from your images. This simplicity ensures that your subject, highlighted by the surrounding shadows, becomes the undisputed point of focus.
- Strengthens Contrast: Shadows create visual depth, and the use of negative space amplifies this effect. The stark contrast between dark and light areas not only adds drama but also enriches the emotional tone of your photographs.
So, by thoughtfully including negative space, you allow your viewers to appreciate the power and subtlety of shadows.
This can result in images that resonate with a sense of stillness and introspection.
Because what’s left out is just as important as what’s included in photos.
Making Shadows the Main Subject of an Image
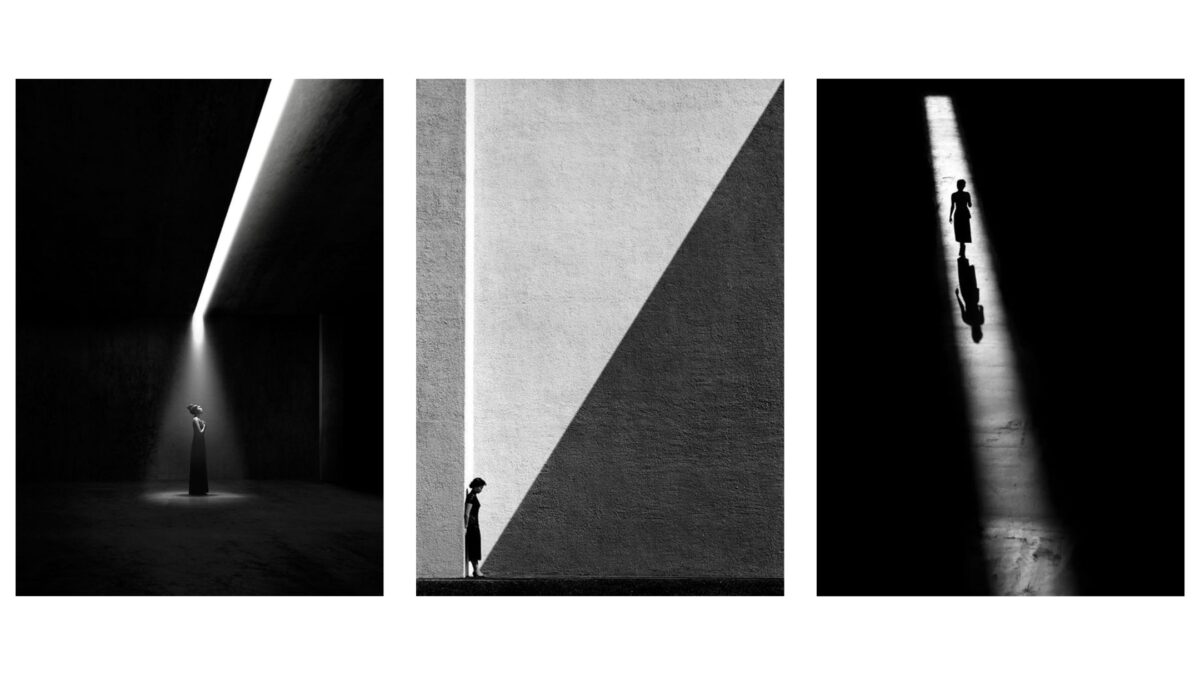
In photography, shadows can be more than mere background details.
They have the potential to be the main focal point of your composition. And you can use shadows to intrigue the viewer by making them the central subject.
For example, you can capture the elongated silhouette of a pedestrian walking at dusk or the complex patterns cast by foliage under the midday sun.
Using Natural and Artificial Light Sources to Do This:
- Natural Light: The sun, with its varying intensities throughout the day, can cast diverse shadows. Early morning or late afternoon light tends to create long, dramatic shadows.
- Artificial Light: Directed beams from flashlights or lamps can craft shadows with a specific shape and edge.
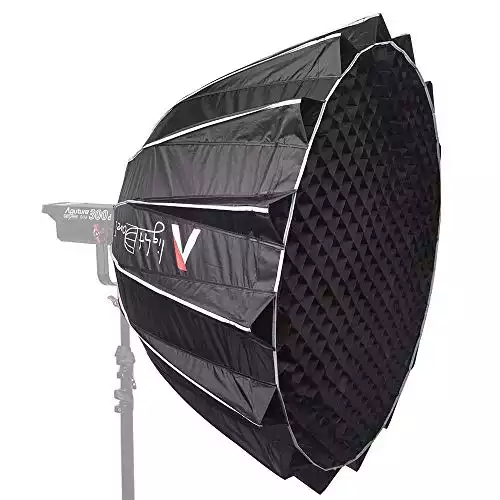
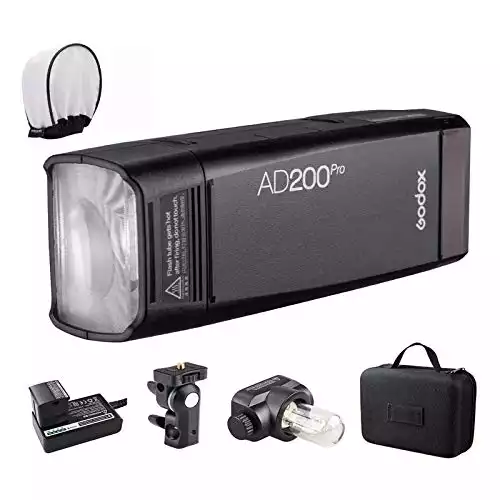
A high-quality, easy-to-use softbox lighting modifier.
When making the shadow your main subject, pay attention to the following:
- Focus: Whether it’s your own outline or the silhouette of an object. See to it that your camera is focused on the shadow itself.
- Composition: Experiment with angles and distances to emphasize the shadow. You want to make it clear to the viewer that it’s the standout feature of your image.
- Emotion: Think about what feeling the shadow symbolizes. Is it eerie, melancholic, or perhaps mysterious? Your choice in shadows can add an emotional depth to the image viewers can relate to.
How Shadow Photography Reduces Distractions in Images
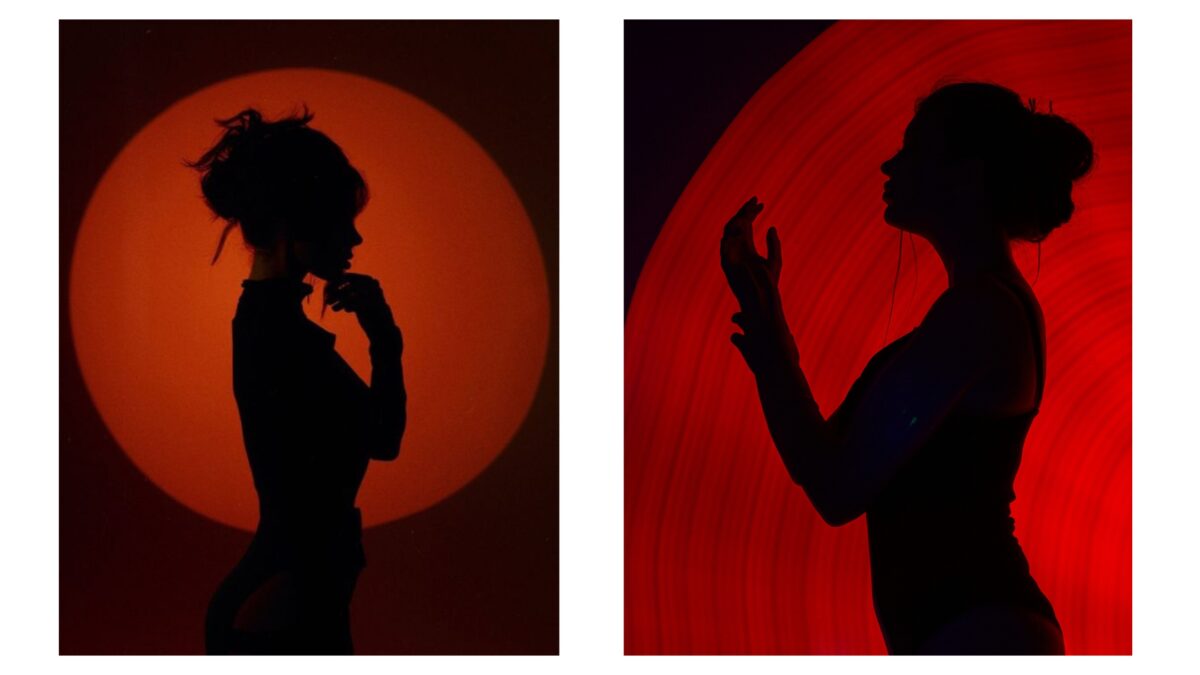
When using shadows in your photography, controlling ambient exposure becomes a key skill.
By dimming the surrounding light with your camera settings, you draw focus to the subject through stark contrast. This approach is particularly effective in busy environments where many different things could compete for attention.
Utilizing Shadows for Simplicity
- Minimize Clutter: Reducing ambient light simplifies the scene, steering focus to illuminated areas.
- Manage Composition: Intentionally casting shadows can shape and direct the visual flow toward your subject.
Strategic Subject Placement: Align your subjects thoughtfully in relation to light sources—natural or artificial. This selective illumination emphasizes the subject while suppressing a busy backdrop.
The Best Angles for Maximum Impact: Try different angles to uncover which best magnifies the interplay of light and shadow in your composition. Side lighting or backlighting can sculpt the form of the subject and either soften or dramatize their shadow.
Getting the right balance between shadow and subject can transform a photograph from a basic image to an interesting story.
Tip: Keep in mind the simplicity of the frame. The strength of your composition. And getting the angle right to make your subject stand out.
How to Take Interesting Shadow Photos
When you understand light sources, how to improve contrasts, use patterns around you, and how to refine your camera settings, you can take compelling photographs that stand out. Here’s how:
1. Know Your Light Source
To create beautiful shadows in photos, you need to know where your light is coming from.
Natural light is a powerful tool. Use it and shoot during golden hour for elongated, warm shadows or at midday for minimal, crisp outlines.
You can also experiment with side lighting to get the most definition. And if you’re indoors, start with a single artificial light and learn to manipulate your shadows using light modifiers.
Then progress to more complex lighting setups as you gain confidence.
2. Improve Contrast
Contrasting shadows and highlights are more noticeable when photos are black and white. Black and white simplifies the image to its core elements of light and shape, reducing visual distractions.
But don’t limit yourself.
Colors can improve your shadows and add subtlety and cohesion to your palette. You can also use monochrome judiciously to emphasize the narrative you want to share.
3. Use Cool Patterns and Shapes Around You
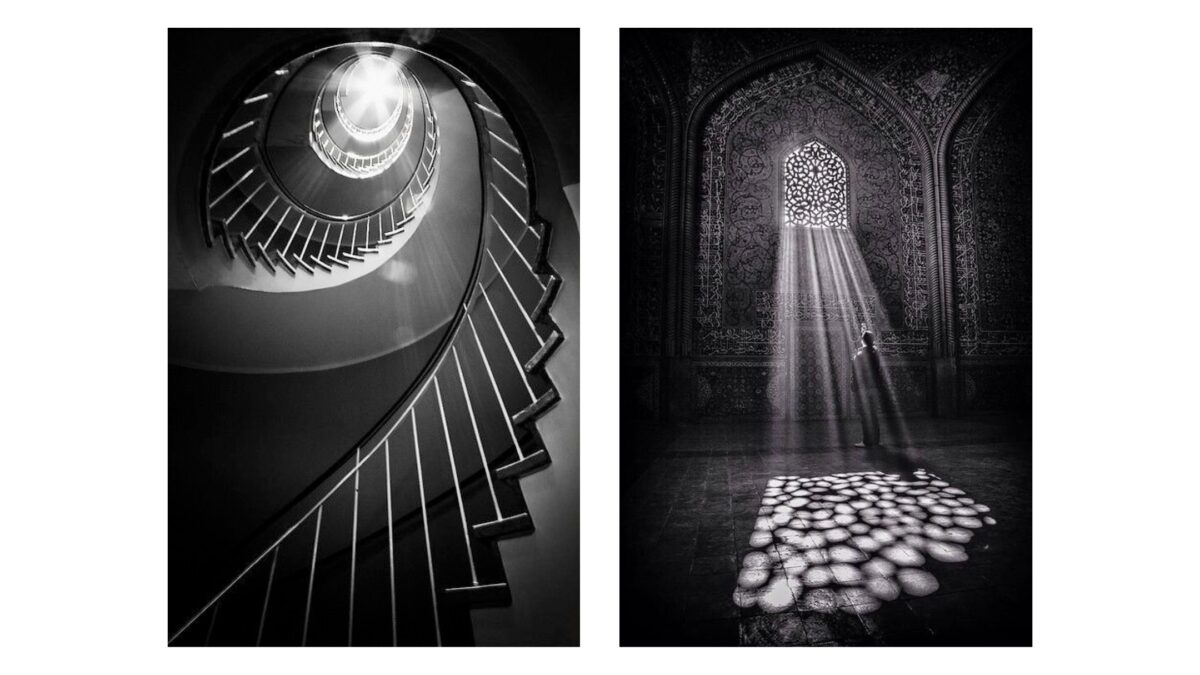
Be on the lookout for interesting designs cast by shadows. They’re everywhere once you start looking.
From the interaction of light and architecture to the way shadows drape over a model’s facial features, the potential for creativity is limitless.
These patterns can serve as a focal point or spotlight your main subject, adding layers of meaning and engagement to your work.
4. Confirm Your Camera Settings
To render deep, rich shadows, you want to expose primarily for the bright areas of your scene.
Use manual mode on your camera as it allows you to override the camera’s tendency to even out the exposure. Also, keep your ISO as low as possible to maintain clarity in the shadow details.
And remember, shooting in RAW will give you more flexibility during post-processing and let you adjust the shadows and highlights to your liking.
And that’s it, those are my four tips for taking photos with shadows.
Using The Inverse Square Law to Your Advantage
When it comes to shadows in photos, understanding the Inverse Square Law can help.
This principle states that as your subject moves away from the light source, the light intensity experienced decreases. And it’s not a gradual decline but a rapid one.
Doubling the distance cuts the intensity to a quarter, not half.
Here’s how to use the Inverse Square Law as a photographer to manipulate light and shadows:
- Light Intensity and Distance: Light intensity decreases significantly with distance. Double the distance from the light source to the subject if you want to reduce the light intensity by a quarter.
- Shadow Hardness: Closer light sources produce harder, more defined shadows. And moving the light farther away softens the shadows due to gradual light falloff.
- Even Lighting: Increasing the distance of the light source spreads the light over a wider area, creating more even lighting, useful for illuminating multiple subjects.
- Background Effect: A light source close to the subject will minimally illuminate the background, allowing for creative control over background lighting.
- Creating Depth: Adjusting light distance helps in adding depth and dimension to images, improving the subject’s features and setting the mood.
Practice and use this principle to experiment with light placement. Then observe its impact on contrast and shadows in the photos you take.
Using ‘Gobos’ to Create Patterns
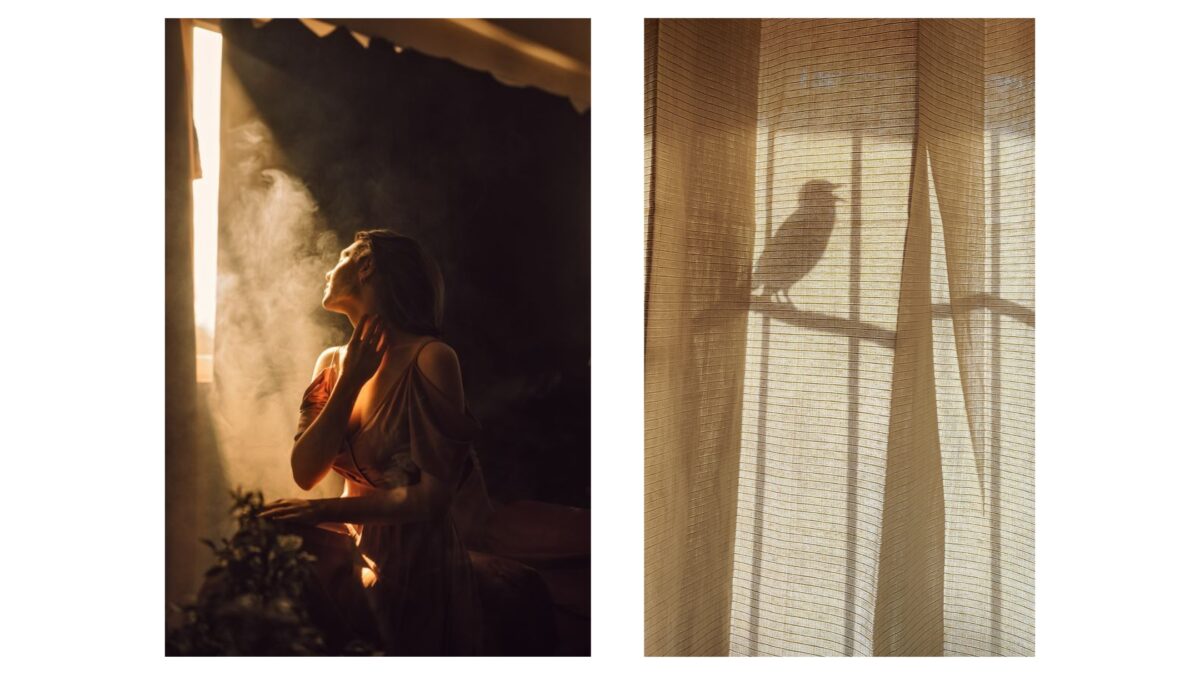
In photography, gobos are an intriguing tool used to modify your images.
Gobos are objects placed between a light source and your subject to cast distinctive shadows and craft visual textures. The result?
A photograph with a compelling blend of light and shadow that adds depth and interest.
What Are Gobos?
- Gobos are creative stencils that influence shadows in your photos.
- You can use a variety of materials, such as lace, blinds, or grids, to form these patterns.
- Professional gobos are also available for purchase, offering precut designs that easily attach to your lighting equipment.
How to Implement Gobos:
- Identify a light source. This could be natural light or an artificial one.
- Choose your gobo based on the desired pattern or texture.
- Position the gobo between the light and your subject or background.
- Adjust the distance and angle of the gobo to fine-tune the sharpness and size of the shadows.
The use of gobos is all about creativity and experimentation.
They’re quite versatile, whether you’re aiming to project intricate patterns onto a backdrop or shape the light around your subject to create a dramatic effect.
Incorporating gobos into your photography setup is pretty easy and fun.
Play with different patterns to learn how they interact with light, your subject, and composition. Because the shadows and textures created can become a defining element of your photographic style.
So take the time to try and practice using them.
Using Shadows to Frame Your Subjects in Photos
Shadows also offer an artistic tool to frame your subjects within a photo, lending depth and focus to your composition.
Think of shadows as nature’s gobos. They carve out light and dark spaces that can effectively surround your subject.
To master shadow framing, observe the relationship between light and the absence of it.
Then seek out or create patches of light shaped by shadows to surround your subject. You want to use these darker elements as a natural border within your frame. This method not only highlights your subject but also adds a layer of dimension and intrigue to your photography.
Additional Tips for Using Shadows When Framing Subjects:
- Find Natural Frames: Look for existing shadows that form interesting shapes. Overhanging branches or windows can cast compelling patterns that you can use to enclose your subject.
- Control the Light Direction: Position the light source—artificial or natural—so it casts shadows where you desire. Side lighting often produces elongated shadows that can be perfect for framing.
- Mind the Background: Make sure the surface behind your subject complements the shadow. A contrasting background will make the shadow stand out and improve the framing effect.
- Adjust Your Subject: Sometimes, moving your subject just a few inches can change the shadow’s relation to the frame, refining the view and composition.
Hard Light and Shadow Photography
Using hard light might seem intimidating, but it’s a powerful tool to create stark contrasts in your shadow photography.
If you know how to use it, hard light will certainly improve your photos. It provides an edgy sophistication that softer lighting often cannot replicate.
Studio Lighting vs. Natural Sunlight
In the studio, hard light can be generated using a flash without diffusion modifiers. Keep the light source small in relation to your subject—much like the sun appears in the sky. This setup mimics the natural hardness created by harsh sunlight around midday. Positioning your subject near a plain backdrop can visibly enhance the shadow effects, giving your photographs that desired punch of sharpness.
Outdoor Photography Tips
For natural light, the timing is key. A couple of hours before or after noon, the sun is at its peak, producing the hardest light. Using this light smartly can add a striking contrast in your shots. If photographing people, encourage them to engage in an activity or to pose fashionably, as direct gazes into the camera can be uncomfortable under intense light.
Lighting Position and Shadows in Portrait Photography
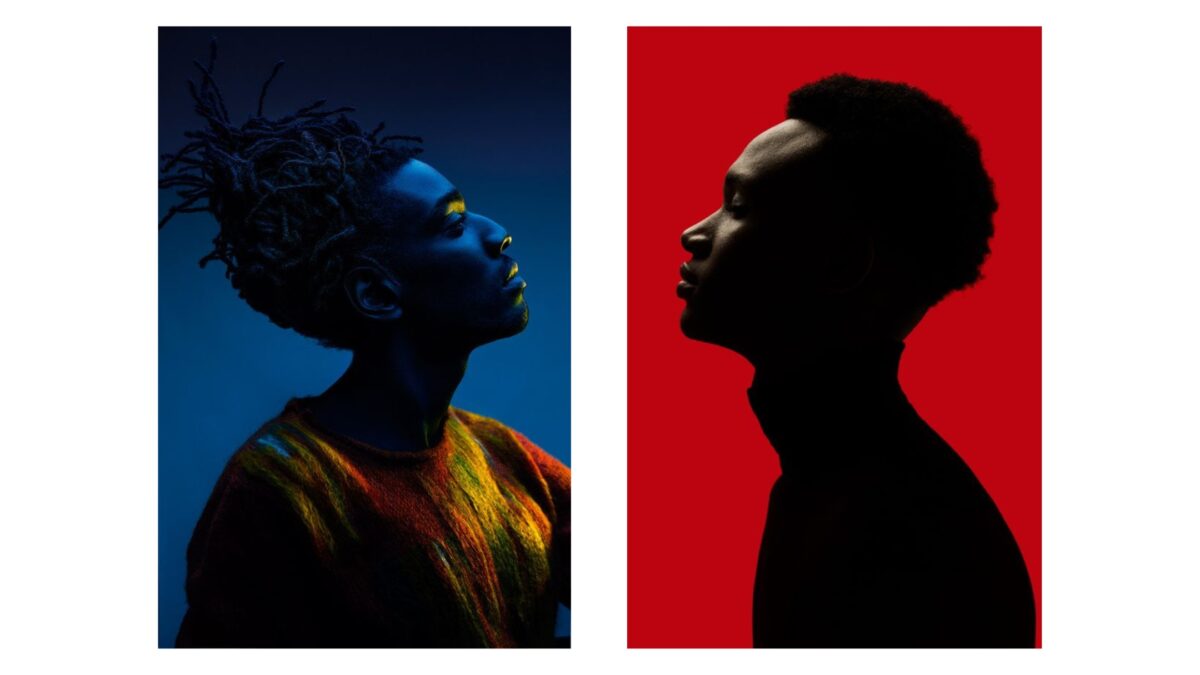
Understanding the key light’s position is important to create different portrait lighting effects.
And when you adjust the angle and distance of the light source to your subject, you can create varying degrees of shadows, which can add depth and dimension to your portraits.
Here are 5 different lighting setups you can use to work with shadows in your portrait photography:
1. Split Lighting
Split lighting illuminates one half of the face while casting the other in shadow.
You achieve this by placing your key light at a 90-degree angle to the side of the subject, resulting in a stark contrast. This technique often gives a mood of mystery or drama.
2. Rembrandt Lighting
Rembrandt lighting is distinguished by the signature triangle of light on the cheek, opposite the light source, which mimics the style of the famous painter.
Position the light at an angle above the height of the subject’s head, around 40 to 45 degrees from the camera, to create this pattern.
It offers a compelling mix of shadow and light that adds a sculptural quality to facial features.
3. Loop Lighting
With loop lighting, place your light source slightly off to one side, about 30 to 45 degrees from the camera, and slightly above the eye level.
This casts a small shadow of the subject’s nose on their cheek, creating a gentle loop shape. It’s well-liked for creating a natural, flattering look with a bit more depth than flat lighting.
4. Butterfly Lighting
Butterfly lighting is achieved by positioning the light directly in front of your subject’s face and just above their head, casting a shadow below the nose that resembles a butterfly.
It’s often used in beauty and fashion photography because it highlights the cheekbones and chin, offering a glamorous look.
5. Flat Lighting
Finally, flat lighting is the softest form and is created by placing the light source directly behind the camera, pointing straight on at the subject’s face.
This technique minimizes shadows, producing even, soft light that is very forgiving on the skin. It’s particularly useful for hiding imperfections and is commonly used in beauty portraits.
Experiment with these lighting setups to see how they change the mood and style of your portraits.
How to Create Silhouettes in Photography
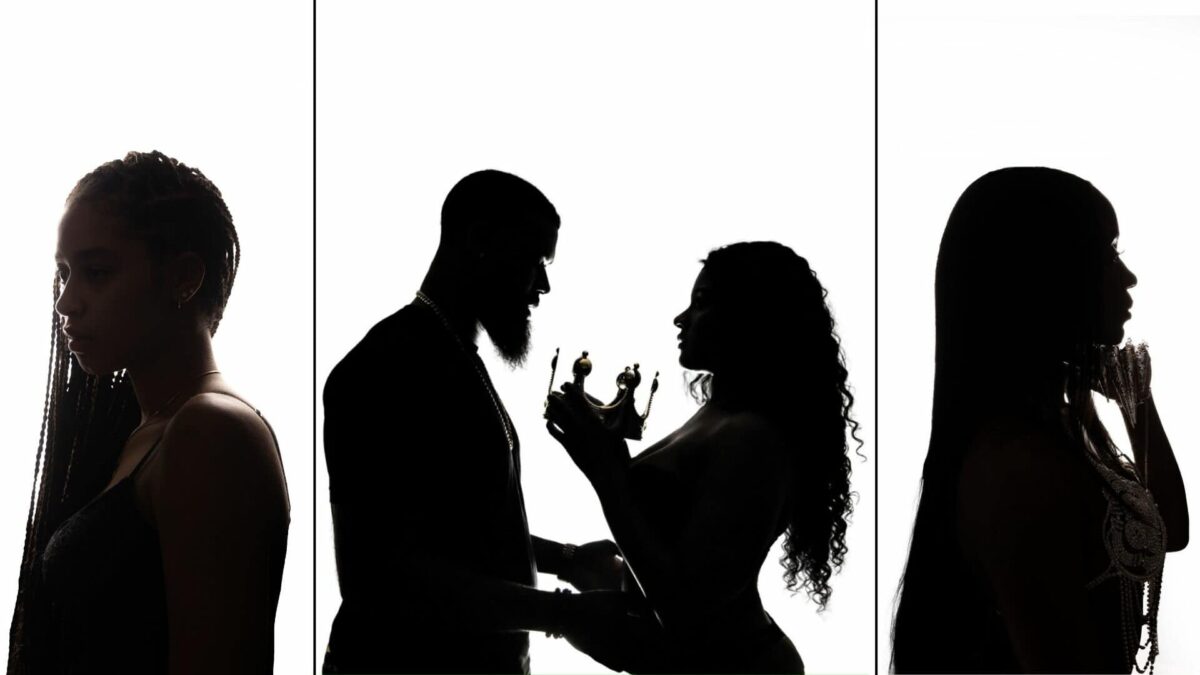
Now, let’s talk about how to make silhouettes.
Start by choosing a strong subject that can be distinctly recognized by its outline alone. Your aim is to position this subject in front of a light source, creating a stark contrast.
Choosing the Time and Light:
For the most dramatic effect, use natural backlighting such as sunrise or sunset. During these times, the horizon emits a soft yet powerful light ideal for silhouette creation.
- Position your subject between the camera and the light source.
- Make sure the sun is low in the sky to get a warm backlight.
Camera Settings for Silhouette Photography:
- Switch off your flash to prevent light from illuminating the front of your subject.
- Use a manual or aperture priority mode to keep control over exposure.
- Set your camera to underexpose the subject, turning it into a clear, dark shape.
Composing Your Silhouette
Focus on the lines and shapes of your subject. You want a clean, uncluttered backdrop to make the silhouette stand out.
- Frame your shot to emphasize the silhouette.
- Utilize natural frames like doorways or windows for added depth and context.
Enhancing Contrast with Black and White
Consider converting your images to black and white to emphasize contrast—color can sometimes distract from the interplay between light and shadow.
Use these guidelines, and you’re well on your way to taking great silhouette photographs.
Shadows in Black and White Photography
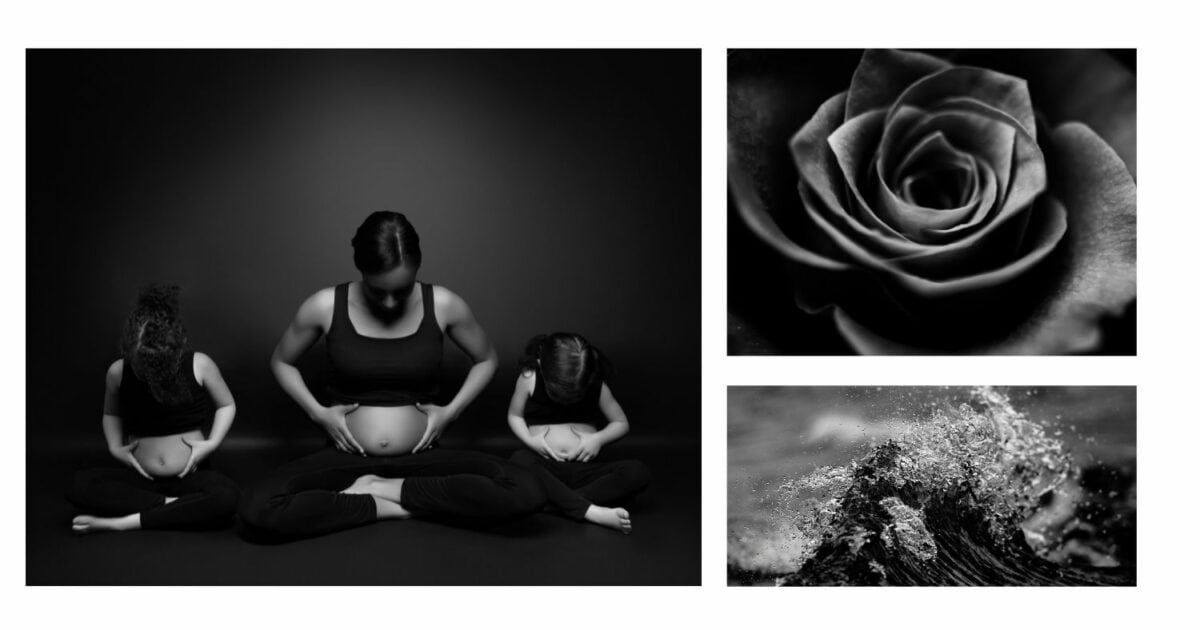
In black-and-white photography, when you strip away color, your attention is directed to the stark differences between light and dark.
You’re amplifying the impact of shadows.
Shadows become more pronounced and gain prominence in a black and white image, adding depth and dimension. Photographers can use shadows to create separation between subject and background or to accentuate certain elements and lead the viewer’s gaze.
A dark, bold shadow lends a moody, dramatic effect. And softer, lighter shadows add subtlety and grace.
Shadow Photography Editing Tips
When working with shadow photography, the post-processing stage is where you can truly refine your image’s visual impact.
Even when your camera captures a great shot, it often requires a bit of tweaking to perfect the play of light and shadow.
Contrast and Tones: Start by adjusting the contrast settings; doing so enhances the depth between light and shadow, adding to the drama of your composition. Experiment with deepening the blacks and shadows for a richer look, which can be easily managed through your editing software of choice, such as Adobe Photoshop.
- Highlights and Exposure:
- Do not excessively brighten highlights; maintain a balance to avoid overexposure.
- Subtly alter the exposure to ensure that the image doesn’t lose detail.
Dodge and Burn: The dodge and burn tools are your best friends in shadow photography. They selectively lighten (dodge) or darken (burn) areas of the image.
- Use the dodge tool to bring forward details hidden in the shadows.
- Employ the burn tool to deepen the darker areas and enhance the moodiness of the shadows.
But moderation is key.
Pushing these adjustments too far can lead to loss of detail and an unnatural look. So, always aim for a refined edit that highlights the natural beauty of your photography.
Final Tip: Take advantage of the many different post-processing tools available. But always keep an eye on the original essence of your photograph. Your goal is to accentuate the shadows, not overshadow the image’s inherent quality and tone.
How to Dodge and Burn When Post Processing Photos
Dodging and burning can transform your photos.
Ansel Adams, a master in the field, used these methods to create some of his most iconic landscape photographs.
What Does Dodging and Burning Do: Dodging lightens specific areas of your image, while burning darkens them.
This selective adjustment helps balance the exposure and brings your pictures closer to how your eyes see the scene, compensating for the camera’s limitations in capturing light and shadows.
In Adobe Photoshop:
- Using Tools Directly: To start, create a new layer to keep your changes nondestructive. The Dodge tool (shaped like a lollipop) and the Burn tool (shaped like a hand) let you adjust the exposure on Highlights, Midtones, or Shadows. Tip: use a soft brush and low exposure to prevent overt changes and blend smoothly with the picture.
- Curves Adjustment Layer: For a non-destructive approach, use a Curves Adjustment Layer to lighten or darken areas. You’ll invert the layer mask and then paint back the effects with a soft brush. Fine-tune by applying the image to blend your adjustments with the underlying tones.
- 50% Gray Layer: Another method is to fill a layer with 50% gray, set it to ‘Overlay’ blend mode, and paint with white (to dodge) or black (to burn). It gives you straightforward control with the flexibility of opacity adjustments.
- Luminosity Masks: For precision, especially to avoid haloing, luminosity masks can target specific tonal ranges for your adjustments. They require practice but offer stellar results for detailed editing.
In Adobe Lightroom:
- Adjustment Brush: Lightroom’s Adjustment Brush is a practical tool for dodging and burning. After selecting the brush, tailor its settings for exposure, and then paint over areas you want to lighten or darken. Use it subtly, as Lightroom’s adjustments can quickly become noticeable.
General Tips:
- Begin with a gentle touch. It’s easier to increase the effect than to dial it back.
- Consistently zoom out to check the overall impact.
- Use layer masks to restrict the dodge and burn to desired regions, preventing unwanted alterations to adjacent areas.
- Don’t overdo things. Aim for natural transitions between light and dark.
