Portrait Photography Tips for Beginners
Portrait photography is an artful pursuit that goes beyond just photographing a person’s face.
It’s about the subject and telling their story through a single frame.
Your mission as a portrait photographer is to reveal something meaningful about the person in front of your camera. Often sharing a sense of their personality and emotions.
That means you need to know how to select the appropriate backdrops, lighting, and guide your subject through natural poses.
But if you’re a beginner, you might not know where to start when it comes to taking portrait photos. So I’ll share some portrait photography tips I wish I had known when starting out.
Key Takeaways
- Optimize lighting and background to enhance the subject’s features.
- Engage with your subject for more natural and revealing portraits.
- Prioritize the subject’s eyes for a photo that carries impact.
What is Portrait Photography?
Portrait photography involves capturing images where individuals or groups are the primary focus. Whether in a controlled pose or as a spontaneous capture, your presence as the subject is central to the photograph.
Also, this genre emphasizes capturing the personality, mood, or essence of the person or people within the frame.
4 Types of Portrait Photography
1. Traditional Portraits: Often featuring the subject looking at the camera, posed in a way to present a formal representation of themselves.
2. Candid Portraits: These are taken without the subject’s direct engagement or awareness, aiming to capture natural expressions and moments.
3. Environmental Portraits: Place the subject in a context or setting that reveals something about who they are or what they do.
4. Conceptual Portraits: Artistic images that convey ideas and tell a story through the creative use of props, wardrobe, and digital manipulation.
Historical Context and Evolution
The lineage of portrait photography can be traced back to painted portraits of nobility and influential figures. Once a luxury afforded only by the wealthy, the advent of photography democratized the ability to document one’s existence.
And starting with formal depictions, it has now expanded to include a variety of styles that serve to document significant life events or everyday moments.
Indoor vs. Outdoor Portrait Portrait Photography Tips
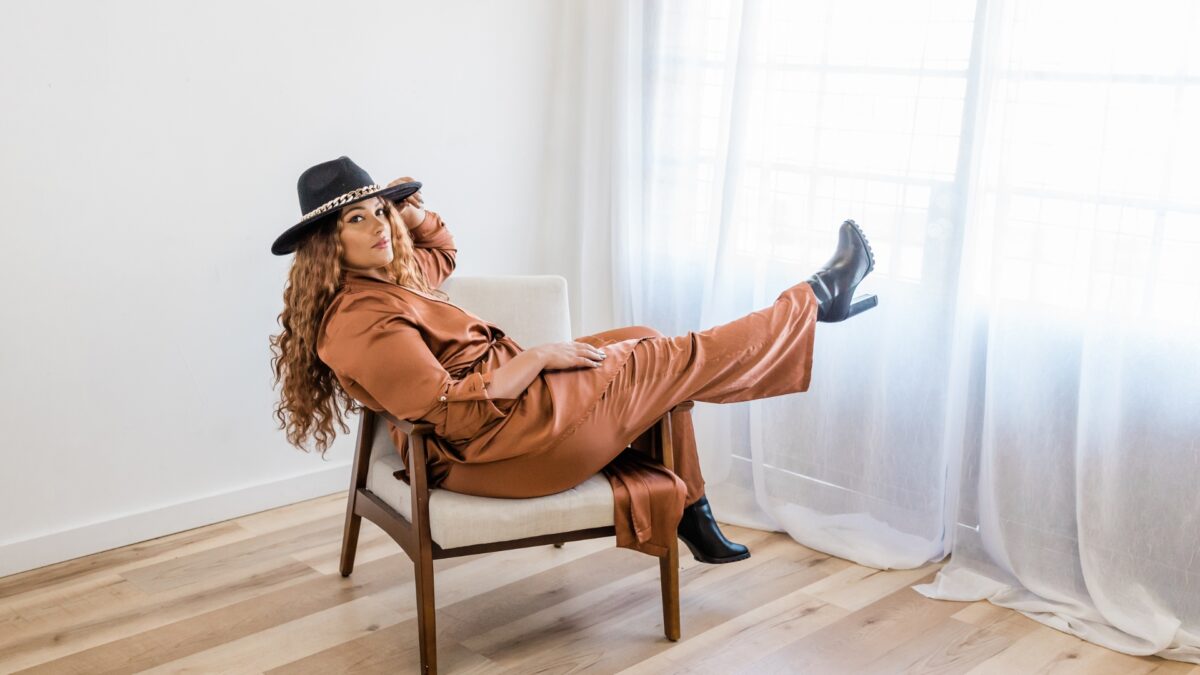
When taking portraits, your choice of environment is affects a lot.
The ideal lighting for portraits is bright but indirect to avoid harsh shadows or your subject squinting. And if you’re taking photos indoors, you can position your subject near a window to use natural light to create a flattering effect.
If outdoors, go for a shaded area or an overcast day to achieve even lighting.
A diffuser can also be a helpful tool to soften any harsh sunlight that may be present. But always be mindful of the intensity and direction of natural light when outside.
This reflector is super handy and all you need. It's also heavy-duty and works well in many different lighting conditions.
Setting and Background:
- Indoors: Control over light and background is easier. You can manipulate the setting to suit your vision.
- Outdoors: Offers variety and richness but demands adaptability to unpredictable elements.
| Aspect | Indoor Tips | Outdoor Tips |
|---|---|---|
| Light | Use window light for a natural and soft illumination. | Find shade or use a diffuser to tame harsh sunlight. |
| Background | Select backgrounds that complement your subject. | Incorporate the environment to add context to portraits. |
How to Pick a Great Background for Your Subject
When selecting a background for portrait photography, pay attention to how it complements your subject.
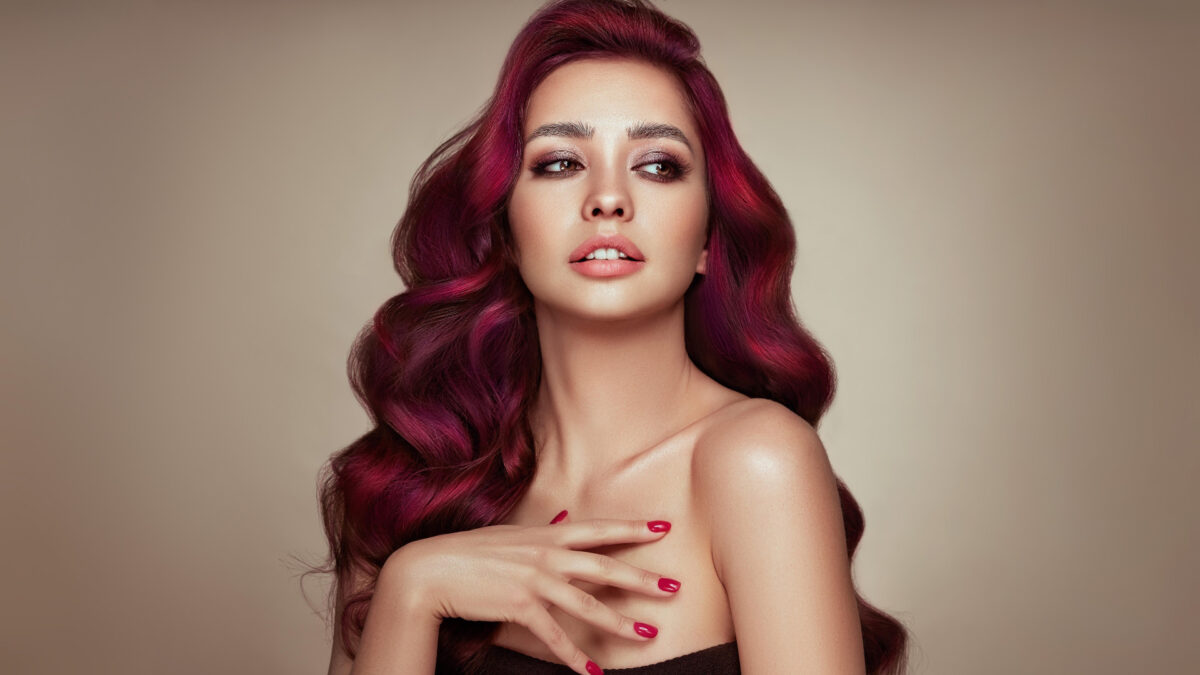
The background should enhance, not distract from, the person or people you are photographing. Consider the tone and mood you want to convey. Because backgrounds can heavily influence the feel of a portrait.
Composition is also important to a successful backdrop.
Your background choice should offer a contrast to the subject, allowing them to stand out. Use natural scenery, such as a park or garden, for a serene and unobtrusive setting or urban landscapes for a more dynamic and contextual feel.
For studio portraits, neutral and uncluttered backgrounds often work best, allowing the viewer’s focus to remain on the subject. Experiment with different textures and colors, keeping in mind how they interact with the subject’s attire and the portrait’s overall color scheme.
Outdoor locations offer many natural backdrops that may require minimal adjustment.
Tip: When shooting outdoors, use a wide aperture to create a bokeh effect, softly blurring the background and making the subject the clear focal point of the composition.
Portrait Photography Lighting Tips
When taking portraits indoors, explore the available lighting options and backgrounds.
Observe whether where you’re at has enough natural light for portraits. Or if you need an artificial lighting setup. Simple backgrounds, like clean walls or drapery are great as well.
They create a nondistracting canvas for your subject.
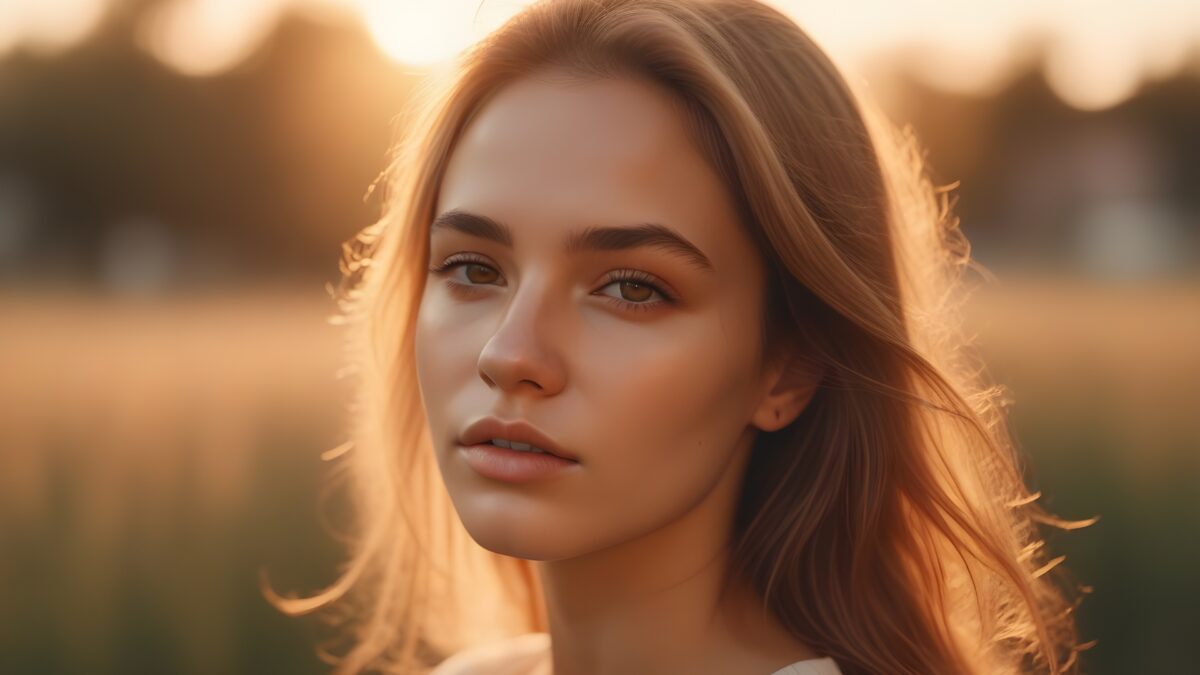
If outside, the time of day critically affects natural lighting. Shoot for early morning or late afternoon sessions to take advantage of softer light and avoid harsh midday shadows. Overcast conditions also offer an even light that minimizes shadows. Great for taking consistent portrait photos.
Additional Tips for Modifying and Working With Light
Directing the Light: Position your subject so that the light—natural or artificial—illuminates their features without harsh shadows. Use lighting at an angle to sculpt the face and emphasize depth. Reflectors are valuable tools to redirect light, filling in shadows for a more flattering result.
Lighting Setups and Focus: Adjust lighting to highlight the subject’s features while keeping the background unobtrusive. Be mindful of any shapes or elements that may pull attention away from your subject.
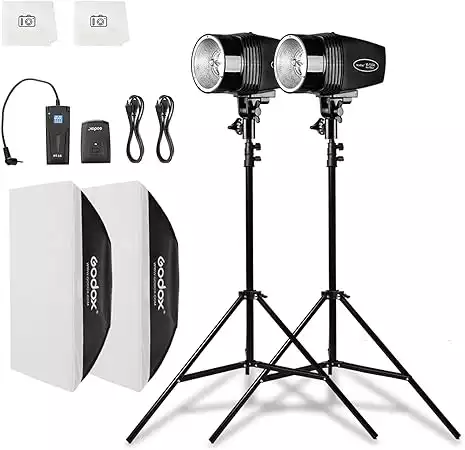
Westcott's universal flash is compatible with multiple camera brands. And it's LCD touchscreen makes it user-friendly and easy for beginners to navigate and control flash settings.
Using Shadows Creatively: Not all shadows are detrimental; they can add depth and character to a portrait. However, aim for balance—shadows should complement, not dominate the subject’s features. Diffused or softened shadows are typically more flattering in portrait photography.
Balancing with Reflectors: In instances where you cannot control the light source, a reflector can be the key to achieving even lighting. It can redirect natural light onto the subject, reducing shadow intensity and ensuring even illumination across their face.
Use The Right Camera Lens
When new to portrait photography, choose your lens wisely.
Opt for a lens with a focal length of 50mm or above. Doing so helps to maintain the natural proportions of your subject’s facial features.
And lenses with focal lengths such as 85mm or 100mm are highly recommended. They provide a pleasant compression effect, making the background less distracting and your subject the primary focus.
You can even use telephoto lenses.
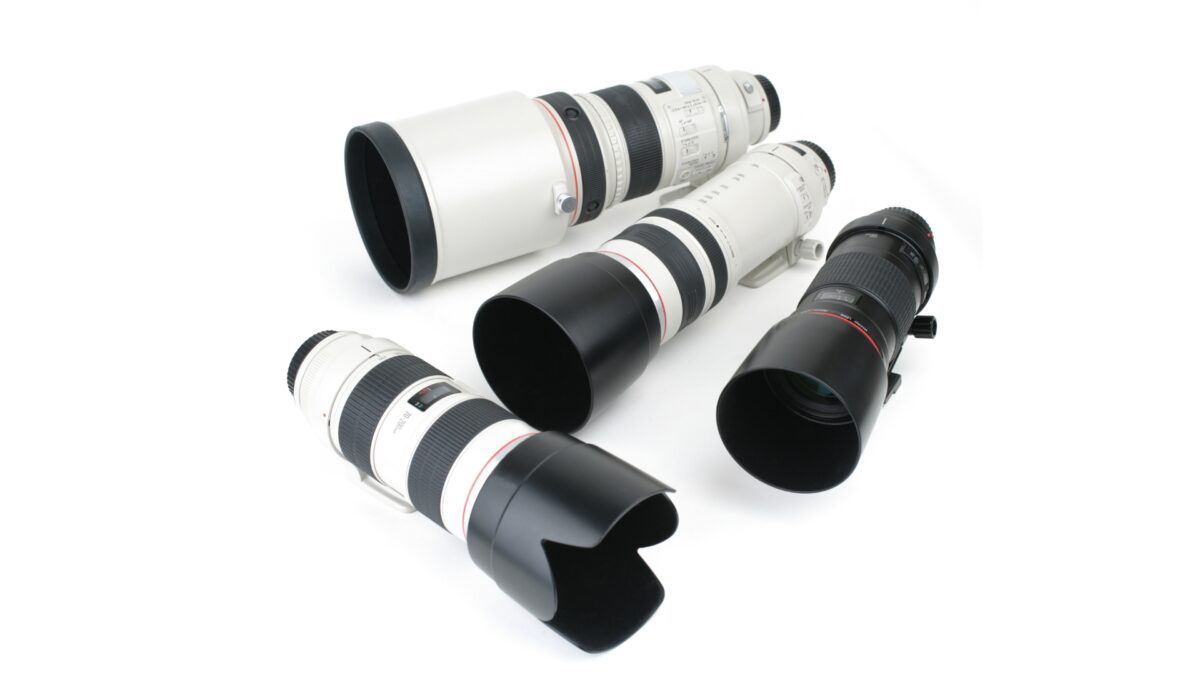
They’re another good option if you prefer to keep a comfortable distance from the subject. These lenses allow you to capture intimate details without being intrusive, which is ideal for candid shots that capture genuine expressions. But don’t use too long a focal length.
It can flatten facial features excessively, creating an undesirable effect.
Also, avoid wide-angle lenses for traditional portraits. Their inherent distortion can exaggerate certain facial features and might require uncomfortably close proximity to fill your frame.
You want to use a lens that flatters your subject and suits the space you are working within.
Take Photos in RAW
Shoot in RAW. Especially if you want the highest quality of detail in your portraits.
This file format captures all the data from your camera’s sensor, giving you a wealth of information to utilize during post-processing.
And with RAW, you can preserve everything in the scene.
Another key benefit of RAW is the ability to fine-tune white balance. White balance adjustment is huge when it comes to portraits. It affects skin tones and the atmosphere of the image.
And with RAW in an editor, you can adjust the white balance without degrading the quality, unlike with compressed formats like JPEG.
So, make your camera is set to RAW, and see how much more control you have over the finished product.
Talk and Get to Know Your Subject
Establishing a rapport with your subject is important before the camera starts clicking.
Schedule some time to discuss both sides’ expectations for the upcoming session. This dialogue sets the tone for the shoot and guarantees the photos are what your subject is looking for.
During this initial exchange, facilitate an environment of trust and comfort.
Comfort leads to more natural expressions and poses which is needed for taking authentic portraits. Also, familiarity with each other’s personalities and preferences will guide the photo session smoothly.
Take Pictures at Your Subject’s Eye Level
When taking portraits, aligning the camera with your subject’s eye level is fundamental.
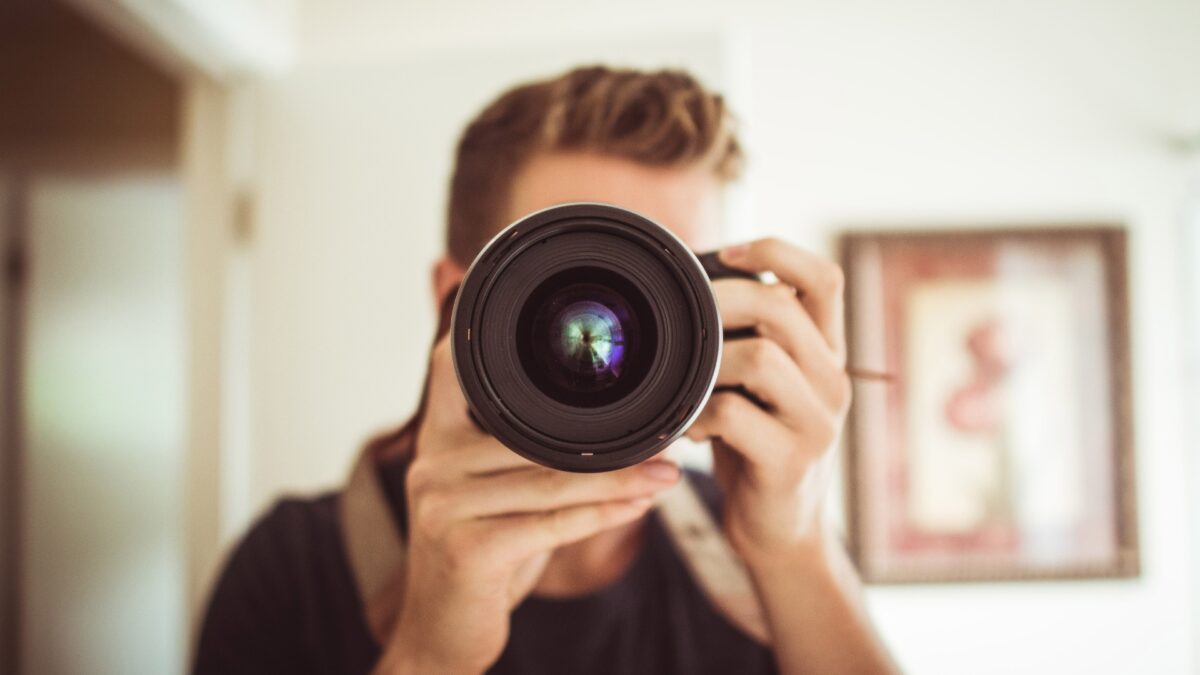
Doing so creates a sense of connection between the subject and the viewer. And your photographs will more naturally engage those who see them, as eye-level shots tend to be more intimate and personal.
Positioning the Camera: If your subject is sitting, you might need to crouch or sit down yourself. Or, if they’re standing and taller, you might need to stand on something or hold your camera higher.
Adjustments for Impact: Occasionally, slight adjustments above or below eye level can produce a commanding effect. And for a more flattering perspective, position the camera slightly above the subject’s eye line. If you’d like to give your subject a sense of strength or power, shoot from a slightly lower angle.
Important Consideration: Always pay attention to your subject’s comfort and the naturalness of their expression. Maintaining a relaxed environment will lead to more genuine portraits.
Keep The Focus on Your Subject’s Face
When taking portrait photographs you want your subject’s face to come out clear.
Aim to crisply capture their features against a softened backdrop. You can use a wide aperture to create a shallow depth of field and bring attention solely to the face and eyes. While the background blurs, adding aesthetic depth.
Also, adjust your shutter speed to balance the increased light from the wide aperture.
This not only ensures proper exposure but also sharpens facial details, making the eyes, the windows to the soul, pop.
Tip: Maintain steadiness in your camera to prevent any undesired motion blur.
And consider the angle at which you’re taking the portrait. Photographing a child? Crouch to their eye level, creating a connection and a perspective true to their world.
Must-Have Portrait Poses
When directing a subject who isn’t familiar with taking portrait photos, your guidance should be straightforward and easy to follow.
Slight adjustments can significantly enhance the portrait.
For instance, by asking them to elevate their chin slightly, you can change the way shadows fall on their features, potentially sculpting the face more attractively with light.
And simple changes to posture often yield powerful results in a portrait.
Also, encouraging your subject to straighten their back or shift their weight can alter their stance and presence, lending an air of confidence to the image. But, if you find the pose becoming too rigid, a prompt to relax their shoulders can reintroduce a natural ease.
You can also direct your subject’s gaze to create different moods. Saying “now look at me” helps in establishing a connection and photographing compelling eye contact.
And, having them look off-camera can evoke contemplation or depth. Just remember to use clear, concise instructions to get the desired pose you want without overwhelming your subject.
| Pose Adjustment | Purpose |
|---|---|
| Raise your chin | Alter shadow casting, refine facial features |
| Straighten your back | Portray confidence, improve posture |
| Look towards camera | Establish connection, direct engagement |
| Look away from camera | Suggest depth, introduce contemplation |
Add these poses into your session to capture classic and engaging portraits.
They’re great for coaching your subjects with simplicity and clarity as they find their best angles.
Experiment With Black and White Portraits
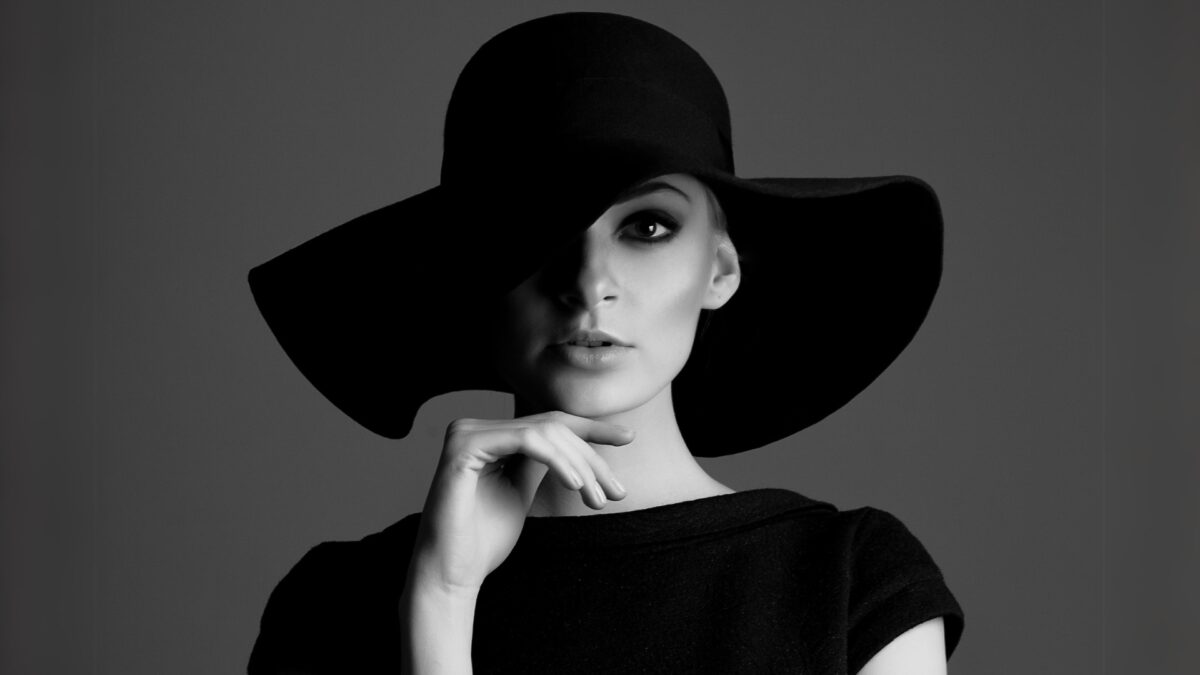
Shooting in black and white is a powerful decision that can add depth and a timeless touch to your portraits. It strips away the distraction of color and allows the viewer to focus on the subject’s expressions and emotions.
Here are some tips when experimenting with black-and-white portraits:
- Lighting: Look for contrasts. Well-defined shadows and highlights can give your image more depth.
- Composition: Simple backgrounds make your subject stand out. Use negative space to your advantage.
- Textures and Patterns: Without color, textures and patterns become more prominent and can add interest to your photographs.
And here’s a quick reference guide:
| Aspect | Tip |
|---|---|
| Emotion | Capture genuine expressions. Emotions are intensified in monochrome. |
| Eye Contact | Direct or diverted, the eyes tell a powerful story in B&W. |
| ISO and Grain | Embrace higher ISOs. Grain can enhance the nostalgic feel. |
Try converting your color photos into black and white during post-processing to see which version tells the story you want to tell with your photos.
Make Your Subjects Pop Out in Post-Processing
In portrait photography, your goal in post-processing is to make your subject the focal point.
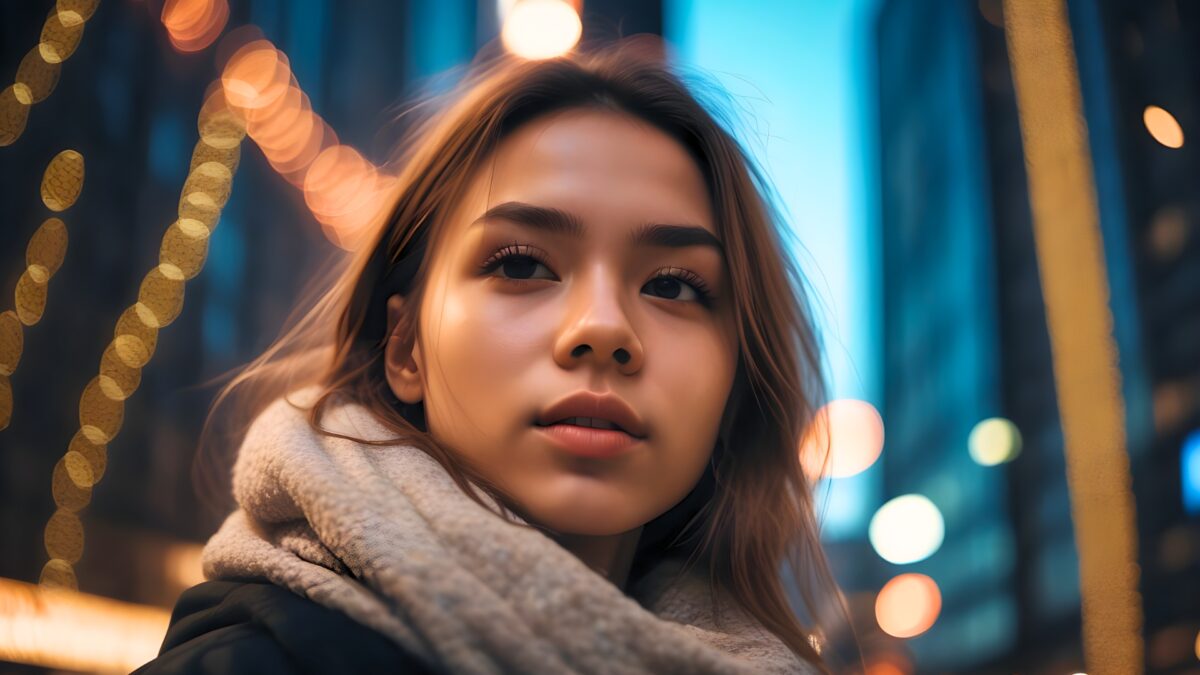
Focusing sharply on your subject while maintaining a blurred background or bokeh spotlights the depth of field and adds a professional depth to your portraits. A well-executed depth of field naturally draws the viewer’s eye to the subject.
Use photo editing software such as Photoshop to refine this look.
For example, you may adjust the contrast to create a distinct separation between your subject and the background. Also, fine-tune the lighting on your subject by subtly improving the brightness and saturation, encouraging the viewer’s eye toward the subject.
This is because there’s a natural attraction to luminance and color.
When considering your camera settings for portraits during your shoot, remember your post-processing adjustments are a continuation of that process.
So, manage your shadows and highlights.
And paying close attention to overexposure or underexposure that might detract from your subject. If needed, selectively sharpen your images to bring out the details and textures. And make everything contribute to a sharp focus that holds the viewer’s gaze.
Note: A professional design and editing workflow is not about drastically altering a photo but enhancing and guiding the viewer. Your careful attention in post-processing can transform a portrait from flat to a vivid, enthralling story centered around your subject.
My Final Tip: Don’t Overcomplicate The Photo Shoot
In portrait photography, clarity, understanding, and focus on the subject is all that matter.
You might be tempted to include multiple subjects or to search for cool props and backgrounds. But remember, the strength of a portrait lies in its ability to showcase the subject.
Other elements serve only to enhance the central theme.
And cluttered compositions can distract from your subject’s presence and the story you wish to tell through your photos.
Also, if an intriguing setting or accessory isn’t readily available, don’t let this bother you. Your camera and model alone are enough to create a powerful portrait.
Frequently Asked Questions About
Portrait Photos
What are the key composition techniques for enhancing portrait photos?
To elevate your portraits, focus on the eyes to bring life to the photo and use the rule of thirds for a balanced composition. Leading lines can also direct attention towards your subject, making the portrait more dynamic and engaging.
What lighting setup is preferred for professional portrait photography?
Soft, diffused lighting is usually preferred to evenly illuminate the subject’s features without harsh shadows. Many professionals use a three-point lighting setup, consisting of a key light, fill light, and backlight to create depth and definition.
How can you capture expressive portraits with an iPhone?
Leverage your iPhone’s Portrait mode to create a depth-of-field effect that brings your subject into sharp focus while artfully blurring the background. Use natural light and different angles to capture your subject’s emotions and expressions vividly.
How do I ensure my portrait photos look flattering?
Pay attention to how the light falls on your subject’s face—soft lighting can accentuate features pleasantly. Encourage genuine smiles and relaxed postures, and consider the angle of the shot; often, shooting slightly above eye level can result in a more flattering perspective.

