How to Get The Perfect Exposure in Every Photo
Chasing that elusive perfect exposure in every shot can feel like solving a Rubik’s Cube while riding a unicycle. Frustrated?
You’re not alone.
Dialing in just the right amount of light to hit your camera’s sensor without under or overexposing can seem like an art form that’s just out of reach.
When you get it wrong, it’s glaringly obvious. Your sunrise shots turn into silhouettes, or those vibrant street scenes get washed out.
It can be the bane of your photographic experience, making what should be a fun hobby feel like a chore.
But hey, what if I told you that nailing the right exposure doesn’t have to be a hit-or-miss situation?
This article lays out a simple, actionable five-step guide to grasp this critical skill. Read it, and you’ll go from second-guessing your shots to confidently photographing each moment as you see it.
All without breaking a sweat.
Key Takeaways
- Mastering exposure leads to capturing the scene as you envision it.
- Recognizing and adjusting camera settings affects exposure quality.
- Utilizing in-camera tools ensures correct exposure levels.
What Exactly is Exposure in Photography?
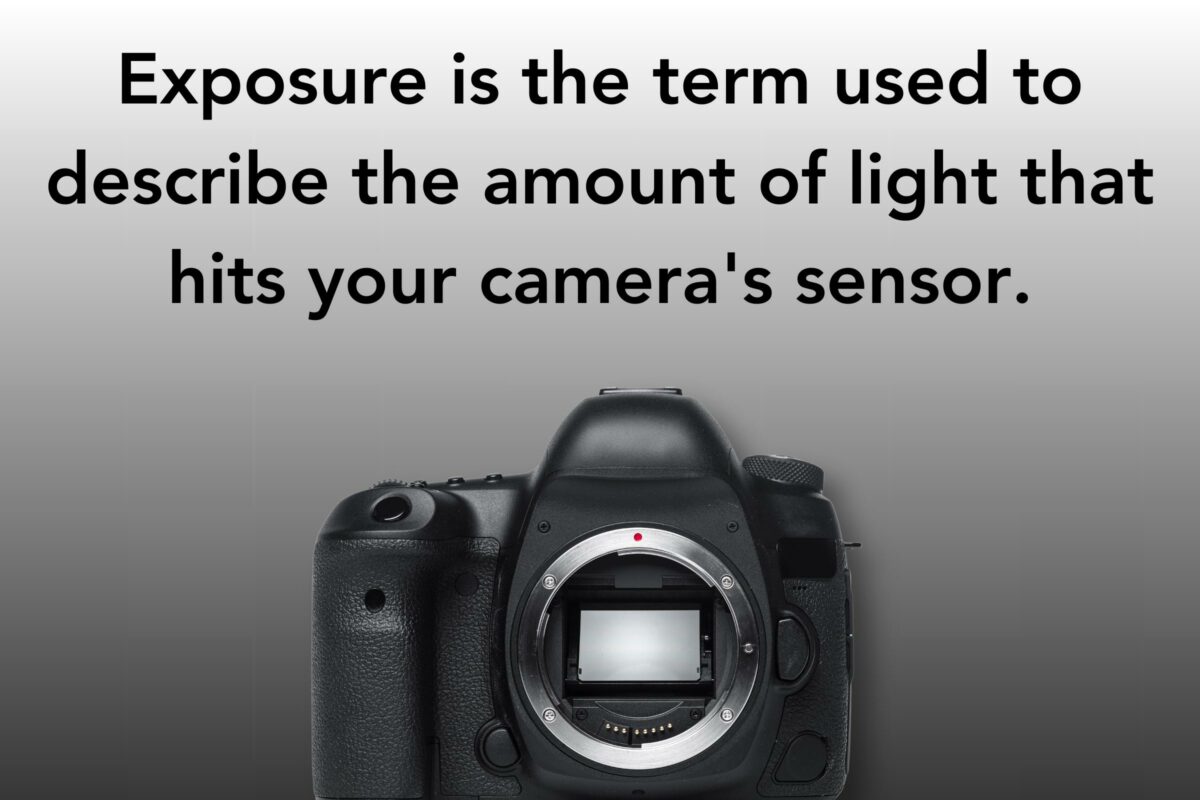
You’re controlling how bright or dark your image appears by manipulating how much light enters the camera.
Think of your camera as an eye, with the sensor as the retina. If there is too much light, the photo is overexposed (too bright). If there is too little, it is underexposed (too dark).
To get the correct exposure in your photographs, you’ll need a good handle on what’s known as the Exposure Triangle: Aperture, Shutter Speed, and ISO.
Balancing these elements is key to your camera catching the right amount of light.
Also, your camera’s metering system is super important for helping you gauge the exposure value (EV). The camera meter measures the light in a scene and suggests settings for the exposure triangle to get a balanced shot.
Understanding the histogram, a graphical representation of the tonal values in your image, can also help you get your exposure right. It shows if your image has the right contrast and dynamic range, highlighting areas that are over or under-lit.
Paying attention to the histogram during shooting or in post-processing allows for adjustments before it’s too late.
Three Things That Impact Exposure You Can Adjust
Mastering exposure requires tweaking three main settings on your camera: shutter speed, aperture, and ISO. Each adjustment affects the light and the overall look of your photograph.
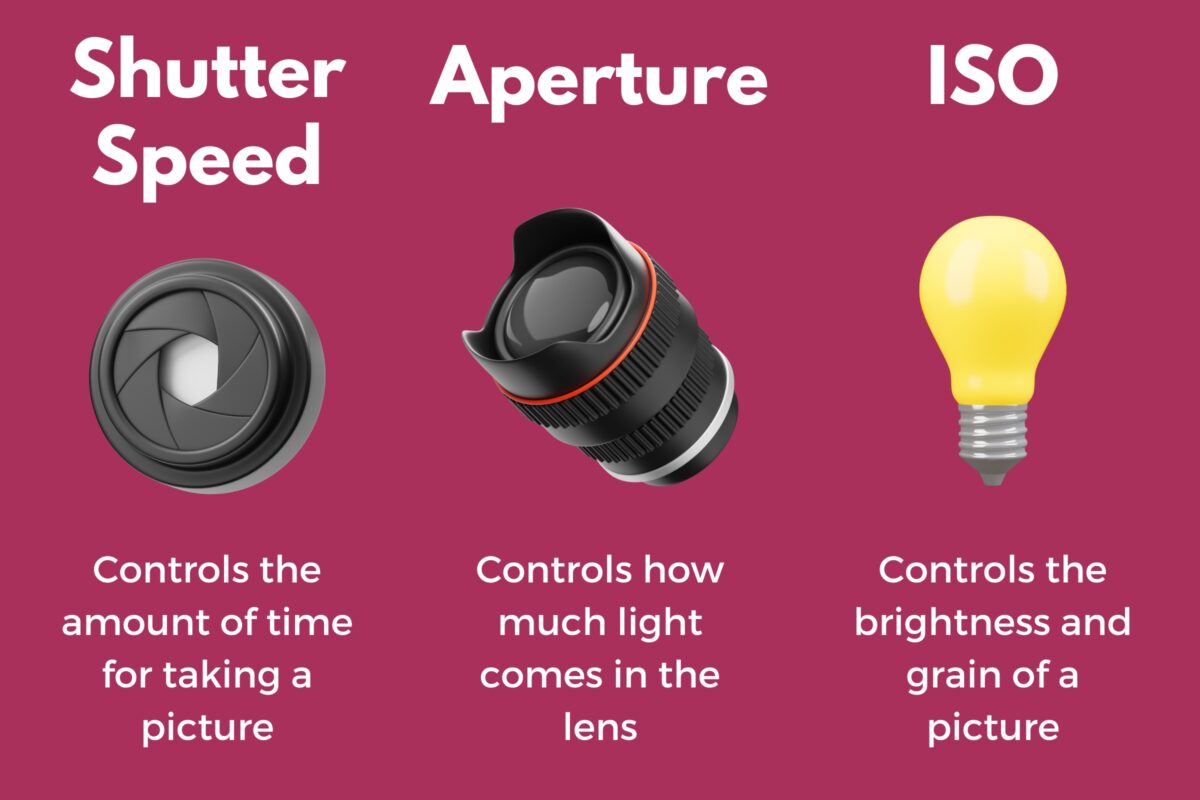
Shutter Speed
Determines how long the camera’s shutter stays open. Faster speeds freeze action, while slower speeds can create a blur effect to show motion.
Aperture
The aperture is like the pupil of your camera’s eye, controlling the amount of light that enters through the lens. Measured in f-stops, the aperture also affects the depth of field, which determines how much of your photograph is in sharp focus. A low f-stop means a wide aperture, resulting in a shallow depth of field—ideal for making your subject stand out from the background.
ISO
Adjusting ISO changes your camera’s sensitivity to light. Low ISO values (100-400) keep your image crisp and clear with minimal noise, ideal for well-lit conditions. Higher ISO settings will brighten your photo in low light situations but can introduce graininess, or noise. Balancing ISO with the other settings helps achieve a well-exposed shot without sacrificing image quality.
5 Tips for Getting Perfect Exposure in Your Photos
1. Use a Histogram
Understanding the histogram on your camera is key to achieving the perfect exposure in your photographs.
This graphical representation is like a map indicating the tonal values of your image, ranging from pure black to pure white.
It can typically be enabled on your camera’s display settings or viewed live if you’re using a mirrorless camera, right on the LCD screen or electronic viewfinder.
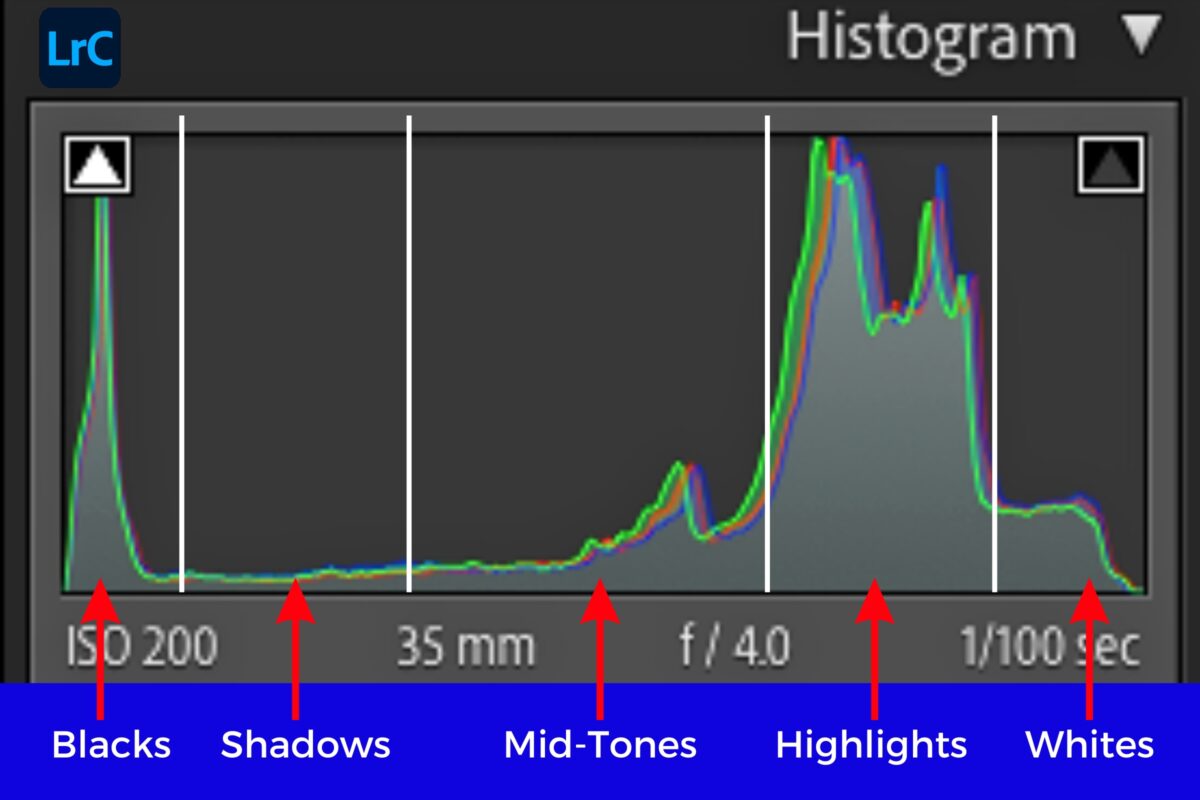
The far left of the histogram shows the shadows, which are the darkest parts of your picture.
The right side represents highlights or the brightest areas.
Middle gray falls right in the center.
When interpreting the histogram, you should generally aim for an even distribution of tones throughout the whole picture.
Here’s what to look for to ensure correct exposure:
- Shadows: Too many dark pixels pushing against the left edge may suggest underexposure.
- Highlights: If the pixels are piled up on the right, your photo might be overexposed.
- Contrast: A histogram with gaps at either end could indicate a lack of contrast, while a more balanced histogram with a good spread from left to right typically suggests a well-exposed image with good contrast.
In practice, aim for a histogram that reflects the true lighting of your scene. For example, a nighttime cityscape will naturally skew toward the left, and a snow-covered landscape will lean to the right. Use the histogram as a guide, but don’t be afraid to trust your creative instincts when it comes to the mood and atmosphere of your images.
2. Activate Clipping Alerts
You don’t want to miss out on the benefits of turning on your camera’s clipping warnings when striving for a well-exposed photo.
Clipping, or “the blinkies” as they’re often called, will flash on your camera’s display screen to indicate areas that are overexposed (or pure white).
Specifically, these warnings show you the parts of the image where no detail is present because it’s too bright.
Here’s how to make the most of clipping alerts:
- Once you preview your photo, look for the blinking areas. These are where the detail has been lost in the highlights.
- Adjust your exposure settings if you want to recover these details. This could mean reducing exposure compensation, tweaking your manual settings, or selecting a different metering mode.
While the histogram shows you a distribution of tones from shadows to highlights, the clipping alerts focus specifically on the extremes so that you’re aware of any potential loss of detail in the brightest parts of your image.
Consider these alerts a nudge to review and refine your exposure at the moment, especially if the clipped highlights contain important details of your subject or scene.
3. Choose the Correct Shooting Mode
When you’re out and about with your camera, ready to capture the world as you see it, picking the right shooting mode is like choosing the perfect spice for a meal—it can make all the difference.
Your DSLR camera offers several modes, but it’s not just about showing off your manual skills; it’s about matching the mode to the moment.
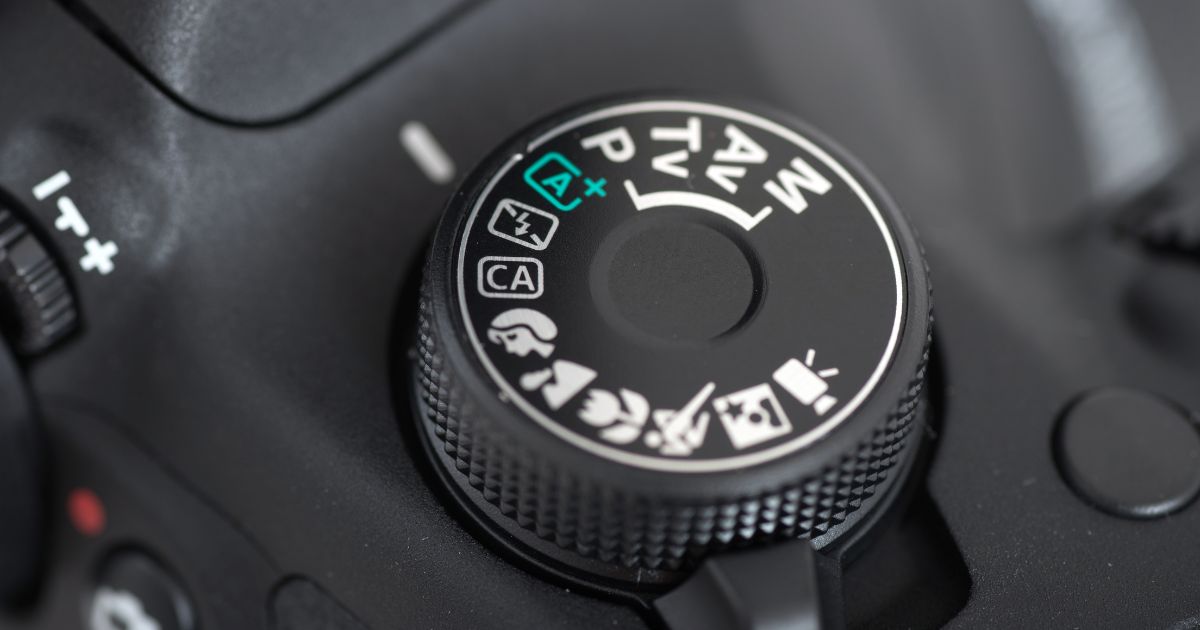
Aperture Priority (A or Av) is your go-to for general handheld photography; it lets you focus on depth of field while the camera takes care of the exposure.
If motion is your muse and you want to catch that cyclist zipping by, Shutter Priority (S or Tv) mode allows you to set the shutter speed and lets the camera adjust the aperture for you. It’s perfect for those panning shots where you keep the subject sharp against a streaked background.
At night or when you’re diving into the realm of long exposures, Manual Mode (M) gives you full control, and it’s best used when your camera is on a tripod, making sure you get crisp shots without the handshake.
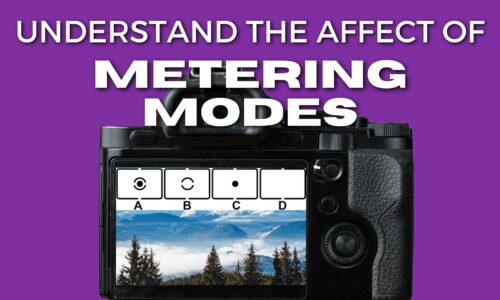
But don’t forget about Metering Modes—they’re the unseen heroes that guide your camera’s judgment of light. They range from evaluating the entire frame to focusing on a single spot, which greatly influences how your camera interprets the scene.
4. Select The Right Metering Mode
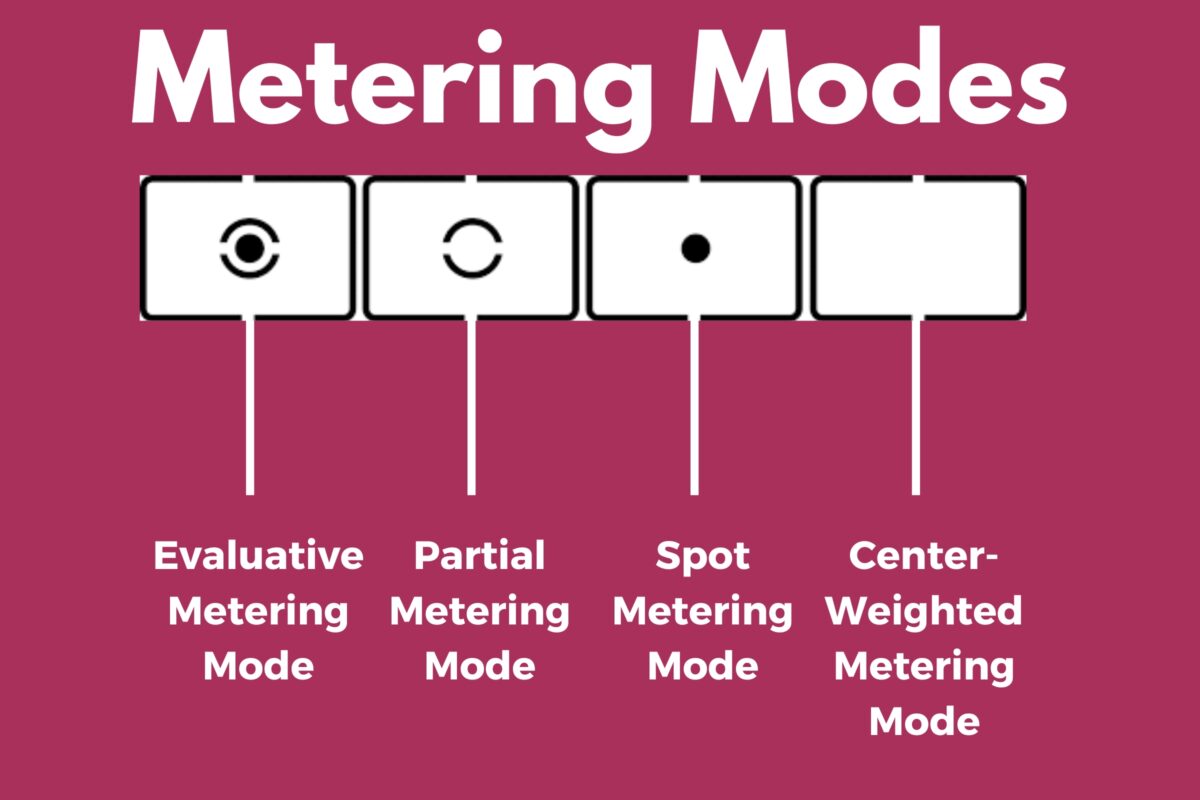
Your camera’s metering mode is like having a savvy assistant inside your camera—it measures the scene’s light and helps your camera think about how bright or dark your photo should be.
But not all scenes are created equal, so you’ve got to boss around your metering mode to match your needs.
Matrix Metering/Evaluative Metering is your camera’s way of making an educated guess about the correct exposure. It analyzes the entire frame but prioritizes the focus point. Think of it as a jack-of-all-trades that works well in most scenarios, especially those with even lighting conditions.
Here’s a quick rundown:
- Best for: Landscapes and well-lit, evenly-exposed scenes.
- How it works: Measures light across various zones and averages them for a balanced exposure.
Centre-Weighted Metering directs more attention to the center of the frame and less to the edges. It’s like having a trusted colleague who always keeps an eye on the heart of the matter, leaving peripheral details in a supporting role. This mode is particularly useful for portraits or objects that are central to the composition.
- Best for: Portraits and subjects that are centered in the composition.
- How it works: Assigns more weight to the light reading in the middle of the frame while including insights from the surrounding area.
Spot Metering is the laser-focused employee of the metering world, measuring a very small area (typically 1-5% of the viewfinder). Use this mode when your subject is backlit or when dealing with high-contrast scenes. It’s like focusing on the lead actor on a stage with a spotlight; what surrounds them becomes less significant.
- Best for: High-contrast scenes or isolated subjects.
- How it works: Takes a precise reading from a small, specific part of the scene, often linked to the focus point.
5. Adjust Exposure Levels as Needed
The perfect shot needs the perfect light balance.
Your camera’s semi-automatic modes are great, but sometimes they need a nudge in the right direction. That’s where exposure compensation steps in. It’s a handy way to tweak the brightness without switching to manual mode.
If you notice that your shots are consistently too dark, bump up the exposure compensation a bit.
Pro Tip: Start with adjusting the Aperture first until you notice the darkness gives way to the desired brightness. If your photos are too bright, do the opposite.
Remember, there’s no ‘one-size-fits-all’ for lighting, so let your creative judgment call the shots!
How to Fix Common Exposure Mistakes
On your way to mastering exposure, even the most enthusiastic photographers can encounter common pitfalls.
Recognizing and understanding these mistakes is crucial in developing your skills and enhancing your photographic results.
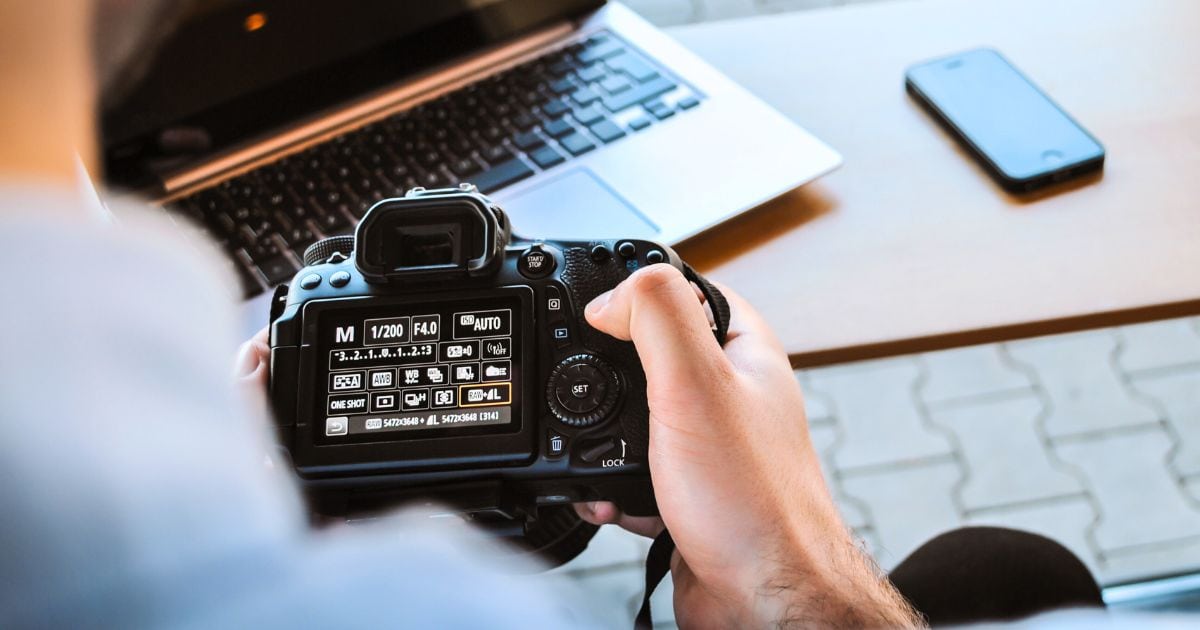
Common Mistakes and Solutions:
Over-relying on Automatic Modes: Many beginners lean heavily on their camera’s automatic settings, which can limit learning and creative control.
- Solution: Gradually transition to semi-automatic modes like Aperture or Shutter Priority, and eventually to Manual mode. This progression allows you to understand the impact of each setting on exposure.
Misreading the Histogram: A histogram is an essential tool, but it can be confusing for beginners who might misinterpret what it represents.
- Solution: Spend time learning to read the histogram correctly. Remember, it’s a graphical representation of the tonal distribution in your image. Practice interpreting histograms in different lighting conditions to understand their variations.
Ignoring the Impact of Metering Modes: Choosing the wrong metering mode can lead to incorrectly exposed photos, especially in challenging lighting conditions.
- Solution: Experiment with different metering modes (spot, matrix, and center-weighted) to see how they affect your images. Use spot metering for high-contrast scenes and matrix metering for more evenly lit environments.
Neglecting Exposure Compensation: Beginners often overlook the exposure compensation feature, missing out on an easy way to adjust exposure without changing modes.
- Solution: Familiarize yourself with the exposure compensation function. Use it to fine-tune exposure in semi-automatic modes, especially in conditions with varying light.
Forgetting to Adjust ISO Sensitivity: Leaving the ISO setting on auto or not adjusting it appropriately can result in unwanted noise or lack of detail.
- Solution: Learn to adjust ISO manually. Lower ISO values are ideal for bright conditions to reduce noise, while higher values are necessary in low light situations.
Failing to Anticipate Lighting Changes: Lighting conditions can change rapidly, and not anticipating these changes can lead to poor exposure.
- Solution: Continuously monitor and anticipate lighting changes, especially when shooting outdoors. Adjust your camera settings accordingly to maintain correct exposure.
Overcorrecting for Backlit Scenes: Backlit subjects often trick the camera’s metering system, leading to underexposed subjects.
- Solution: Use spot metering to expose for the subject, or apply positive exposure compensation to brighten the subject without losing the background details.
As a beginner photographer being aware of these common mistakes and knowing how to fix them can significantly improve your ability to capture well-exposed photographs.
Final Tips for Getting Perfectly Exposed Photos
Getting the perfect exposure in a photo isn’t just about understanding your gear.
It’s about your vision as a photographer.
You have the power to manipulate exposure settings to determine what elements in a scene to draw attention. And practice is your ally here don’t shy away from making mistakes. That’s how you’ll learn.
Use manual mode to gain full control over the exposure triangle—shutter speed, aperture, and ISO. That way, you have the flexibility to create photos with the exposure you want. envisioned
Whether it’s the softness of natural light during the golden hour or the contrast in a street scenario.
Different subjects require different approaches:

- For portraits, even light is key. The golden hour provides soft illumination that compliments skin tones.
- With landscapes, bracketing can help manage challenging lighting, such as sunrises and sunsets.
- In street photography, a faster shutter speed will help you catch spontaneous moments crisply.
- During wildlife shoots, be prepared to adjust settings quickly as subjects move through varied lighting.
Macro and HDR photography often require extra attention to detail.
In macro, slight changes in light dramatically affect your image. With HDR, capturing multiple exposures of the same scene and combining them can extract detail from shadows to highlights, even on a sunny day.
And remember to use your camera’s tools like AEL (Auto Exposure Lock) and Auto Exposure Bracketing (AEB), simplifying the job of capturing evenly exposed shots.
Use AEL to lock the exposure based on a specific part of the scene and AEB to take multiple shots at different exposures, which is particularly useful in high-contrast settings.
You should always review your shots.
Look for clipping in the highlights and shadows to guarantee all the important details are captured. This instant feedback mechanism is a great way to refine your technique on the go.
Exposure Bracketing
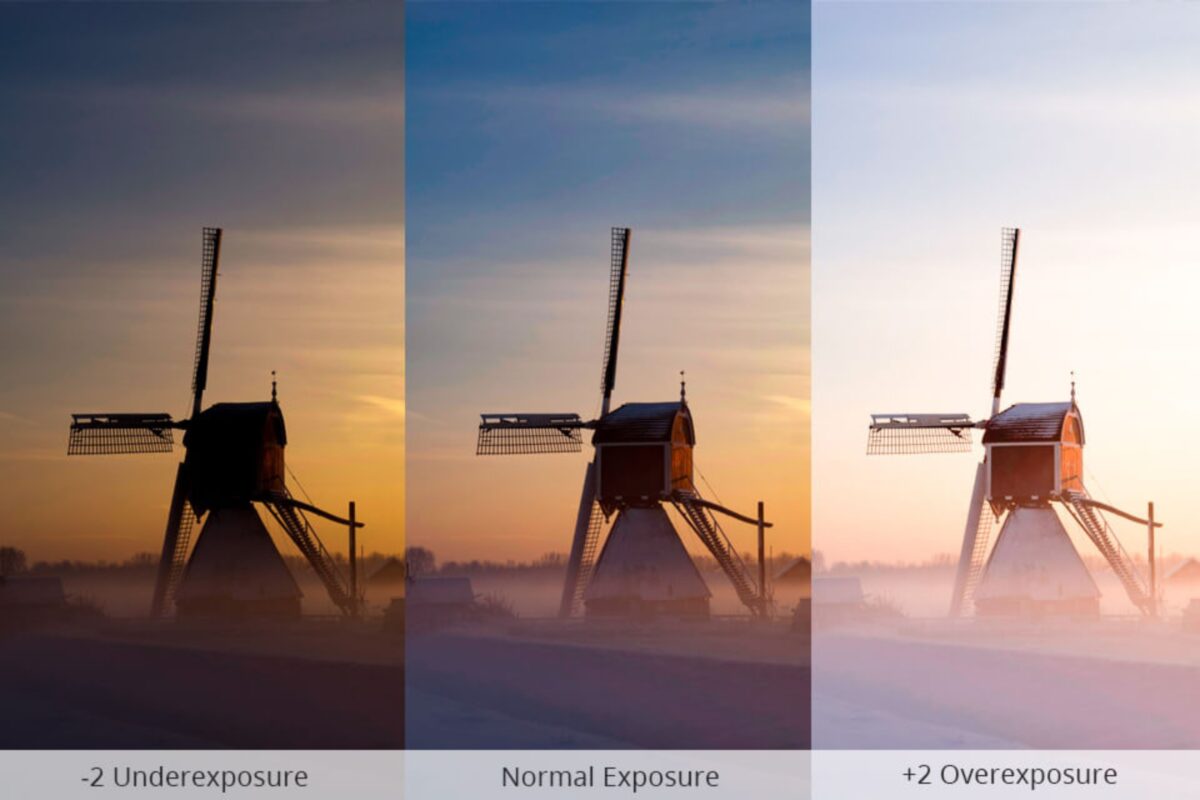
Finally, there’s Exposure Bracketing, which is like taking a few shots in a burst to ensure one comes out just right.
It involves taking several photos of the same scene at different exposures: one at the metered exposure level, one or more slightly underexposed, and one or more slightly overexposed
This is particularly useful for high dynamic range (HDR) photography, where you can combine these images in post-processing to create one perfectly exposed photo.
Exposure Compensation
When your camera doesn’t quite nail the exposure, exposure compensation can help.
It’s like a nudge to your camera, suggesting it to either darken or lighten the scene a bit. Got a button with a plus/minus sign? That’s the one you press to tell your camera, “Hey, let’s tweak the exposure.”
For example, when you’re in modes like aperture priority or shutter priority, moving that exposure compensation dial tweaks the exposure by steps, known as stops.
Increase it (+) to make your photos brighter, or decrease it (-) to darken them. It’s a game of thirds typically, with settings like -1/3, +1/2, +2/3, and so on.
And, when in manual mode, exposure compensation won’t change your exposure since you’re already the boss of aperture, shutter speed, and ISO settings. In other words, it’s all you there!
But, if you’re letting your camera do some of the decision-making – in other modes – exposure compensation is a quick fix to perfect those shots without messing around with individual settings.
Be Aware of Your Lighting Situations
When you’re out shooting, pay close attention to the lighting. Although the presence of clouds might frustrate you, they actually help by acting as natural diffusers that soften the light.
This soft lighting is excellent for capturing detail without harsh shadows.
On sunny days, the strong light can create dynamic and interesting contrasts, but direct sunlight can also lead to overexposed areas or blown-out highlights.
Exposure Equipment You Can Use Besides a Histogram
Aside from the built-in helpers in your camera, there are gadgets that can help. This is gear that often stays behind the scenes but makes a difference in your photos:
- Handheld Light Meters: These devices measure the light in a scene more accurately than in-camera meters, especially in tricky lighting situations.
- 18% Gray Cards: Consider these your cheat sheet for nailing exposure and white balance. They reflect a precise amount of light that ensures your camera’s light meter is spot on.
Post-Processing Tips for Ideal Exposure
Exposure modification doesn’t end in a camera.
Your post-processing workflow is where you fine-tune your images to perfection. By skillfully adjusting settings in Lightroom or Photoshop, you can transform a good photo into a great one. So each pixel reflects your intended exposure value.
How to Adjust Exposure in Lightroom
Here’s how to correct exposure step by step:
- Evaluate the histogram: Make sure the graph is balanced. It should be within range and not skew too far to the left (underexposure) or the right (overexposure).
- Adjust the Exposure Slider: If your photo is too dark, move the exposure slider to the right. For overly bright images, slide it to the left.
- Refine with Highlights and Shadows: Use these sliders to recover details in bright and dark areas without affecting the whole image.
Exposure Correction with Photoshop
For those who need pixel-level control, Photoshop has precise tools and layers. Here’s how to approach exposure corrections:
- Layer Duplication: Start by duplicating the background layer to preserve the original image.
- Use Adjustment Layers: Specifically, the Levels and Curves adjustment layers give you control over shadows, midtones, and highlights.
- Masking: Apply masks to your adjustment layers to target and correct exposure in specific areas without affecting the entire image.
Note: In both Lightroom and Photoshop, working with RAW files is beneficial as they contain more information than JPEGs. This means greater flexibility in adjusting exposure values without losing quality.
FAQs
What is the exposure triangle and how does it affect photo quality?
The exposure triangle is a fundamental concept that integrates three critical settings: aperture, shutter speed, and ISO. Think of it as a trio in a band, with each member contributing to the harmony. Just as each musician’s performance affects the overall sound, each setting influences the amount of light captured, affecting the sharpness, depth, and graininess of your photos.
Can you explain how to use exposure compensation effectively?
Exposure compensation allows you to tweak the camera’s suggested exposure, much like adding a pinch more salt to a dish for that perfect flavor. Use the exposure compensation feature on your camera by adjusting the scale to either let in more light (+ values) or less light (- values) depending on the scene’s lighting.
What are some techniques to ensure correct exposure in every shot?
Imagine wearing sunglasses on a sunny day—they help you see without squinting. Similarly, using the histogram as a visual guide helps you detect if any areas are too bright or too dark. The histogram is a tool that illustrates the tones of your photo, from the darkest black to the brightest white. Aim for a balanced spread across the graph to ensure correct exposure.
How does one consistently achieve correct exposure in various lighting conditions?
Start by understanding your camera’s metering modes: spot, center-weighted, and matrix. These are different methods your camera uses to measure light—with spot being precise, center-weighted favoring the middle, and matrix evaluating the entire scene.
