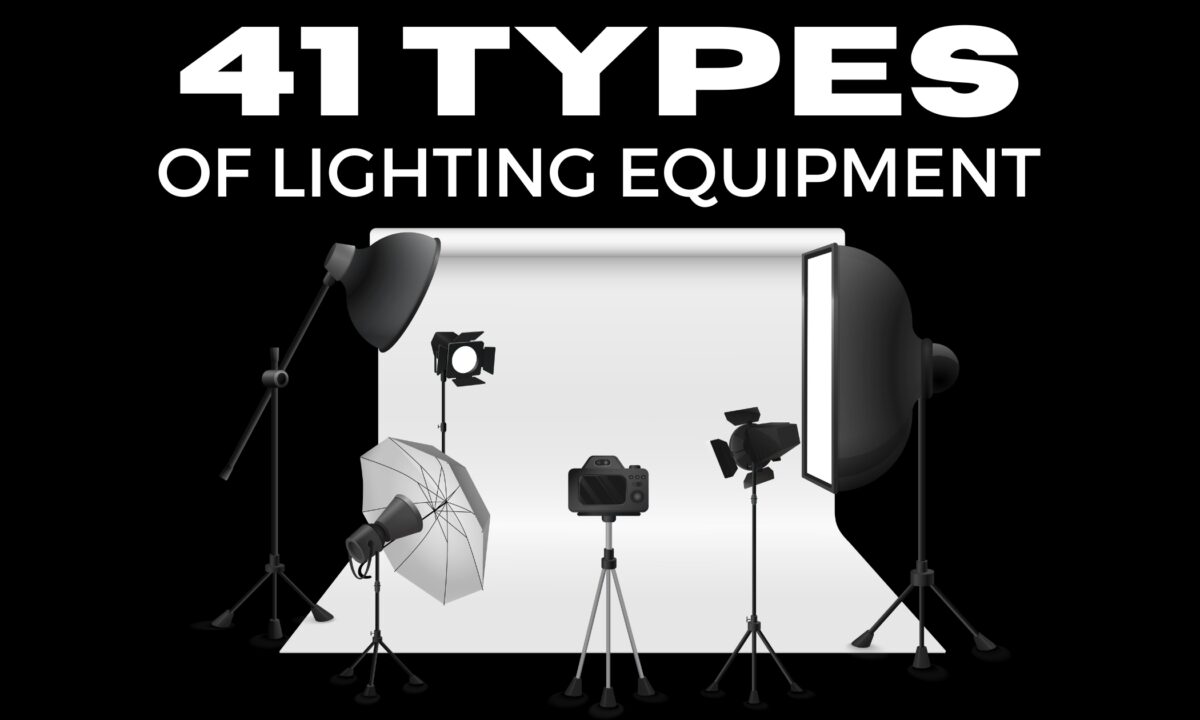
41 Types of Photography Lighting Equipment You Should Know
You ever taken a picture, and the lighting is so spot-on it makes you smile?
Phenomenal, right?
But getting that photo means knowing your types of photography lighting equipment like the back of your hand.
And I’m not just talking about that one-piece of lighting equipment you have and always use.
No, no, I’m talking about that, plus 40 other types of lighting equipment you should totally be familiar with as a photographer.
And if you don’t know a lot about lighting equipment, keep reading. You’re about to learn some new things today.
I’ll introduce you to the must-have lighting gear that’ll help you sculpt, shape, and perfect the light in your photos. So you can turn them from “just okay” to “jaw-droppingly amazing” photos.
And trust me, afterward, your photography will never be the same again.
Let’s get started!
Continuous Light Sources
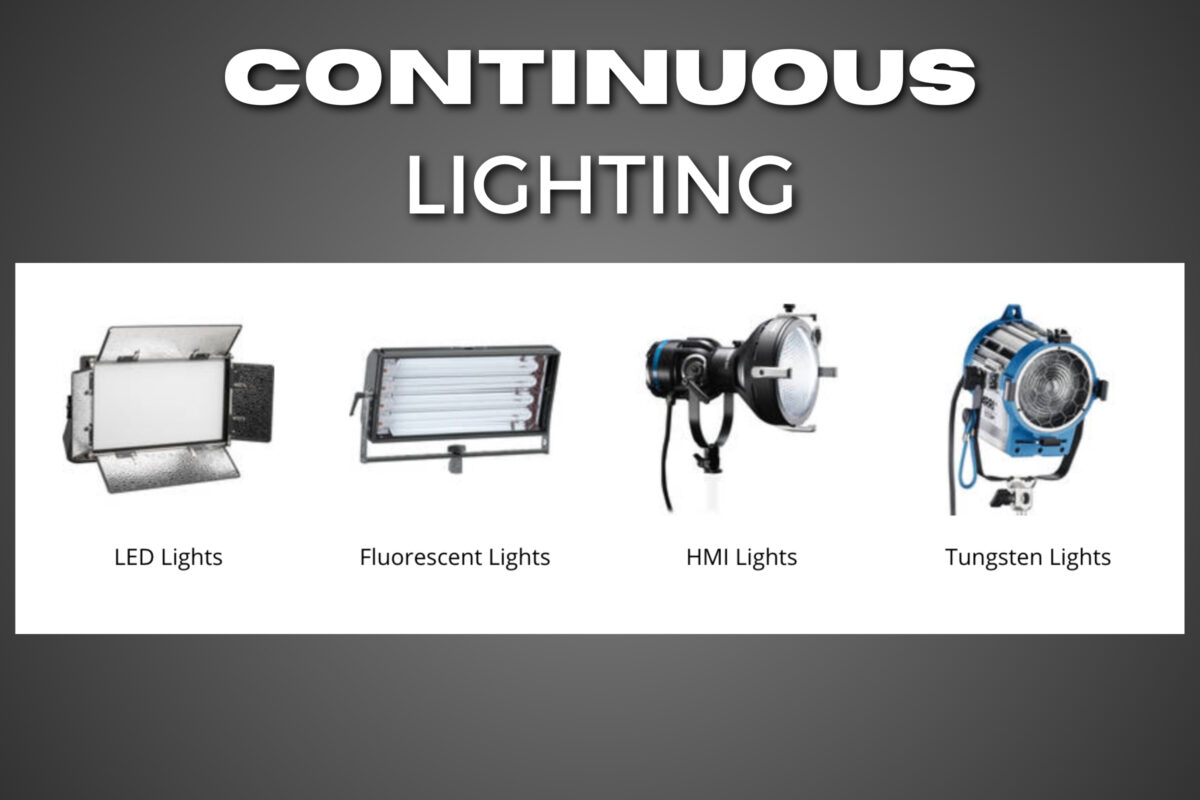
When it comes to photography lighting equipment, continuous light sources are always a popular choice. These lights stay on for the entire duration of your shoot, providing a constant, even light for your subject.
Let’s examine some common types of continuous light sources used in photography.
1. LED Lights
LED lights are a fantastic option for photographers because they are energy-efficient and have long lifespans. They also produce little to no heat, making them safe to touch and comfortable for your subject.
LED lights come in various sizes and configurations, such as panels or light bars, making them versatile for different photography scenarios.
You can also find LED lights with adjustable color temperatures, allowing you to fine-tune the light’s warmth or coolness for your shoot.
2. Tungsten Lights
Tungsten lights are another type of continuous light source often used in photography.
These traditional incandescent bulbs emit a warm, natural-looking light, which can be preferable for portraits and product photography.
However, they do produce more heat and consume more energy compared to LED lights. To get the most out of your tungsten light setup, use modifiers such as softboxes and umbrellas to diffuse and shape the light for your desired effect.
3. Fluorescent Lights
Fluorescent lights are an affordable, energy-efficient option for photography lighting. Much like LED lights, they produce minimal heat and have longer lifespans than tungsten bulbs.
Fluorescent lights often come in the form of round, soft-edged bulbs or compact “lamps” that fit into specialized fixtures. Keep in mind some fluorescent bulbs might have a greenish tint, which can affect your photos’ color balance.
Always choose a high-quality bulb with a high color rendering index (CRI) to minimize color cast issues.
4. Ring Lights
Ring lights are a unique continuous light source designed to create balanced, diffused lighting around your subject.
They’re characterized by their circular shape, with the camera positioned in the center of the ring.
This setup evenly illuminates your subject and removes any harsh shadows, making ring lights ideal for portrait, beauty, and macro photography. Many ring lights are available as LED or fluorescent models.
So you can choose the one that best suits your needs and preferences.
Flash and Strobe Lighting
5. On-Camera Flash
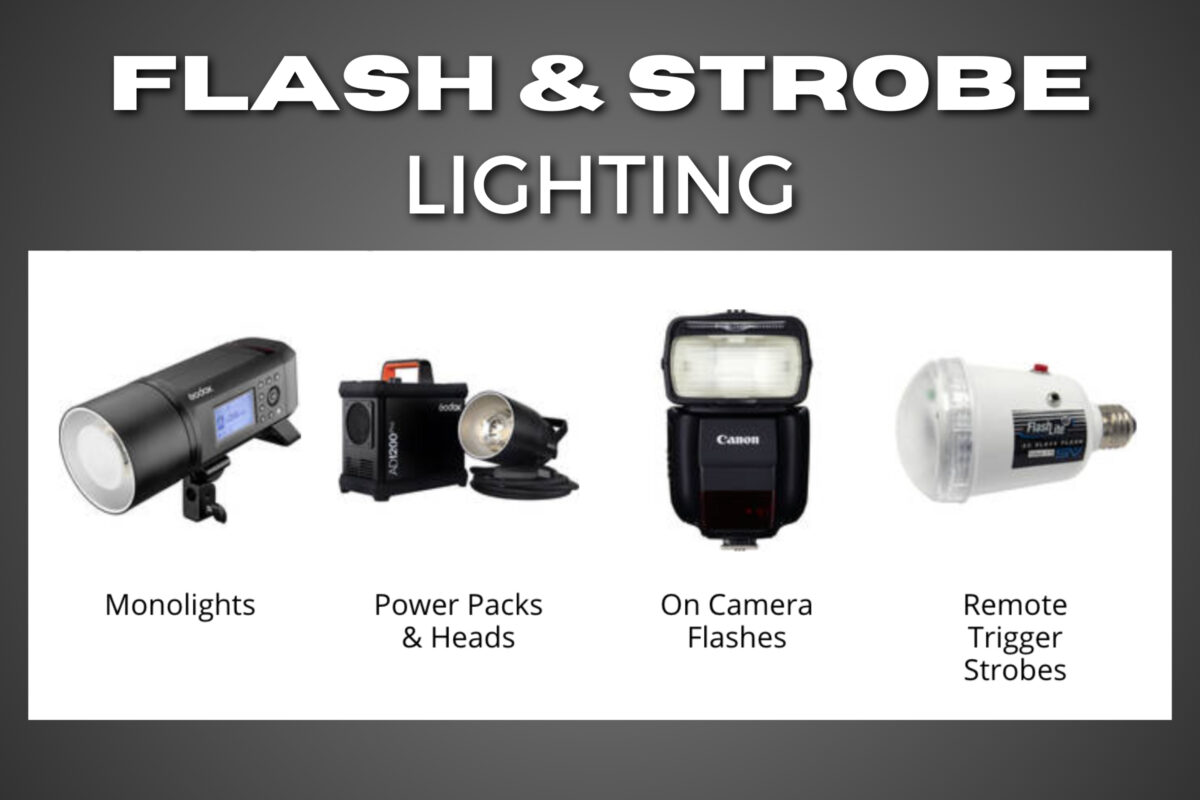
An on-camera flash is a flash unit that’s either built into your camera or attaches to the hot shoe mount on top of it.
This type of flash is handy for filling in shadows, especially when you’re shooting in harsh sunlight or in low-light conditions. Remember, while they’re convenient and easy to use, on-camera flashes can produce harsh light and red-eye effects.
It’s a good idea to use an external flash when possible.
6. Off-Camera Flash
Off-camera flash lighting allows you to place your flash unit away from your camera, which can help produce softer and more natural light.
By moving the flash away from your camera, you can control the direction, intensity, and quality of the light. You’ll need wireless flash triggers or sync cords to trigger the flash remotely.
Off-camera flash is ideal for portraits, events, and creative shots.
7. Studio Strobes
Studio strobes are powerful flash units that dominate professional studio photography.
These light sources offer greater power output compared to speedlights and can be paired with various light modifiers for more control.
Strobes can be TTL (through the lens) or manual.
TTL strobes automatically adjust their power based on your camera’s metering system. Studio strobes can be large and expensive but are well-suited for indoor portrait, fashion, and product photography.
8. Speedlights
Speedlights are compact and portable flash units that can be attached to your camera’s hot shoe or used off-camera.
They usually offer more control than built-in flashes and can be synced with your camera’s settings. Speedlights are great for photographers on-the-go since they’re lightweight and can be used in various lighting scenarios.
And they’re perfect for outdoor photography, events, and situations where portability is essential.
9. Monolights
Monolights are self-contained strobe units that feature a built-in power supply and do not require an external power source.
They’re versatile, portable, and often less cumbersome than traditional studio strobes. Monolights can be controlled manually or through TTL systems.
You can use them in various types of photography, but they’re especially useful when you need to move around a lot or shoot on location.
Light Modifiers
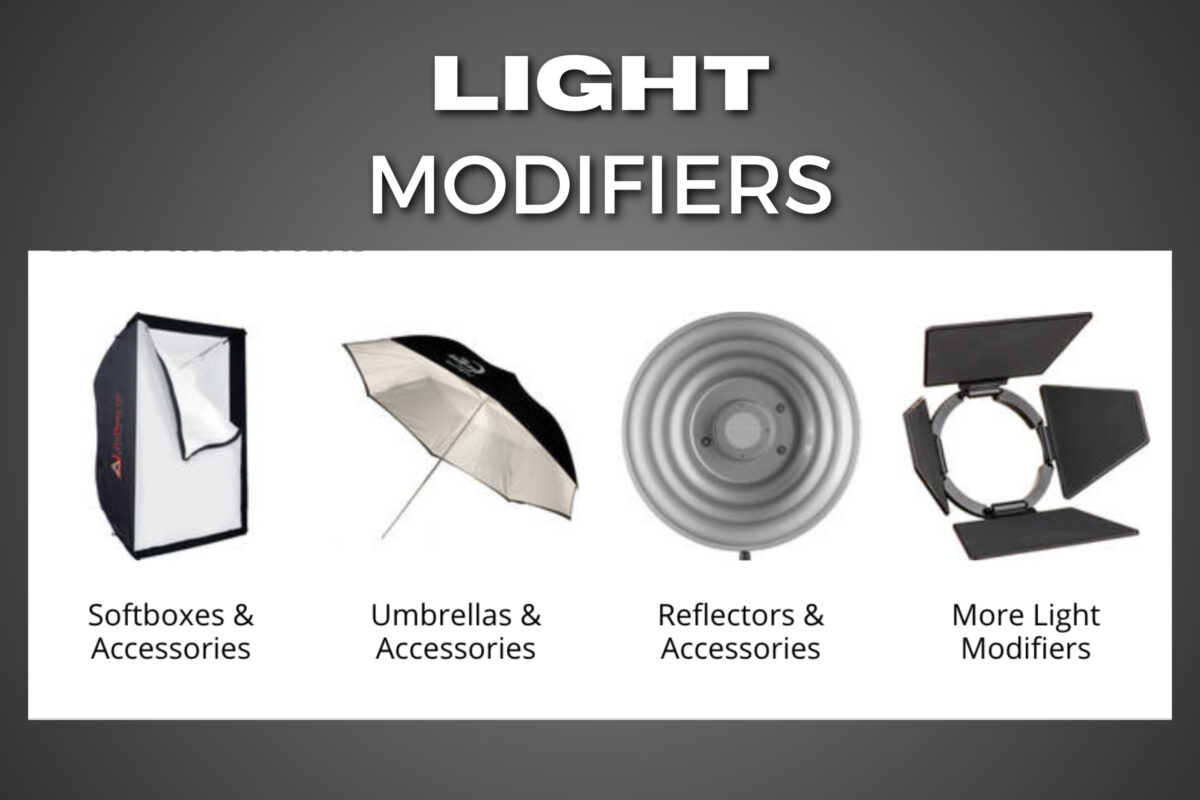
10. Softboxes
Softboxes are popular light modifiers that work by diffusing the light from your flash or continuous light source.
They come in various shapes and sizes, and thanks to their design, they help to create soft, flattering light. By placing a softbox close to your subject, you can achieve even, gentle illumination for your photos.
11. Umbrellas
Umbrellas are another easy-to-use modifier for creating soft light. They come in two main types: shoot-through and reflective.
Shoot-through umbrellas are translucent and allow the light to pass through them. While reflective umbrellas have a silver or gold inner lining to bounce the light back.
Both options help to spread the light over a wide area, making them ideal for portraits.
12. Beauty Dishes
Beauty dishes are perfect when you want a flattering but slightly more directional light. With a central plate that reflects the light back into the dish, they produce a more focused beam than softboxes or umbrellas.
Beauty dishes are great for highlighting specific features of your subject, bringing out texture and detail.
13. Diffusers
Diffusers come in many forms, including those that attach directly to your flash or the ones that fit over larger light sources, like softboxes or octaboxes. These modifiers help to further soften and scatter the light, enhancing the natural, glowing look in your photos.
14. Reflectors
Reflectors, as the name suggests, bounce light back onto your subject. They often come in different colors (silver, gold, white, black), each providing a different effect.
- Silver gives a more specular, cooler light.
- Gold provides a warm, sun-kissed glow.
- White offers a more subtle fill.
- Black blocks light, creating shadows or negative fill.
15. Snoots
A snoot is a cylindrical or cone-shaped modifier that narrows the light beam, creating a spotlight effect. This tool is perfect for isolating a subject or highlighting specific areas, like the face or a piece of jewelry.
16. Grids
Grids are honeycomb-like attachments that control the spread of light. By placing one on your flash or modifier, you can create a tight, direct beam of light, adding dimension and depth to your images.
17. Color Gels
Color gels are transparent, colored sheets that you can attach to your light sources to change the color temperature or add creative flair to your photos. By experimenting with different colors, you can create mood and atmosphere in your images.
18. Gobos
A gobo is a small, stencil-like object that can be used to create patterns or textures with light. By placing a gobo between your light source and the subject, you can project specific shapes or images onto a scene, adding intrigue and depth.
19. Barn Doors
Barn doors are adjustable metal flaps that attach to your light source, allowing you to control the direction and shape of light.
With barn doors, you can focus the light on a specific area or create dramatic shadows and contrast in your photos.
Mounting Gear and Light Stands
20. Light Stands
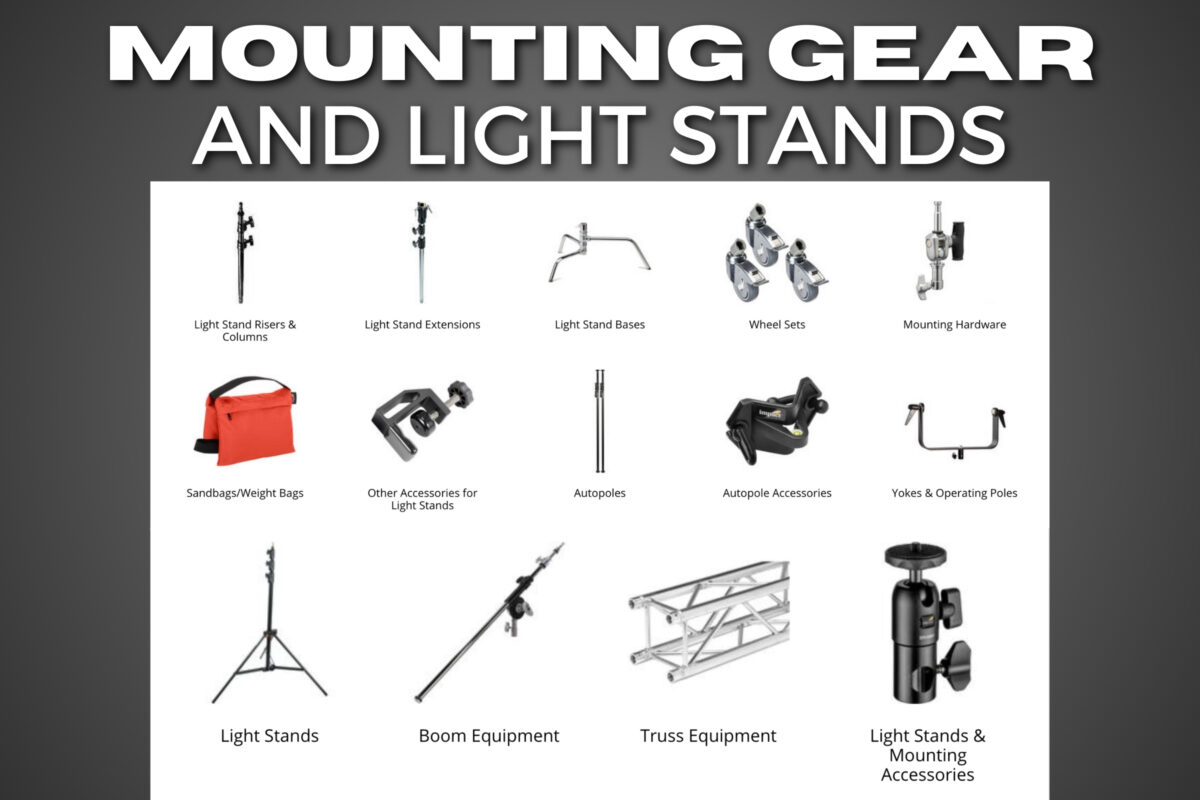
Light stands are important for any photography lighting setup.
They come in various sizes, materials, and load capacities, making it easier for you to choose the perfect one for your needs. You can opt for standard stands for lightweight equipment or heavy-duty stands for larger light fixtures.
21. C-Stands
C-Stands, derived from Century Stands, are durable and versatile tools in your photography lighting gear. They typically have three legs and a more rugged construction, making them ideal for supporting heavier gear.
The adjustable legs on C-Stands make it possible to set them up on uneven surfaces, guaranteeing stability for your lighting equipment.
22. Booms and Arms
Booms and arms extend the reach of your lights, allowing you to position them above, below, or at an angle to your subject.
This flexibility is crucial for achieving specific lighting effects and eliminating shadows. There are various types of booms and arms, such as straight, articulated, or telescopic, which you can choose based on your specific requirements.
23. Brackets
Brackets are used to securely attach your lighting equipment, such as flashes or strobes, to your light stands.
They come in different shapes and sizes, and some are even adjustable to support devices with various dimensions. It’s important to choose the right bracket for both your equipment and stand to ensure a secure and stable setup.
24. Clamps
Clamps are versatile mounting accessories that can secure lights, modifiers, and other equipment to stands or other structures.
They come in different styles, such as spring, screw, and quick-release clamps, each with its unique set of features. Make sure to select the appropriate clamp for your gear, ensuring a strong and secure hold.
25. Wall Mounts
If you’re working in a more permanent setting, like a photography studio, wall mounts provide space-saving solutions for your lighting gear.
They securely attach to walls and create a stable platform to mount lights and modifiers. This setup frees floor space and allows for seamless light positioning without the need for stands.
26. Ceiling Rail Systems
Ceiling rail systems offer even more flexibility for your lighting setup in a studio environment.
These systems consist of rails, brackets, and trolleys that suspend your lights and equipment from the ceiling. With a rail system, you can quickly and easily move your lights around the studio without the need for adjusting stands.
This allows for efficient workflow and versatile lighting configurations.
Triggers & Syncing Devices
When working with photography lighting equipment, it’s important to synchronize your lights with your camera.
In this section, we’ll explore various triggers and syncing devices used to achieve this.
27. Wireless Radio Triggers
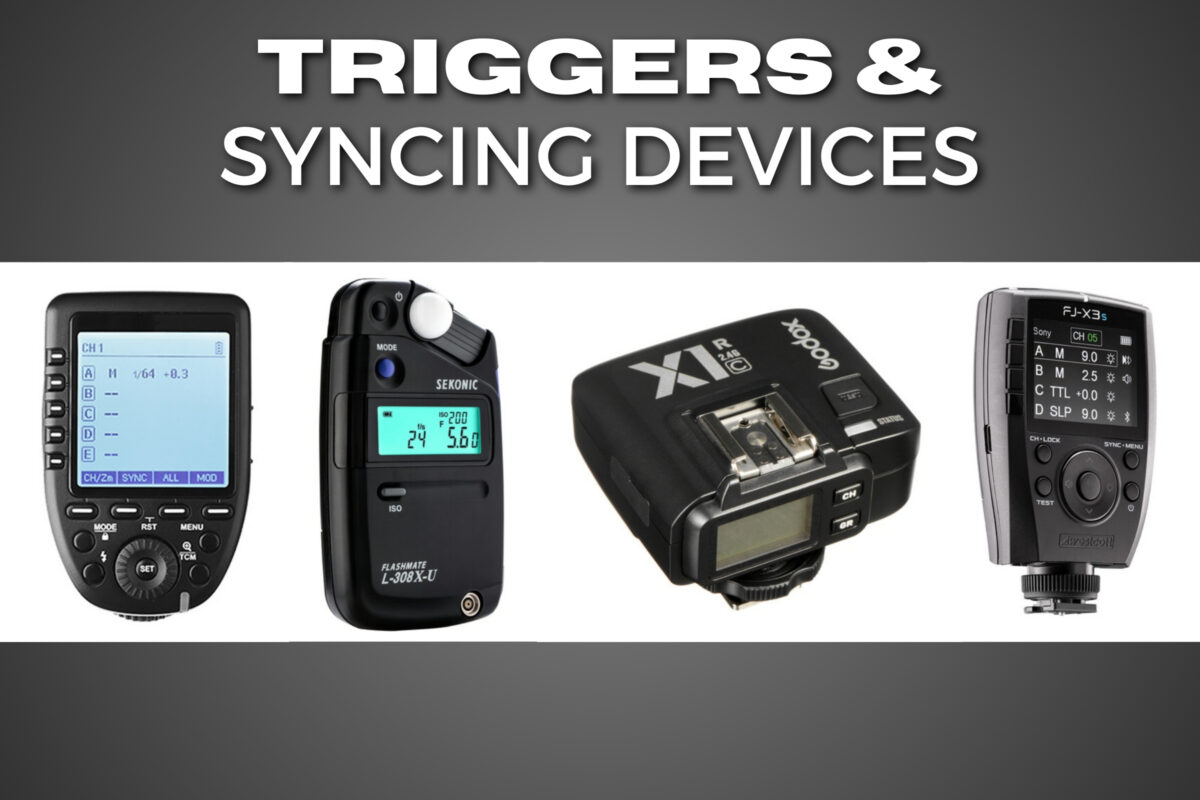
Wireless radio triggers are devices that allow you to wirelessly synchronize your camera with your lights.
They consist of a transmitter, which you attach to your camera, and a receiver that connects to your lighting equipment. When you press the shutter button, the transmitter sends a signal to the receiver, triggering the light.
Wireless radio triggers are popular because they offer flexibility, ease of use, and can work at long distances.
28. Remotes
Remotes, or remote triggers, are similar to wireless radio triggers, but they use a different technology to communicate between your camera and lights.
Remote triggers often come in two types – infrared and radio frequency.
They allow you to trigger your lights without having to physically connect your camera and lighting equipment, providing convenience and flexibility.
29. Sync Cords
Sync cords provide a wired connection between your camera and lighting equipment.
They are typically used when wireless options are not available or when you need a more reliable connection between your camera and lighting gear.
Sync cords connect directly to your camera’s hot shoe or PC sync port and your lighting equipment. While less convenient than wireless options, sync cords can be useful in certain situations.
30. Optical Slaves
Optical slaves are devices that detect the flash of your camera and then trigger the connected lighting equipment.
They work by sensing the light from your camera’s flash and are useful when you need to trigger multiple lights in a studio setup.
But, since they rely on detecting light, they might not work well in bright environments or when there are obstructions between the camera and the optical slave.
31. Infrared Transmitters
Infrared transmitters work similarly to wireless radio triggers, but they use infrared signals to communicate between your camera and lighting equipment.
This type of trigger relies on line-of-sight communication, meaning they can be less reliable when there are obstacles between the transmitter and the receiver. Infrared transmitters are typically not as popular as wireless radio triggers due to their limitations in range and obstruction sensitivity.
Batteries & Power Sources
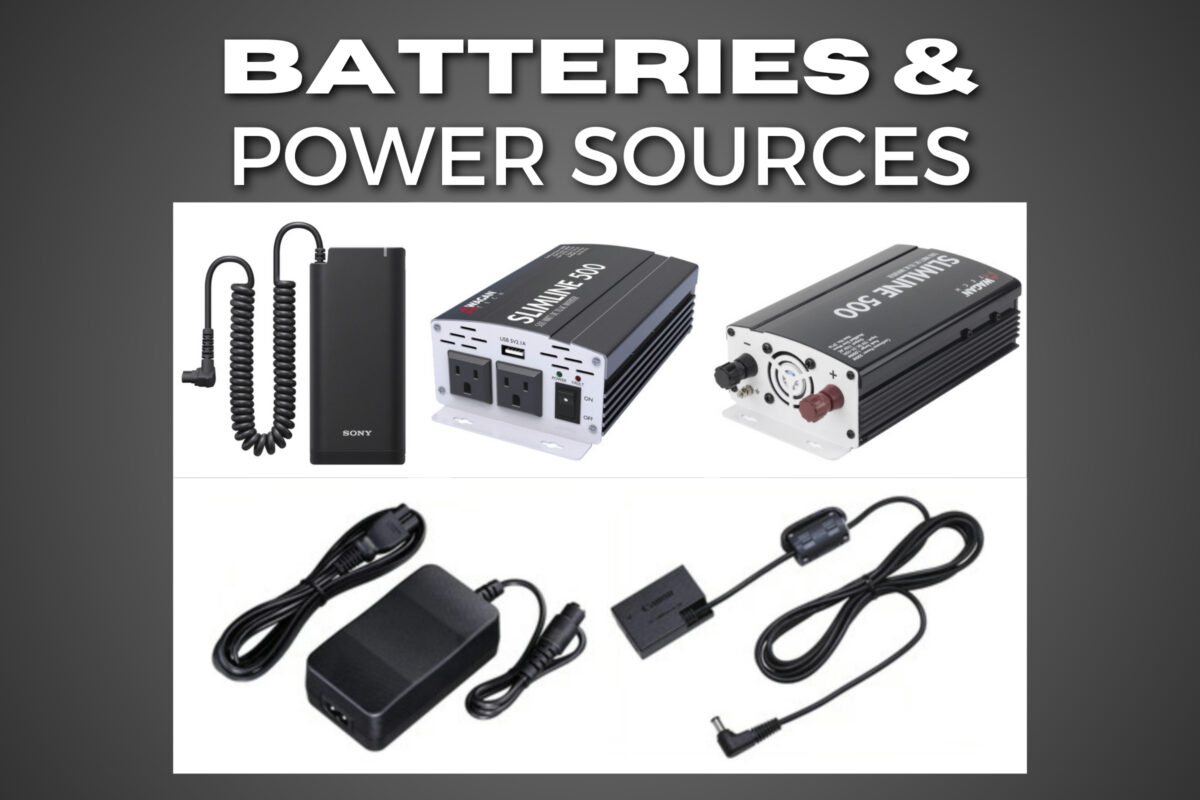
Now, let’s discuss three types of power sources: external battery packs, AC adapters, and power inverters.
32. External Battery Packs
External battery packs are a convenient and portable option for powering your lighting equipment.
They can be used to power strobes and continuous lights, especially when you’re shooting on location without access to a power outlet. These battery packs come in different sizes and capacities, giving you flexibility in selecting the one that best fits your needs.
Some common features include rechargeable lithium-ion technology and compatibility with several brands and types of lighting equipment.
33. AC Adapters
AC adapters are an essential accessory for studio photography, where lighting equipment needs a stable and continuous power supply.
They allow you to plug your strobes or continuous lights directly into a wall outlet, assuring that your lighting setup remains consistent during your shoot.
Keep in mind that not all lighting equipment comes with built-in AC adapters, so you might need to purchase them separately.
Also, pay attention to the voltage requirements for your specific equipment to avoid any electrical issues.
34. Power Inverters
Power inverters can be an invaluable addition to your photography lighting toolbox, especially if you frequently shoot on location.
They convert the direct current (DC) output from a vehicle’s battery or an external battery pack into alternating current (AC) required by most lighting equipment.
This allows you to use your strobes or continuous lights even when you don’t have access to a power outlet.
Regardless, it’s important to make sure your power inverter has enough wattage to support your lighting equipment.
You should also be aware of any potential voltage fluctuations to protect your gear from damage.
Protective Gear & Accessories
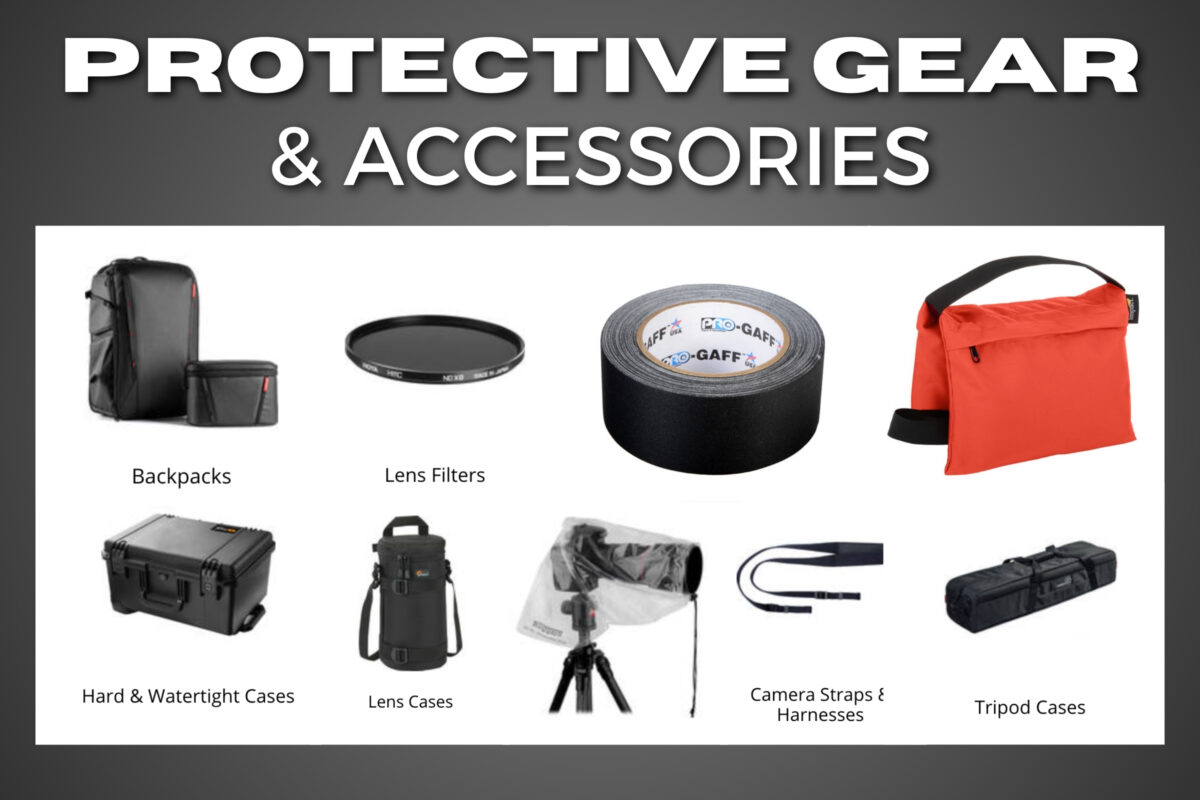
35. Cases & Bags
It’s essential to protect your expensive photography lighting equipment, and a great place to start is with cases and bags designed specifically for this purpose.
These bags provide storage, organization, and transportation options for your gear, such as continuous lights, strobes, modifiers, and more.
Always look for options with padding and compartments to ensure your equipment is secure and safe during transport.
36. Gaffer Tape
Never underestimate the power of gaffer tape in your photography setup.
This versatile, residue-free tape is excellent for securing cables, adjusting light modifiers, or even making quick fixes to your gear. It’s always a good idea to keep a roll in your photography bag, as it can save the day in unexpected situations.
37. Sandbags
Safety is a crucial aspect when handling photography lighting equipment.
Sandbags are used to secure light stands, preventing them from tipping over and damaging gear or injuring people nearby.
Make sure to use sandbags that are appropriate for the weight of your equipment.
38. Light Meter
A light meter is a handy tool for photographers, especially when dealing with outdoor or complex lighting conditions.
This device measures the amount of light and helps set the proper exposure, ensuring you’ll get a well-exposed image with your lighting setup.
And including a light meter in your equipment will give you more control over your photography and consistent results.
39. Color Checker
The color checker is an essential accessory for color calibration and ensuring accurate colors in your photographs.
It’s a chart with standardized color patches that, when photographed under the same lighting conditions as your subject, helps you correct color imbalances in post-production.
Adding one of these to your equipment bag will improve the overall quality of your work.
40. Extension Cords and Adapters
When setting up your photography lighting equipment, you may find that you need longer cables or different power adapters.
Having a variety of extension cords and adapters on hand will guarantee that you can work seamlessly and without limitations in any location.
41. Clamps and Clips
Finally, let’s not forget about clamps and clips. They’re must-have accessories for any photographer.
They help secure backdrops, cables, or modifiers in place and can also assist in improvising lighting setups. And ensure your photography lighting equipment stays safe and organized while shooting.
FAQs About Types of Photography Lighting Equipment
How do different lighting equipments affect a photo?
Different lighting equipment can drastically affect the mood and appearance of a photo. Continuous lights provide a constant source of light, making it easier to see the effects in real-time. Strobes create a sudden burst of light, which is great for capturing fast-moving subjects or freezing motion. Modifiers help control and shape the light, allowing you to create soft shadows, sharp lines, or diffused brightness. Using a combination of these tools allows you to achieve a desired mood or effect in your photos.
Which studio lighting setups are best for various photography styles?
The best lighting setups depend on the specific photography style you are aiming for. For portrait photography, you might use a combination of key lighting, fill lighting, and backlighting to create flattering, well-lit compositions. Product photography often requires softbox lighting to minimize reflections and evenly illuminate the subject. You can experiment with different setups, like butterfly, split, or Rembrandt lighting, to find the most suitable setup for your photography goals.
What are the key techniques for using light in photography?
In photography, there are several key techniques to effectively use light:
- Understand and manage the color temperature to achieve the desired mood or atmosphere.
- Control the direction of light to create various effects, such as shadows or highlights.
- Manipulate light intensity to balance the exposure and achieve an optimal level of brightness.
- Use diffusers and reflectors to soften or redirect light, controlling contrast and detail.
- Experiment with different types of light sources and modifiers to achieve a specific look or style.
How can I control light in a studio setup?
Controlling light in a studio setup involves adjusting the light sources, positioning the modifiers, and experimenting with different techniques. Start by placing your main light source, usually a key light, at an angle relative to your subject. You can add additional lights, such as fill lights and backlights, to achieve desired effects. Use modifiers like softboxes, umbrellas, or grids to control the quality, direction, and diffusion of light. Finally, experiment with different distances and angles to achieve the optimal lighting setup for your shot.
What are the main differences between lighting equipment for photography and videography?
The main difference between lighting equipment for photography and videography is the nature of the light source. Photography lighting often relies on strobes or flashes for quick bursts of light, while videography requires continuous lighting to provide a steady, consistent light source throughout the entire video. Some tools, like LEDs or softboxes, can be used interchangeably for both photography and videography. However, keep in mind that videography lighting requires more attention to heat management, as continuous lights can generate more heat than strobes.
