How to Revisit and Reshoot Photos as a New Photographer
Alright, so you’re new to the photography game.
You’ve been out there, camera in hand, taking photos. But when you look back at your shots, something’s off.
They don’t pop like those epic images you see online. It’s frustrating.
You start doubting your skills, thinking maybe this isn’t for you. But hold up, that’s not the end of the story. Because here’s the deal: photography is a journey, not a one-shot wonder.
It’s about growth, learning, and, yeah, a bit of struggle.
Your early photos may not be your best work- and that’s okay! Consider them stepping stones. The real success comes from revisiting and reshooting those same scenes. It’s like a do-over but with new skills and fresh eyes.
And that’s what I’ve got for you in this killer article.
It’s a guide on revisiting and reshooting your early photos, packed with tips and honest talk about growing as a photographer. Dig into this and see how your ‘not-so-great’ pictures can become great.
Here’s Exactly How to Revisit and Reshoot Photos:
- Return to a location at a different time of day or year. The change in lighting and conditions can allow you to capture an entirely new perspective. For example, reshooting a landscape at sunrise instead of midday.
- Use new gear or techniques that you’ve learned. Trying a longer focal length lens or practicing a compositional technique like leading lines can breathe new life into a familiar subject or location.
- Focus on improving a specific aspect of the original photo, like the exposure, focus, or framing. And have a clear goal in mind.
- Move around and find new vantage points or angles. Changing your physical position relative to the subject can dramatically transform an image.
- Scout for fresh subjects or compositions within the same environment. There are often details you missed the first time around.
- Review the settings and EXIF data of your original shot to recreate key parameters like aperture, shutter speed, and ISO.
- Leverage the post-processing skills you’ve gained since the first photo was taken to enhance the reshoot.
- Shoot the subject at a different time of day when the lighting is optimal, such as during golden hour.
- Experiment with creative techniques like panning, zooming, or intentional camera movement to add motion.
- Ask a fellow photographer to reshoot the image to get a different perspective.
- If working with models, try directing them into new poses or expressions.
- Consider how weather and seasonal changes may offer new moods or conditions to capture.
- Use the reshoot as practice for mastering manual camera settings and learning how they affect your photos.
Equipment Essentials
When heading out to reshoot your photos, having the right gear can make all the difference. Let’s talk about what equipment can help you capture those stunning images you’re after.
Choosing the Right Camera and Lenses
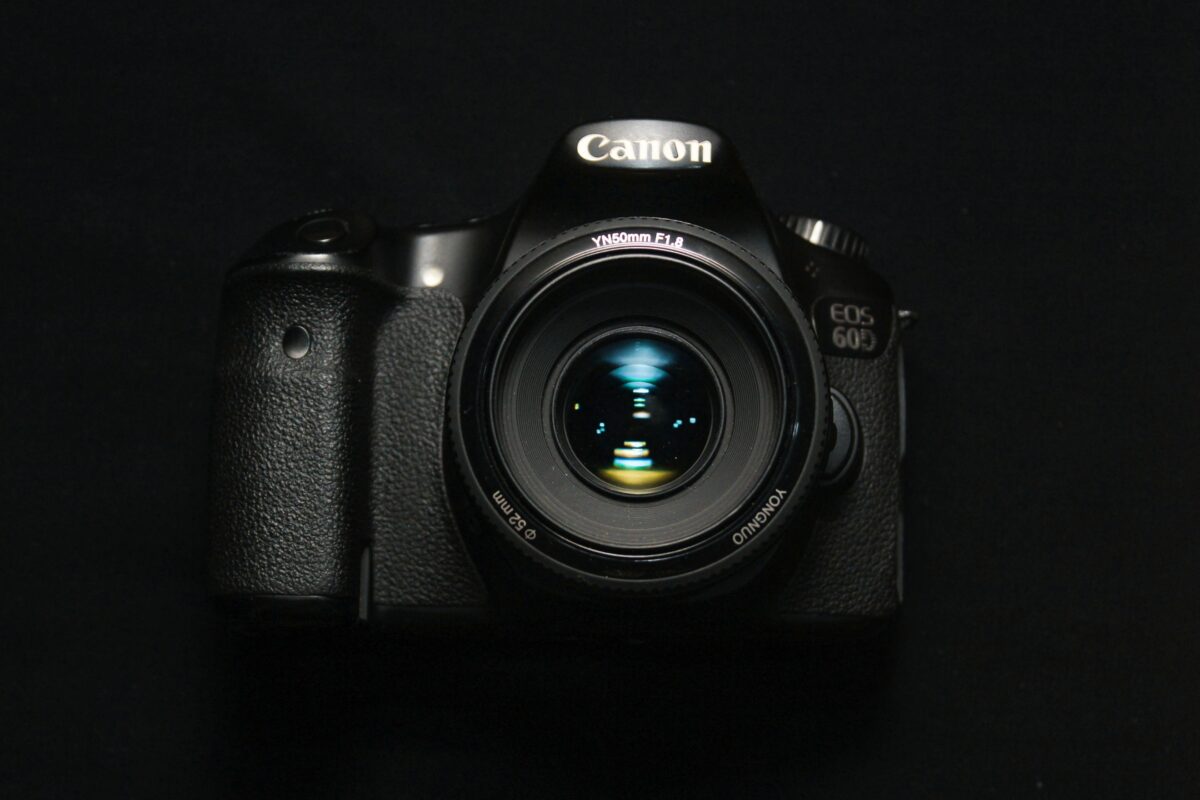
Your camera is your paintbrush. It’s your #1 tool.
Whether you’re sticking with a trusty DSLR, mirrorless, or even a high-quality smartphone camera, make sure it suits your photography needs.
Lenses, on the other hand, all offer you a different angle and perspective.
- DSLR Cameras: Excellent for both beginners and pros due to their versatility.
- Mirrorless Cameras: Lighter, more compact, but equally powerful.
- Smartphone Cameras: Convenient for on-the-go photography without the bulk.
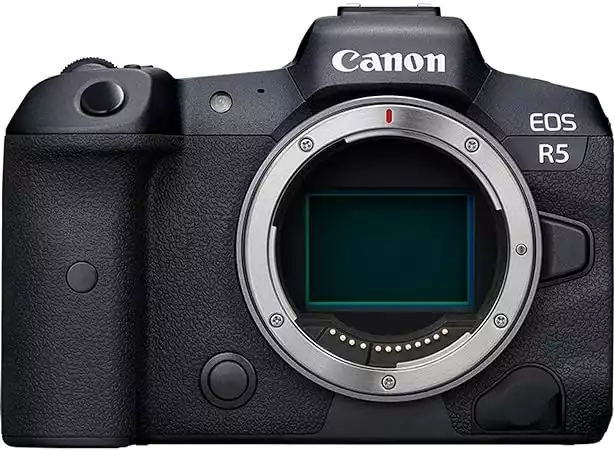
The camera we use the most. It has advanced features like a high-resolution 45-megapixel sensor and 8K video capabilities—a game-changer for those in need of a professional camera.
For lenses, think about the types of photos you aim to improve:
- Wide Angle Lens: Perfect for capturing vast landscapes.
- Telephoto Lens: Ideal for zooming in on distant subjects.
- Prime Lens: Known for sharpness and a wide aperture, superb for portraits.
Must-Have Shooting Accessories
Just as a painter needs more than a brush to create art, you need more than a camera to shoot photos. Accessories are there to support your technique and protect your tools.
Tripods: These are needed for stability, especially during long exposures or time lapses. They make sure your camera stays still so you can get crisp, clear shots every time.
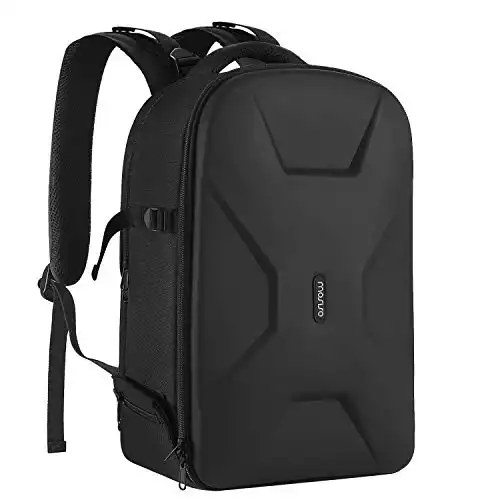
Camera Bags: Bags are like armor for your gear. A good camera bag will also protect your equipment from the elements.
Memory Cards: Make sure you have enough memory cards to store all the photos you plan to take. A spare card has saved me a bunch of different times!
| Accessory | Purpose |
|---|---|
| Tripod | Stability for sharp images |
| Camera Bag | Protection for your camera and lenses |
| Memory Cards | Backup storage for uninterrupted shooting sessions |
Planning a Reshoot
When revisiting your portfolio for a reshoot, analyze your previous images and meticulously organize the logistics of recapturing those moments.
This preparation can significantly improve the quality of your photos.
Assessing Your Previous Work
Now, let’s take a trip down memory lane with your old photos and scrutinize each shot. Ask yourself:
- What specifically do you like and dislike about each image?
- How has your perspective or focus changed since you took the original pictures?
Create a simple table like the one below to help sort your thoughts:
| Original Photo | Likes | Dislikes | Changes in Perspective |
|---|---|---|---|
| Photo 1 | Good lighting | Poor composition | Want to capture from a different angle |
| Photo 2 | Interesting subject | Overexposed | Focus on better exposure settings |
Preparing for the Shoot: Time and Location
Once you’ve reflected on your past work, it’s time to plan your reshoot. Think about the following:
- Time: What time of day did you originally shoot the photo? Consider how the light will change and whether a different time might offer a fresh look.
- Location: Can you return to the same spot? If not, look for similar locales that could replicate the setting.
Remember, this isn’t just about taking the same picture again. It’s about capturing your growth as a photographer. Use your developing skills to breathe new life into those familiar scenes.
Shooting Techniques for Various Subjects
In photography, each subject demands its own set of techniques to create a great photo.
Capturing People and Portraits
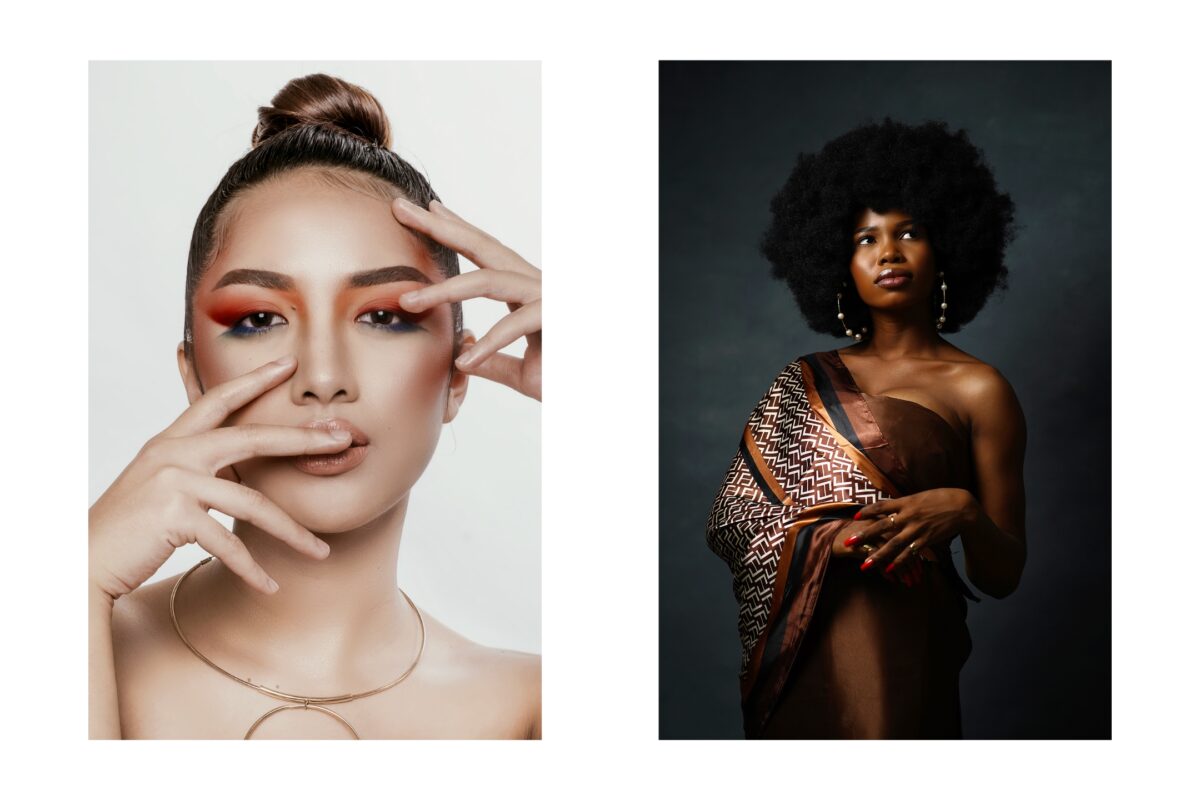
When shooting portraits, your goal is to make the person in front of your lens comfortable while taking their picture.
Encourage natural poses, and pay attention to the lighting to enhance textures and shapes on the face. Also, try different angles to provide a different perspective. Like shooting from their eye level to create a connection with the viewer.
Here are two more key pointers:
- Engage Your Subject: Use open-ended questions to elicit genuine expressions. Storytelling works wonders; share a story and capture the moment they react.
- Focus on the Eyes: Make sure the eyes are sharp as they are often the focal point of a portrait.
Landscape and Nature Photography

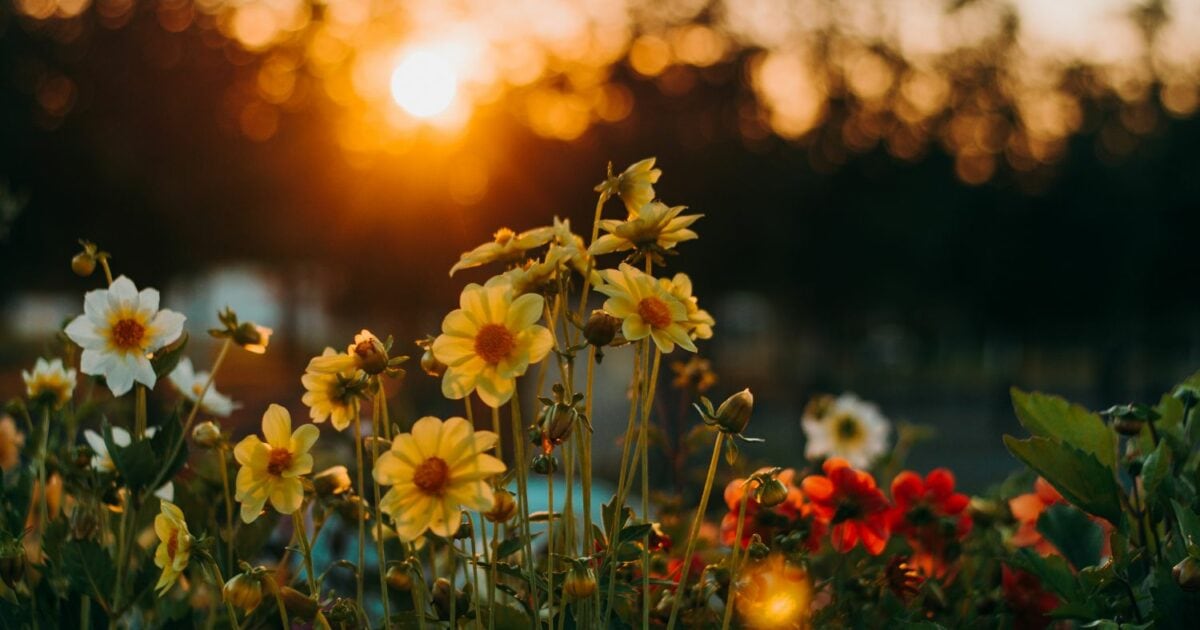
Nature photography is about capturing the textures and shapes within the landscape, reflecting the beauty and vastness of the natural world.
With landscapes, the light changes the scene by the hour. This offers new perspectives on the same location. Here’s what to keep in mind:
- Golden Hour Magic: Shoot during the golden hour, when the sun is low, to get warm lighting that accentuates features of the landscape.
- Composition and Scale: Use natural lines to lead the eye through the image and include a point of reference, like a person or a tree, to illustrate scale.
In-Depth Image Analysis
Now, let’s take a closer look at your focus and composition, the cornerstones of a standout photograph.
From Good to Great: Refining Your Focus
Your initial image may have decent focus, but sharpness is important for impact.
First, determine if your subject is in crisp focus. Even a slightly soft image can detract from its power. If you find softness, consider using a tripod or increasing shutter speed.
Here’s how you can fix the focus in your photographs:
- Check the Eyes: In portraits, the eyes should be the focal point. If they’re even slightly blurry, the emotional connection can be lost.
- Use Focus Peaking Tools: Some cameras offer tools to ensure focus precision — use them.
- Review: Always check your image on the playback screen. Zoom in and assess the focus before you leave the scene.
Evaluating and Improving Composition
Composition is the arrangement of elements within your frame that guides the viewer’s eye.
Think of your image as a visual story. Is every element contributing to it or distracting from it? If not, use the rule of thirds as a starting point.
Imagine your image is divided into nine equal parts with two equally spaced horizontal and vertical lines. Place the most important elements along these lines or their intersections.
Here’s a step-by-step plan to get better with your composition:
- Analyze Shapes and Lines: Look for the geometric elements in your photograph. Do they lead towards or away from your subject?
- Consider Colors and Textures: Evaluate how the colors and textures in the image interact. Do they provide contrast and depth?
- Experiment with Angles: The angle you choose can dramatically alter your image’s story. A high angle can make your subject seem small or insignificant, whereas a low angle can confer power and magnitude.
Creative Photography and Reshoots
Revisiting a location or subject for a reshoot offers opportunities for creative photography. By altering your approach, you can transform an ordinary photo into a standout piece.
Experimenting with Angles and Perspectives
Think of photography as storytelling, where each angle offers a new chapter.
You’re not just documenting.
You’re expressing a unique viewpoint. Start by shooting from high above or down low—each position can dramatically alter the narrative of your photo. For example:
- High Angles: Capture a cityscape with its sprawling urban energy.
- Low Angles: Emphasize the gritty textures of a cobblestone street or the intricate patterns of fallen leaves in a landscape.
Adding in Artistic Elements
Inviting creativity into your reshoots isn’t just about capturing what’s in front of you. It’s about what you can invoke from your environment.
- Abstract Art: Don’t shy away from taking deliberately blurry or grainy photos to create an abstract quality, infusing mystery into your shots.
- Double Exposure: Play with double exposure to juxtapose reflections with real-life subjects, crafting an ethereal blend that tells a story of duality.
You can also:
- Colors: Be bold with your color choices by using filters, either in-camera or in post-production, to turn a familiar scene into a canvas rich with new hues and contrasts.
- Textures: Look for patterns and textures, such as the peeling paint on an urban wall or the smooth symmetry of a leaf’s veins, to add depth and dimension to your compositions.
Post-Processing Tips for Great Photos
In the world of digital photography, the work doesn’t end when you press the shutter button.
Post-processing is where your images can truly come to life. So, let’s explore how you can get that next level of image quality.
Editing Techniques to Enhance Images
Imagine you have a photo where the sky isn’t as dramatic as you’d hoped.
This is where editing techniques come into play to amplify your images. By tweaking contrast, for example, you can make those white clouds pop against the blue, adding depth and drama to the scene.
Similarly, adjusting brightness and shadows can bring out hidden details, turning a flat image into one that has a tangible texture you can almost feel.
- Contrast: Increase to make elements distinct; decrease to soften.
- Saturation: Enhance colors for vibrancy or tone them down for a moody effect.
- Textures: Sharpen to reveal detail or soften to add a dream-like quality.
Also, think about the direction of light in your photo. These can guide shadows and highlights, giving your image a sense of three-dimensional shape and form.
It’s like sculpting with light!
Using Post-Processing Tools: Lightroom and Photoshop

Lightroom and Photoshop are your creative partners when you’re ready to refine your photos into a final piece of art.
Organization in Lightroom helps you keep track of your edits through nondestructive adjustment layers. This allows you to experiment without fear, knowing the original image remains untouched.
| Lightroom Tool | Purpose |
|---|---|
| Graduated Filter | Apply smooth transitions of effects |
| Radial Filter | Highlight a focal point with precision |
| Adjustment Brush | Paint adjustments onto specific areas |
Switch over to Photoshop when you need precision and power to edit at a pixel level.
It’s where more complex tasks like removing distracting elements or compositing different images together become not just possible but relatively straightforward.
And the clone stamp tool can be your best friend for cleaning up unwanted clutter.
- Layers and Masks: Gain pinpoint control over which parts of your image are affected by your edits.
- Curves: Maneuver the tonality of your image with deft precision, affecting overall or selective ranges of brightness.
Both Lightroom and Photoshop will help make your photos look really good, especially if your intention is storytelling with your photos. You can use these tools to make sure people focus on the important parts of your photo and feel the same emotions you did when you took the picture.
Frequently Asked Questions
What steps should I take to refine my photography techniques?
Refining your photography techniques involves practicing fundamental skills, such as composition and lighting. Imagine positioning elements in a frame like arranging furniture in a room, finding the perfect balance and structure. Additionally, analyze and implement feedback from more experienced photographers to further polish your style.
How can I critique my old photographs to learn and improve?
Critiquing your old photographs starts with a clear eye and honest assessment. Pinpoint aspects like composition discrepancies or exposure issues. It’s akin to reading an old diary and learning from past experiences—acknowledge the flaws but also recognize the growth.
What are some effective ways to approach a photo reshoot?
An effective reshoot begins with identifying what you’d like to enhance from the original. Tackle it with a fresh perspective; it’s like rereading a favorite book and discovering nuances you overlooked before. Experiment with new angles, lighting, or compositions to change the story your photo tells.
