How to Learn and Improve From Mistakes as a Photographer
What if, instead of getting discouraged, we viewed the mistakes we made as a photographer as an opportunity to improve?
Because the truth is, a lot of the best photographers don’t avoid mistakes.
They embrace them as chances to learn.
Each bad photo can teach us something new about technique, lighting, editing, and more. We just have to be willing to look at our mistakes with an open mind.
That’s why I’ll walk you through common photography mistakes.
Explain why they happen. And give you some actionable tips to help you grow.
You’ll learn how to spot errors in your work, decode what went wrong, and use that knowledge to improve your photography. Mistakes will become an asset instead of a source of frustration.
So don’t worry about taking bad photos.
Learn from them!
The Importance of Learning from Mistakes as a Photographer
Making errors is an important part of your growth in digital photography. But each mistake is an opportunity to improve your photography skills.
Develop a Growth Mindset When It Comes to Photography
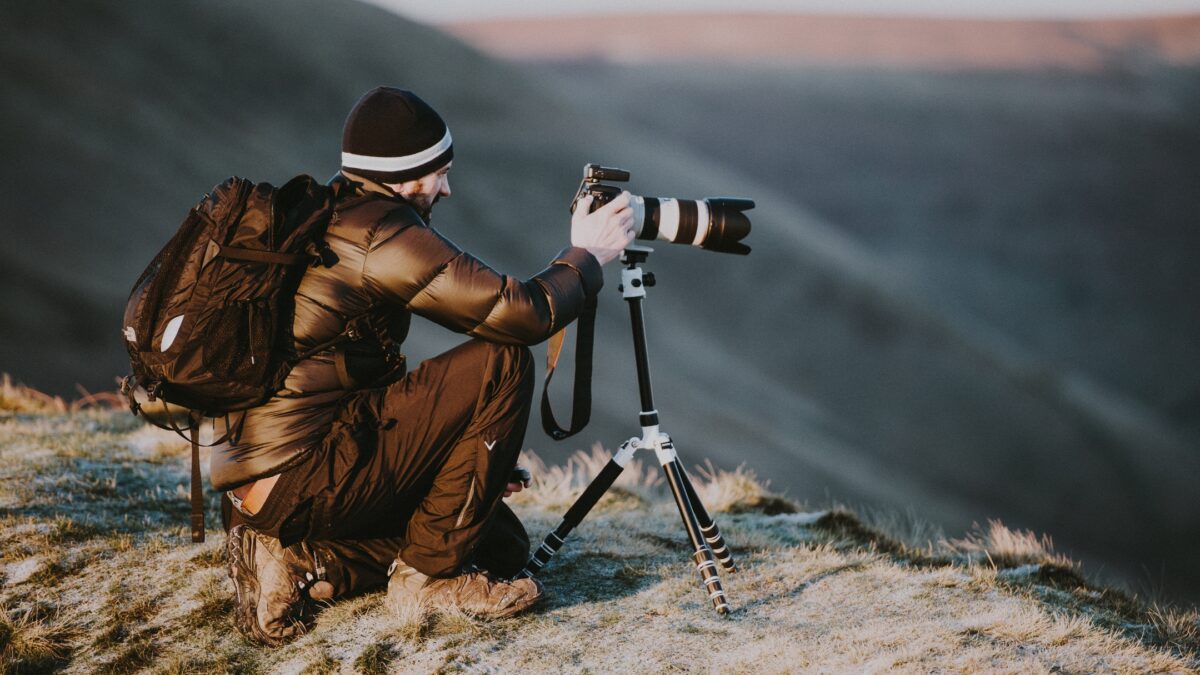
Embrace the belief that your abilities can be developed through dedication and hard work.
As you handle your camera, remember that each incorrect setting or failed composition is not a dead end but a step toward mastering your craft.
Shift your focus from fearing failure to embracing the valuable lessons it offers you as a beginner or experienced photographer.
Experiment and Try New Techniques
Photography thrives on creativity, which often means experimenting with new techniques or approaches.
Don’t hesitate to try various shooting angles, lighting conditions, or post-processing styles. Each experiment, whether successful or not, will contribute to a comprehensive skill set and may lead to a style that’s uniquely yours.
Analyze and Reflect on Photoshoots That Didn’t Turn Out Well

After a photoshoot, take time to analyze and reflect on the results, especially if they didn’t meet your expectations.
Reviewing what didn’t work helps you pinpoint areas for improvement.
Consider factors like composition, lighting, and timing, and ask yourself how each element can be adjusted in future shoots. This reflective practice is needed to turn your less-than-ideal outcomes into future successes.
Common Mistakes a Lot of Photographers Make
Here are some common mistakes you should avoid in your photography.
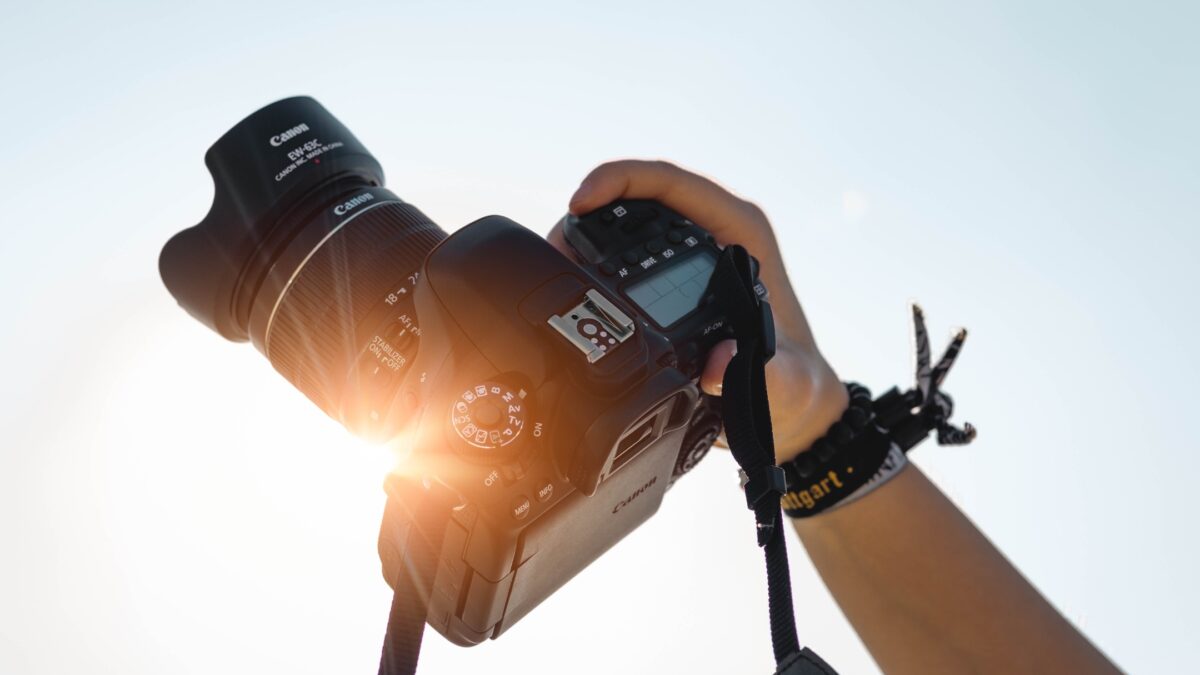
Camera Setting Problems
Imagine you’re a chef.
Just as you need the right heat to cook a meal to perfection, you need the right camera settings to take a great photograph. Many photographers make the common mistake of sticking with Auto Mode during their photo sessions.
But you need to learn and know as much as you can about Shutter Speed, Aperture, and ISO settings.
So instead of using Auto Mode for everything, flip the switch to Manual or Semiautomatic modes like Aperture Priority or Shutter Priority to become accustomed to these settings.
Avoiding Overediting in Post-Processing
Post-processing is like a photographer’s fairy godmother—it can transform a pumpkin into a carriage. But what if your carriage is overly bright with unnatural colors?
That’s overediting.
And you should not be overediting your photos. We want to keep our photo looking real.
Here’s a quick checklist for post-processing:
- Histogram check: Ensure a balanced exposure.
- Keep colors true to life: Merely enhance, don’t replace.
- Sharpen, but don’t turn your picture into a crispy chip.
- Remember, subtlety is your friend. Think of editing like adding salt to taste. You can always add more, but you can’t take it away.
Poor Composition and Framing
Poor composition and framing is another common mistake you should aim to avoid as a photographer.
If your composition is off, your photo will feel off too. No matter how interesting the subject. So, play around with different angles and perspectives. Don’t just stick to what’s straight in front of you.
And you’ll want to keep the rule of thirds, leading lines, and symmetry in mind here.
A Lack of Attention to Detail
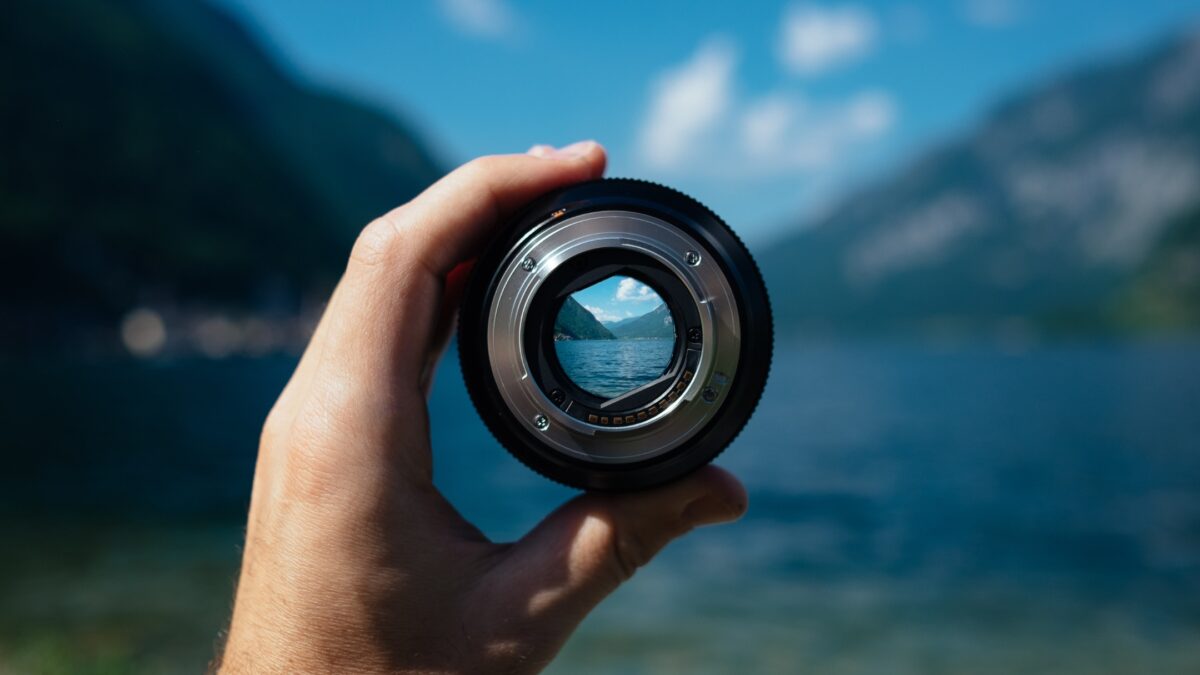
You’ve got to have an eagle eye for this one.
Look for the little things like unwanted clutter in the frame or odd textures that throw off the viewer. Pay attention to the harmony of colors and tones. They should tell a story without screaming for unwanted attention.
And don’t forget to check your focus!
How to Learn from Mistakes and Improve as a Photographer
1. Review and Critique Your Own Work
Go through your images and be a critic.
Examine each photo for issues like camera shake or incorrect use of AWB (Auto White Balance). Ask yourself if the lens and manual focus settings were optimal and whether your post-processing brought out the best in your images.
2. Seek Feedback from Others
Don’t shy away from asking for feedback.
Instead, be bold and share your work with friends or photography communities. You’ll get different perspectives that might point out something you’ve never noticed.
3. Learn from Other Photographers’ Mistakes
There’s plenty you can learn without making all the mistakes yourself.
Do a search on Google or YouTube for photography tips and stories about other photographers’ mistakes.
It’s like taking a shortcut to where you want to go.
Embrace Software and Use It To Your Advantage
Modern technology and software give you a second chance to learn from your mistakes.
And Adobe Photoshop and Lightroom aren’t just for polishing images.
They’re classrooms.
You can use them to spot what went wrong with exposure or composition and use sliders to correct the issues. It’s hands-on learning that hammers in what settings you might need next time.
And as we mentioned earlier, your camera’s autofocus feature can sometimes be your enemy rather than your friend.
Maybe it’s choosing the wrong subject or just not locking on as sharply as you’d like. By reviewing your photos on a larger screen, you can pick up on this.
Then with this information in hand, you can tweak your auto-focus settings or practice manual focusing for better control.
Balance Your Artistic Vision With The Technical Aspect of Photography
A lot of the time, photography is a balancing act.
You have to balance between the technical stuff with your artistic side.
It’s tempting to get caught up in the exactness of camera settings or mastering manual focus. But remember, these are just tools to execute your vision, not the end goal.
Good and done is better than being perfect when it comes to photography.
The real magic happens when your technical skills align with the creativity only you can bring to your photos.
While mastering the mechanics of your camera is necessary, it’s your unique perspective that’ll set your work apart.
Think of technical skills as the grammar in the language of photography. Yes, it’s important to know the rules. But people will remember the story you tell through your images better.
So, don’t be afraid to experiment and, yes, make mistakes. Every out-of-focus shot or poorly exposed frame can be a lesson rather than a failure.
Embrace the quirks and ‘flaws’ that occasionally emerge in your work.
Sometimes a slight blur or an unconventional composition can add a raw emotion to your images that perfection could never get you. Learn to recognize when such ‘mistakes’ play in favor of your artistic vision and when they detract.
Then use those insights to refine your unique photographic voice.
How to Practice and Apply The Lessons You’ve Learned
After recognizing the mistakes you’ve made as a photographer, you should take action.
Actively practice and apply what you’ve learned.
This helps ingrain these new approaches into your work, making you a more adept and adaptable photographer.
1. Set Goals and Come Up with Assignments
You should make some clear goals for the areas you want to improve upon. This could mean mastering a specific lighting technique or improving your composition. Once your goals are set, create specific assignments for yourself that focus on these areas. For instance:
- Goal: Improve my portrait lighting technique
- Assignment: Take 5 portraits with different lighting setups
2. Implement New Techniques in Real World Situations
Now, take what you’ve learned and apply it in real-world situations. Say you’ve been practicing long exposure shots.
Try these out at a busy city intersection or along a nighttime beach.
Real-world application confirms you understand not just the how but the when and where to use these techniques effectively.
3. Consistently Evaluate and Adapt as a Photographer
Finally, make it a habit to evaluate your work after each shoot.
Look at what worked well and what didn’t. Then, adjust. Perhaps you’ve learned your landscape photos lack depth.
Next time, try a new approach by testing different focal lengths or perspectives. Your photographic style will continue to evolve as you learn from each session.
Use Available Resources and Invest in Your Education
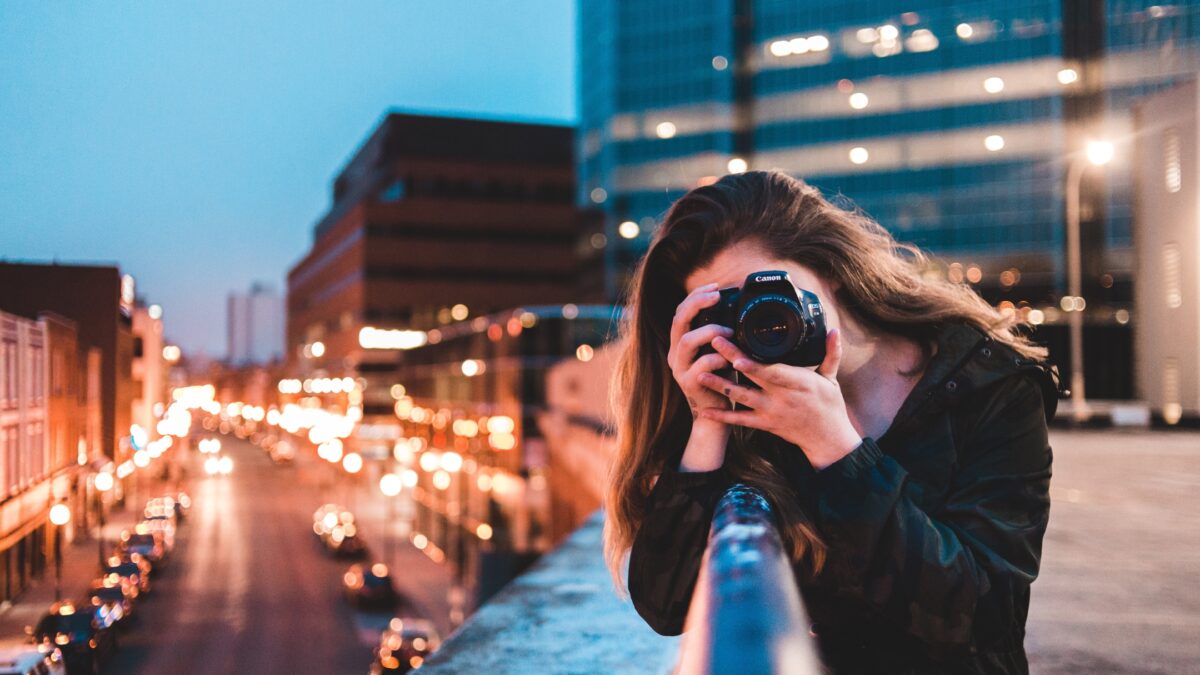
As a photographer, learning never stops.
Because when you stop learning it means you’ve stopped growing.
- Take a new photography course online.
- Explore different camera settings.
- Try new things.
There are lots of ways to invest in your education and affordable ways to learn. Local meetups, online forums, and free tutorials can be goldmines for tips and tricks, especially on using equipment like prime lenses, which offer sharper images than your standard kit lens.
But keep building your knowledge.
Knowledge is an investment in yourself that can exponentially increase your earnings as a photographer.
Frequently Asked Questions
What are effective techniques for self-critique in photography?
To critique your own work, start by reviewing each photo’s composition and exposure critically. Imagine you’re looking at someone else’s work—what would you praise, and what would you suggest improving? This emotional distance creates room for honest assessment.
Which common photography errors should I be aware of to enhance my skills?
Common errors include poor focus, incorrect exposure, and unthoughtful composition. Recognizing these can teach you to double-check your settings and refine your eye for framing scenes in ways that convey your intended message.
What is the best way to practice photography regularly?
Set aside time each week specifically dedicated to photography. You could also carry your camera with you daily, turning ordinary moments into practice sessions. The key is routine and consistency, which will naturally elevate your skills.
How can I use feedback from others to improve my photographs?
Seek critique from a diverse group of people, from fellow photographers to friends. Each person’s perspective can shed light on different aspects of your photography, providing a wealth of insights to draw from for your next shoot.
What are some good habits to adopt for continuous improvement in photography?
Good habits include regularly revisiting and revising older work, learning from others by studying their photographs, keeping up with photography news and trends, and always being prepared to capture a moment.
How do I set realistic and achievable photography goals for skill development?
Start with clearly defined, specific objectives, like mastering a new technique or shooting in various lighting conditions. Break these down into actionable steps and periodically review your progress, adjusting as necessary to stay on track.


