Perfect Indoor Photos and The Camera Settings You’ll Need
Okay, so you’re indoors, trying to capture the perfect shot.
But your photos are turning out like a horror movie – they’re too dark, too grainy, or just plain off.
So you start messing with your camera settings, spinning dials like a DJ.
But nothing works!
It’s maddening, right? You start thinking maybe indoor photography is some kind of art that’s just not for you. But here’s the truth: indoor photography is tricky, man.
It’s a whole different beast compared to taking photos outdoors. And it’s enough to make you want to throw your camera out the window.
But hold on, don’t lose hope yet!
I’m going to break it all down for you. So you can master your camera settings for indoor photoshoots. I’m talking clear, sharp, well-lit photos that pop. And know how to tackle any indoor lighting situation.
12 Tips for Taking Perfect Indoor Photos
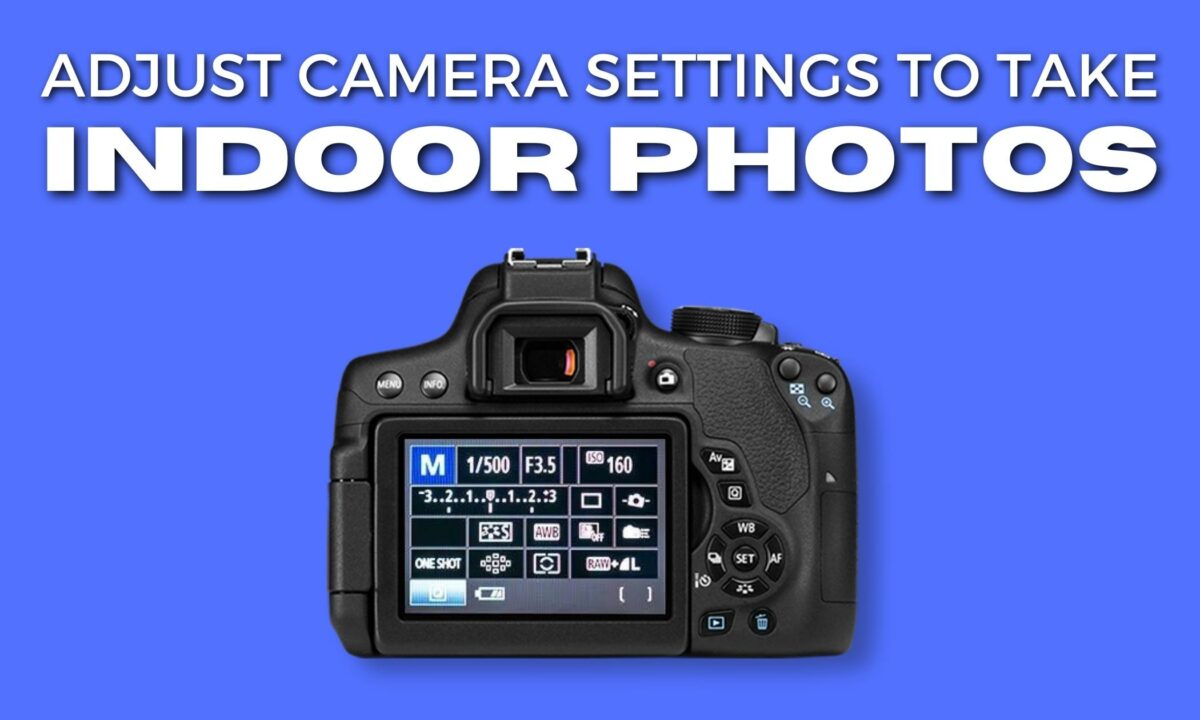
- Aperture: Use a wide aperture (low f-number) to allow more light to hit the sensor. This is especially helpful in low-light conditions. A wide aperture also creates a shallow depth of field, which can be used to keep the subject in focus while the background blurs away.
- Shutter Speed: Choose a shutter speed fast enough to prevent camera shake and freeze any motion, especially if you’re hand-holding the camera. A general rule is to use a shutter speed that’s the reciprocal of the lens’s focal length. For example, if you’re using a 50mm lens, try not to go below 1/50th of a second. But, if you’re photographing a still subject and can use a tripod, you can go for a slower shutter speed.
- ISO: Increasing the ISO makes the sensor more sensitive to light, which can help you achieve proper exposure in low-light conditions. Be mindful, though, as higher ISO settings can introduce noise (graininess) to your images. Modern cameras can often handle higher ISOs well, but it’s best to keep the ISO as low as possible while still achieving the desired exposure.
- White Balance: Indoor lighting can cast different color tones on your photos. Adjust the white balance setting to match the type of lighting (fluorescent, tungsten, etc.) to ensure that the colors in your photos look natural.
- Focusing: Indoor photography often means less light for your camera’s autofocus system to work with. Make sure your subject has enough contrast for your camera to focus properly. If your camera struggles with autofocus in low light, switch to manual focus.
- Flash: If the ambient light isn’t sufficient, consider using a flash. Direct flash can be harsh, so if possible, use an external flash and bounce it off the ceiling or walls for a more diffused and natural look.
- Metering Mode: Select the appropriate metering mode for the situation. In most indoor settings, spot or center-weighted metering can help you get the right exposure for your subject, especially if there are significant variations in light within the scene.
- Shoot in RAW: If your camera has the option, shoot in RAW format. RAW files capture more data than JPEGs, providing greater flexibility in post-processing, especially when it comes to adjusting exposure and white balance.
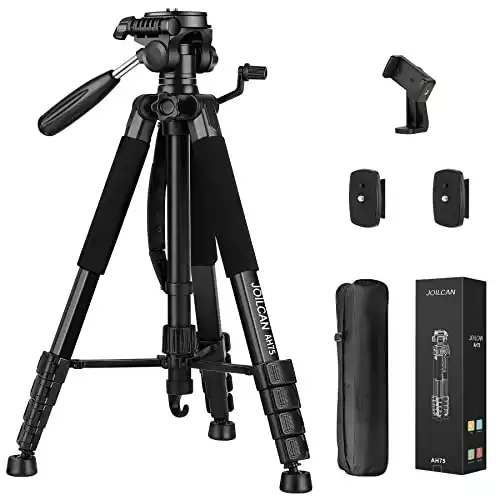
- Use a Tripod: To avoid camera shake and to ensure sharp images at slower shutter speeds, use a tripod. This is particularly important in low-light conditions where you need to keep the ISO low and the shutter speed slow.
- Test and Adjust: Take a test shot and review it on your camera’s display. Check the histogram to make sure you’re not losing detail in the shadows (underexposed) or highlights (overexposed). Adjust your settings accordingly and reshoot if necessary.
- Lens Choice: Use a lens with image stabilization (IS) if you’re shooting handheld. Also, lenses with larger maximum apertures (such as f/1.4, f/1.8, or f/2.8) are ideal for indoor photography as they allow more light to reach the sensor.
- Lighting: If you’re able to, supplement the available light with additional light sources. This can be anything from professional studio lights to lamps and window light. Position these strategically to enhance the natural light and to illuminate your subject evenly.
For a more in-depth explanation of some of these tips, keep reading!
Controlling Light When Taking Indoor Photos
When taking photographs indoors, mastering light is crucial. You want to balance the light source to take beautiful images.
Using Natural Light
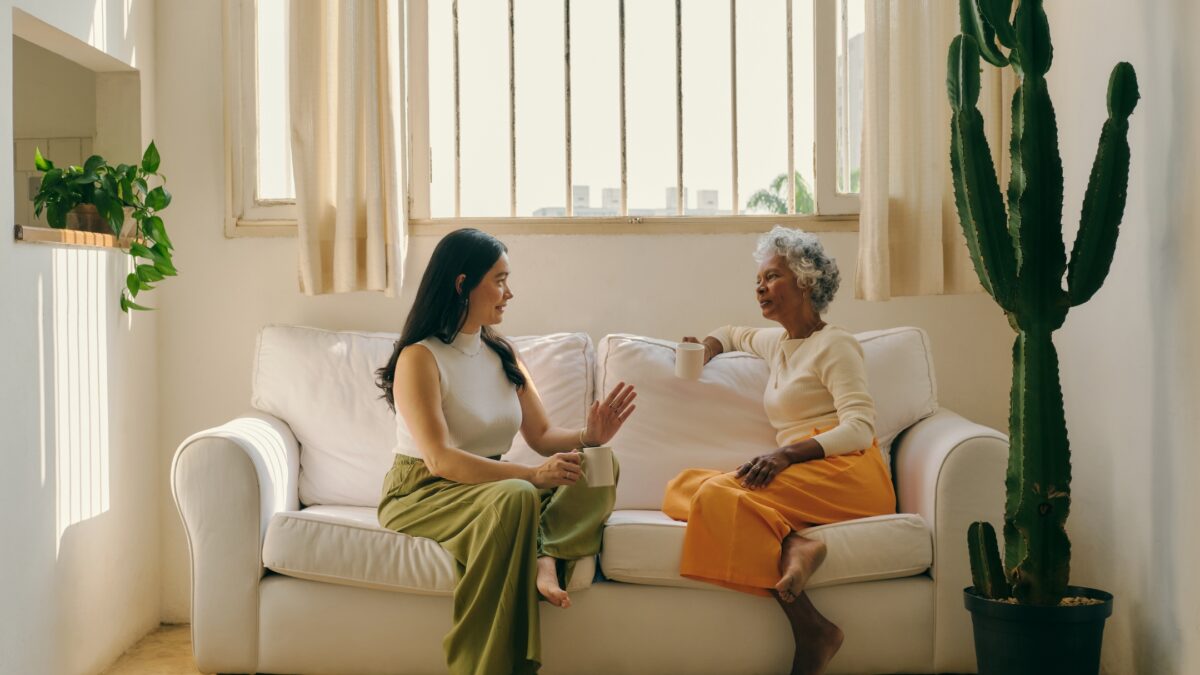
Window Light: It’s your best friend when it comes to natural light. Place your subject near a window where soft, diffused light pours in.
You want to use sheer curtains or a diffuser to turn harsh sunlight into a gentler glow.
Also, the time of day significantly affects the intensity and color of the light, with early morning or late afternoon offering a warmer hue.
- Positioning: Facing directly toward the window will illuminate the subject evenly. While an angled approach can create depth and dimension through shadows.
Using Artificial Light Effectively
When natural light isn’t sufficient, or you’re shooting at night, you need to use artificial lighting.
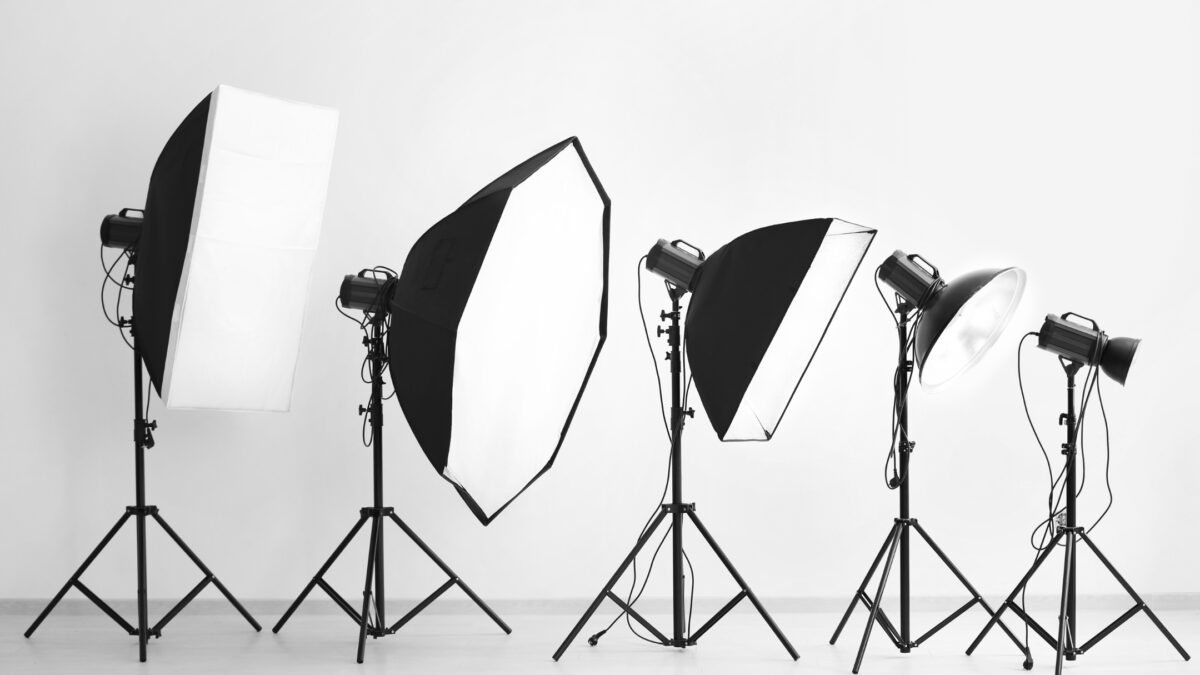
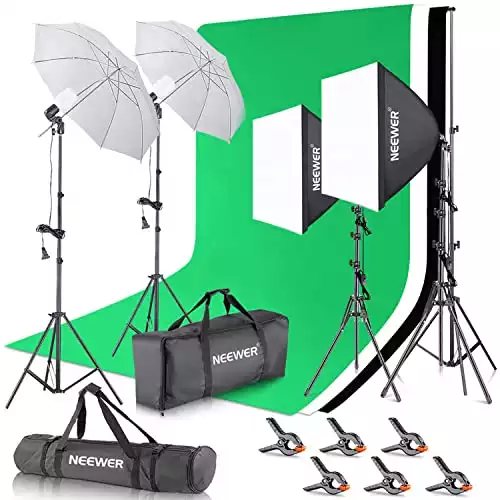
- Softbox: This is a translucent box that softens the light from a flash or lamp. It emulates natural light by reducing harsh shadows and creating a flattering, even light on your subject.
- Ambient Light Consideration: Don’t ignore the existing light in the room. Mix your artificial light sources with ambient light to avoid unnatural-looking photos. Sometimes, a simple tweak, like turning on a floor lamp, adds warmth to your pictures.
- Light Intensity: If you’re using a flash, dial down the intensity to avoid washing out the scene. Start with lower settings and incrementally adjust until you get the desired effect. Remember, photography is about painting with light, so each adjustment you make is like a stroke of a brush on your canvas.
The Neewer lighting kit is designed for superior photo studio quality, ensuring well-lit, professional-looking photos and videos in a variety of settings.
Composition and Framing Techniques
Perfect indoor photos rely heavily on composition and framing. So, a few fundamental photo techniques can turn a good photo into a perfect one.
The Rule of Thirds
Before snapping your photo, imagine your image is divided into nine equal segments by two vertical and two horizontal lines.
The rule of thirds suggests placing your subject along these lines.
Or at the points where they intersect. This creates more tension, energy, and interest in the composition than simply centering the subject would.
Working with Backgrounds
The background can also make or break your photo.
Look for a simple, uncluttered background to highlight your subject. And use contrasting elements, like a dark subject against a light background. So your subject stands out.
If the background is distracting, open your aperture wider to reduce the depth of field, blurring out the background and putting the focus on your subject.
Adding in Foreground Elements
Foreground elements can add depth to a wide shot and create a frame within a frame.
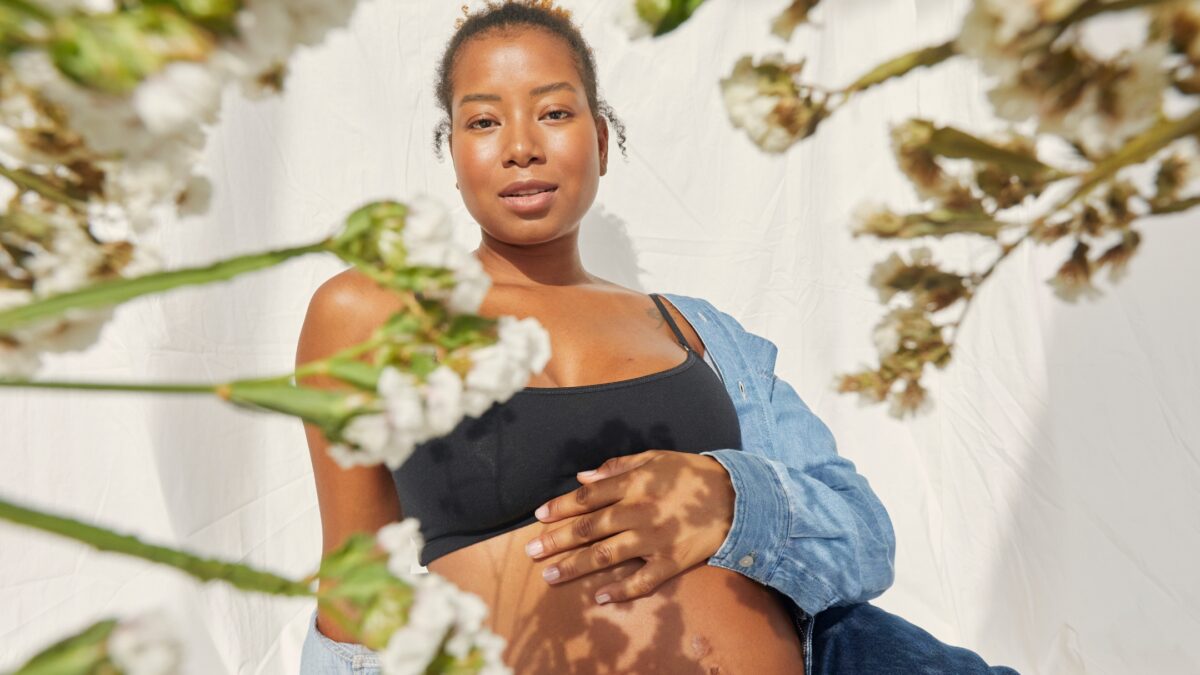
Be selective with props and ensure they contribute to the story you’re telling with your photo. They should lead the viewer’s eye toward your main subject and not away from it.
A well-placed plant or a book can be just the touch your composition needs.
Advanced Camera Functions for Indoor Photoshoots
To capture the true ambiance of indoor scenes, you’ll want to fine-tune your camera settings.
Understanding the subtleties of white balance and manual mode will allow you to take control of challenging lighting and compose stunning photographs.
White Balance Adjustment
Color casts caused by various light sources can be misleading to your camera’s automatic settings.
To ensure the colors in your indoor photos look natural, adjust the white balance. Your camera might have presets such as Tungsten or Fluorescent. But for precision, using a custom white balance setting is ideal.
- First, take a photo of a white or grey object in the same lighting as your subject.
- Navigate to your camera’s white balance setting and select the custom option.
- Adjust the white balance using the reference photo you just took until the color on your display looks true to life.
Manual Mode Mastery
When you switch to manual mode, you unlock complete creative control of your camera settings.
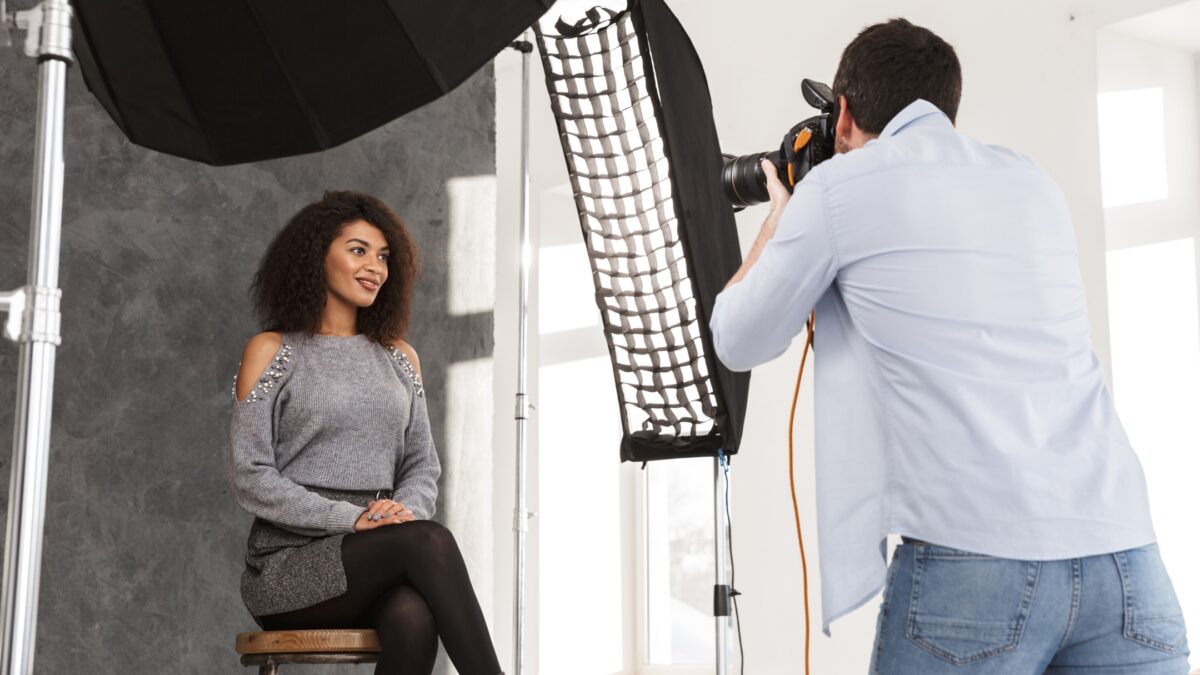
Sure, you might be lost at first, but with practice, you’ll have the flexibility to adjust exposure, focus, and depth of field with intention.
- Set Your Aperture: For portraits, use a wide aperture like f/2.8 or f/4 to let more light in and keep the focus on your subject. Increase the aperture to f/11 for sharp wide-angle shots.
- Control the Shutter Speed: Too slow and you risk blur; too fast and your image might be underexposed. Aim for a shutter speed of around 1/60 to start, and then adjust as needed based on the subject’s movement and the available light.
- ISO Sensitivity: Start with an ISO of around 800. If your photos are too dark, increase the ISO. And if they’re too grainy, decrease it.
- Take photos in RAW format for the highest quality images and greater post-processing flexibility. This format retains all image data so you can better adjust exposure and white balance after the fact.
With these advanced functions at your fingertips, you’re now equipped to take indoor photos that truly resonate with the scene’s natural charm. Remember, experience comes from practice, so don’t be afraid to experiment with your camera’s capabilities.
Choosing the Right Equipment
Your gear can make all the difference when capturing indoor photos.
Choosing the right equipment is crucial for reflecting the mood, capturing the details, and dealing with the lighting challenges that come with indoor environments.
Selecting the Appropriate Lenses
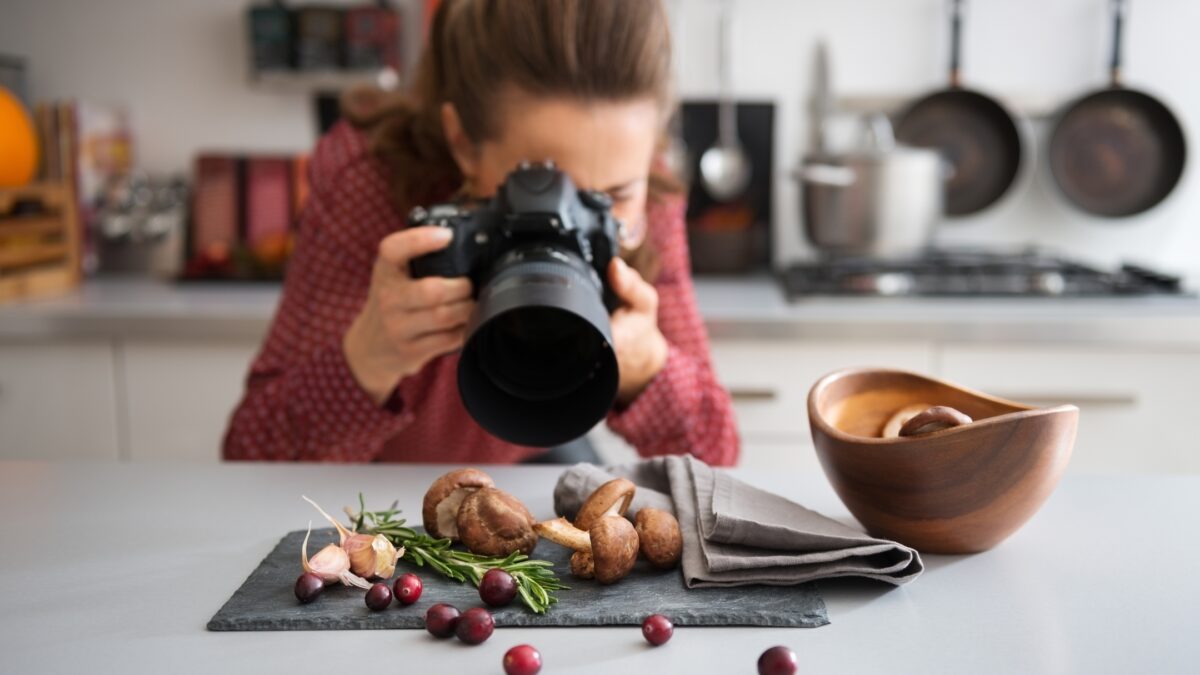
Each lens has a unique purpose and strength. For indoor photography:
- Wide Aperture Lenses: Use a lens with a wide aperture, such as f/4 or f/2.8, to allow more light to hit your camera’s sensor. This results in brighter images in lower light conditions.
- Lens Focal Length: Choose lenses with shorter focal lengths for wider shots. For portraits and detailed shots, longer focal lengths can help you isolate subjects, enhancing the depth of field effect.
A wide aperture not only lets in more light but also creates a shallow depth of field. This blurs the background and keeps your subject in sharp focus.
Also, consider lenses with image stabilization, as they can minimize shake without a tripod.
When to Use a Tripod or Flash
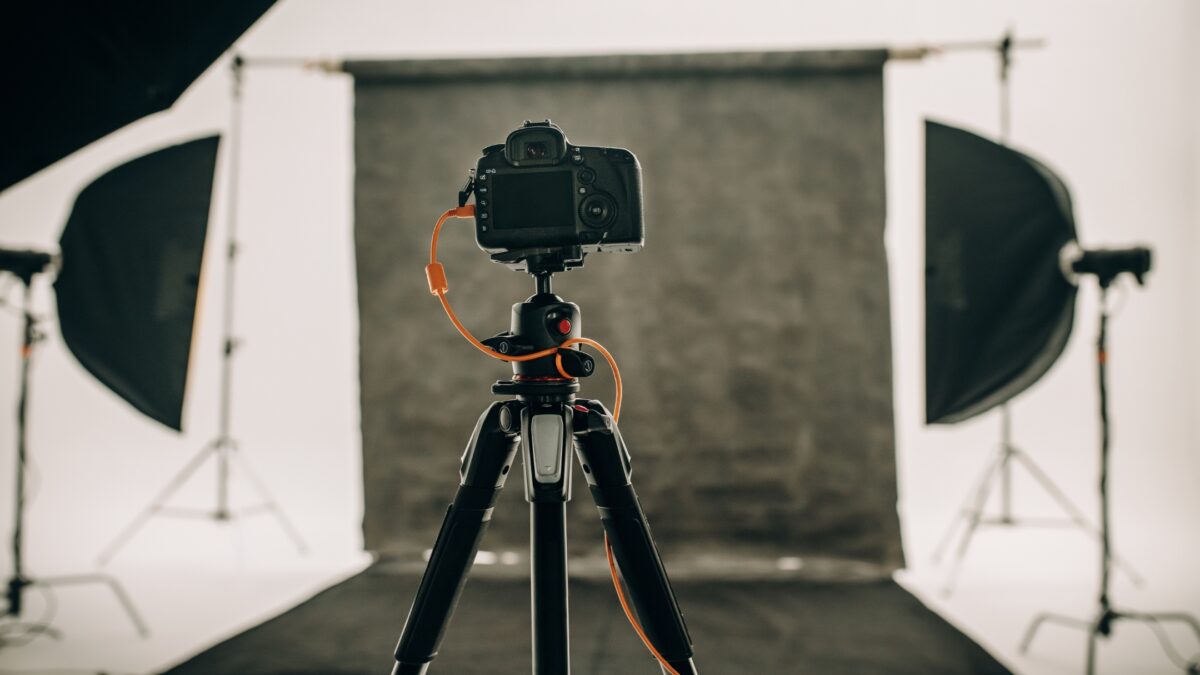
Tripods:
- Ensure stability when you can’t use high shutter speeds.
- Prevent blurriness in low light conditions when you need longer exposure times.
- Ideal when using lower ISO settings to maintain image quality.
Use a tripod during static shots where your subjects aren’t moving much. This will help you avoid camera shake and capture sharp images, especially in dimly lit spaces.
Flashes:
- An external flash can be bounced off ceilings or walls for a more natural look.
- Use a reflector to direct the light from the flash and avoid harsh shadows.
- Consider the balance between ambient and flash lighting to maintain the mood of the setting.
And in situations where a tripod might be impractical, having an external flash is a good idea. It provides additional light and can give you more creative control over your exposure.
Westcott's universal flash is compatible with multiple camera brands. And it's LCD touchscreen makes it user-friendly and easy for beginners to navigate and control flash settings.
And when using an external flash, remember to diffuse the light for a soft effect and to manage the intensity. That way, it complements the natural light without overpowering it.
How to Prevent Common Indoor Photo Issues
Now, let’s walk through some specific techniques to help you navigate common issues and take photos that are both sharp and well-exposed.
Avoiding Camera Shake and Motion Blur
Camera shake happens when you inadvertently jostle the camera during exposure, often resulting in a photograph that lacks sharpness. To prevent this:
- Use a Tripod: They offer a stable platform for your camera.
- Employ a Faster Shutter Speed: If a tripod isn’t available, try using a shutter speed at least as fast as the reciprocal of your lens’s focal length. For a 50mm lens, this would be at least 1/50s.
- Image Stabilization: Activate this feature if your camera or lens supports it.
Dealing with Low Light and High ISO Settings
Your camera requires enough light to “see” the scene.
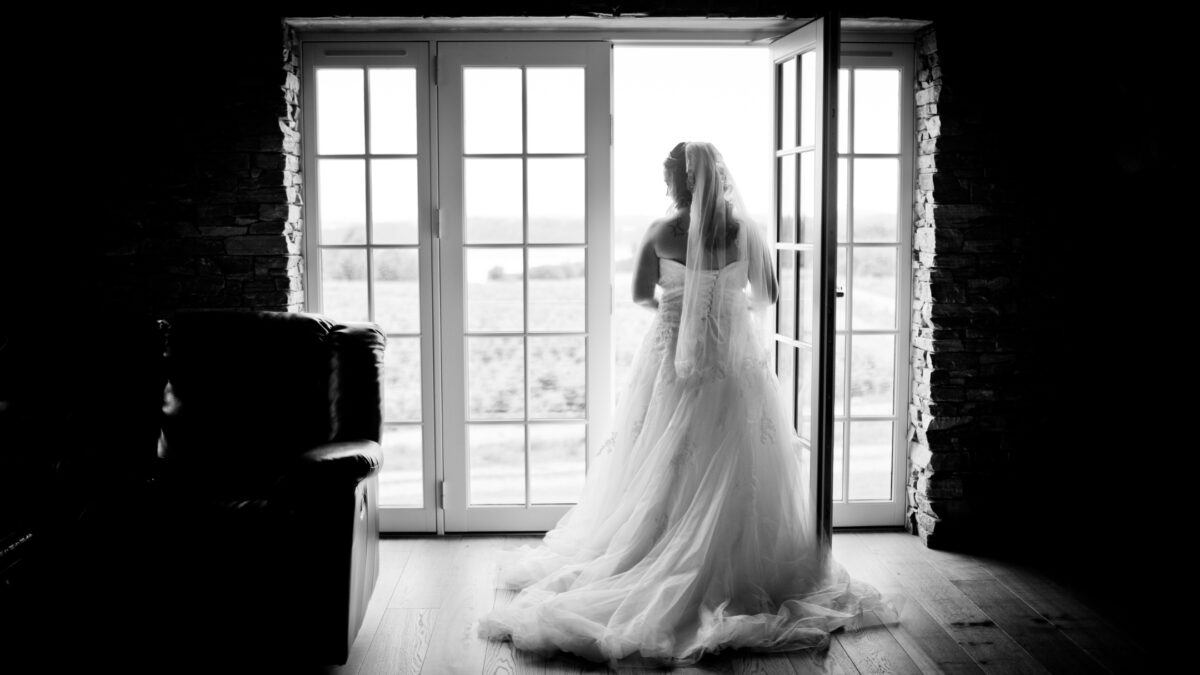
When light is scarce:
- Choose the Right ISO: In the dark room, you’d use a flashlight. Similarly, increase your ISO setting to brighten the image. But beware of setting it too high.
- Optimize Available Light: Position your subject near windows or use additional lights to improve available light.
- Wide Aperture Settings: Open your lens’s aperture—this is like widening your eyes in the dark—to allow more light onto the sensor.
Remember, a higher ISO can rescue a photo in low light, but always strive for the lowest ISO that still yields a bright enough image to maintain sharpness and minimize grain.
And keep experimenting with your indoor photography settings to find what works best for your specific situation.
Post-Processing Tips to Enhance Indoor Photos
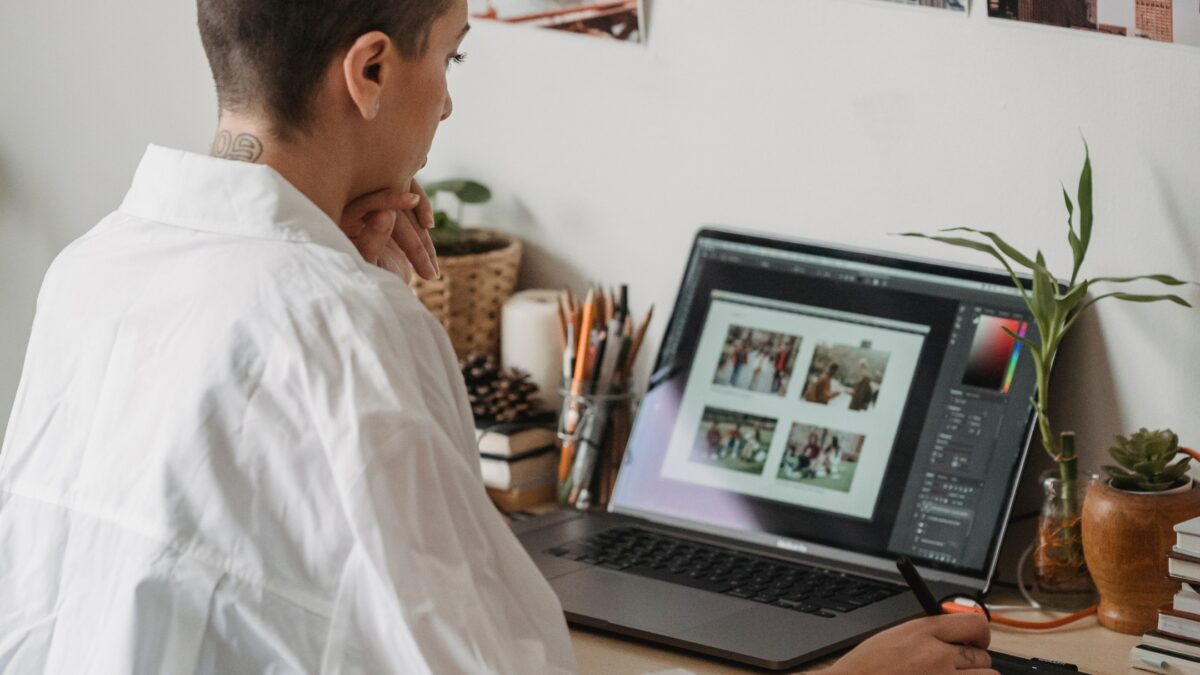
After you’ve captured your indoor photos, post-processing is where you can correct colors, bring out details, and add that final polish to your images.
So I want to talk about how you can make the most of this stage using Lightroom and the advantages of working with RAW files.
Using Lightroom for Color Correction
When working with Adobe Lightroom to correct colors, your goal is to achieve a natural balance that reflects the scene as you envisioned it.
Begin with:
- White Balance: Tweak the temperature and tint sliders to neutralize unwanted color casts.
- Vibrance and Saturation: Add depth by carefully adjusting these sliders, and keep in mind that vibrance protects skin tones while saturation affects the entire image.
And mindful of the lighting conditions that were present when you took the photo, as these will affect the color correction process.
Getting More from RAW Files
RAW files are your secret weapon for maximizing quality during post-processing, as they contain all the data from your camera sensor without loss of information.
Here’s how to use this to your advantage:
- Exposure Adjustment: Correct underexposed or overexposed areas without significant quality loss.
- Bringing Out Details: Play with the Contrast, Highlights, and Shadows sliders to reveal hidden details, especially in darker areas.
By understanding the exposure triangle—aperture, shutter speed, and ISO—you can better anticipate how to correct exposure issues in RAW files.
And remember, subtlety is key.
Over-editing is just as bad as not editing at all.
Frequently Asked Questions
What are the best entry-level camera settings for a beginner taking indoor photos?
When you’re just starting out, set your camera to Aperture Priority mode with a wide aperture (around f/4) to let in more light. Keep your ISO as low as possible while ensuring your shutter speed is fast enough to prevent blur, starting around 1/60th of a second.
How do I choose the right aperture for capturing indoor scenes?
Selecting the right aperture depends on your subject and the mood you’re aiming for. A wider aperture (lower f-number like f/2.8) blurs the background for a nice bokeh effect, which is great for portraits. For group shots or detailed indoor scenes, a narrower aperture (higher f-number) will keep more of the scene in focus.
What ISO value is recommended for low-light indoor photography?
To maintain image quality, start with an ISO around 800 and increase it only if necessary. Modern cameras handle high ISO well, but stay mindful of increasing noise levels with higher ISO values.
Which camera mode should I select for optimal results in indoor photography?
Begin with Aperture Priority mode to control the depth of field. For more precise control, you might switch to Manual mode once you’re comfortable adjusting both aperture and shutter speed to your liking.
How can I enhance group photo quality with indoor lighting conditions?
To enhance group photos, aim to evenly light your subjects to avoid harsh shadows. A good tip is to use a bounce flash or place your group near a window for more balanced lighting. Try a narrower aperture like f/8 to keep everyone in focus.
