Simple Lighting Techniques for Stunning Photographs
Great lighting.
It’s what many of the best photos in the world have in common.
But sometimes, getting it right can be a challenge.
So as a professional photographer who’s spent quite some time studying lighting, I’m here to share what I know with you.
And whether you struggle with harsh shadows, flat images, or uneven illumination, I hope these lighting techniques solve your lighting struggles and help you take better-looking photos.
The Basics of Photography Lighting
Let’s start by talking about some of the core elements that will improve the quality and mood of your photographs.
Natural vs. Artificial Light Sources
Natural light comes from the sun and moon.
On the other hand, artificial light—such as flashes and constant lights—provides control. So you can use the desired amount of light when there’s not enough natural light.
Quality of Light: Hard vs. Soft Light
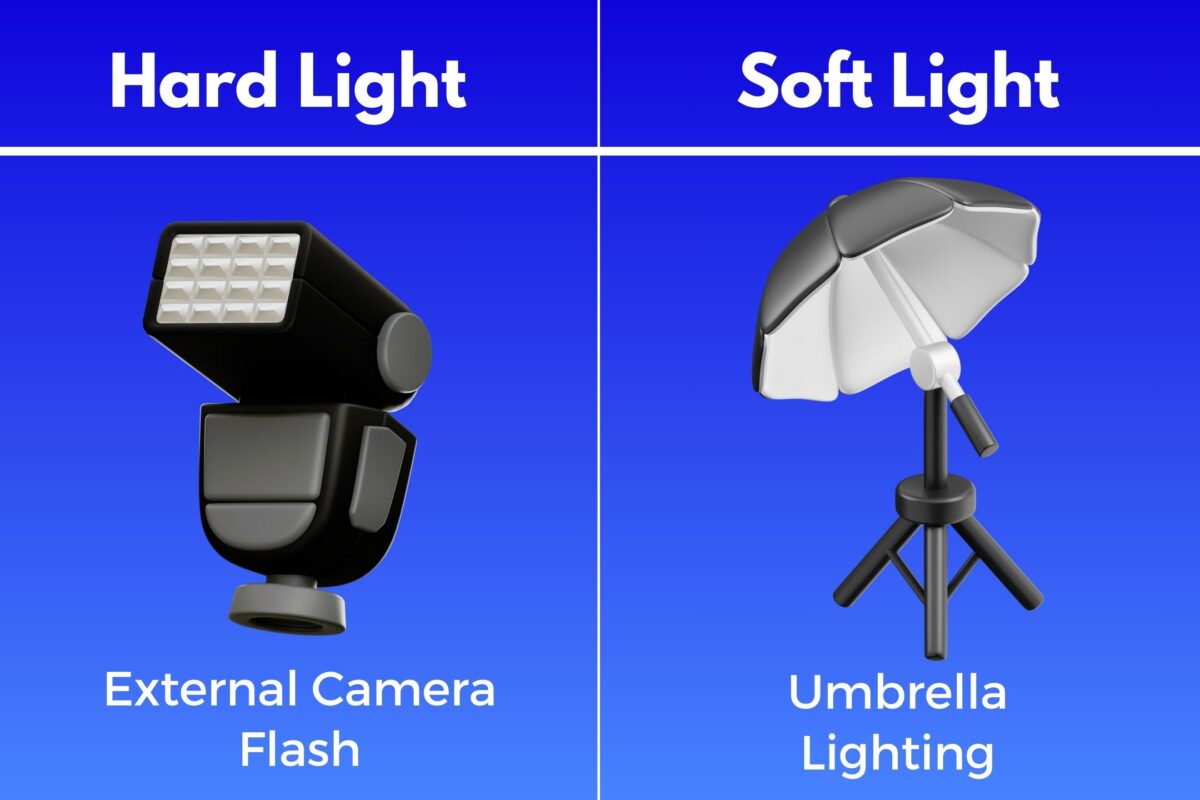
Hard light, typically from a smaller, focused source, etches bold shadows and delivers a punch of contrast, perfect for creating depth and drama.
Alternatively, soft light—think overcast skies or the gentle cast through a large window—smooths edges and lessens contrast for a more tranquil and flattering effect.
| Quality of Light | Shadow Definition | Contrast Level |
|---|---|---|
| Hard Light | Sharp, Well-defined | High |
| Soft Light | Gentle, Diffused | Low |
The Role of Shadows in Composition
Shadows are not a mere absence of light. They’re visual anchors in the photos you take.
They add volume and perspective, offering clues to the shape and texture of your subjects. Use them deliberately.
Want to add mood or mystery?
Use shadows in your image. Seeking clarity and dimension? Position your light to give shadows a more defined role.
Color Temperature and White Balance
Lights have temperatures, and that’s not about heat but color.
Picture the warm hues during golden hour or the cool tones of a cloudy sky. This spectrum from amber to blue is your color temperature.
Also, cameras might get confused.
So white balance steps in to correct colors to match how your eyes see them. Think of it as your camera’s guide to getting hues just right.
| Color | Temperature | Environment |
|---|---|---|
| Warm (amber) | Low | Golden hour |
| Cool (azure) | High | Cloudy sky |
Okay, so those are some of the basics I wanted to hit on really quickly.
By understanding these foundational elements, you’re now ready to play with light in your photos.
Natural Lighting Techniques
Natural light can transform your photographs from good to great.
So knowing how to use the sun and the subtleties of natural lighting will make you a better photographer.
Harnessing Sunlight: Golden Hour and Blue Hour
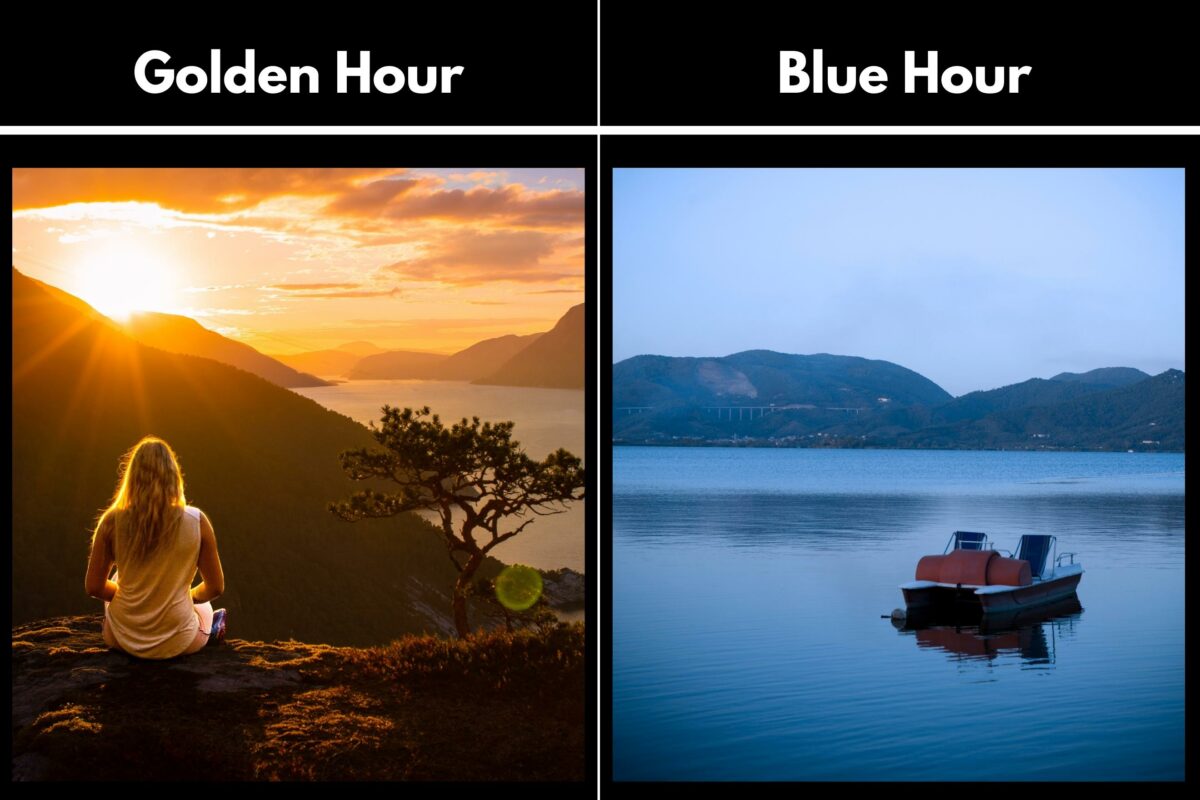
Golden Hour is that time just after sunrise or before sunset when the sun casts a warm, soft light that can make your photographs feel magical.
The light is diffused, with long shadows adding depth and texture to your compositions. To photograph this, plan your shoot within the first hour after sunrise or the last hour before sunset.
During the Blue Hour, which occurs just before sunrise and just after sunset, the sun’s position below the horizon produces a cooler, blue-toned light.
This light is perfect for capturing the tranquility of a cityscape or the haunting beauty of a landscape. The diminished light will require a longer exposure time, so make sure your camera is steady.
Using Cloudy Days to Your Advantage
Cloudy days are a hidden gem in photography.
The clouds act as a natural diffuser, spreading the sunlight evenly and softening shadows. This creates a soft, even light that’s ideal for portraits or any subject where you want to capture subtle details without harsh contrasts.
Tip: Pay attention to the intensity of the clouds.
Thin, wispy clouds can add texture to the sky, while thick overcast conditions give a soft-box effect, which is perfect for minimizing blemishes on a subject’s face.
Manipulating Daylight with Reflectors and Diffusers
Reflectors and diffusers are must have tools for controlling natural light.
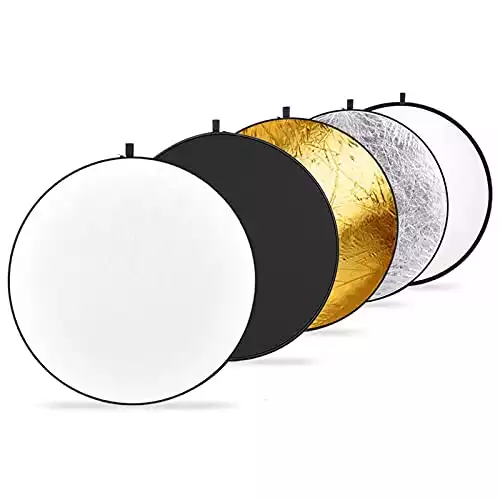
A reflector bounces light back onto your subject, filling in shadows and highlighting details. You can use anything from a specialized reflector to a piece of white cardboard.
This reflector is super handy and all you need. It's also heavy-duty and works well in many different lighting conditions.
And Diffusers are used to soften sunlight, particularly when it’s too harsh.
Placing a diffuser between the sun and your subject can reduce the intensity of the light, making it softer and more flattering.
You can use a commercially available diffuser or improvise with a sheer white fabric.
Here are 3 Tables for Quick Reference on What We’ve Just Covered Above:
Golden Hour Photography:
| Time of Day | Light Quality | Subjects |
|---|---|---|
| After Sunrise | Warm and Soft | Landscapes, Portraits |
| Before Sunset | Golden and Flattering | Urban Scenes, Nature |
Cloudy Day Photography:
| Cloud Type | Light Quality | Best For |
|---|---|---|
| Thin | Textured Sky | Dynamic Skies |
| Thick | Soft-Box Effect | Portraits, Macro |
Using Reflectors and Diffusers:
| Tool | Function | Effect |
|---|---|---|
| Reflector | Bounce Light | Fill Shadows |
| Diffuser | Soften Light | Even Out Hard Sunlight |
Keep all of the above in mind when taking photos next time.
And practice a lot! Practice is the best way to master natural lighting techniques.
Because unless you’re in a studio environment, natural lighting presents unique challenges and opportunities, depending on where you are and the time of day.
You have to adapt and use the conditions around you to your creative advantage as a photographer.
Artificial Lighting Fundamentals
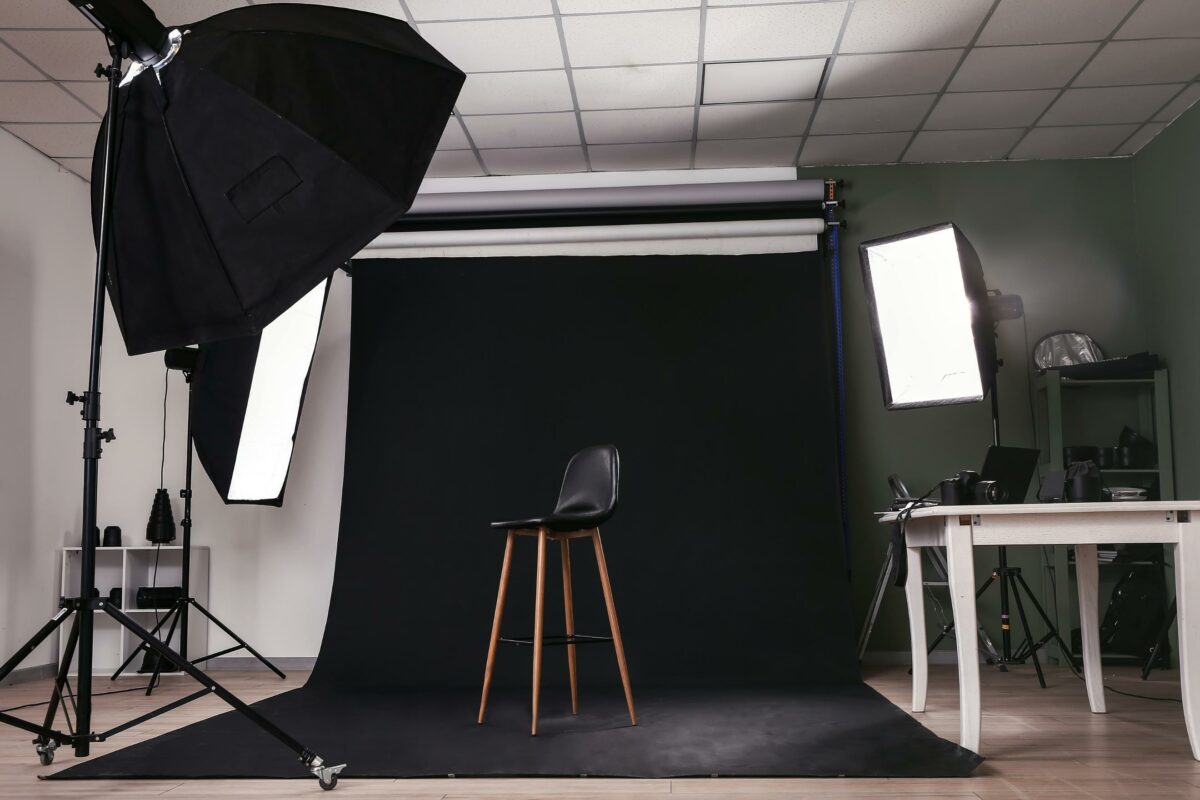
Now, let’s talk about artificial lighting and how you can use it to get the exact amount of light you want in your images.
Continuous Light vs. Flash
Imagine reading a book under a steady lamp. That’s continuous light.
It’s always on.
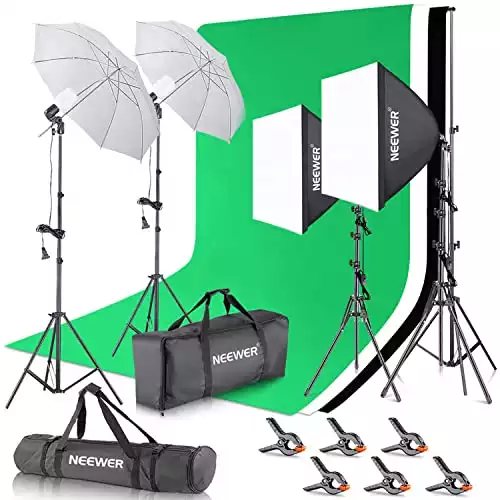
The Neewer lighting kit is designed for superior photo studio quality, ensuring well-lit, professional-looking photos and videos in a variety of settings.
It allows you to see changes in real time.
And continuous light sources such as LED panels or tungsten lights offer a constant level of illumination that’s particularly helpful for videos or seeing how shadows fall in live action.
- Pros: Real-time feedback, WYSIWYG (What You See Is What You Get)
- Cons: Generates heat, may require more power
In contrast, flash is like a lightning bolt. It’s brief yet brilliant.
It provides high-intensity light in a short burst, perfect for taking sharp images with reduced motion blur. It’s commonly used in portrait and product photography.
- Pros: High intensity, stops motion, energy-efficient
- Cons: Can be harder to visualize the final look
Working with Strobes and Speedlights
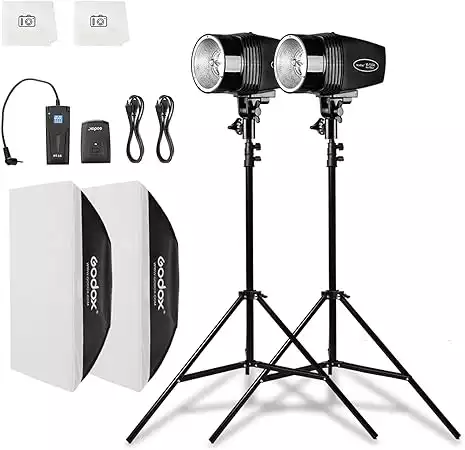
Strobes are the heavy artillery in your lighting arsenal.
They deliver a powerful flash to banish any and all possible shadows. And they’re perfect for studio setups but can also be taken on location.
When working with strobes, it’s all about control. You can modify the intensity, duration, and even the color of the light.
- Intensity: Adjust to match the ambient light or overpower it.
- Modifiers: Softboxes, umbrellas, and grids guide your light.
Then you have speedlights. Think of speedlights as the nimble scouts if strobe lights are your heavy infantry.
Westcott's universal flash is compatible with multiple camera brands. And it's LCD touchscreen makes it user-friendly and easy for beginners to navigate and control flash settings.
These portable flashes mount on your camera’s hot shoe or work off-camera to add a swift light punch. And they’re versatile and can adapt to various environments, like a quick setup for that candid shot at a wedding or a spontaneous street portrait.
- Pros: Portability, ease of use
- Cons: Less powerful than strobes
Setting Up Studio Lighting
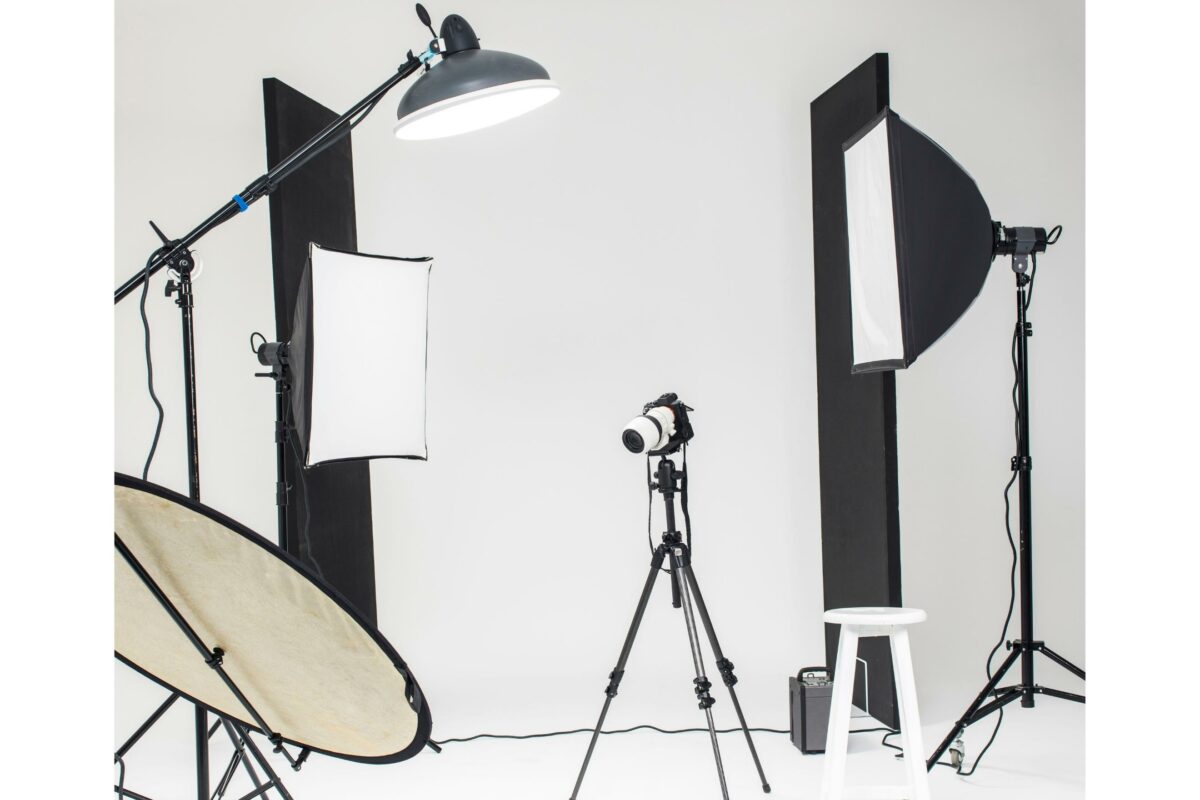
Stepping into a studio is like becoming the conductor of an orchestra.
Every light has a role and plays its part.
Studio lighting refers to fixed lights that can offer consistency and control for a variety of photo shoots. Here are the main lights and the purpose they serve in a studio setup:
- Key Light: The main light source sets the tone.
- Fill Light: Reduces shadows caused by the key light.
- Back Light: Separates the subject from the background.
- Hair Light: Illuminates the subject’s hair and adds depth.
With these lights, your studio lighting setups can go from a simple one-light configuration. To complex multi-light arrangements for dynamic effects.
This kit is designed for beginners and offers straightforward setup and use, along with powerful, adjustable lighting.
- Basic Setup: One key light. This is straightforward and easy for beginners.
- Advanced Setup: Using multiple lights. This allows for creative flexibility and depth.
And that’s it for artificial lighting fundamentals. You now have the lighting information you need to create moods, depth, and textures in your photographs. Because with lighting, it’s not just about the brightness.
You need a good understanding of how each light you cast on your subject affects the photo you’re going to take.
Creative Lighting Techniques
In photography, mastering a few creative techniques can add drama and depth to your photos to please your viewers’ eyes.
So, I want to talk about how to use light in a creative way to make your photos stand out.
Painting with Light for Dramatic Effects
Imagine you’re an artist, painting away.
You have a brush where your strokes are rays of light, adding brightness precisely where you want it. This is light painting.
To do this, you need a controlled environment. Preferably dark and a light source—like an LED flashlight or a glow stick.
You’ll then want to set your camera on a tripod and use a slow shutter speed.
Now, ‘paint’ by moving your light source during the exposure. Each movement creates a stroke of light, defining edges, textures, and forms. And the trick is to stay in motion.
Lingering too long in one spot can lead to overexposure or unintended self-portraits.
Creating Depth and Contour with Side and Backlighting
Utilizing side and backlighting can sculpt your subject.
And it gives your photo a three-dimensional quality. When your light source, whether the sun or artificial light, comes from the side, it reveals the texture and casts defining shadows.
This emphasizes depth and contour.
Backlighting places the light behind your subject, creating a glow or a halo effect, separating it from the background.
This technique often adds a sense of depth and can evoke emotions, giving your subject a supernatural look.
Both approaches require careful balancing of exposure to guarantee your subject doesn’t fall into shadow.
Experimenting with Color Gels and Spotlights
The use of color in photography can set a mood or communicate an emotion. So if you’d like to try something new out, add color gels over your spotlights.
Doing so will paint your scene in various hues, altering the atmosphere entirely.
With a spotlight, you can direct a beam of light, draw attention to specific areas, and create shadows that provide contrast. You can also mix colors to create gradients or layer them to create new ones.
Keep color theory in mind here.
Contrasting colors add drama, while similar colors offer harmony. And use this knowledge to guide your color choices and create the desired effect you want in your photos.
Specialized Lighting Scenarios and Tips
As a photographer, once you understand a few specialized scenarios, you’ll be well on your way to creating visually compelling images. Here are a few of these special scenarios.
Portrait Photography Lighting
In portrait photography, your choice of lighting has a significant impact on the mood and character of your subject.
One effective setup is to use natural light and a reflector.
Position your model near a window. You want the natural light to illuminate one side of their face and then use a reflector on the opposite side to balance the shadows, creating a soft and even look.
Also, you’re going to want to master three-point lighting.
It’s the number one portrait photography lighting technique you should practice. It involves a key light, your main and strongest light source, to illuminate the subject’s face.
You’ll then want to combine it with a fill light which is a softer and less intense source, to reduce shadows created by the key light.
And finally, a backlight to separate your subject from the background. This provides depth and a three-dimensional feel to your portraits.
Using three-point lighting:
- Start with your key light to establish the look and feel of your scene.
- Introduce the fill light to control the shadow’s intensity.
- The backlight adds a three-dimensional quality, so adjust it to refine the subject’s outline.
Indoor Photography Lighting Tricks
Indoor photography often means you’re dealing with less-than-ideal lighting conditions.
But this is where you get to use your creativity.
In large halls with low ambient light, for instance, a flash becomes indispensable. But instead of using it directly, which can result in harsh shadows:
- Bounce the flash off a ceiling or wall to diffuse the light.
- Attach a diffuser to soften the light from the flash.
These tricks can help create the illusion of natural, softer light and minimizes sharp shadows, producing a more flattering photograph.
Product Photography Lighting Essentials
Product photography demands precision with lighting to highlight the features of the object you’re photographing. A simple and effective setup could involve two main lights:
- Key Light: Place this on one side of the product to create dimension and texture.
- Fill Light: Use this on the opposite side, at a lower intensity, to soften any harsh shadows caused by the key light.
For smaller products, a lightbox can be an invaluable tool.
It provides evenly diffused light from all sides, eliminating most shadows and showcasing your product against a clean background.
And remember, the quality of light is just as important as its placement. Use adjustable lights to tweak the intensity and get the perfect balance.
Advanced Lighting Setups
Now for some sophisticated techniques to add depth and drama to your images if you choose.
Exploring High-Key and Low-Key Lighting
High-key lighting produces images that are uniformly lit, with a minimal use of shadows, creating a cheerful and light-hearted vibe. To achieve this effect:
- Use multiple light sources to flood your subject with light, reducing contrast.
- Aim for even lighting to minimize shadows, ideal for beauty shots and upbeat scenarios.
You may also try:
- Overexposing slightly to brighten up the final image without losing detail in the highlights.
Meanwhile, low-key lighting is all about drama and mood, emphasizing shadows and contour. Here’s how you can create it:
- Start with a single overhead light source.
- Keep your fill light to a minimum or skip it altogether, allowing deep shadows to shape the subject.
Using Directional Light
Directional light is about where the light comes from and how it hits your subject. Side lighting can bring out textures and shapes, while frontal lighting tends to flatten features.
Applying directional light:
- Side lighting: Position your light source to the side of your subject to emphasize texture.
- Frontal lighting: Use this to illuminate your subject evenly, suitable for straightforward portraits.
Frequently Asked Questions
How can I create effective lighting setups at home for my photography?
Creating an effective lighting setup at home is simpler than you might think. Start by using window light as a soft, natural source and use white curtains to diffuse it. If you’re investing in artificial lights, a basic kit with a key light, a fill light, and a backlight can offer a variety of options.
What are the top five lighting setups commonly used in portrait photography?
The top five portrait lighting setups are:
- Butterfly Lighting: Positioned directly in front of the subject to create a symmetrical, shadowless look.
- Loop Lighting: The light is angled to cast a small shadow from the subject’s nose on their cheek.
- Rembrandt Lighting: Creates a triangle of light on the cheek opposite the light source.
- Split Lighting: Divides the face into equal halves of light and shadow for a dramatic effect.
- Broad Lighting: Illuminates the side of the face that is toward the camera, often used for high-key portraits.
What are some essential characteristics of light that photographers need to consider?
Photographers must consider brightness, color temperature, and softness. The brightness affects exposure and contrast, while color temperature can evoke different moods. Softness refers to how harsh or diffused the light is, impacting how it wraps around the subject.
What lighting patterns are most flattering for portrait subjects?
For flattering portraits, soft lighting patterns like butterfly and loop lighting are often the go-to choices. These patterns provide gentle shadows that define features without creating harsh lines, offering a balanced and appealing look.
How can I use butterfly lighting to enhance my photos?
Butterfly lighting, placed above and directly in front of your subject, flatters most face types. It casts a soft shadow below the nose, often resembling a butterfly shape, hence the name. Use this technique to highlight cheekbones and bring a natural glow to the face.
What are the basic studio lighting techniques every photographer should know?
Photographers should be familiar with the following studio lighting techniques:
- Key Light: The main light source, usually the brightest.
- Fill Light: Softens shadows created by the key light.
- Back Light: Separates the subject from the background.
- Rim Light: Outlines the subject with a light halo.
- Hair Light: Adds depth by illuminating the subject’s hair from above.
