Urban Photography for Beginners: A Complete Guide
Urban photography as a beginner can feel like entering a busy city without a map.
You’re lost.
Surrounded by an overwhelming amount of potential subjects.
I’m talking towering skyscrapers, packed streets, and people going about their business.
And you might even be asking yourself: How do I take amazing photos in these unfamiliar streets? Or, with so many options, what should I focus on?
This confusion can lead to a camera full of uninspired photographs.
Images that make the vibrant cityscape seem dull and boring.
So I want to offer some practical tips on things like framing your shots and mastering the play of light and shadow in an urban environment.
What is Urban Photography?
Urban photography is the art of photographing the reality of city life and the man-made environment.
Your lens can focus on anything from towering skyscrapers to the gritty corners where the real texture of urban living comes alive.
And it’s not just about the architecture. It’s also about the people and the unique moments happening every day that tell the city’s stories.
Recommended Camera Equipment
For urban photography, I recommend starting with a few important pieces of equipment. Here’s a quick overview of what you need:
- Camera:
- DSLR: Known for their optical viewfinders and extensive battery life.
- Mirrorless: Smaller, lighter, and great for on-the-go shooting with electronic viewfinders.
- Lenses:
- A versatile zoom lens, such as a 24-70mm, is ideal for a variety of shots.
- A fast prime lens, like a 50mm f/1.8. It’s great for low-light conditions and provides a beautiful depth of field.
Your choice of camera and lens impacts the kind of urban shots you can capture.
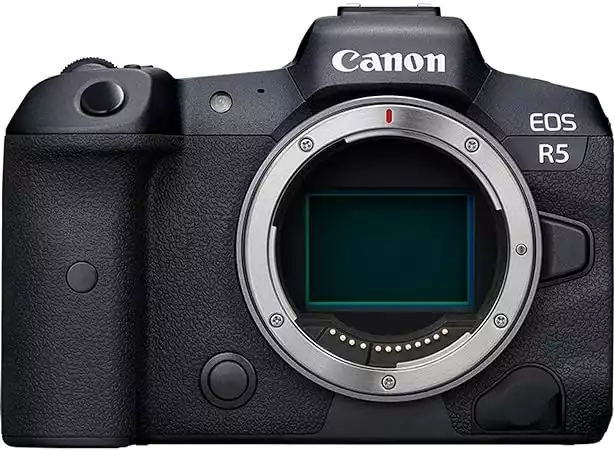
The camera we use the most. It has advanced features like a high-resolution 45-megapixel sensor and 8K video capabilities—a game-changer for those in need of a professional camera.
Camera Setting Fundamentals
You’re also going to want to understand the settings of your camera. So, here’s a straightforward guide to the three main camera settings you’ll be adjusting as you take photos:
- Shutter Speed: Adjusts how long the camera’s sensor is exposed to light. Faster speeds can freeze motion. While slower speeds can blur movement, creating dynamic images of urban life.
- Aperture: Controls the size of the lens opening, affecting the depth of field. A wide aperture (smaller f-number) blurs the background and makes your subject stand out.
- ISO: Determines the sensitivity of your camera’s sensor to light. A higher ISO is useful in darker conditions but can introduce grain to your images.
Experiment with these settings to find a balance that suits the city’s rhythm and what you’re going for.
Developing Your Eye for Urban Photography
To take great urban photographs, you need to develop an eye for detail.
So, let’s talk about how to refine your vision and perception to better photograph the city’s patterns and stories.
Composition Techniques
In photography, composition is your storytelling tool.
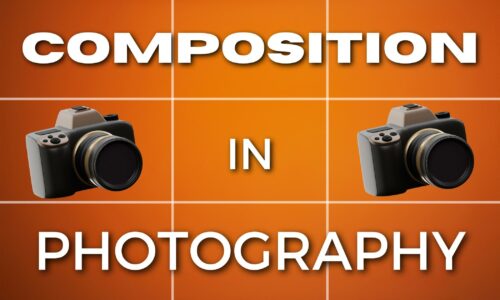
You want to use the rule of thirds by imagining a 3×3 grid over your scene and placing your subject along these lines or at the intersections for a balanced, visually pleasing shot.
You should also welcome negative space.
This is the area around and between the subjects in a photo to give the viewer’s eye a “place to rest” and emphasize your focal point.
Recognizing Patterns and Shapes
The city is a treasure trove of shapes and patterns.
From the detailed designs of a wrought-iron gate to the repeating elements of skyscraper windows. These can create rhythm within your photo and lead the viewer’s eye through the composition.
Look for opportunities where these elements can add interest or serve as a frame for your subject. This enhances the photograph’s overall impact.
Capturing the Heart of the City
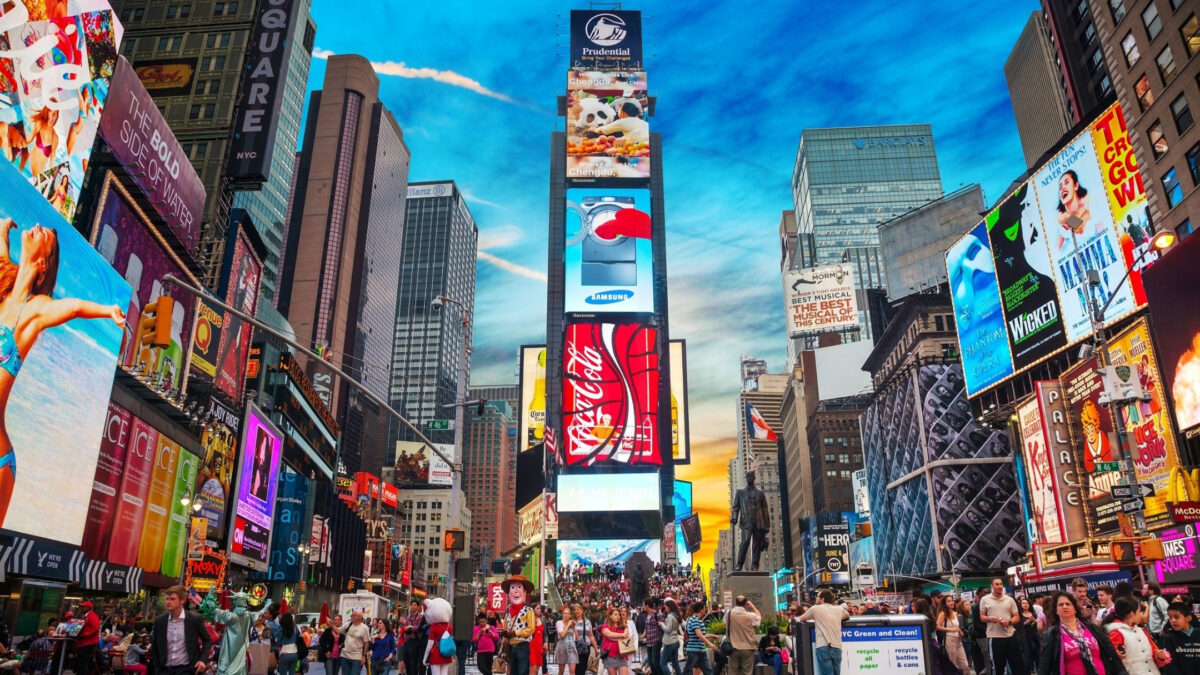
Every city has a pulse.
In urban photography, your job is to photograph and communicate this with your camera and equipment. Consider the architecture around you.
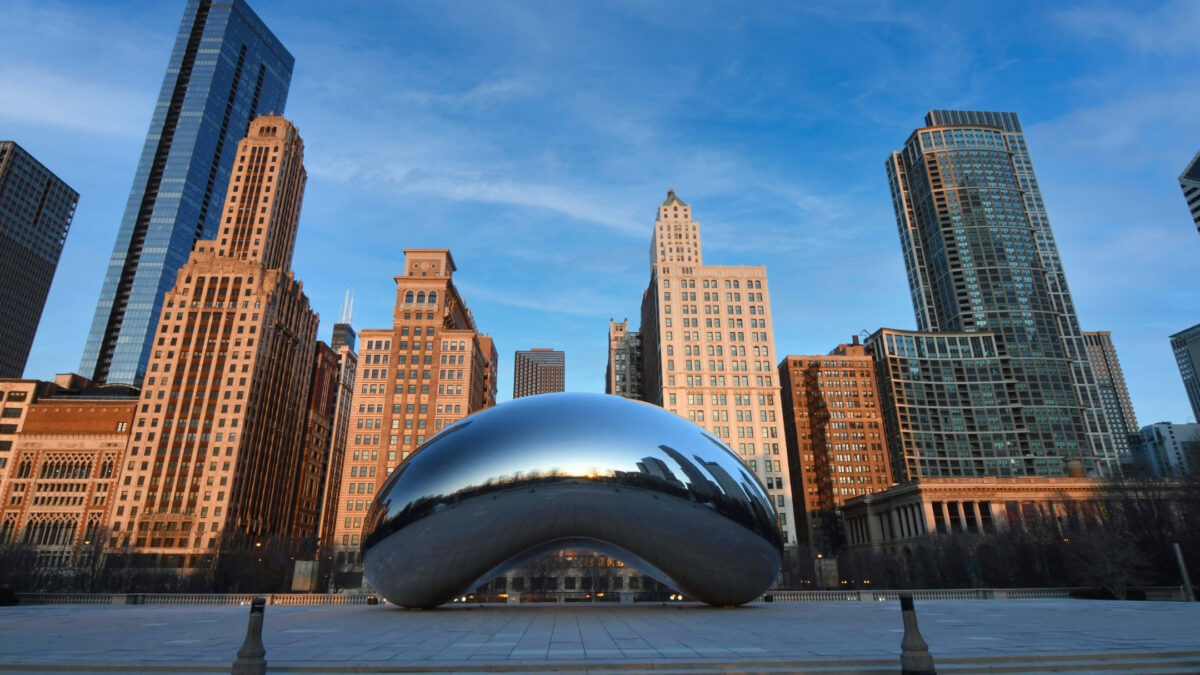
The modern lines of a high-rise against the elaborate curves of historical buildings add contrast and depth to your images.
And you can use leading lines, like a street or train tracks, to draw the viewer deeper into the picture and create a sense of movement or direction. Because the soul of the city is its energy.
Find a way to express that energy through your composition.
Mastering Light and Shadow
Natural light while taking your photos is one of your most powerful tools.
To make the most of it, you should understand how the quality of light changes throughout the day.
During sunrise and sunset – Golden Hour, the sunlight is warmer and shadows are longer. This offers a dynamic range of contrast that can add a soft, supernatural quality to your images.
- Morning: Cooler tones, sharper angles of light.
- Midday: Harsh, direct light. Be aware of overexposure.
- Evening: Warm tones, elongated shadows.
Keep the time of day in mind and use different times to photograph varying atmospheres across the city landscape.
Working with Shadows and Silhouettes
Shadows and silhouettes are great for adding depth and intrigue to your urban shots. Here’s how to work with them:
- Capture the contrast between light and dark to guide the viewer’s eye.
- Look for interesting patterns or shapes formed by shadows.
And when the sun is low, or the artificial light is directional, it’s the perfect time to use silhouettes. Place your subject between the light source and your camera to create a strong silhouette effect.
Using Artificial Light
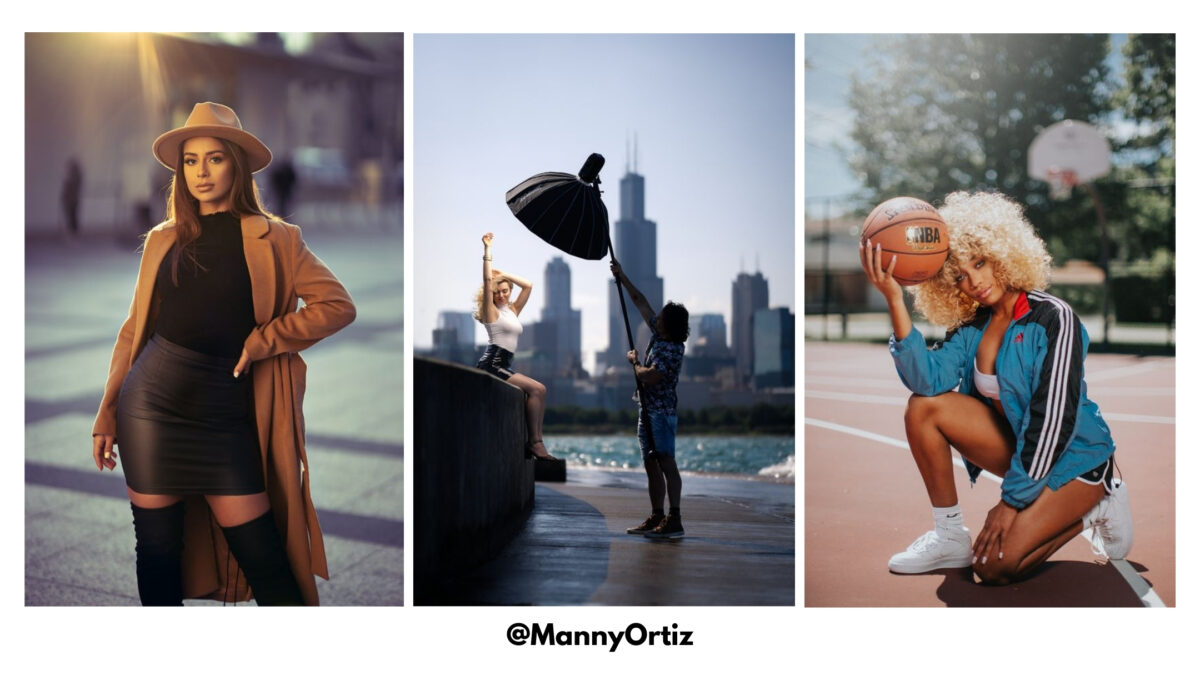
When the sun goes down, the city lights up.
It’s also the perfect time to use artificial light to illuminate your urban scenes.
- Street Lamps: Offer a warm, localized light that can create a moody atmosphere.
- Neon Signs: Provide vibrant colors and high contrast for a lively urban vibe.
- Windows and Billboards: Act as softboxes that disperse light and offer gentle illumination.
You can even try experimenting with long exposures to capture the movement of light throughout the frame.
How to Photograph Different Urban Subjects
Urban environments offer a wealth of possibilities, but knowing how to approach different subjects is also important. This section will provide tips on photographing common urban scenes.
Street Photography Insights
People and their interactions are the lifeblood of street photography.
To truly capture the nature of the street, focus on the candid moments that occur naturally in the urban environment. It’s not just about the people, though—subjects like signage, street art, and public transportation also tell the story of the city.
Your job is to frame these elements in a way that feels authentic and engaging.
And remember, the best street photos transfer a sense of place and time to those viewing the image. Your goal is to immerse the viewer in the moment.
- Settings: Keep your camera ready with a fast shutter speed to freeze motion and a moderate ISO to adapt to changing light conditions.
- Composition: Use techniques like the rule of thirds and leading lines to draw attention to your subject.
Architectural Photography Tips
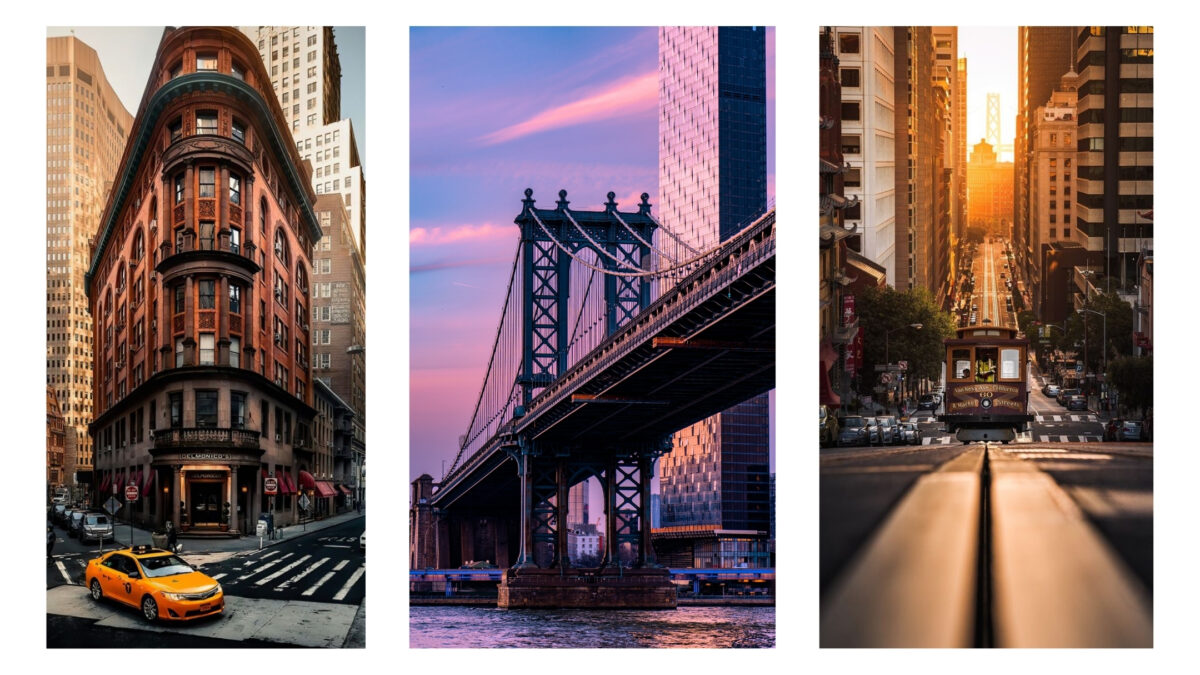
Focusing on architecture allows you to document the history and evolution of a city.
Look for lines and shapes that lead the eye and highlight the building’s form. And pay attention to how the light interacts with structures to create shadows and highlights. These can add depth and drama to your photographs.
Because whether it’s the intricate details of an old building exterior or the sleek modernity of a skyscraper, every building has a story to tell.
- Equipment: A wide-angle lens is valuable for taking photos of the entirety of a structure.
- Technique: Shooting during golden hour provides a warm, soft light to amplify textures and add a golden hue to the buildings.
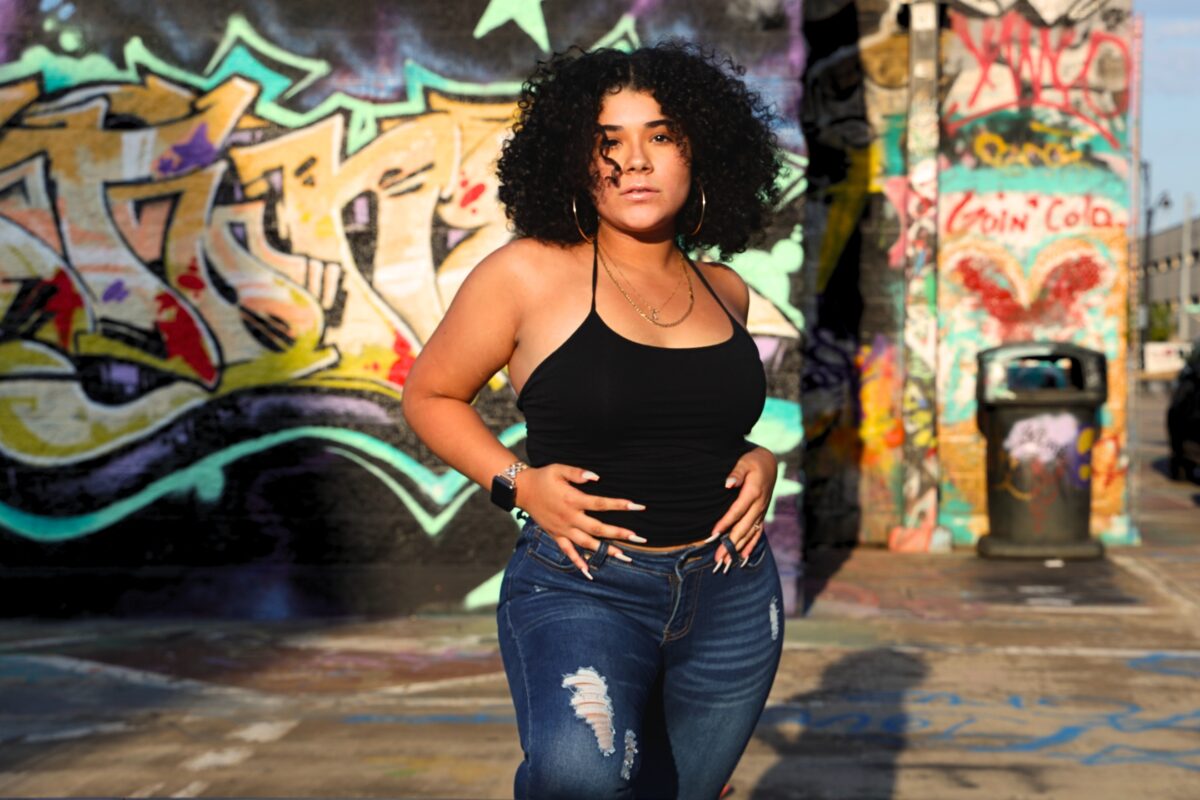
Portrait Photography in an Urban Environment
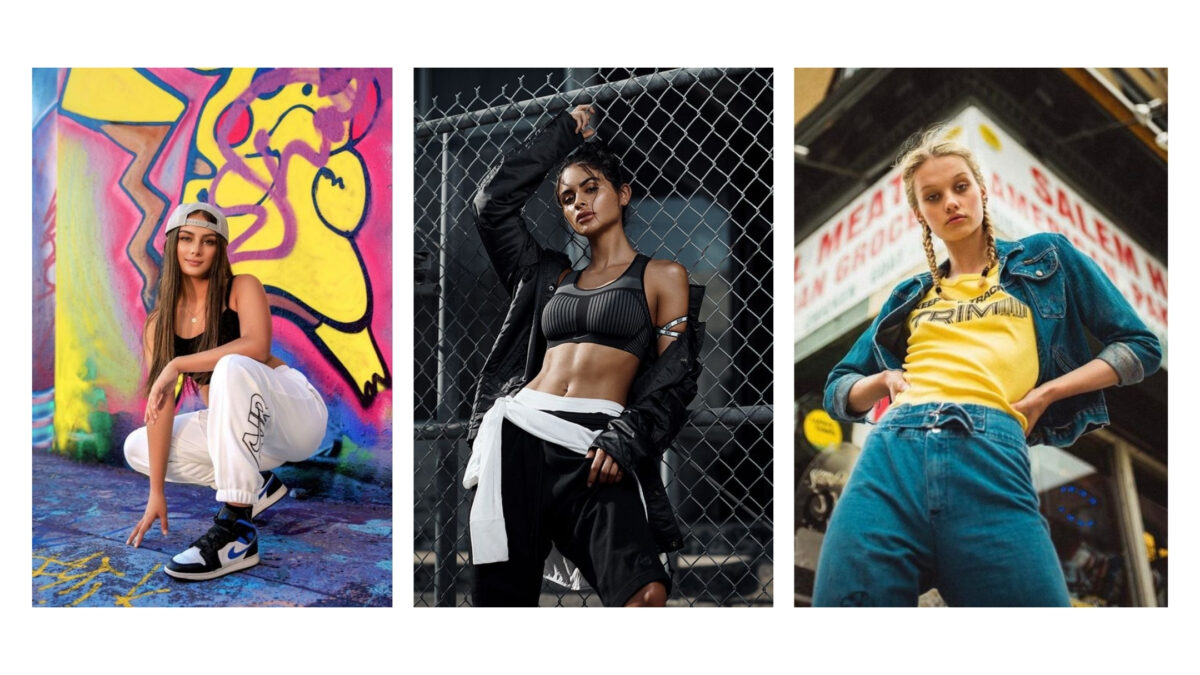
Urban environments create vibrant backdrops for portrait photography.
You can illustrate individuals in the context of their city. To do so, look for backgrounds that complement your subject but don’t overpower them.
For example, a colorful graffiti wall or an iconic cityscape.
- Approach: Engage with the people you are photographing to make them feel at ease—this will result in more authentic and relaxed expressions.
- Focus: Be mindful and make your subject the main point of interest. You want to use a shallow depth of field to blur distracting backgrounds.
Creative Approaches to Urban Photography
In addition to the subjects above, urban photography offers a world of creative possibilities.
From the stark contrasts of black and white images to the stories present in cityscapes. You decide what and how you’ll take photos.
Black and White Urban Photography
Black and white photography isn’t just an absence of color. It’s a distinct style that can transform the urban landscape into a timeless picture. Here are a few pointers:
- Focus on Contrast: Look for scenes with dramatic lighting that will create powerful contrasts in black and white.
- Emotion and Texture: Monochrome brings out textures and emotions. This adds depth to seemingly mundane urban elements.
- Varied Perspectives: Take pictures from a taller building or viewpoint to get a sprawling view or get low to the ground for a unique vantage point.
Documentary Photography in Urban Spaces
Documentary photography is about telling the real stories of the city and its people. Doing documentary projects in urban spaces allows you to:
- Capture Authenticity: Seek out authentic moments that reflect the life and soul of the city.
- Chronicle Change: Shoot a series over time to document the ever-changing urban environment. You can highlight shifts in both the physical and social landscape.
Post-Processing and Editing
When taking photos make sure you’re capturing your urban landscapes in RAW format to retain maximum image information. Then it’s time for editing!
Tools like Adobe Lightroom or Photoshop allow you to tweak your photo’s exposure, contrast, highlights, and shadows to share the mood you witnessed.
You can modify and experiment with the:
- Exposure: Brighten underexposed shots or recover details from overexposed areas.
- Contrast and Color: Amplify the impact of your photo by enhancing colors or adjusting contrast.
- Detail and Sharpness: Bring out textures and details that make urban photographs pop.
Ethics and Legal Considerations to Keep in Mind
With urban photography, you’re stepping into a space shared by the public, and with that comes a responsibility.
You’ll need to balance your rights as a photographer with the ethics of taking images in an urban environment.
Respecting The Privacy and Space of Others
Imagine you’re in someone else’s shoes, going about your day, and suddenly a camera lens points in your direction. How would you feel?
Here’s where respect takes center stage:
- Ask for consent when possible, especially if the person is the main subject of your photo.
- Be mindful of personal moments. Even in public spaces, people deserve a bubble of privacy.
It’s not just about the law.
It’s about consideration for others. If someone seems uncomfortable, it’s usually best to smile, nod, and move on. There are plenty of other things you can photograph.
Understanding Urban Photography Rights
Also, keep these legal tidbits in mind:
- Public vs. Private: You can generally photograph anything in plain view from a public space.
- Restrictions: Be aware of locations with specific photography rules, like museums or private buildings.
Read up on local laws and regulations as well. Things may differ location by location.
So do some due diligence before you go out and start snapping photos. You want to be informed and understand what you can and can’t do in certain places.
Especially if you’re taking photos somewhere you’ve never traveled before.
Frequently Asked Questions
Can you suggest some street photography ideas for beginners?
Absolutely! Keep an eye out for compelling stories that unfold in everyday scenes. Try capturing the hustle of marketplaces, the tranquil moments in a bustling park, or the interaction of light and shadows during different times of the day. Let each shot tell a part of the unique urban narrative you experience.
What are the top street photography tips to improve my shots?
The key to improving is often in the composition. Remember to have a clear subject and utilize compositional tools like the rule of thirds, leading lines, and framing to create more engaging photos. Always be ready to capture candid moments, which often means keeping your camera handy and your senses alert.
What equipment do I need to start with street photography?
To get started, a reliable camera and a versatile lens, like a 35mm or a 50mm, are sufficient. These lenses are great for capturing a variety of scenes without overwhelming you with technical choices. While extra gear can help, mastering the basics with minimal equipment often leads to the development of a more personal style.
What are the three fundamental rules every street photographer should follow?
Firstly, be aware of your surroundings and respectful of people’s privacy. Second, practice patience; it’s about waiting for the right moment rather than capturing hundreds of hurried shots. Lastly, understand the light in your environment, and how it interacts with the cityscape, and use it to mold your desired story.
