How to Take Professional-Looking Photos With Your Smartphone
Smartphones have transformed photography by placing robust cameras directly in your pocket.
Gone are the days of only using expensive equipment to take pictures.
Your smartphone is great for everyday photos.
You can also manipulate light, composition, and angles to create standout visuals by exploring the settings and learning just a few techniques.
But you have to know your camera settings and how to use your phone. And how to select the right mode to frame your subject with intention.
So you can take great-looking pictures.
24 Tips for Taking Photos With Your Smartphone
- Clean Your Lens: Before shooting, give your lens a good wipe-down. Smudges and dirt mess up your pictures. And it might sound obvious but a lot of us forget to do this.
- Stabilize Your Phone: Keep your phone steady while taking photos to prevent blurring. Use both hands to hold your phone. And consider using a tripod, especially for low-light situations or long-exposure shots. Those things are clutch for night shots.
- Rule of Thirds: Use the rule of thirds when framing your pics. Divide your screen into nine boxes in your head. Then place your subjects along those lines or where they intersect.
- Focus and Exposure: Before snapping, tap the screen to set the focus where you want it sharpest. And do this when taking photos until you get the hang of it.
- Avoid Digital Zoom: Digital zoom can reduce the quality of your photo. Just crop it later if you need to get closer. Trust me, it looks tons better.
- Edit with Apps: Even amazing photos can benefit from a little polish. Download some editing apps and make a few tweaks to add some pizazz.
- HDR Mode: Use High Dynamic Range (HDR) mode to automatically combine images with different exposures to create a single photo with better lighting and detail.
- Learn to Compose: Practice composing your shots. Look for leading lines, framing opportunities, and interesting perspectives that can add depth and interest to your photos.
- Capture Multiple Shots: Take several photos of the same thing from different perspectives. This will give you options when choosing the true winner later.
- Use the Volume Button: The on-screen shutter button moves the phone when you tap it. So use the volume button instead for more stability. Your pics will thank you.
- Portrait Mode: Many smartphones offer a portrait mode that creates a shallow depth of field, focusing on the subject while blurring the background. This is great for professional-looking portraits and close-up shots.
- Use the Grid Feature: Turn on grid mode so you can easily line up horizon lines and compose shots using the rule of thirds. Total game changer.
- Mind the Background: Be mindful of cluttered backgrounds. Simple is best. So, keep the focus on your fabulous subject.
- Control the White Balance: If your phone lets you adjust your white balance, learn how to use it. You want colors to pop, not look washed out.
- Shoot in RAW: When possible, shoot in RAW. With all that extra image data, you’ll have way more flexibility when editing later.
- Avoid Using Flash: The built-in flash on smartphones can be harsh and unflattering. Use natural light or find other light sources. And if you must use flash, consider a diffuser to soften the light.
- Keep an Eye on the Horizon: Keep horizons straight to avoid tilted shots unless you’re intentionally going for a creative angle.
- Experiment with Different Modes: Don’t forget all those bonus shooting modes! Panoramas, slow motion, timelapse… get creative and have some fun!
- Be Mindful of Shutter Lag: Some smartphones have a slight delay after you press the shutter button. Anticipate this to photograph the right moment, especially for action shots.
- Practice Regularly: The best way to improve your smartphone photography is to practice regularly. Take photos every day, experiment with different techniques, and learn from your results.
And if you’d like some more detailed information regarding smartphone photography, keep reading!
The Basics of Smartphone Photography
Learning your camera app’s many features and basic photography principles is the essential foundation for taking professional-quality images.
The Camera App and Its Features
View your camera app as the command center for your photos.
Then, fine-tune some of the following settings to take a great-looking photo:
- Resolution & Image Quality: Ensure your camera is set to the highest resolution for crisp, detailed images.
- Focus: Tap your screen to set the focus point, sharpening the view where it matters most.
- Exposure: Slide your finger to adjust brightness and capture the light just right.
- ISO & Shutter Speed: Play with these to balance light sensitivity (ISO) and the time the camera’s shutter is open (shutter speed) for clear or creatively blurred images.
- HDR Mode: High Dynamic Range (HDR) aids in balancing the light and dark parts of your photo.
Core Photography Principles
- Composition: Rule of thirds, leading lines, and framing enhance visual appeal.
- Lighting: Soft light flatters, harsh shadows dramatize; harness natural light or artificial sources to set the mood.
- Background: Keep it simple to ensure your subject stands out, or use it to add context and depth.
- Experimentation: Try different angles and perspectives to discover that unique shot that tells a story.
As you blend these elements with your smartphone’s capabilities, each photo becomes a testament to your growing skill as a smartphone photographer.
Mastering Composition and Framing
When you’re aiming for professional-looking photos, understanding composition and framing helps. Because it’s not just about what you capture but how you present it using your smartphone.
Using Gridlines to Balance Shots
Turning on the gridlines feature in your camera app is like having a virtual assistant who provides compositional advice as you take your photos.
It overlays a series of lines on the screen of your camera app based on the rule of thirds. A principle that suggests an image should be divided into thirds, both horizontally and vertically, so you have nine parts in total.
Think of it like slicing a pizza into even parts but with your camera’s viewfinder:
- Imagine a Tic-Tac-Toe Board: Picture your camera’s screen or viewfinder divided by two horizontal and two vertical lines, making nine even squares – like a Tic-Tac-Toe board.
- The Sweet Spots: Where those lines intersect, those are your sweet spots. These are the hot zones where you want to place the cool stuff in your photo – like your friend jumping into the pool or a super chill sunset.
- Balance is Key: Try to put the main subject of your photo on one of those intersections. Like putting the pepperoni right where the lines cross – it just looks tastier.
- Play with Horizons: And if you’re taking photos of a landscape, line up the horizon with one of the horizontal lines. It makes the photo feel more balanced, like not putting all the cheese on just one side of your pizza.
This technique helps you avoid center-heavy or lopsided compositions unless you’re deliberately going for that look.
Exploring Different Angles and Perspectives
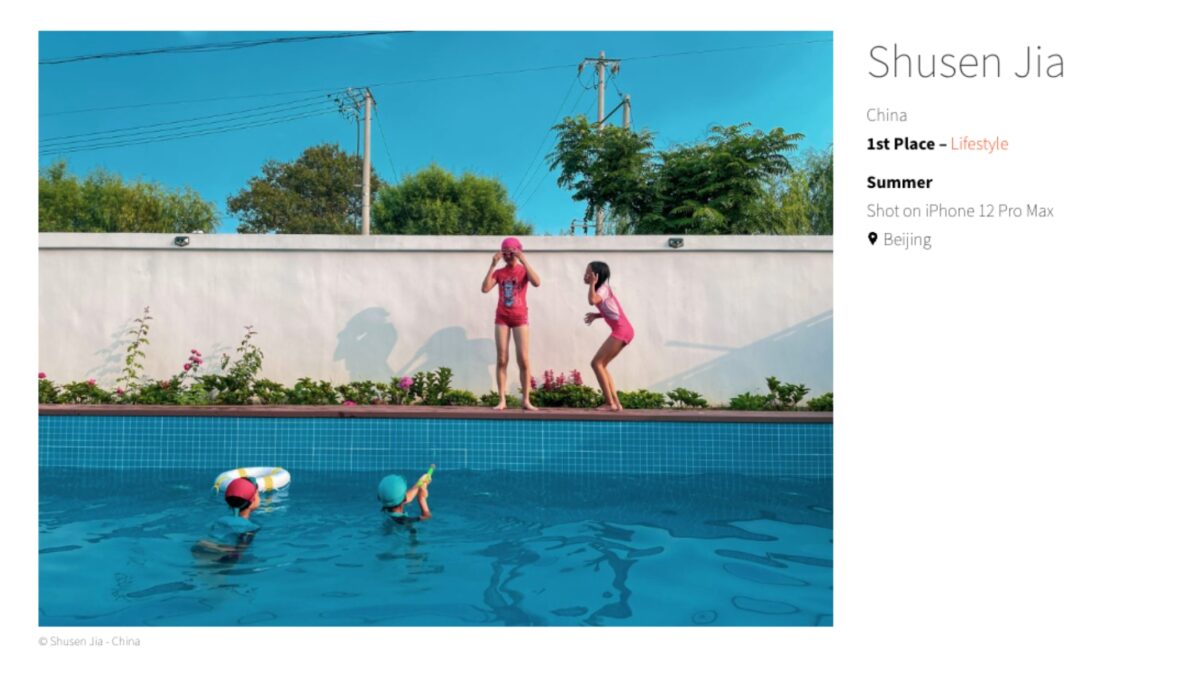
When taking photos on a smartphone, use high and low angles.
- High angles can make your subject appear smaller, emphasizing vulnerability or isolation.
- Low angles shoot up towards the subject, often making them look larger than life and instilling a sense of grandeur or power.
Think of the foreground and background as the stage and backdrop of your image. They can either support your main subject or compete for attention. So you want to be deliberate.
And don’t forget about lighting. It seriously affects the mood and clarity of your images. So be mindful of how the lighting interacts with your scene at different angles.
Ask yourself, where are the shadows falling? What’s being highlighted?
Or what pops out to you. And use your judgment. If you don’t like it take the picture from another angle or try and take it somewhere that has better lighting.
How to Use Light to Enhance Your Photos
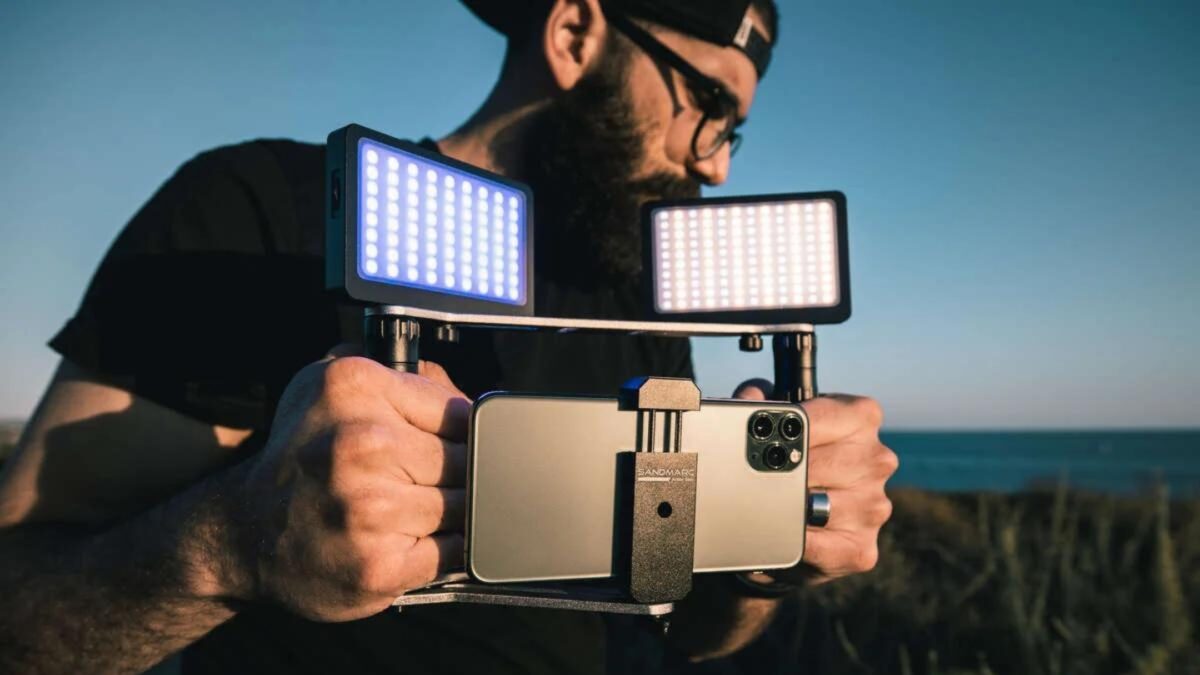
Continuing our discussion on lighting, it’s important to know your options so you won’t always use your phone’s built-in flash.
Finding the Right Lighting Conditions
Natural light is a photographer’s best friend. It’s free, and when used correctly, it can produce the best results.
Try to take photos during golden hour—just after sunrise or before sunset—when the light is soft, warm, and diffused. This magical time adds a rich texture and depth to your photos, creating a professional look with minimal effort.
Also, low-light situations are tricky, but they can create dramatic pictures with the right approach.
Your smartphone’s HDR (High Dynamic Range) mode can do you a solid and help you combat tricky lighting. It takes multiple shots at different exposures and blends them together for a picture with balanced shadows and highlights.
But this works best when there’s minimal movement to avoid blur.
Working with Shadows and Highlights
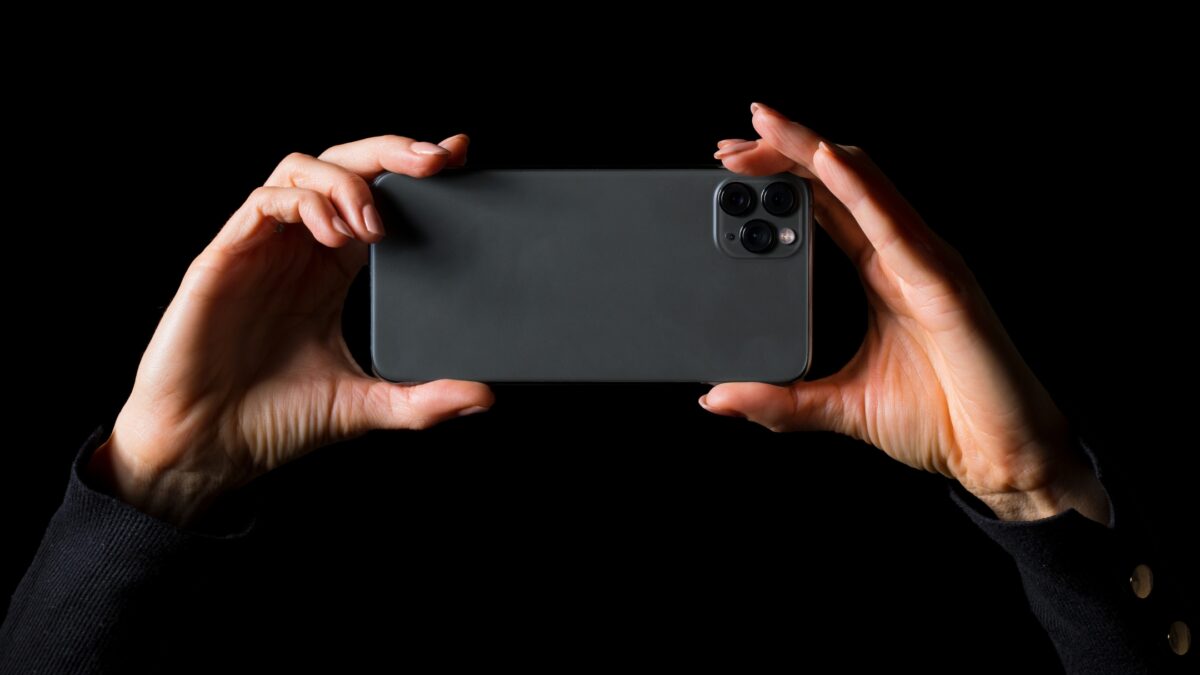
Shadows can add contrast and depth.
This gives the illusion of a three-dimensional space in a two-dimensional photo. To try doing this, practice finding angles where the shadows fall in a way that emphasizes textures or shapes.
Also, pay attention to backlight.
When a light source is behind your subject, a well-executed shot can lead to stunning results with a dreamy halo of light, also known as rim lighting.
But look out because you don’t want your subject to become a silhouette unless that’s the desired effect.
Tip: When taking photos with your smartphone, experiment with reflected light to see how they affect your photos. Surfaces like water, glass, or metal can serve as natural reflectors that bounce light, softening shadows, and illuminating scenes from unique angles. This adds a level of polish that mimics professional shots.
Smartphone Camera Portrait Modes
Portrait mode on your smartphone is all about making your subject stand out.
Your phone uses image processing to create a bokeh effect, where the background is artistically blurred, emphasizing the subject.
The key to mastering portrait mode on your smartphone is to experiment with the distance between your subject and the background.
Because the further they are from each other, the more pronounced the bokeh will be.
Frequently Asked Questions
What are the best practices for holding a phone to capture professional-looking images?
Stability is key. Use both hands to grip your phone, and tuck your elbows into your body to minimize shaking. When possible, lean against a solid surface or use a tripod. If your phone has a burst mode, use it to increase your chances of getting that perfect shot.
How can I take high-resolution photos on my smartphone?
Dive into your camera’s settings and set the photo resolution to the highest possible. Avoid digital zoom as it can decrease image quality. Instead, move closer to your subject. And, good lighting is needed for high-resolution images. Also, try and make the most of the golden hour.
What are some creative phone photography ideas?
Experiment with different perspectives; shoot from high above or ground level for a fresh take. Use reflections in water, mirrors, and glass for artistic effects. And play with color contrasts, or go monochrome for a moody vibe. Your phone’s panorama mode can also lead to stunning wide-angle shots.
How can I take professional-quality self-portraits with my phone?
Use the front camera’s timer feature to give yourself time to pose. A tripod can be handy here too. And natural lighting is your best friend – stand facing a window for the most flattering light. Also, experiment with your phone’s portrait mode to softly blur the background and keep all eyes on you.


