Photography for Beginners (How to Take Pictures Like a Pro)
In this article photography for beginners, I’ll explain everything you should know about photography when starting out.
I’ll also suggest the different pieces of equipment you’ll need and other places you can learn photography as a beginner.
Because as an established photographer with a photography studio here in Connecticut, I know starting out can be hard and confusing.
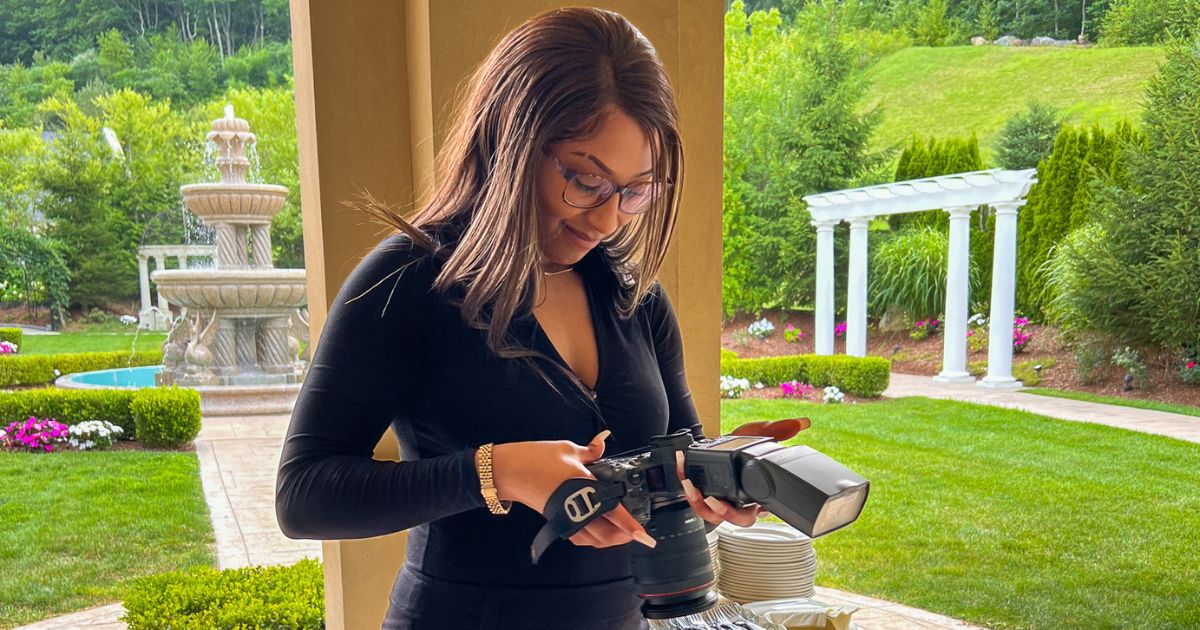
It’s taken me 8+ years of practice and cost me thousands of dollars to learn everything I know.
But, it doesn’t have to be that way for you.
I’ll tell you everything I wish I knew starting out, and what you should buy to when getting started.
What is Photography?
Photography is the art of capturing light with a camera to create an image.
But the process isn’t as simple as clicking a button on your camera and getting great pictures.
You have to understand your camera settings, lighting, composition, and subject.
A Quick Introduction
When I was a beginner to photography, I didn’t care about camera settings or how to utilize every part of my camera.
I put that thing in Auto Mode and photographed everything!
From my little sister to the water dripping out of the gutter on the side of the house. Then I started leaning into portrait photography more and more.
I used friends and family to practice on.
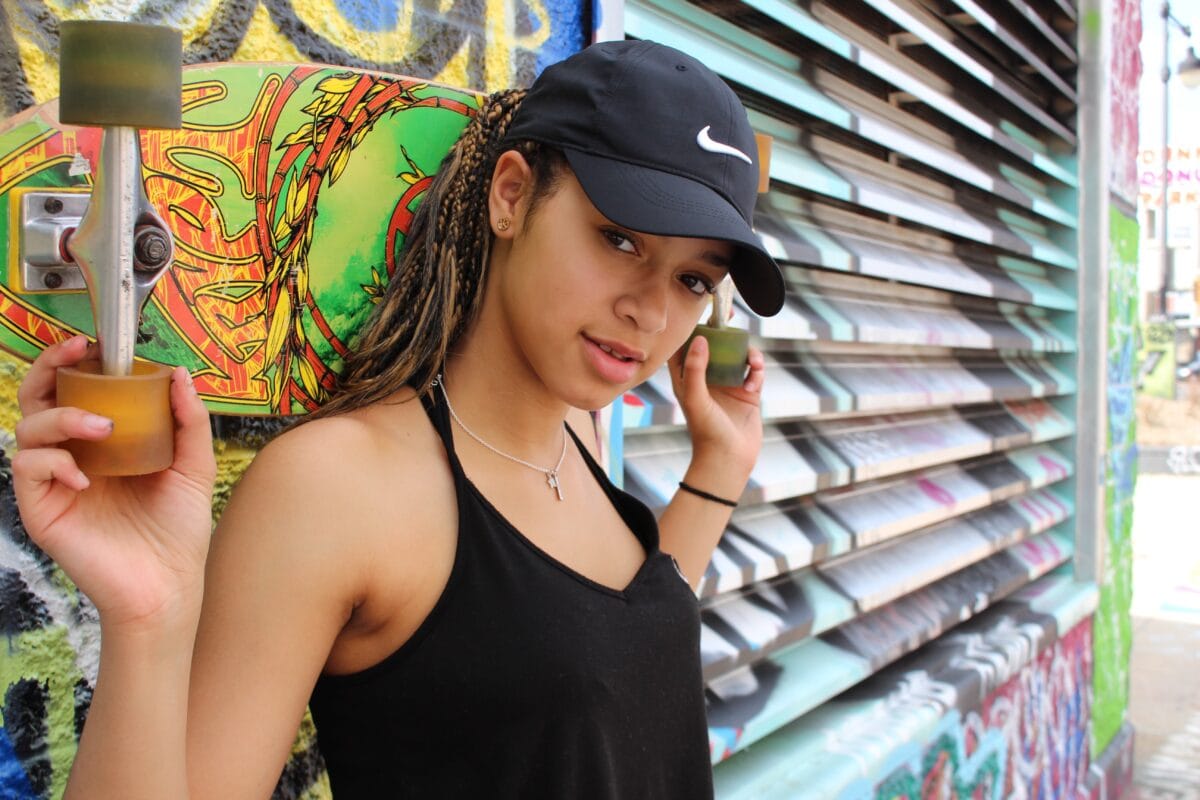
Then I had the desire to start doing paid photoshoots. But I came to the conclusion I definitely needed to know more about my camera, the settings I used, and the equipment I needed.
For me it was a very long journey getting to the high-level quality of photography I’m now at.
This is because I only wanted to focus on the creative aspect of photography. I could care less about the technical aspects of shooting, lighting, and post-production.
That is, until making a career out of photography was the goal.
So trust me when I say I COMPLETELY understand with so many factors that come into play, it’s hard to know where to start on your learning journey of photography.
And the journey never stops!
Photography requires continual learning, especially as a career.
Whether you’re drawn to digital or film photography, camera operations become easier to work with over time. All you need is to understand a few basic components, and you’ll be so much more confident in your photography!
What Are The Main Components of a Camera?
The main features of your camera are:
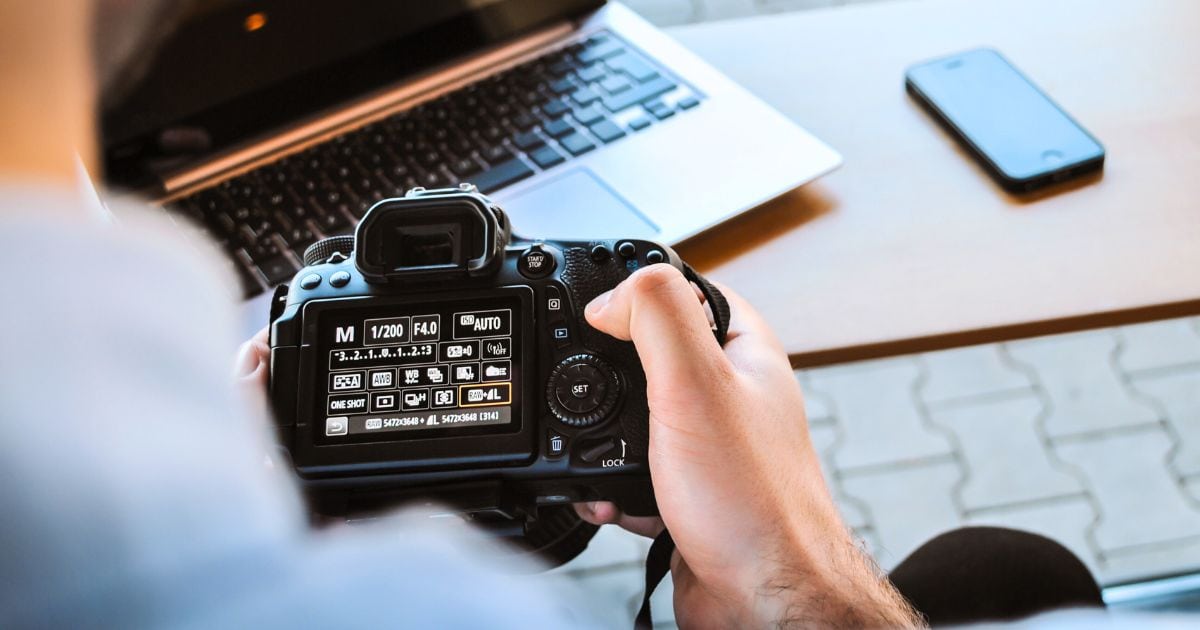
The Camera Body: Consider this as the heart of your camera gear. It’s typically a DSLR or mirrorless model with interchangeable lenses.
Controls and Buttons: Cameras have different buttons and controls that allow you to adjust settings like exposure, focus, and white balance. These controls vary depending on the camera model and brand.
Lens: The lens is one of the most crucial parts of a camera. It allows light to enter and focuses it onto the camera’s sensor, determining factors like depth of field and image quality. Ranging from fish-eye lenses to super-telephoto, the lens type depends on your photography style.
Viewfinder: The part of the camera that allows you to frame and compose your shot. It can be optical or electronic, providing a real-time preview of what the lens sees.
Sensor: The sensor converts the light that passes through the lens into an electrical signal. This is then processed to create the final image. Different cameras have different types and sizes of sensors, affecting the image resolution and low-light performance.
Image Processor: The image processor handles various tasks such as noise reduction, color reproduction, and image compression. It plays a crucial role in determining the overall photo quality produced by the camera.
Shutter: The shutter speed controls the amount of time the sensor is exposed to light. It opens and closes to capture the image. Shutter speed affects motion blur. A fast shutter speed is great for freezing fast-moving subjects.
Memory Card: The memory card is where the camera stores captured images and videos. It is removable and can be transferred to other devices for viewing and editing.
Lens Filters and Other Accessories: These add spice to your photos with creative effects, long exposures, and more. Also, don’t forget essential add-ons like camera bags, SD cards, and batteries.
Different cameras will have additional features and accessories. But, understanding how to leverage and use these components is key.
How Do Cameras Capture Images?
Cameras capture images by using a lens to focus light onto a photosensitive surface, such as a digital sensor or film.
The lens is responsible for focusing the light onto the sensor, which is made up of millions of tiny pixels that gather information about the light. The processor then takes all of this data and converts it into a digital image that we can view on our screens or print out.
The amount of light that enters the lens, and how it’s focused, determines the brightness, sharpness, and clarity of the image.
Photography Equipment For Beginners
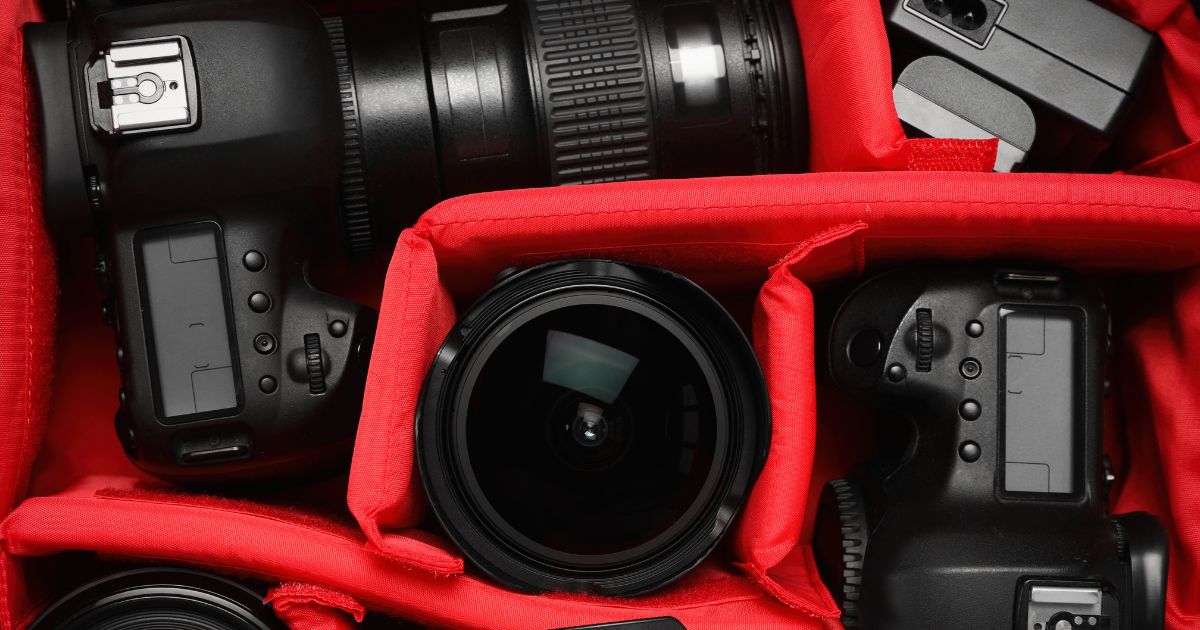
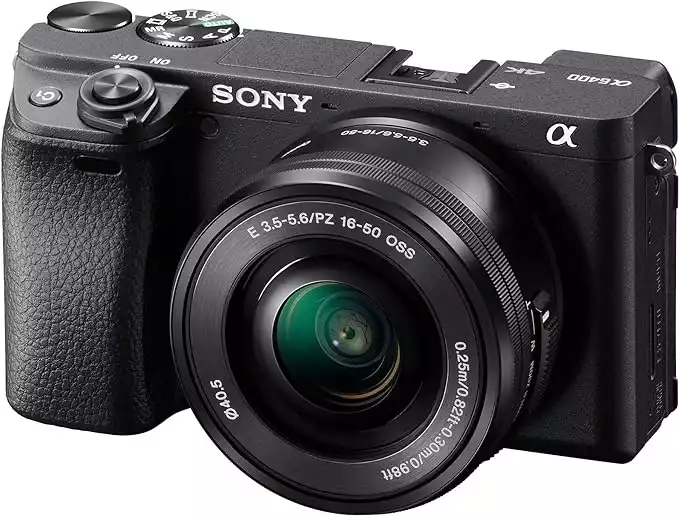
Camera: It’s the heart and soul of your setup – the camera. Even before you think of tripods, a lens, or anything else, a reliable camera is what you need.
This camera has a simple interface with helpful tutorials and a touchscreen LCD.
It takes incredible pictures and is great if you're also looking to use it for video content.
Lens: It’s not just about the camera body; your lens plays a huge role in taking pictures too! A camera lens is the eye of your camera that allows light to reach the sensor, defining how your photos turn out.
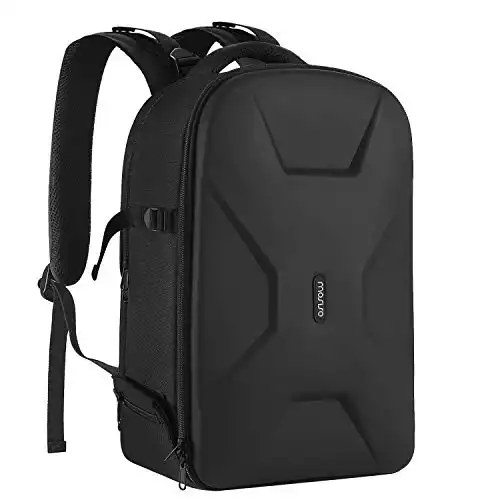
Camera Bag: A camera bag is an absolute must-have piece of photography gear. Because it’s not just any bag, it protects your delicate equipment.
Flash: A camera flash is a device used to produce a flash of artificial light to help illuminate a shot. It’s like an extra dollop of light right when you need it most, say, to brighten up a subject in a dimly lit room.
Westcott's universal flash is compatible with multiple camera brands. And it's LCD touchscreen makes it user-friendly and easy for beginners to navigate and control flash settings.
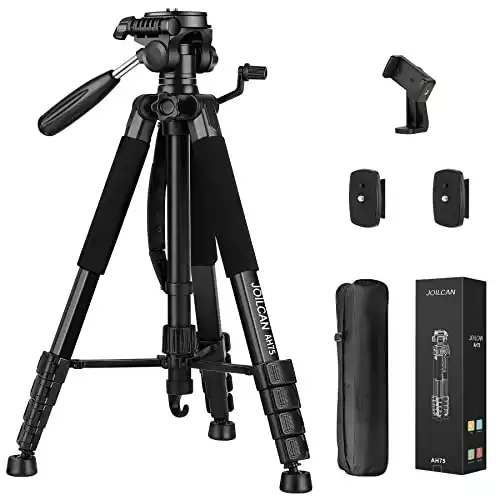
Tripod: A tripod, dear friend, is a three-legged stand, your ultimate tool for stabilizing your camera. Considered a basic yet indispensable piece of equipment for photography beginners, it helps you focus and keep your camera steady.
Memory Cards: When you’re diving into the world of photography, you need a reliable memory card to store your images.
Batteries: No photo gig can start without a reliable battery. They are very important because, without them, your camera can’t do anything!
Photography for Beginners – The Start of Your Journey
Now that we’ve gone over your camera components and the camera equipment you’ll need, let’s choose your camera.
Selecting Your First Camera
Selecting your first camera is a critical step.
But, the choice of your first camera is a personal one, so take your time and pick what suits you best.
My first camera was a Canon T3 and I loved it!
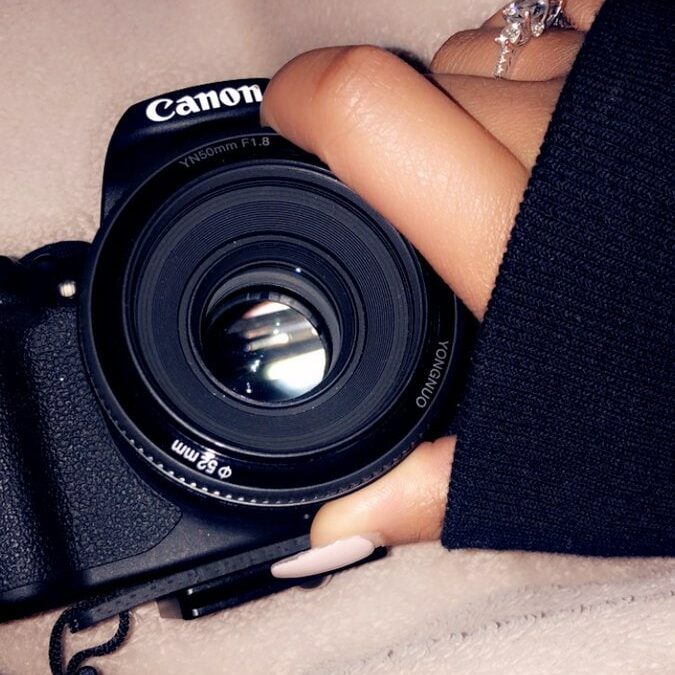
When in the camera market, make sure you consider your budget, camera functionalities, megapixels, compatibility with lens and accessories, manual camera modes, and your photography interests.
Here are a few other things you should consider:
Look for Features That Fit Your Needs: Get a camera body that has essential features and connects seamlessly with different types of lenses.
Consider The Cameras Weight: A lightweight and portable camera is less strain on your hands while also making it easier to travel.
Check The Battery Life: Longer battery life ensures uninterrupted shooting experiences.
Ask Yourself What’s The Storage Capacity: Make sure the camera has efficient storage or is compatible with high-storage memory cards.
Determine Its Expandability: a good camera for beginners should be easy to upgrade as you level up your skills.
User Interface: An easy-to-use interface is ideal for beginner photography, you don’t need a camera with 100 different menus.
Initial Investment: Purchase a camera that’ll fit your budget. You don’t need the newest camera on the market.
DSLR vs. Mirrorless Digital Cameras
DSLR stands for “Digital Single Lens Reflex”.
And compared to mirrorless cameras DSLRs rely on a traditional shutter and mirror system, mirrorless cameras embrace a new, innovative approach.
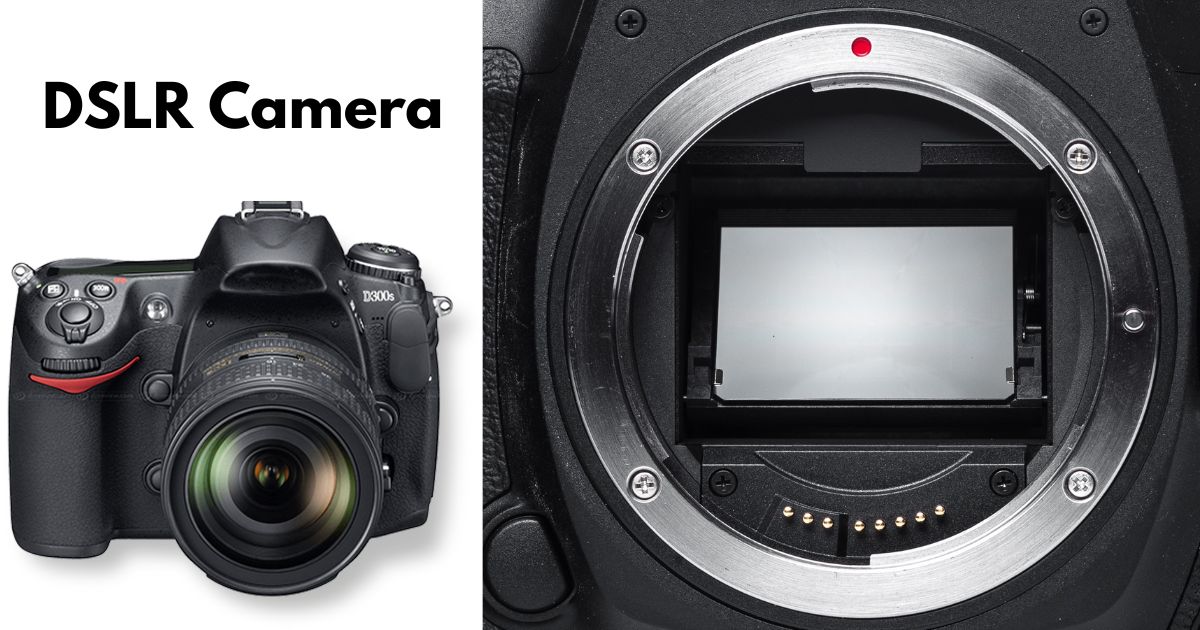
Both systems offer the incredible ability to interchange lenses, providing endless possibilities for capturing the perfect shot.
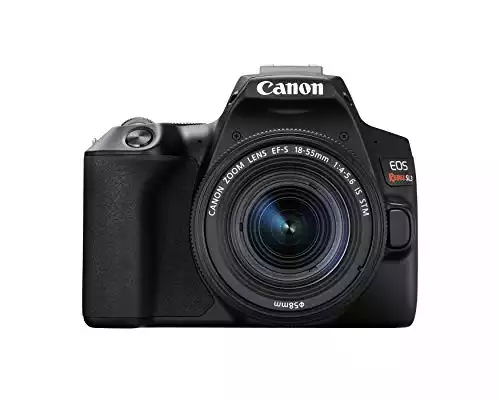
For photography purists, DSLRs are still a favorite and an excellent entry-level option to consider.
An affordable and easy-to-use DSLR. It is lightweight, compact, and has a guided mode for beginners.
Mirrorless digital cameras on the other hand have revolutionized the industry with their sleek and compact design. Without the weight of a shutter and mirror, these cameras are remarkably lightweight, making them perfect for capturing those moments on the go.
But that’s not all.
Mirrorless cameras boast impressive burst modes and outstanding video capabilities, making them true multimedia powerhouses.
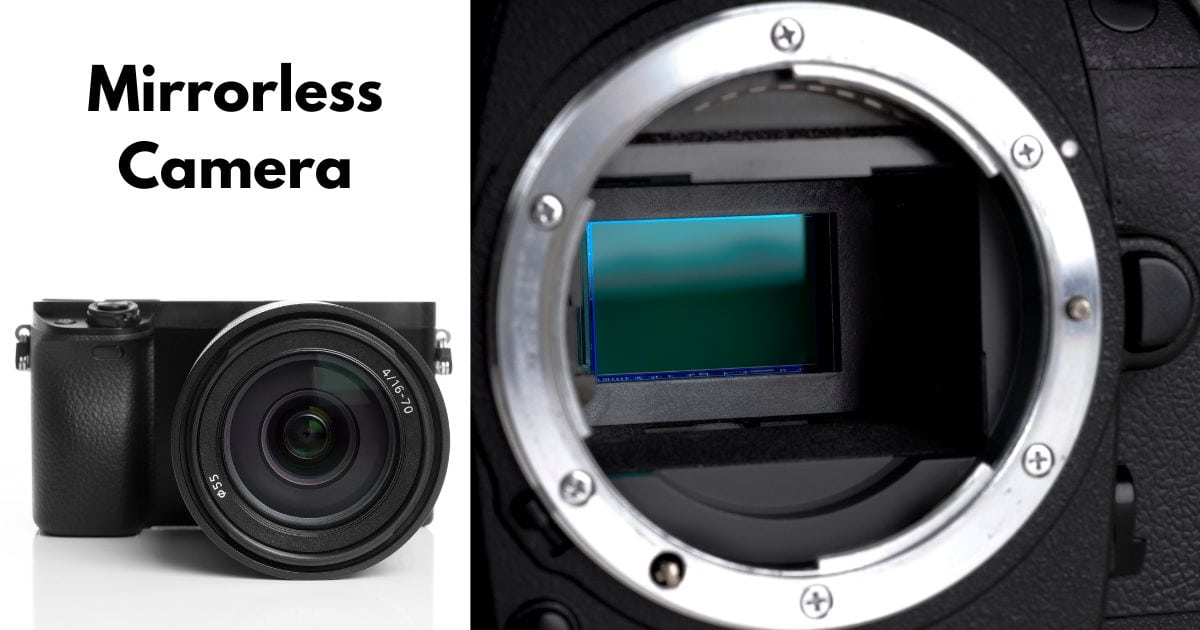
The choice between the two comes down to personal preference, what feels comfortable in your hands, usage, size, and the available lenses you want to use.
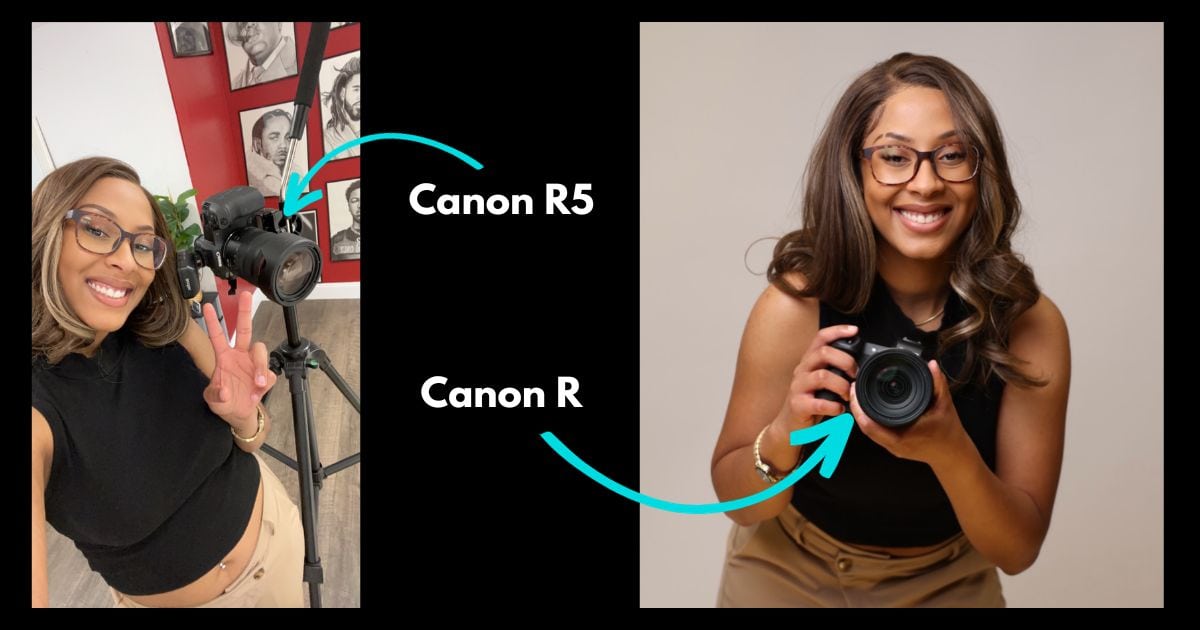
I use Canon mirrorless cameras now for all my photography.
What Sensor Size Are You Going to Need?
The sensor size in your camera is vital for capturing ideal photos. It’s the part of your device that records what you’re shooting.
Larger sensors, like full-frame or APS-C, offer better low-light performance, dynamic range, and depth of field control, making them suitable for professional and enthusiast photographers.
They excel in commercial, landscape, and portrait photography.
Smaller sensors, like micro four-thirds or smartphone sensors, are more compact and suitable for casual photography or situations where portability is crucial. They might have limitations in bad lighting conditions and dynamic range.
But, they’re convenient for everyday use and travel.
Choose a sensor size based on your digital photography goals, whether it’s high-quality prints, creative control, or ease of use.
Making Sense of Crop Factors
Now, let’s talk about “crop factors” in photography.
A crop factor is what happens when your camera has a smaller, or ‘cropped’, sensor size. This sensor size is cheaper to make and it’s common unless you’re getting a high-end camera.
When buying a camera as a beginner smaller sensors capture a narrower view, affecting lens focal lengths.
So, what does this mean for you?
Pay attention to the sensor size when buying a digital camera
Think about how the crop factor may affect the outcome of your photos
Remember a smaller sensor creates a zoomed-in, or ‘cropped’, image
Choose larger sensors for wide shots and when you have less light, and smaller ones for portability and affordability.
Hope this helps!
The Most Popular Camera Brands
You’ve got lots of options when picking a camera brand.
There isn’t a single brand that can be crowned as THE absolute best.
It really comes down to what you’re looking for in a camera.
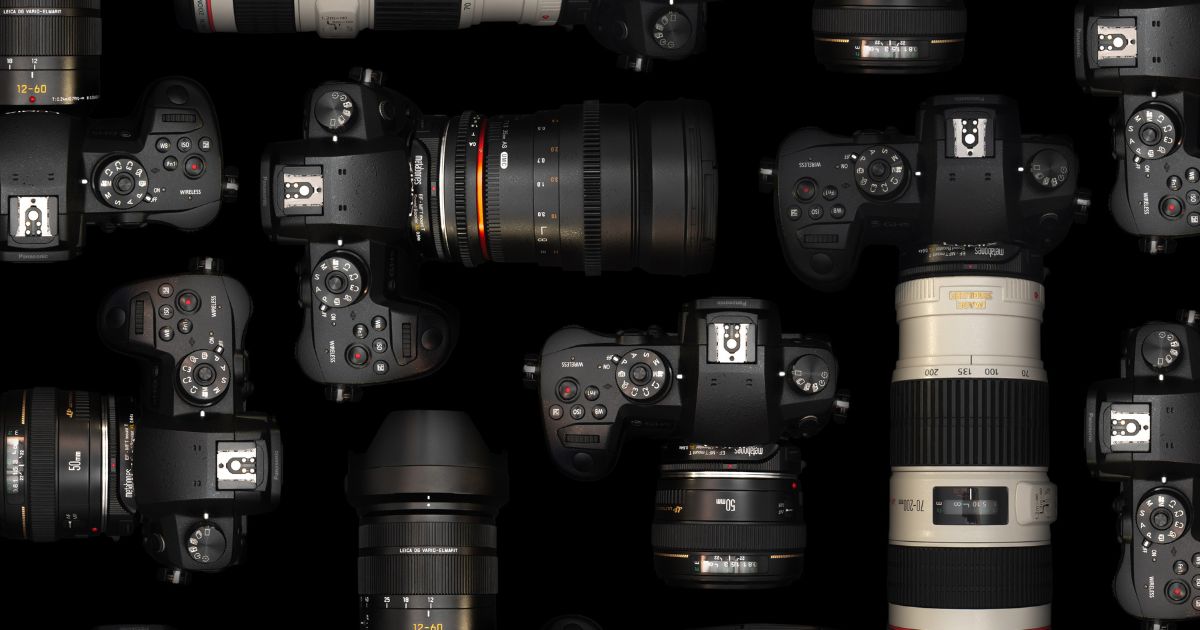
Popular brands include Nikon, Canon, Sony, Fujifilm, Olympus, Panasonic Lumix, and Leica.
Different camera manufacturers have their own specialties and strengths. Understanding these strengths will help you find the ideal camera that suits your needs.
Nikon and Canon are the traditional heavyweights. They offer a wide range of cameras, including DSLR and mirrorless models. Plus, their compact cameras are top-notch as well.
Then there’s Sony, known for outstanding mirrorless cameras. Their full-frame cameras are some of the best on the market. Each new model they release pushes the boundaries of what a mirrorless camera can do.
If you’re into APS-C mirrorless cameras, Fujifilm is the go-to brand. While they may not have as many camera options as others, their retro designs combined with cutting-edge technology have earned them a dedicated fan base.
Olympus focuses on producing Micro Four Thirds cameras. While they may not have the widest selection available, their cameras are versatile hybrids packed with a wide range of features.
For those who crave multimedia capabilities, check out Panasonic Lumix.
And if you’re feeling a bit fancy (and can afford it), check out the luxurious Leica cameras. They’re one of the oldest camera brands on the market.
Mastering The Concept of Exposure
Exposure refers to how much light your camera captures.
Exposure determines the brightness of your photos.
It’s managed by three things: aperture, shutter speed, and ISO – (The Exposure Triangle).
The Role of Aperture (F Stop) in Exposure
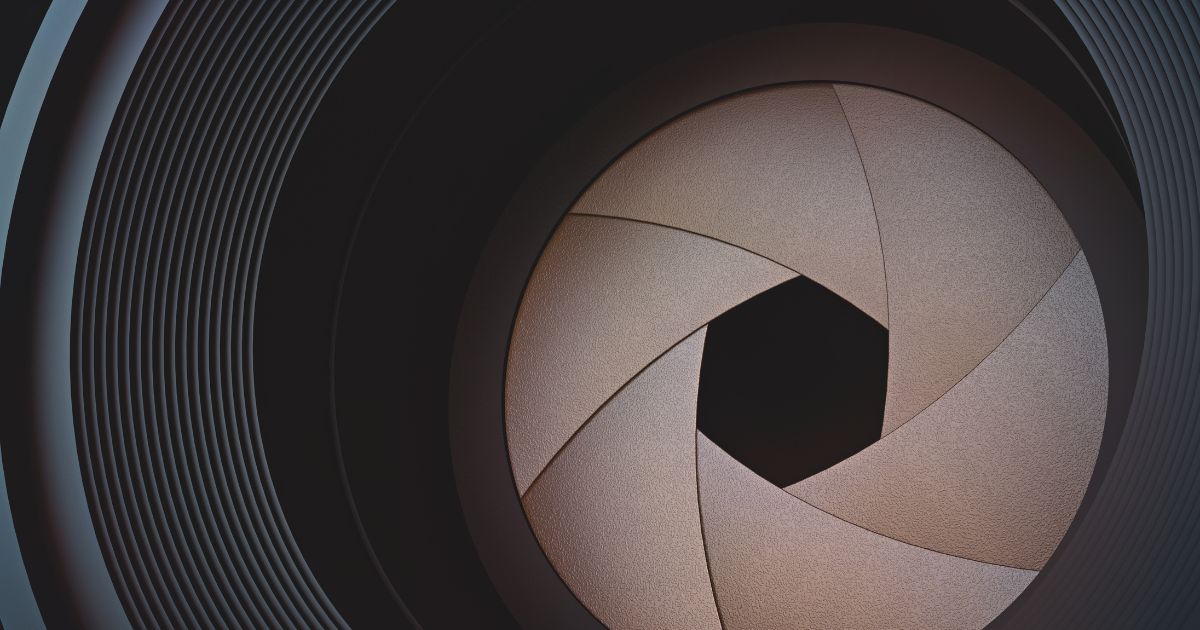
The aperture is like the pupil of a camera lens, controlling the amount of light that gets into the camera. Higher f-numbers limit light for bright scenes. Lower f-numbers allow more light in lower-lit places. Experiment to find the right balance for exposure.”
Unveiling the Power of Shutter Speed
Shutter speed, in a nutshell, is the period your camera’s shutter is open. It controls the amount of light that reaches the film or sensor.
Faster shutter speeds freeze action but darkens images. While a slower shutter speed creates movement blur while brightening shots.

When I had this photoshoot with Brandon (my favorite client in the world!) I used my strobe lights to make up for the low exposure settings on my camera.
Navigating ISO for Optimal Exposure
ISO controls your camera’s sensitivity to light.
In digital photography, higher ISO values make the sensor more sensitive. This is useful in low light but can introduce noise. Lower ISO values result in cleaner images but require more light.
Getting a handle on ISO will help perfect your photo exposure.
Discovering Your Camera’s Hidden Secrets
This section will go over features and more advanced techniques I’d want to know even as a beginner.
Decoding Megapixels: Why Are They Important
Megapixels (MP) are a measure of the number of pixels in a digital image. A pixel is the smallest unit of an image, and it is made up of a single point of color. The more megapixels an image has, the more detail it can capture.
Megapixels are important in photography because they allow you to take larger and more detailed images. This can be useful for printing your photos, or for cropping them without losing detail.
Also, it’s important to note that megapixels are not the only factor that determines better image quality. Other factors, such as the size of the camera’s sensor, the quality of the lens, and the photographer’s skills, also play a role.
In general, a camera with more megapixels will produce higher-quality images than a camera with fewer megapixels. But, the difference in quality may not be noticeable unless you are printing your photos at a large size or cropping them heavily.
Navigating Through Various Metering Modes
Understanding metering modes is necessary because it helps you take perfectly exposed photos by adjusting the how much light your camera picks up. Knowing the right mode to use is the difference between preventing over or underexposed shots.
Multi/Matrix Metering: Automatically used on most cameras, it covers the overall scene. Use this when lighting is even across your frame.
Center-Weighted Metering: Use it when your subject of interest is in the center. This mode focuses on the light around the middle of your shot.
Spot Metering: Ideal for photos with strongly contrasting light. It only reads the light from a tiny part-slice of the scene.
Remember, no metering mode is perfect. Experiment to see which one suits your style.
Understanding Histograms for Perfect Exposure
Have you ever wondered what a histogram is?
It might look like complex math, but it’s actually a handy tool for your photography journey. A histogram is a chart that shows the exposure levels in your image, giving you a more accurate peek into the highlights and shadows.
Why is this important? Well, it helps you see if your image is correctly exposed. Simply put, it aids in preventing under or overexposed images which can make or break your shot!
Let’s unfold how to use it:
Step 1: Snap your photo.
Step 2: Check your histogram. It gives you a rundown on the exposure of your image.
Step 3: Pay attention to the graph. If it reaches both ends, that’s great. If it peaks on one side though, your shot might be under or overexposed.
Photography For Beginners Tip: Don’t blindly trust your camera’s LCD screen when checking exposure. Use the histogram instead for accurate results.
Different Camera Shooting Modes
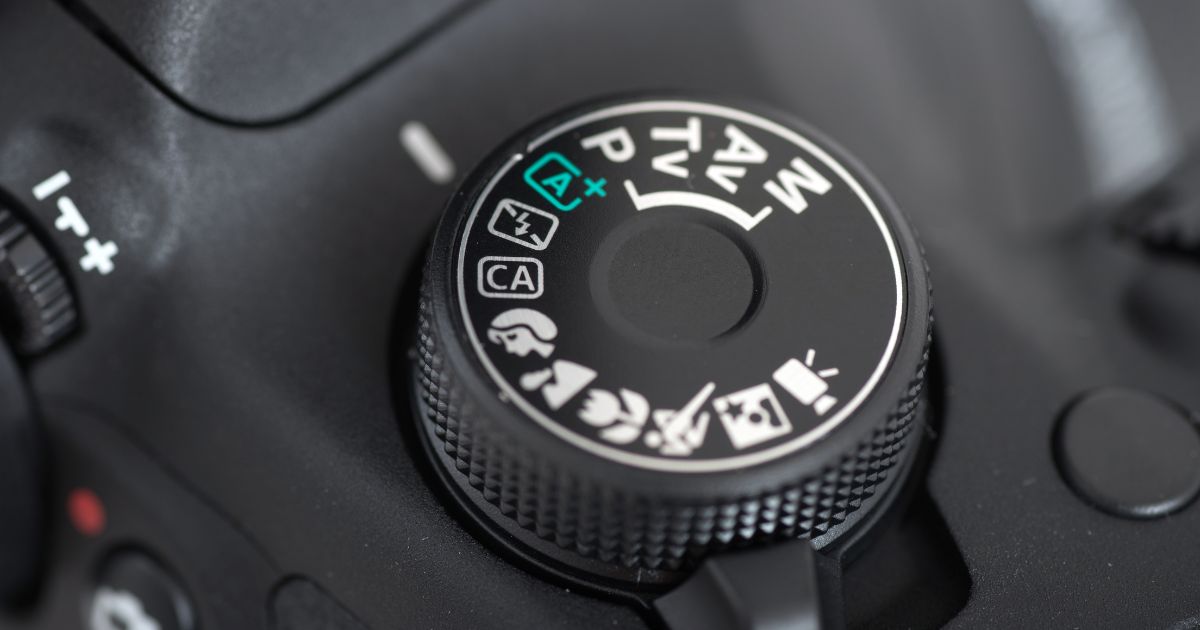
As a new photographer, understanding shooting modes is key to controlling your camera effectively. Let’s go over the options:
Auto Mode: The camera does all the work, suitable for beginner photography, but limits creative control.
Program (P) Mode: A step up from Auto, it allows some adjustments while the camera handles others, great for balancing convenience and control.
Aperture Priority Mode (A/Av): You set the aperture, controlling the depth of field. The camera adjusts other settings, ideal for focusing on blurring backgrounds or keeping everything sharp.
Shutter Speed Priority (S/Tv) Mode: With shutter priority mode, you set the shutter speed to freeze motion or create motion blur, while the camera adjusts other settings.
Manual (M) Mode: Full control over aperture, shutter speed, and other camera settings. It offers creative freedom but requires an understanding of camera basics.
To choose the right mode, consider your goal. For sharp focus or blurred backgrounds, use Aperture Priority. For action shots or if you want blurry images, opt for Shutter Speed Priority. Manual mode gives complete control but you might not have the experience to use it yet.
Start with Program mode, then gradually explore others as your skills grow.
Mastering Depth of Field Techniques
Depth of field (DOF) is the distance between the nearest and farthest objects in a photograph that appears acceptably sharp. It defines the range of sharpness in a photograph and is influenced by 3 key factors:
Aperture: The lens opening determines depth of field. A wide aperture (low f-stop) leads to a shallow DOF with a blurred background, while a narrow aperture (high f-stop) results in a deeper DOF.
Focal Length: The lens’s distance to the image sensor impacts depth of field. Longer focal lengths offer shallow DOF, while shorter ones create a deeper field.
Subject Distance: The proximity of the subject to the camera affects depth of field. Close subjects yield shallower DOF, emphasizing them against a blurred background.
Balancing Colors: The Essence of White Balance
Imagine you’re taking a lot of pictures but something seems off with the colors.
Chances are, it’s your camera’s white balance. White balance is how your camera perceives ‘true white’ under different light sources.
Think of it like colored glasses – it tints everything you see. The right white balance can make or break your image’s natural colors.
White Balance is your camera’s perception of what ‘white’ looks like under different light conditions.
Why is it important? It helps balance color intensity in your photos so they are as true to life as possible. Think the blue of the midday sky or the orange hue of a sunset!
It’s measured in ‘Kelvins’. High ‘K’ = cooler colors, Low ‘K’ = warmer ones.
When you finally master white balance you’ll have vibrant, realistic photos!
What You Need To Know About Your Camera Lens
Let’s shift focus and talk about camera lenses.
Prime vs. Zoom Lens Basics: A Short Comparison
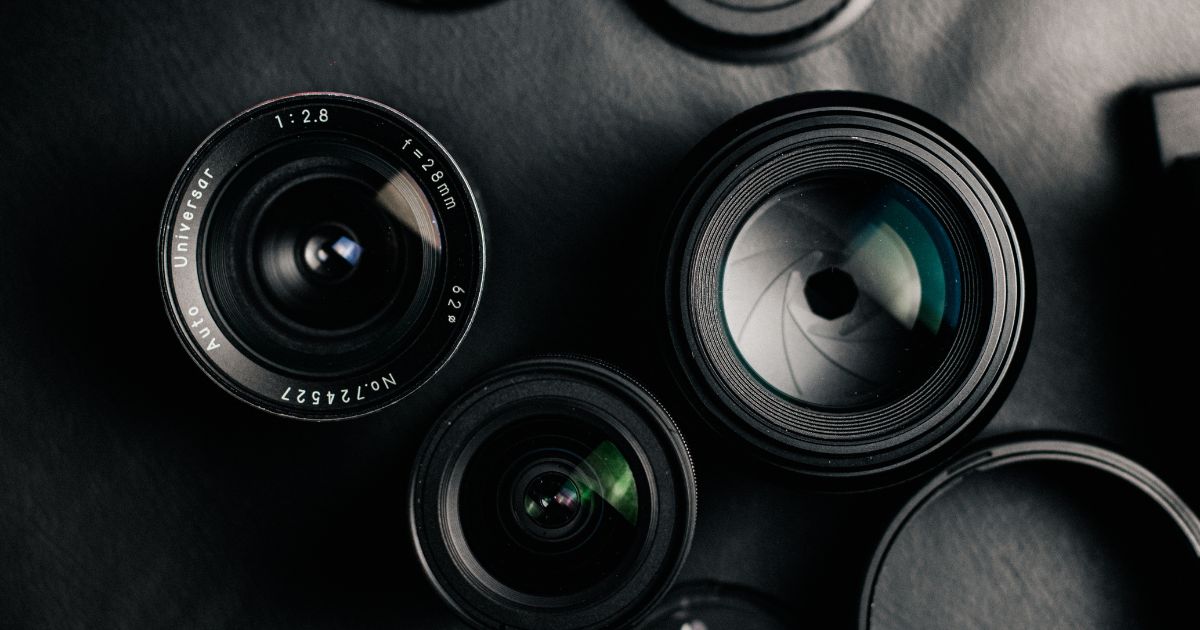
Prime Lenses:
Prime lenses offer sharper photos with a fixed focal length. They’re compact, lightweight, and deliver excellent image quality. Their top advantages include exceptional photo quality, a large maximum aperture, portability, and effectiveness in low-light situations. However, they come with drawbacks like limited framing flexibility, requiring physical movement for shots, and potential lens switching.
Zoom Lenses:
Zoom lenses provide versatility with an adjustable focal length. They enable varied compositions without physical movement, though image quality might slightly suffer. The benefits include a range of focal lengths, adaptability to different photography styles, ease of composition changes, and suitability for events and wildlife photography. Conversely, zoom lenses tend to be heavier, might compromise image quality at full zoom, have a smaller maximum aperture, and can be more susceptible to lens shake.
Photography For Beginners Tip: Choose a lens type that aligns with your photography preferences, whether it’s the precision of a prime lens or the adaptability of a zoom lens.
What Other Types of Lenses Are Available
Standard Lenses: Mimic human vision, ideal for documentaries or street snaps. Fun fact – a 50mm lens on a full-frame camera is a classic standard.
Telephoto Lenses: Longer reach for portraits or wildlife shots. Grab a short-range telephoto like 100mm for that bokeh background.
Wide Lenses: Capture more of the scene for architects and landscape photographers. Try an ultra-wide-angle shot for a nature groove.
Simplifying Focal Lengths
The focal length is basically the magnification power of your lens.
It’s the distance between the center of the lens and the point where the light rays converge to form a sharp image. It is measured in millimeters (mm).
In photography, focal length affects the angle of view and magnification of the image. A wide-angle lens has a short focal length and captures a wider view of the scene. A telephoto lens has a long focal length and magnifies the subject, making it appear closer.
Here’s a table of common lengths and their uses:
| Focal Length | Angle of View | Magnification | Typical Uses |
| 14mm | Very Wide | Low | Landscapes, Architecture |
| 24mm | Wide | Moderate | Landscapes, Street Photography |
| 35mm | Standard | Normal | Portraits, Street Photography, Everyday Photography |
| 50mm | Standard | Normal | Portraits, Street Photography, Everyday Photography |
| 85mm | Telephoto | High | Portraits, Sport, Wildlife |
| 100mm | Telephoto | High | Portraits, Sport, Wildlife |
| 200mm | Super Telephoto | Very High | Sports, Wildlife, Bird Photography |
Here are some examples of how focal length can be used to create different effects in photography:
A wide-angle lens can be used to create a sense of spaciousness or to capture a large scene in one shot.
A telephoto lens can be used to magnify the subject and make it appear closer. This can be useful for taking close-up shots of wildlife or sports.
A standard lens is a good all-around lens that can be used for a variety of photography subjects.
Photography For Beginners Tip: The best focal length for you will depend on the type of photography you are doing and your personal preferences.
The Magic of the Nifty Fifty (50mm) Lens

There’s something almost magical about the 50mm camera lens. So, if you don’t have one in your photography bag just yet, grab one.
It’s not as wide as a 35mm, and not as zoomed in as an 85mm, but it has its own unique qualities that make it a favorite amongst most professional photographers.
The 50mm lens is known for its ability to capture incredibly sharp photos and true-to-life images, making it a go-to for portrait and street photographers alike. It’s also a great option for those who are just starting out with photography and want to experiment with different types of shots.
50mm lens makes pictures feel intimate and personal as if you’re right there in the moment.
Enhancing Your Shots with Polarizing Filters
Polarizing filters are a piece of equipment that attaches to the front of the camera lens. It helps reduce glare and reflections and enhances the colors and contrast in your images.
How does it work?
Well, the filter is made up of a layer of material that is able to block certain light waves from entering your camera lens. This selective blocking helps to eliminate reflections and improve the overall quality of the image.

With a polarizing filter, you can capture landscape scenes with crisp blue skies and vibrant green foliage, or snap stunning underwater photos with reduced glare and clearer visibility.
How to Figure Out Which Lens is Best for You
Just like cameras, the choice of lens depends on what you want to shoot.
Different types of photography call for specific lenses. Picking the right one that suits you will help you excel in that field.
For street and travel photography, standard focal lengths like 35 or 50mm are awesome. They offer a similar field of view to the human eye, so you can capture what’s right in front of you.
Wide-angle lenses are a must for real estate, architecture, and landscape photography. They allow you to capture vast exteriors and tight interiors, as well as wide open areas in landscapes.
If you’re into portrait and product photography, you can’t go wrong with 50mm lenses.

But for more intimate compositions, try larger focal lengths ranging from 70 to 120mm. These lenses also work great for product and food photography.
Consider a lens with a fast maximum aperture for portraits or products. It provides excellent exposure control, shallow depth of field, and creates a beautiful bokeh effect.
For sports and wildlife shooters, super-telephoto lenses are needed.
They offer outstanding magnification, allowing you to get up close, whether you’re in the stands or on a safari.
Mastering Composition and Sharpness
We’ve explored the technicalities, let’s dive into the artistry of composition and the precision of sharpness.
The Rule of Thirds: Your Guide to Balanced Shots
Hey there, ever wondered why some pictures look more visually appealing than others? The secret often lies in the Rule of Thirds in photography!
This simple yet effective rule is your go-to guide for balanced shots that really catch the eye.
Here’s how:
Imagine dividing your frame into nine equal parts with two horizontal and two vertical lines.
Now, instead of placing the subject smack in the center of the frame, place it on one of the four points where the lines intersect.
For example, if you’re clicking a sunset, try positioning the horizon along one of the horizontal lines, and the setting sun at an intersection point.
Give it a go! You’ll be amazed how this little adjustment can transform your compositions.
Visual Weight: Directing Attention in Your Photos
Visual weight in photography refers to how much an element attracts the viewer’s attention within a composition.
Bright colors, contrasting tones, and prominent objects possess higher visual weight, influencing where the viewer’s eyes are drawn and creating balance or emphasis in an image.
It’s sort of like playing a game of tag where you control where your viewer’s eyes dart off to first. For instance, a large, brightly colored object at the corner of an otherwise monochrome photo can pull attention due to its heavy visual weight.
Harnessing the Power of Triangles in Composition
Triangles are your new best friends in photography!
Triangles are a basic compositional tool that can be used to create a sense of balance, stability, and interest in your photos. They can be found in nature, architecture, and everyday objects.
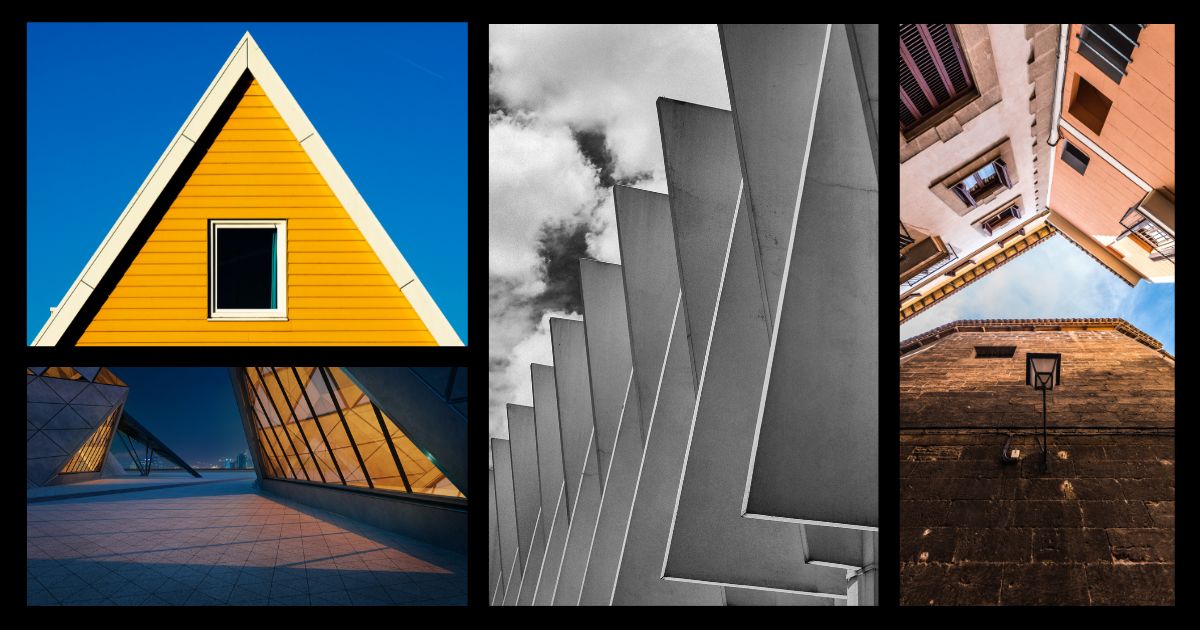
To use triangles in your photography, look for three elements that form a triangle shape. These elements can be anything, such as the branches of a tree, the lines of a building, or the shapes of people’s bodies.
Once you’ve found your triangle, frame your shot so that the triangle is the focal point of the image.
Photography For Beginners Tip: Triangles can be used in any type of photography, but they are especially effective in landscape, portrait, and street photography.
Guiding the Viewer’s Gaze With Leading Lines
Leading lines in photography are lines within a picture that help guide your eyes to a specific point. These lines can be straight like roads or curved like a river.
They can lead you from the foreground to the background, or from left to right.
Leading lines help tell a story in a photo by leading your eyes to the main subject, making it easier to understand what’s going on in the picture.
Sharpness in Photography
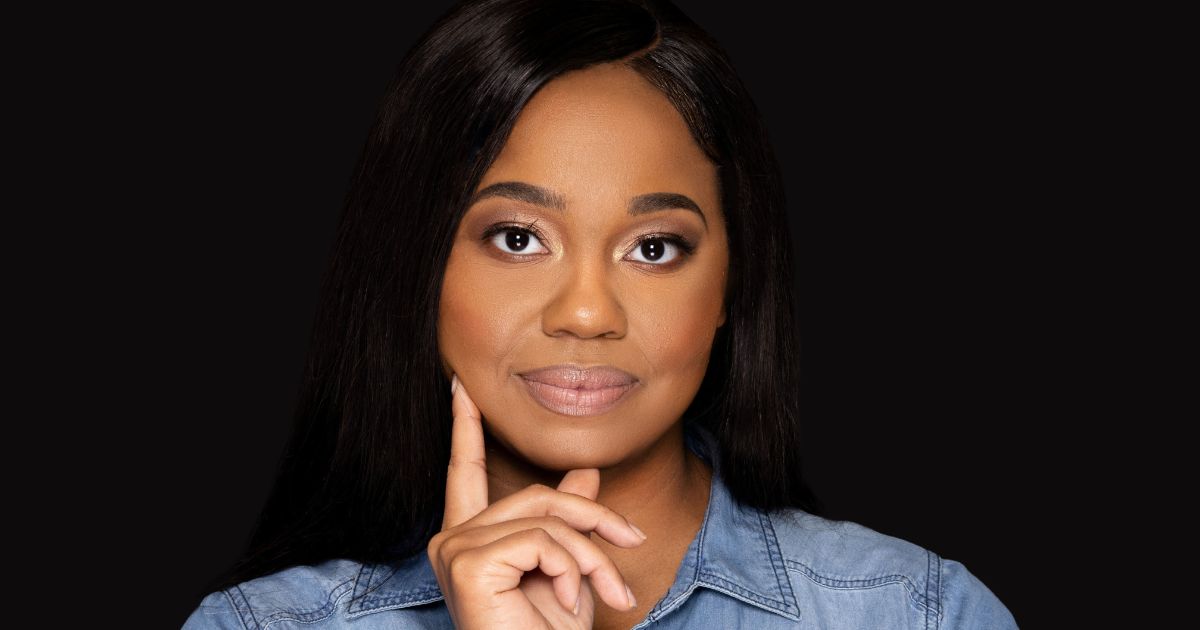
Sharpness in photography is how clear and in focus your pictures are.
Imagine taking a picture of a flower with a blurry camera and then taking another picture of the same flower with a clear camera.
The second picture would look sharper because it is clearer and you can see more details. When a picture is sharp, it looks like you can almost touch whatever is in the picture!
Symmetry and Balance
Symmetry and balance in photography are about arranging elements evenly or unevenly to create visual harmony or tension in your shots. You’re making things look even and stable – creating a sense of harmony.
Imagine folding a picture in half, and both sides match perfectly – that’s symmetry.
Balance is like placing heavy things on one side and light things on the other because you want things to be uneven to make the picture look interesting and cool!
Post-Production: Editing Your Photos
I want to briefly touch on post-processing and editing tools you can use for your photos.
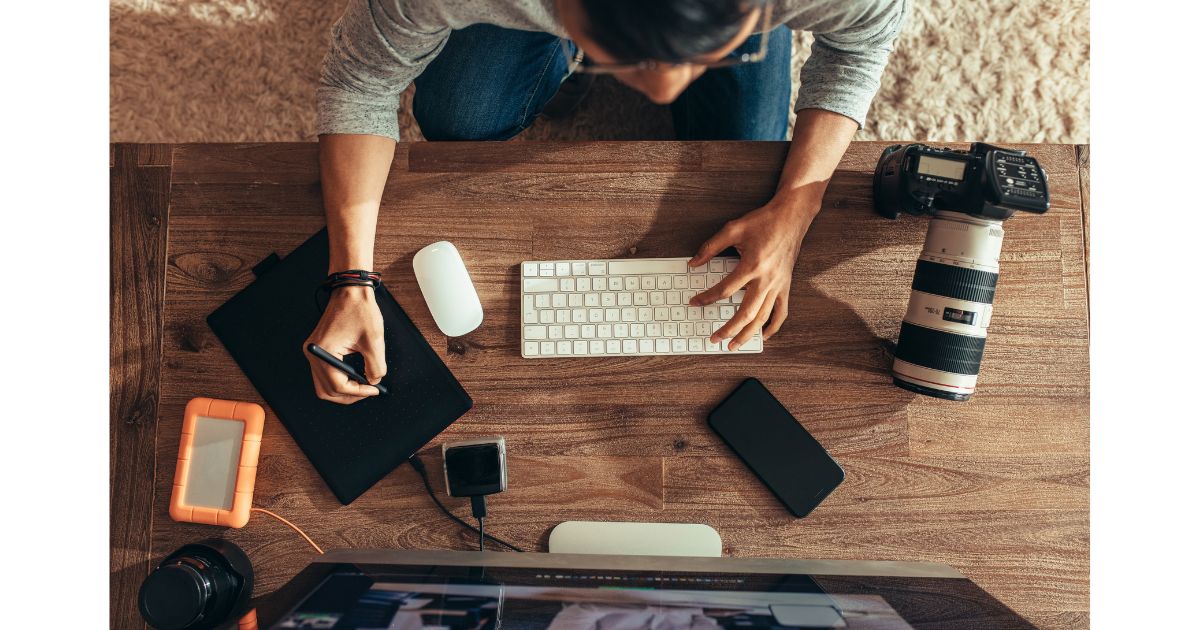
Adobe Photoshop is a powerful image editing software used by photographers to manipulate and enhance photos. It provides advanced tools for retouching, compositing, and creative editing, allowing precise control over every aspect of an image’s appearance.
But it does have a huge learning curve.
As a beginner, you might find it overwhelming, and some features may be excessive for casual photographers. You’ll also need a good computer, and its monthly subscription isn’t budget-friendly.
Adobe Lightroom is a photo editing software that offers tools for organizing, enhancing, and retouching images.
It’s popular among professional photographers for its user-friendly interface and non-destructive editing, allowing adjustments without harming the original photo quality.
Color Adjustments
Ever snapped the perfect photo but the colors just don’t seem right? Fine-tuning colors during post-production can make your shots truly pop.
Pro Tip: Shoot in RAW. This allows for adjusting white balance during editing.
Pro Tip: Play with temperatures for different atmospheres.
Color balance is your secret weapon to make your photos look as good as your imagination!
Noise Reduction
Sure thing, champ! Noise reduction in post-production is like zapping away those little grains that can obscure your gorgeous photos. Essentially, you’re tidying up to bring out clearer, crisper images. It’s a mix of a science and an art, and it’ll take some getting used to.
Cropping
Cropping a photo post-processing refers to the act of removing or altering certain parts of your image to enhance the picture’s composition. Here’s how you can do it:
Upload your image in your chosen photo editor.
Select the cropping tool usually symbolized with rectangular borders.
Drag and resize the cropping borders to include the parts you want to keep.
Apply and save your changes
Where to Learn Photography as a Beginner
Here are 3 places you can learn photography as a beginner:
Photography for Beginners Books
One of the best ways to begin your photography journey is by picking up a couple of books that cater to beginner photographers.
With books, you can start at your own pace, and you’ll have the opportunity to revisit certain concepts you might have missed without feeling rushed.

Another great option is photography tips, guides and articles online. These can provide valuable advice and tips on everything from camera settings to composition. And you can access them anywhere from your phone.
Many beginner photographers have started out using guides and articles as a way to learn the basics before moving on to other resources.
Digital Photography Courses
Structured online courses are also an option.
Online courses provide convenience and flexibility, enabling self-paced learning from anywhere. They often come at an affordable cost, offering a vast range of topics from beginner to advanced levels.
Interactive features like videos and quizzes make learning engaging, and expert instructors bring their knowledge to your screen.
But, online courses can’t provide you hands-on digital photography tips, experience or in-person social interaction.
3. YouTube and Other Local Photographers
YouTube (Search “Photography Tips for Beginners”): There are many great photography channels on YouTube that can teach you photography basics. These channels often have tutorials on topics such as exposure, composition, and lighting. They may also have videos on specific types of photography, such as landscape photography, portrait photography, and street photography.
Local Photographers: There are also many other photographers who offer photography classes and workshops. These classes can be a great way to learn from experienced photographers and get personalized feedback on your work.
Here are some tips for learning photography from YouTube and other local photographers:
Find a Channel or Photographer That You Like: There are many different photography channels and photographers out there, so it’s important to find one that you enjoy watching and learning from.
Be Patient: Learning photography basics takes time and practice. Don’t get discouraged if you don’t see results fast. Just keep practicing and you’ll eventually get better.
Experiment: Don’t be afraid to experiment with different techniques and settings. The best way to learn is by doing.
Get Feedback: Once you’ve taken some photos, get feedback from others. This could be from a friend, family member, or another photographer. Feedback can help you identify areas where you can improve and help you take better photos.
