Simple Photo Editing Tips to Get Better-Looking Photos
Have you ever wondered how to improve the appearance of your photos?
Well… you’ve come to the right place. I’m about to share some great photo-editing tips that will lead to better-looking photos.
Because many of us struggle with basic editing tasks, from adjusting brightness to improving colors.
But photo editing doesn’t have to be hard.
And as a professional photographer with years of editing experience, I’m here to share what I’ve learned. I also used these tips in my own photos, and I’m excited to guide you through the process.
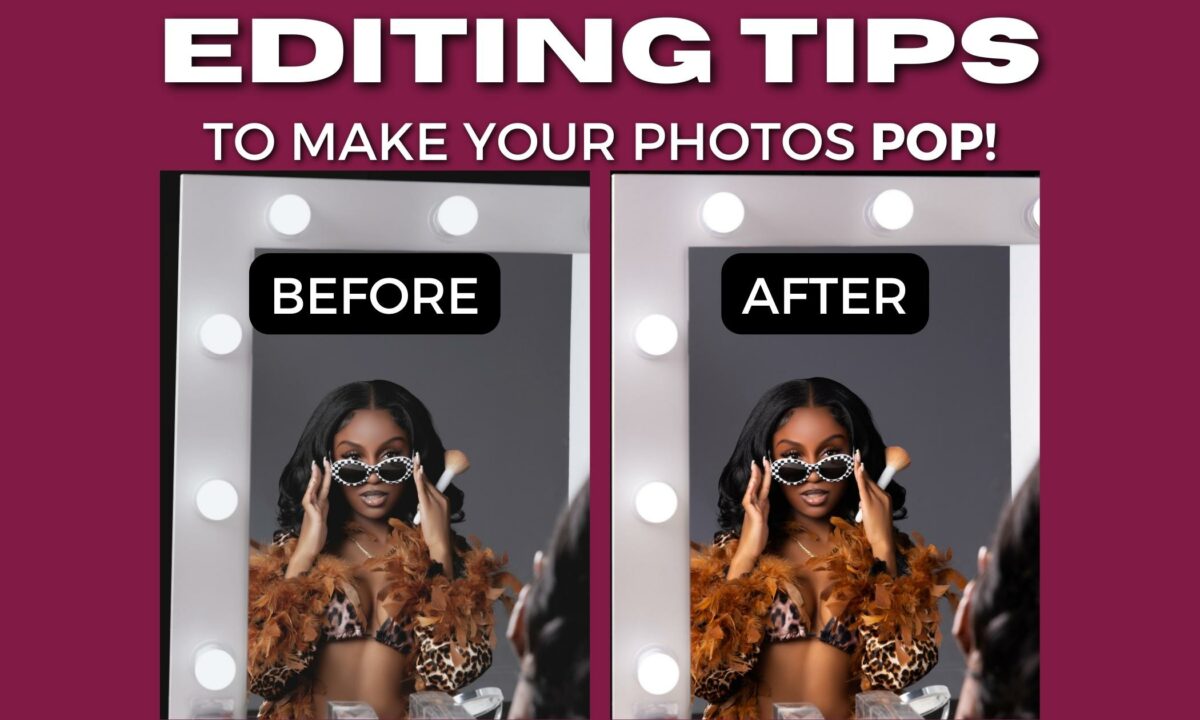
10 Straight Forward Photo Editing Tips
Here are 10 straightforward tips you can use right now to help edit your photos:
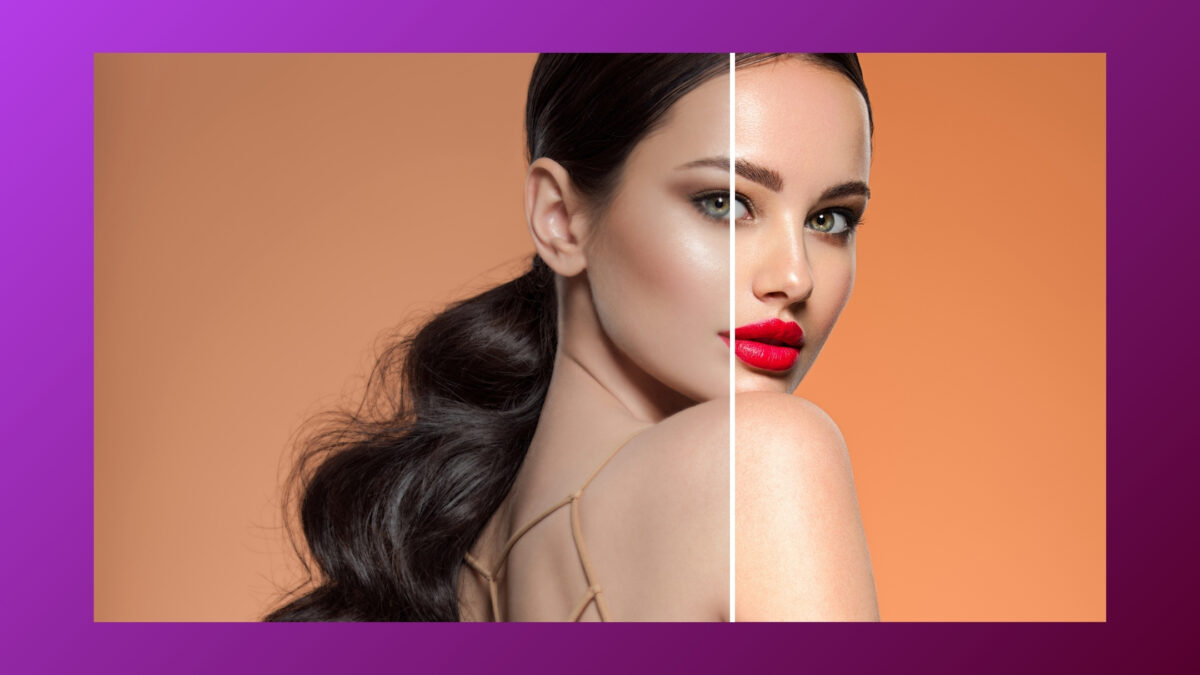
- Crop for Composition: Cropping can help to improve the composition of a photo, remove distractions, or focus more on the subject. Follow the rule of thirds or try to place the subject where it will have the most impact.
- Adjust Exposure and Contrast: Brighten up photos that are too dark and reduce the brightness of overexposed images. Adjusting the contrast can help make your images pop by making the darks darker and the lights lighter.
- Correct White Balance: Adjust the white balance to ensure the colors in your photos look natural and true to life. This is especially important for photos taken indoors under artificial lighting.
- Sharpen the Image: Apply a small amount of sharpening to bring out the details, but be careful not to overdo it because you can make your photos look unnatural and introduce noise.
- Play with Colors: Boost the saturation for more vivid colors, or adjust the vibrance for a more subtle effect. You can also convert your images to black and white for a timeless look.
- Use Filters and Presets: Many photo editing software and apps offer filters and presets that can be applied to your photos for instant effects. These can be a great starting point for beginners.
- Remove Blemishes: Use the healing or clone tool to remove any unwanted blemishes or spots from your images.
- Apply Vignetting: Adding a vignette can draw the viewer’s eye toward the center of the photo and can give it a more artistic look.
- Adjust the Tone Curve: Play with the RGB (red, green, blue) tone curves to fine-tune the brightness and contrast of different color channels, giving you more control over the mood of your photo.
- Experiment with HSL: The Hue, Saturation, and Luminance (HSL) sliders allow you to adjust the color tones in your image, which can be used to enhance the overall look or to
Photo Editing Tools and Software
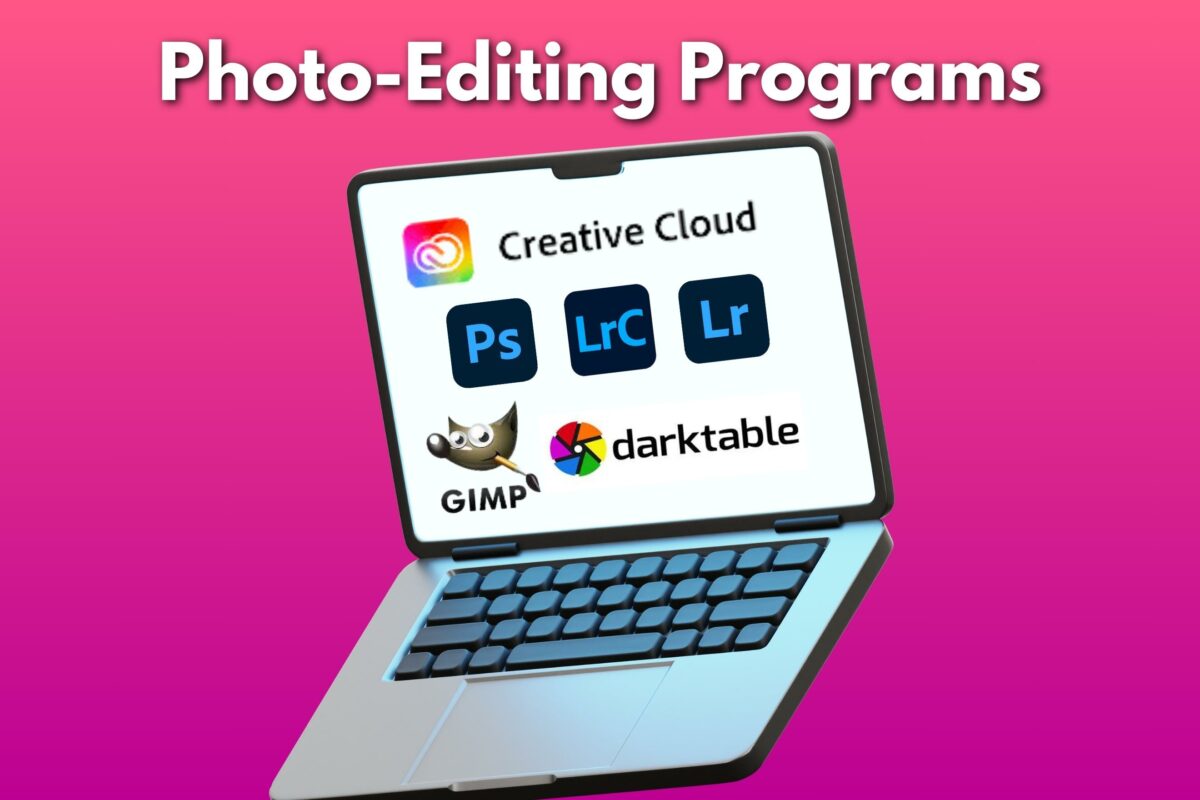
When it comes to photo editing, you have options.
And your software choice will significantly impact your creative workflow. Start with Adobe Photoshop if you’re looking for an all-inclusive tool with a ton of features.
It’s the industry standard and perfect for detailed image manipulation.
But if you’re aiming for something more user-friendly, my top choice is Canva. It offers a mix of simplicity and functionality for making swift edits.
If you’re always on the go and need a mobile app tailored for iOS or Android devices, Lightroom Mobile CC is a great option. It offers professional features for on-the-go photo editing.
And, if you’re on a tight budget, there are some excellent free photo editing software options. For example, tools like GIMP.
GIMP offers considerable editing capabilities without having to spend any money.
Also, if you like working from a web browser, there are numerous free online photo editor options like Pixlr.
Here’s a quick list I made to help you decide:
- Robust & Professional: Adobe Photoshop
- User-Friendly & Simple: Canva
- Mobile Editing: Lightroom Mobile CC (iOS & Android)
- Free Software: GIMP
- Online Editors: Pixlr, Fotor
- AI Editing Options: Luminar AI, Adobe Photoshop Express
Navigating the Interface
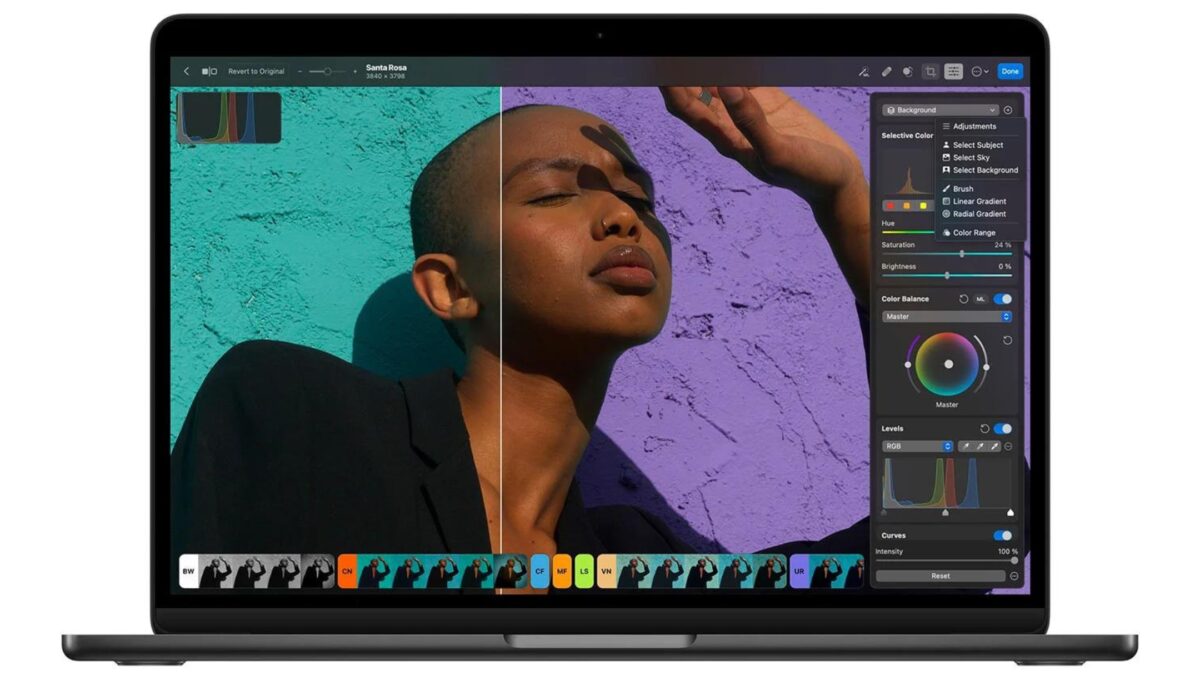
Once you’ve picked your photo editor, it’s time to get familiar with the interface.
And if you’re feeling overwhelmed, take a deep breath.
Sure, there are a lot of features and things to learn. But once you get the basics down, I promise using them won’t be as bad as you think.
Take some time to explore the basics. Locate the toolbar, panels for layers, color adjustments, and the menu for various effects and filters.
Most software will have everything mentioned above, but the layout may differ.
For beginners, here’s a small cheat sheet:
- Toolbar: Home to your essential tools like the brush, crop, and clone stamp.
- Layers Panel: Layers are like transparent sheets; stack them to make non-destructive edits.
- Color Adjustments: Fine-tune colors, brightness, and contrast here.
- Effects/Filters: Apply pre-set enhancements to transform your photos instantly.
Tip: Every bit of practice helps. Start with small edits and gradually experiment with more advanced features. And there’s no rush. Every edit is a step towards mastering something new in your chosen editing tool.
How to Do Basic Photo Adjustments
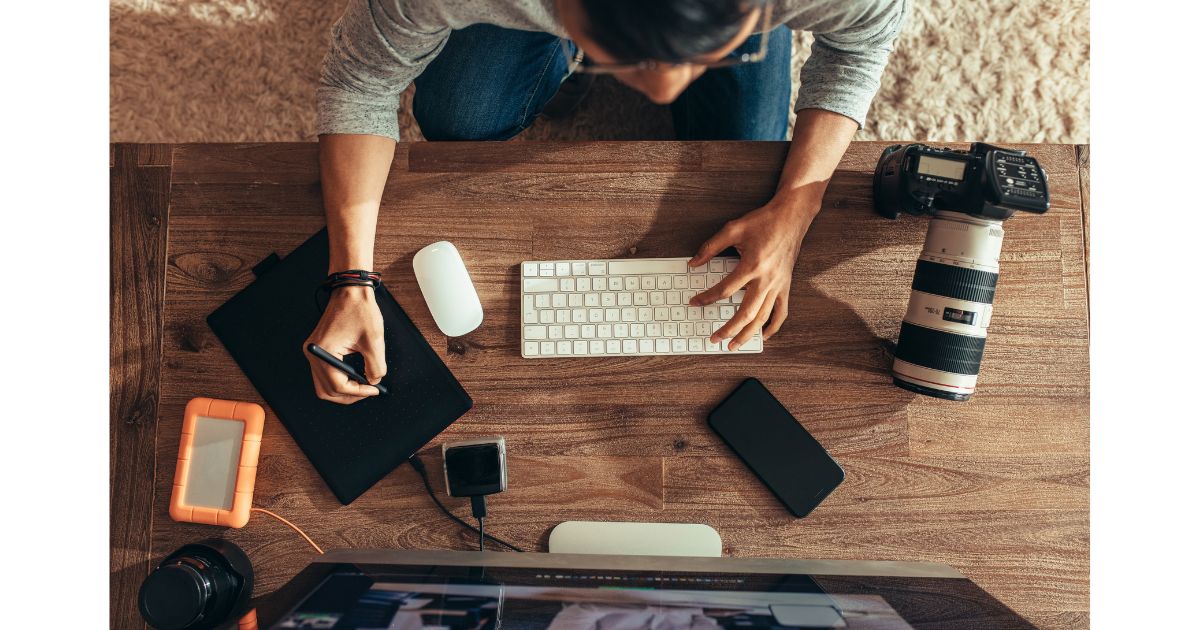
Now, let’s discuss how to edit your photographs with a few straightforward tweaks. Because even a few small changes in composition make a big difference.
Cropping and Composition
Imagine your photo as a story.
You’re the director who chooses what stays within the frame. By cropping your image, you sharpen the focus on the main subject, eliminate distractions, and perhaps even modify the aspect ratio.
Here’s how to crop your photos in 6 steps:
- Use Reliable Software: Choose your photo editing tool or one from above.
- Keep Original Aspect Ratio: Maintain the image’s original proportions to avoid distortion.
- Apply the Rule of Thirds: Position key elements along the intersections of the image divided into nine equal segments.
- Focus on Composition: Crop out distractions and highlight the main subject.
- Preserve Image Quality: Avoid over-cropping to maintain resolution, especially for large prints.
- Review Final Composition: Verify the cropped photo looks balanced and visually appealing.
And that’s it for cropping!
Adjusting Brightness and Contrast
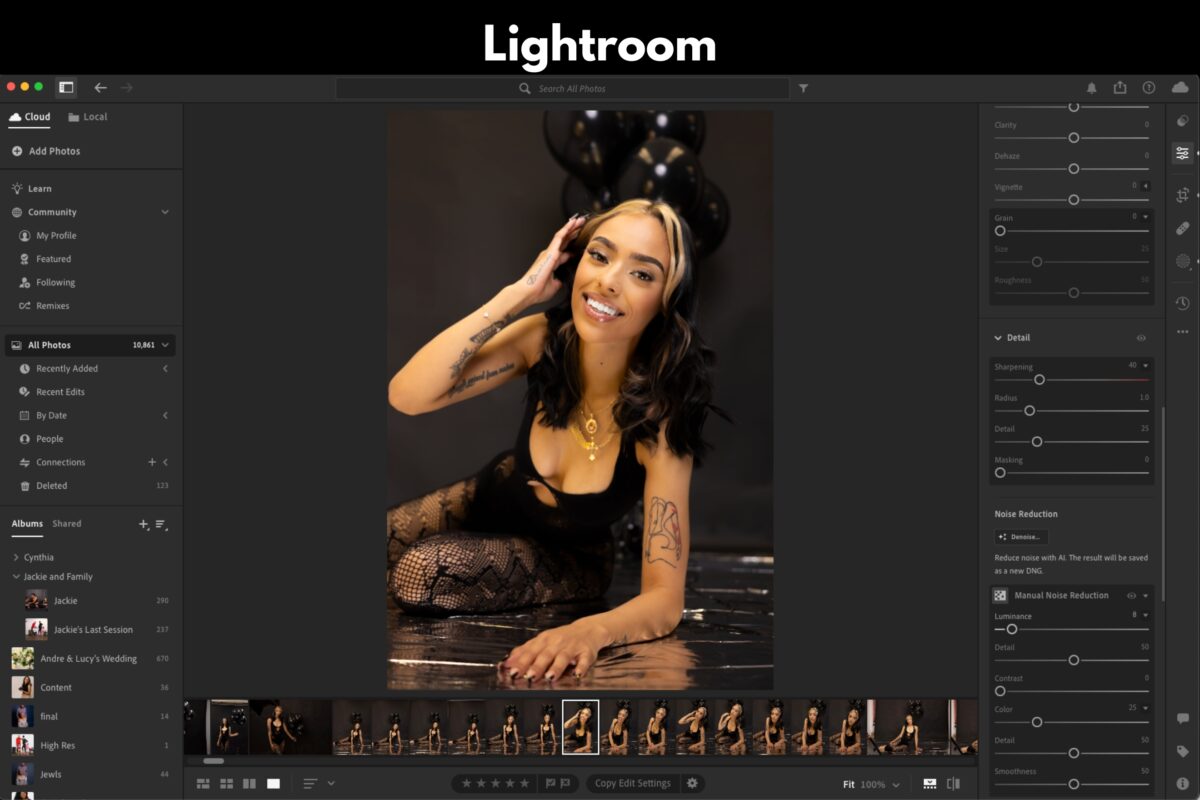
When looking at your photo, the mood and depth are influenced heavily by brightness and contrast.
Brightness alters the overall lightness or darkness. While contrast affects the difference between the light and dark areas, bringing out textures and details.
To adjust these, find the adjustment sliders for shadows, highlights, and exposure in your editing program. A balanced enhancement will maintain clarity and avoid washing out your picture’s quality.
Here’s a concise guide on how to adjust brightness and contrast in your photos:
- Choose Editing Software: Start with your preferred photo editing software.
- Open the Image: Load the photo you want to edit into the software.
- Access Brightness/Contrast Settings: Find the ‘Brightness/Contrast’ adjustment option, usually located in the image editing menu.
- Adjust Brightness: Increase to lighten the photo or decrease to darken it. Aim for a natural balance without washing out or overly darkening the image.
- Adjust Contrast: Increase contrast to make the colors and shadows more distinct or decrease to soften the differences between light and dark areas.
- Preview Changes: Use the software’s preview feature to compare the edited version with the original.
- Fine-Tuning: Make incremental adjustments, observing the effect on the photo’s overall appearance.
- Save the Changes: Once satisfied, save the edited image, preferably creating a new file so you can preserve the original photo.
Enhancing Colors and Saturation
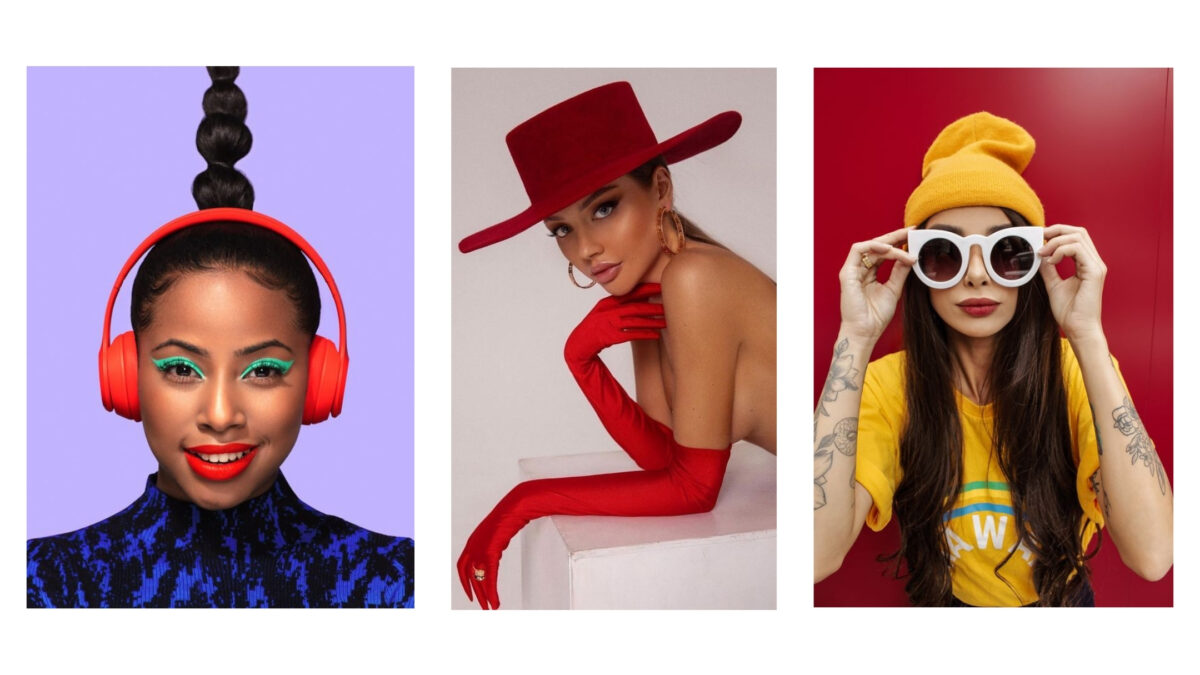
When it comes to color, it’s all about creating the right feel.
Adjusting the saturation in your photos adds intensity to the colors, making them pop. Whereas vibrance carefully boosts the less saturated colors without affecting skin tones.
You’ll also want to tweak the white balance to correct any color casts to get a natural look.
For style, you can even play with color grading to set a specific mood that resonates with your vision for the enhanced image.
Here’s a simple guide that quickly describes how to enhance colors and saturation in photos:
- Select Editing Software: Once again, use a photo editing program you like.
- Open Your Photo: Load the image you want to edit.
- Locate Color/Saturation Tools: Find the ‘Saturation’ or ‘Vibrance’ controls in the editing menu.
- Adjust Saturation: Increase saturation to make the colors more vivid or decrease it for more subdued tones. Be mindful of over-saturation, which can make images look unnatural.
- Adjust Vibrance: If available, use the ‘Vibrance’ control to improve colors without affecting skin tones too much.
- Consider Hue and Color Balance: For more detailed control, adjust hue and color balance to fine-tune specific colors in the photo.
- Preview and Compare: While doing all of this, regularly compare the edited version with the original to check for natural-looking results.
- Save Your Work: And once satisfied, save the edited photo.
Advanced Photo Editing Tips

If you’re not interested in doing more, skip this section.
But keep going if you want to read about how to manipulate layers, finesse your photos with precise adjustments, and apply creative filters and effects.
Working with Layers and Masks
Imagine layers as transparent sheets stacked upon one another.
Each layer or sheet holds different parts of your photo. And you can adjust each layer independently, allowing for non-destructive editing.
Without going into too much detail, here’s what I recommend:
- Layers: Add text, adjust exposure, or insert additional images without altering the underlying photo.
- Masks: Think of masks as digital stencils. They let you define the areas of a layer that are visible or hidden. For instance, you can blur backgrounds to isolate and focus on your subject, enhancing the photo’s composition.
Fine-Tuning with Selective Adjustments
Selective adjustments are your precision tools.
Like an artist adding delicate brushstrokes to a painting, use these tools to bring attention to specific areas of your photo:
- Retouch: Remove blemishes or undesired elements seamlessly.
- Sharpen/Blur: Sharpen the details that matter and blur distractions to bring focus where you want your viewer’s eye to land.
By tweaking the lighting or the clarity only where needed, you can maintain the overall balance while highlighting the photo’s best features.
Mastering Filters and Effects

Filters and effects are the spices of the photo editing world.
They can bring out different moods or realities in those looking at your photos when used sparingly. Here are a few possibilities:
- Filters: Can apply a vintage look, a dreamy glow, or a dramatic contrast with just a few clicks.
- Effects: Use overlays to add textures or lighting streaks that give your image a unique touch.
Each effect can tell a different story.
From a subtle vignette that suggests nostalgia to a strong sharpening effect that accentuates texture. I recommend playing with these tools to find the perfect balance that complements your photos.
Creative Touches to Personalize Your Images

You don’t have to, but you can add text, graphics, or carefully chosen design elements to bring a piece of your personality to each image.
Adding Text and Graphics
Adding textual elements or stickers to your photos can express your message with clarity and a bit of style.
With a photo editor, you can choose a font you like and add it to your photo. For example, a handwritten font can add a personal, informal touch.
This is perfect for Instagram posts or stories.
- Fonts: Choose a font that aligns with the emotion or message you want to convey.
- Stickers/graphics: Adding PNG stickers can infuse fun or highlight certain aspects without overwhelming your photo.
Using Frames and Borders
Frames and borders are like the whipped cream and cherry on top of your edits. They can neatly wrap your pictures with a complete look.
And it’s amazing how a simple border can transform a photo, giving it a polished feel or making it ready for product mockups. Here’s my two cents on frames and borders:
- Borders: Aim for consistency in thickness and color to maintain your style.
- Frames: Experiment with different patterns and textures to see what elevates your image.
Experimenting with Design Templates
Many photo editors offer pre-designed collage templates or photo effects now.
These templates are a quick fix you can use to boost image quality and give your pictures a professional touch.
Try using a magic eraser or background remover to declutter the space around your subject. This draws focus to where you want it in your photos.
Using AI Photo Editors for Magic Edits

Photo editing workflows are changing fast with the emergence of AI in photography.
Using AI makes photo editing faster and easier (for certain tasks). And AI isn’t 100% there yet. But it can already do a lot. Let’s talk about how these intelligent tools can transform your editing process.
Automatic Enhancements
With automatic enhancements, AI swiftly analyzes your photo’s color, lighting, and composition.
Then it quickly optimizes your picture for vibrancy and clarity and turns a good photo into a great photo without you having to adjust a single setting.
Intelligent Object Removal
If you see something you don’t like in your pictures, AI can take it out for you.
AI photo editors come equipped with a feature that’s like a magic wand. It’s often referred to as Magic Grab or Intelligent Object Removal.
And all you have to do is select the unwanted area, person, or object you don’t like and the AI seamlessly fills in the gap. Leaving no trace at all.
It’s as if that photobomber or stray object never existed!
AI-Powered Focus and Blur Tools
Depth of field is what makes professional photos stand out.
It keeps the focus on the subject while artistically blurring the background. This technique, now at your fingertips, can be done with AI-powered focus and blur tools.
By automatically recognizing the subject, these smart editors allow you to blur backgrounds and lead the viewer’s eyes where you want them to go.
It’s the perfect way to add that professional touch to your image and guarantee your subject is clear and prominent.
How to Maintain the Quality of Your Edited Images
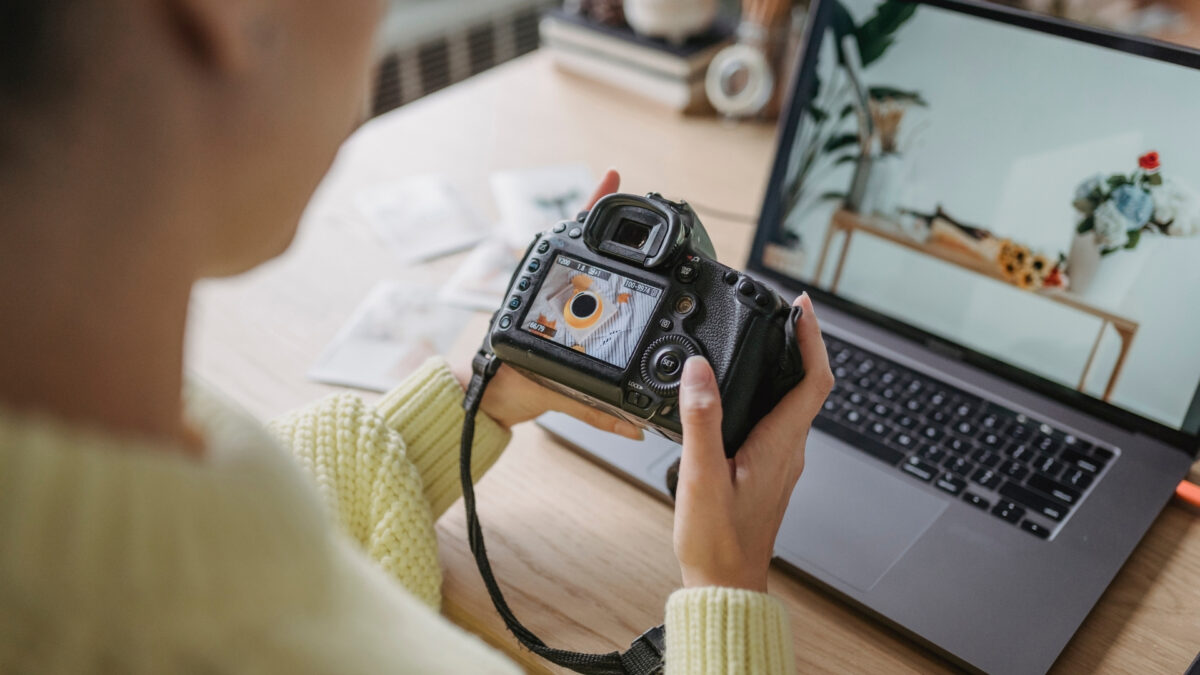
When improving your photos, you want to preserve the original image quality and detail.
Balancing Quality and File Size
Think of your photograph as a finely woven piece of clothing.
Each thread represents a pixel, and together they create a beautiful image. But, if you start randomly changing the sizes of things, you risk distorting the details.
Here’s how to keep your image’s details intact:
- JPEG or RAW?: While JPEGs are more compact, RAW files give you the most detail and flexibility. If you’re looking to improve image quality, use a RAW file when possible.
- Editing Software: Tools like Luminar and Lightroom offer sophisticated algorithms to improve detail without bloating your file size. Use their sliders to adjust sharpness, contrast, and clarity gradually.
Moderation is key when editing any photo, as over-enhancement can lead to a loss in quality.
Archiving and Future-Proofing
To make sure your images stand the test of time:
- Save As: Always save enhanced images separately, retaining the original in case you need to revisit it. This holds especially true if you’re working with JPEG files, as they degrade with each edit and save cycle.
- Data Integrity: Use formats that are less likely to be compromised over time. Saving a copy of your enhanced images as TIFF or DNG files may result in larger file sizes but will protect the quality for future edits.
Frequently Asked Questions
What are some simple techniques to edit photos like a pro?
To edit your photos like a professional, start with basic adjustments such as tweaking brightness, contrast, and saturation to bring out the colors. Use sharpening tools judiciously to add clarity, and consider cropping the photo for better composition.
What is the best way to enhance a blurry photo?
For a blurry photo, gently apply sharpening filters and adjust the clarity to add definition. However, remember that heavy sharpening can introduce noise, so use these edits sparingly. For severe blur, specialized software that reconstructs lost detail might be necessary.
How can I achieve professional-grade photo edits on my phone?
Many smartphones now have powerful built-in editing tools. You can adjust exposure, contrast, and apply preset filters to enhance your photos. Apps like Lightroom Mobile or Snapseed provide advanced editing features that can yield professional-grade results.
How can I improve the quality of a picture with basic edits?
Improving picture quality can often be achieved by adjusting the exposure and contrast, correcting white balance for accurate colors, and using a little bit of sharpening to bring out details. Also, crop out unnecessary parts of the photo to focus on your subject.
What are the easiest photo editing tools for beginners?
Beginners should look for tools that offer an intuitive interface and helpful presets. Adobe Photoshop Express, Canva, and GIMP are user-friendly options that offer a range of basic to advanced editing features without the steep learning curve.
How can I enhance photos using my iPhone?
Your iPhone comes equipped with a powerful photo editor right in the Photos app. You can adjust brightness, contrast, saturation, and more. For more creative control, use apps like VSCO or Adobe Lightroom Mobile that offer numerous filters and fine-tuning options.


