Mobile Photography Tips That’ll Help You Take Better Photos
With the power of today’s smartphones, anyone can become an impressive photographer.
Your phone is a compact powerhouse capable of snapping stunning photographs that not only capture moments but also tell compelling stories.
Whether you’re aiming for a dramatic landscape or a candid street scene, your mobile device is the perfect tool to create beautiful imagery.
And mastering it can be as simple as understanding a few key techniques. Things like lighting to using different angles like a pro are simple but effective tips to up your mobile photography game.
So let’s review some mobile photography tips to help you expertly and finessefully photograph the world using your phone.
Mastering The Basics
Before you dive into snapping photos, acquainting yourself with the basics of mobile photography can transform the images you take. Let’s go over how you can enhance your shots as you learn to wield your phone camera like a pro.
Understanding Your Smartphone Camera
Alright, let’s talk about understanding your smartphone camera for mastering mobile photography. You’ve got this incredibly powerful tool right in your pocket that’s more than just for calls and texts—it’s a legit camera!
First off, knowing your smartphone camera inside out is crucial. You’ve got different settings, lenses, and modes packed into that little device, and understanding how to use them can seriously level up your photography game.
Now, check this out: learning about your camera’s settings is like unlocking secret powers. Things like exposure, focus, white balance—they’re your keys to nailing that perfect shot, even in tricky lighting situations.
And let’s not forget those lenses! You’ve got wide, ultra-wide, telephoto—each brings something unique to your photos. Understanding when and how to use them can add depth and creativity to your shots.
Oh, and the magic of editing apps! They’re like your secret sauce. Learning to edit using apps like Lightroom Mobile or Snapseed can take your photos from good to jaw-droppingly awesome.
The Significance of Composition
Alright, let’s dive into the world of composition—it’s like the secret sauce that transforms your photos from meh to jaw-dropping!
Composition is the backbone, the foundation of your photo. It’s all about framing your shot, finding that sweet spot that makes your photo pop.
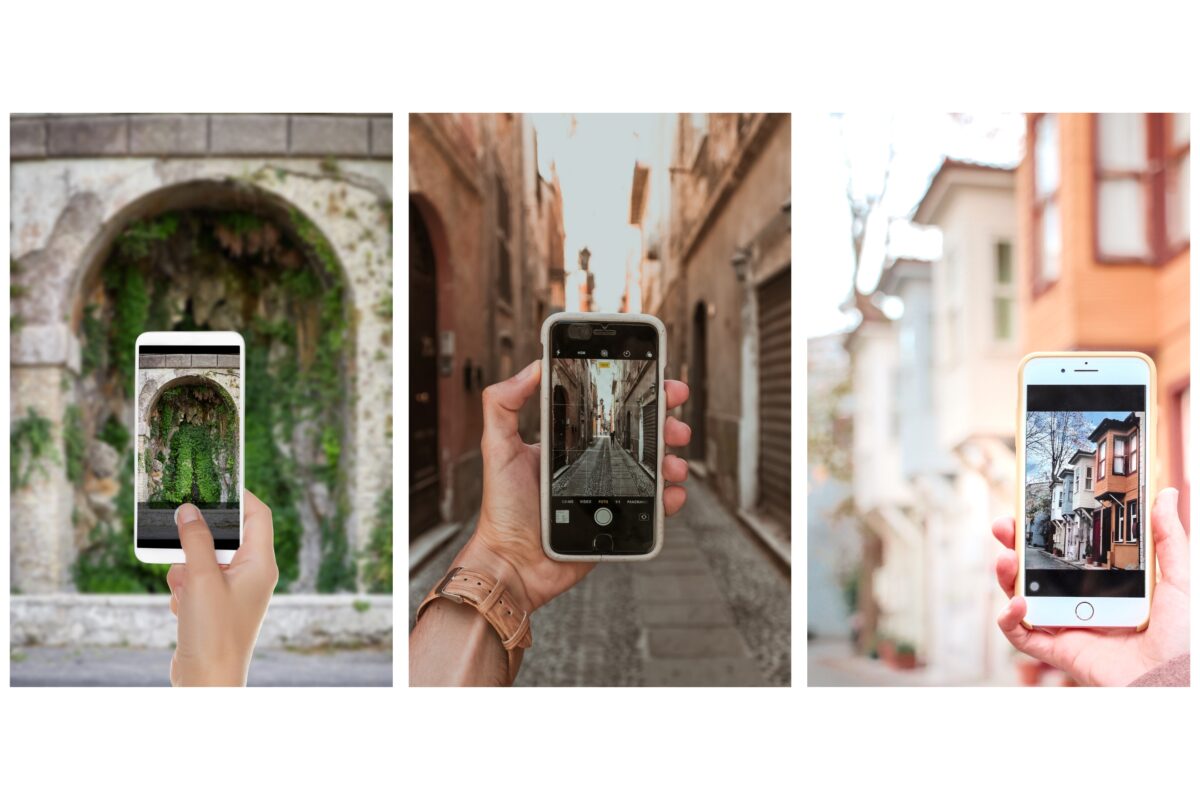
The Rule of Thirds: It’s a game-changer. Imagine a tic-tac-toe grid over your frame—placing your main subject at those intersecting points adds that oomph, that wow factor.
Leading Lines: They’re like visual guides, directing your viewer’s gaze through the photo. A winding road, a stream, or even a fence can lead the eye and add depth to your shot.
Framing: Using elements around your subject to frame it up—doors, windows, or natural elements—it adds context and draws attention right where you want it.
Sometimes breaking the norm leads to the most mind-blowing photos.
Exploring Camera Modes and Settings
When you’re starting out, Auto mode will be your go-to. It takes care of the nitty-gritty, handling focus and exposure on the fly. But sometimes you crave that extra control, especially when the light’s playing peekaboo in your scenes.
That’s where Manual Mode steps in, and let me tell you, it’s like having the keys to the kingdom. You get to tweak those settings like a pro. Dim night scenes? Lower that ISO for those crisp, moody tales. Wanna freeze the action or let it flow into a dreamy blur? That’s all in your hands with shutter speed.
And let’s talk about White Balance—think of it as choosing the vibe for a cozy dinner. Adjust it to set the mood just right in your photos.
And finally, Editing Apps. They add that final touch to your images, making them pop like never before. When I was first starting out, I used the free app Snapseed to edit and I would use my iPad. Now I use Lightroom and Photoshop, both on the computer and on the mobile apps.
The Power of Light
One thing you’ll hear a lot of is, “lighting is the most important part of photography.” Knowing how to work with different lighting conditions can dramatically improve your photos.
Making the Most of Natural Light
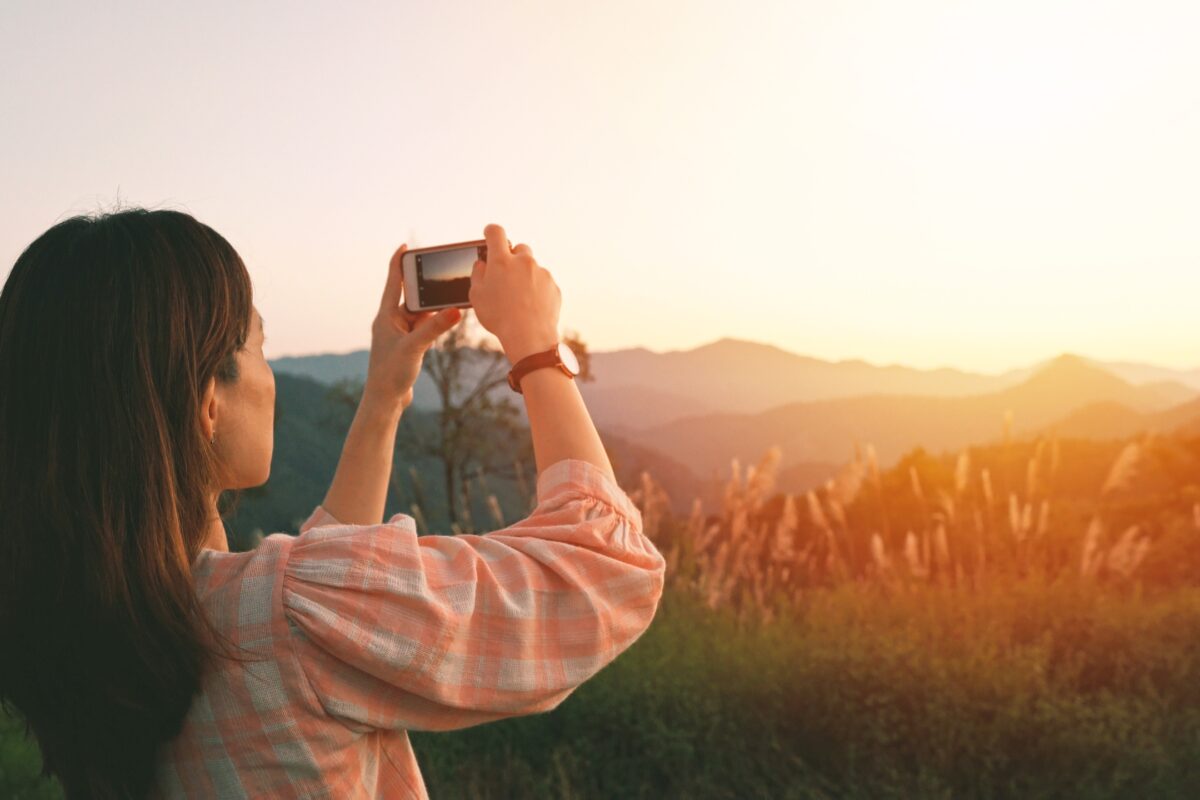
Think of natural light as your free-of-charge studio lighting. The golden hour—that time just after sunrise or before sunset—offers a soft, warm
Creative Composition and Framing
Mastering composition and framing sets the foundation for the best shots you take on your phone.
Applying the Rule of Thirds
Imagine your image is divided into nine equal segments by two vertical and two horizontal lines. Placing your subject along these lines or at their intersections makes your photo more balanced and enables a viewer’s eye to travel through the photo naturally. It’s not just for landscapes; use it for portraits, too, for an instant boost in professionalism.
Exploring Angles and Perspectives
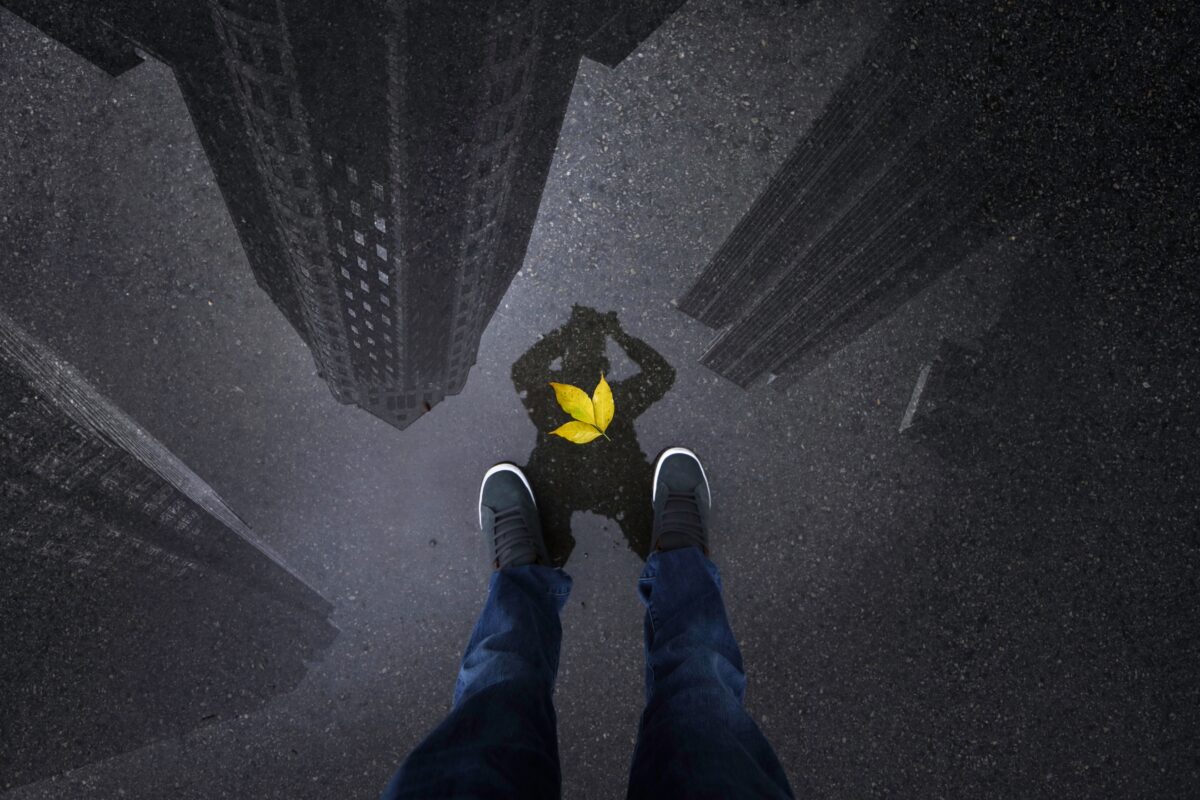
Challenge yourself to break away from the eye-level shot. Crouch down for a worm’s eye view, or find a higher vantage point for a bird’s eye perspective. You’ll be surprised at how a change in angle can reveal stunning new details and create a memorable visual narrative. Wide-angle lens attachments for your phone can help exaggerate these perspectives, especially in landscape photos.
Incorporating Depth of Field and Leading Lines
Create depth in your photos by using a shallow depth of field; blur the background with your phone’s portrait mode to make your subject stand out. Use leading lines – roads, fences, or anything that draws the eye into the picture – to guide attention toward your focal point. This storytelling element can convey a sense of journey and scale within your frame.
Unlocking the Potential of Editing
When you’ve captured a great photo, the journey doesn’t end there. Editing is the secret sauce that can transform your good snapshots into stunning visual stories.
Choosing the Right Editing Apps
The best photo editing apps offer you a toolkit ripe with possibilities. Snapseed is a comprehensive and user-friendly option, allowing for an array of adjustments from basic cuts to intricate edits. If you’re ready to dive into more advanced territory, Adobe Lightroom for mobile is like the Swiss Army knife of photo editing, offering options to tweak colors, lighting, and even remove unwanted elements seamlessly. If you’re shooting in RAW format—which you should be if quality is your aim—these apps can handle that too.
- Recommended Apps:
- Snapseed: All-purpose editing
- Adobe Lightroom: Advanced adjustments and RAW support
- VSCO: Classic filters and social sharing
Post-Processing Techniques
Consider post-processing as the art of refining your image. Begin with basics like adjusting exposure to correct the brightness and contrast to define the subject more clearly. But the magic really happens when you fine-tune the colors: saturation adjusts the intensity, while temperature can warm or cool the image’s mood.
- Key Adjustments:
- Exposure – Control brightness
- Contrast – Enhance definition
- Saturation – Intensify colors
- Temperature – Alter the warm or cool feel
Post-processing is another place your creativity can shine—experiment with shadows and highlights to add depth, or clarity and sharpness to emphasize textures.
Understanding File Formats
Your choice of file format is like deciding what kind of canvas to paint on. JPEG is the go-to for its size and compatibility, giving you decent quality with a reasonable file size. But think of JPEG like a finished painting; you can’t change the strokes once it’s dried.
Enter RAW formats like DNG or ProRAW: these are the digital equivalent to a photo negative, allowing much more flexibility in editing. When you shoot in RAW, you’re capturing all the data from the sensor, which means you have a greater range of adjustments available in your editing app.
- File Formats:
- JPEG: Small size, less flexible editing
- RAW (DNG, ProRAW): Larger size, extensive editing capabilities
Remember, if you’re serious about the final result, shooting and editing in RAW gives you the highest ceiling to showcase your photographic talent.
Equipment Essentials
The right tools can elevate your mobile photography from good to great. Let’s explore how a few key accessories can transform your phone into a powerful photography device.
When to Use a Tripod
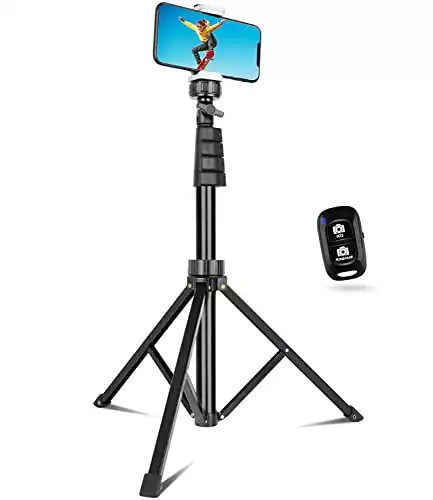
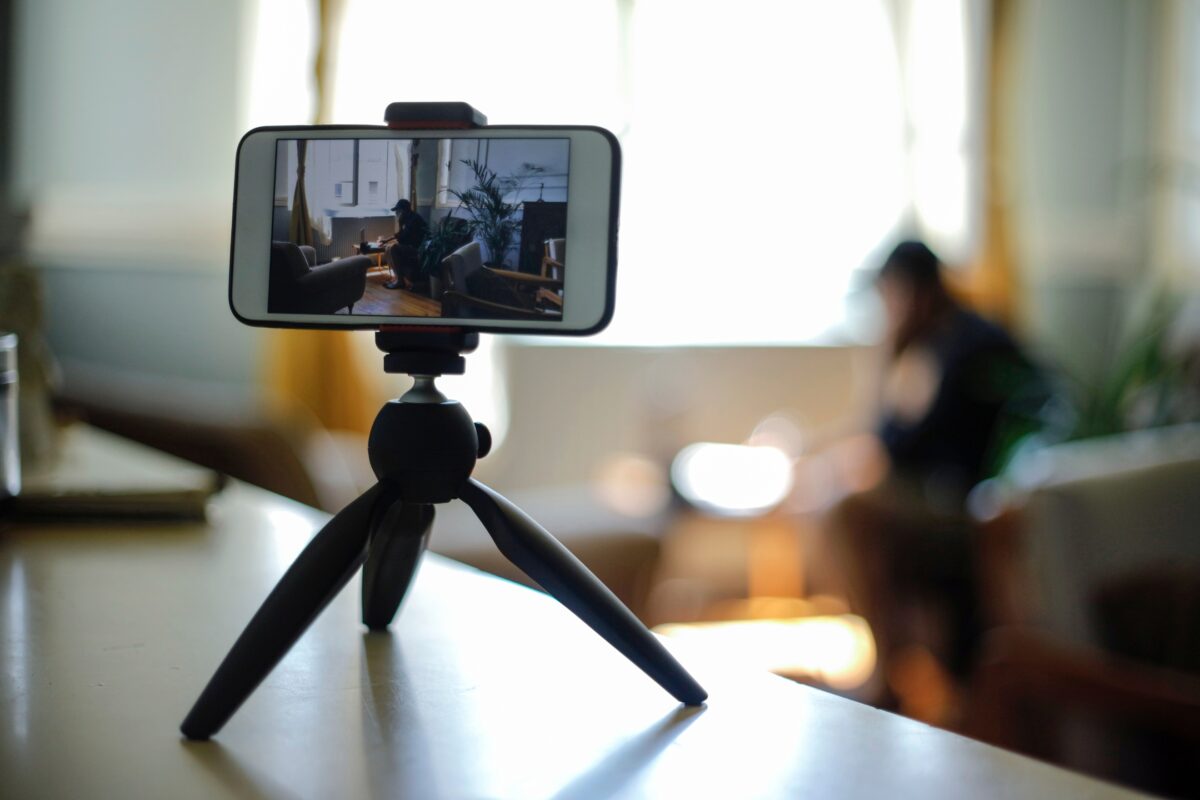
If you enjoy capturing long-exposure shots or time-lapse videos, a tripod is indispensable. It provides stability, ensuring that your images are sharp and free from unintended motion blur. For example, during low-light conditions or when taking pictures of the night sky, a tripod is your best friend. Modern tripods are portable and come with smartphone adaptors, making them easy to set up and use with devices like an iPhone.
Mobile Photography Accessories
Investing in a few accessories can significantly enhance your photos. Consider a clip-on lens; options like a wide-angle, telephoto, or macro lens open up new perspectives. Tripods and stabilizers keep shots steady, essential for professional-looking results.
Meanwhile, external flashes or LED lights improve lighting conditions. Organize your accessories to have them on hand to capture that perfect shot whenever the moment strikes.
The Impact of Multiple Cameras
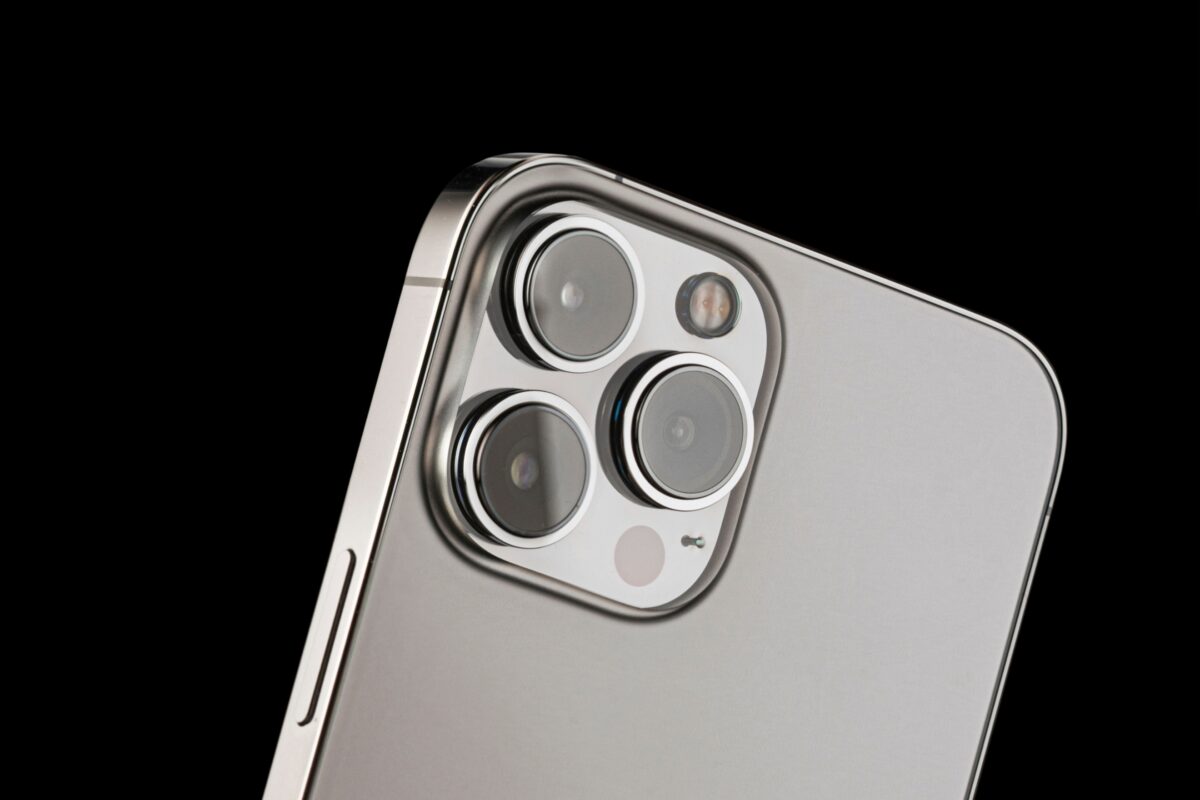
With phones featuring multiple cameras, you have the flexibility to compose your photos like never before.
Each lens – wide, ultra-wide, and telephoto – changes how you frame and capture a scene. Use the telephoto lens to zoom in on distant subjects without compromising image quality, or switch to the macro lens for detailed close-ups.
The versatility of multiple cameras allows for creative expression and technical diversity in your mobile photography.
Smartphone-Specific Photography Tips
Embracing the power of your smartphone camera opens up a world of photographic potential. Whether you’re team iPhone or an Android aficionado, mastering a few dedicated tricks can elevate your images from good to great.
iPhone Photography Skills
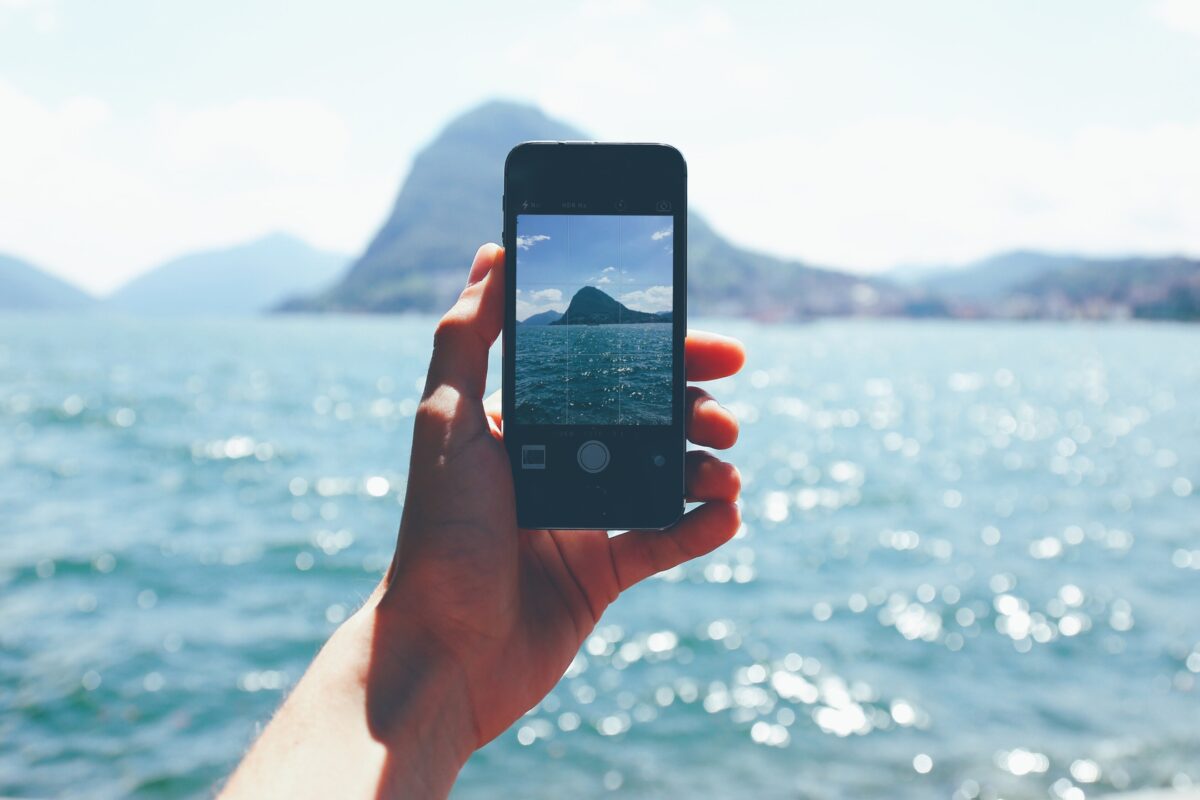
Your iPhone is more than just a communication device; it’s a powerful camera waiting for your creativity. Remember, the iPhone camera app is designed to simplify your photography experience. Here’s how to make the most of it:
- Portrait Mode: Use this feature to create a shallow depth of field that makes your subject pop. It’s perfect for giving your portraits a professional look.
- HDR Mode: Activate High Dynamic Range to balance the shadows and highlights in scenes with contrasting lighting.
- Live Photos: Capture moments with movement by enabling Live Photos. A long-press on the picture later will bring your memories to life.
Tip: Experiment with different angles and utilize the rule of thirds, a grid function you can enable in Settings, to compose balanced shots.
Getting the Best from Your Android Device
Android devices, like the Google Pixel, are renowned for their camera prowess. Your Android smartphone can be a window to stunning photography with a few savvy moves:
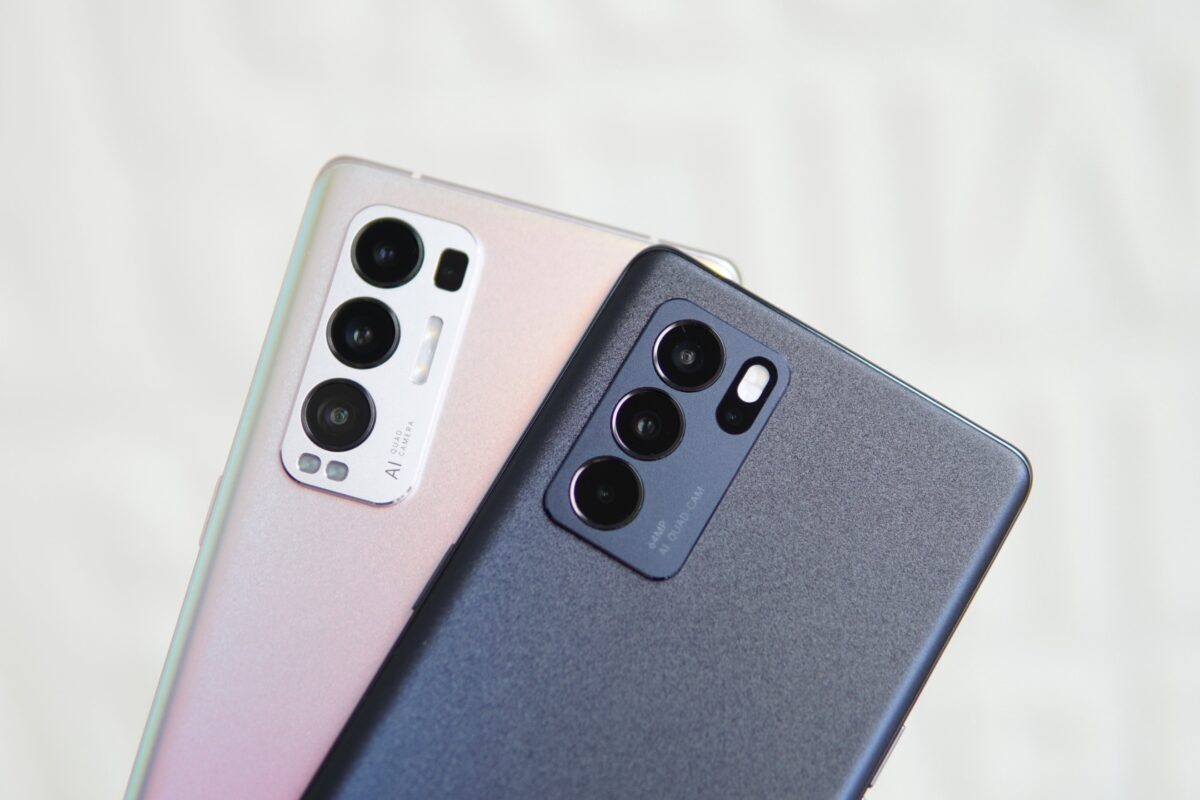
- Manual Controls: Explore the manual or pro mode available on many Android devices to fine-tune focus, exposure, and ISO.
- Night Sight: Low-light photography gets an upgrade with Night Sight, or similar modes that enhance details and colors in the dark.
| Feature | Usage |
|---|---|
| Manual Controls | for precision settings in any environment |
| Night Sight | for clear and vivid photos in low light |
Tip: Stay updated with the latest OS and camera app updates to ensure you have the newest features and improvements at your fingertips.
By leaning into these specific features of your smartphone, you’re well on your way to capturing images that resonate. Keep snapping, keep exploring, and watch your mobile photography go from strength to strength.
Exploring Advanced Techniques
To capture truly stunning photos with your smartphone, diving into the advanced settings can make all the difference. Let’s uncover how tweaking just a few settings can elevate your mobile photography game.
Maximizing Image Quality with Advanced Settings
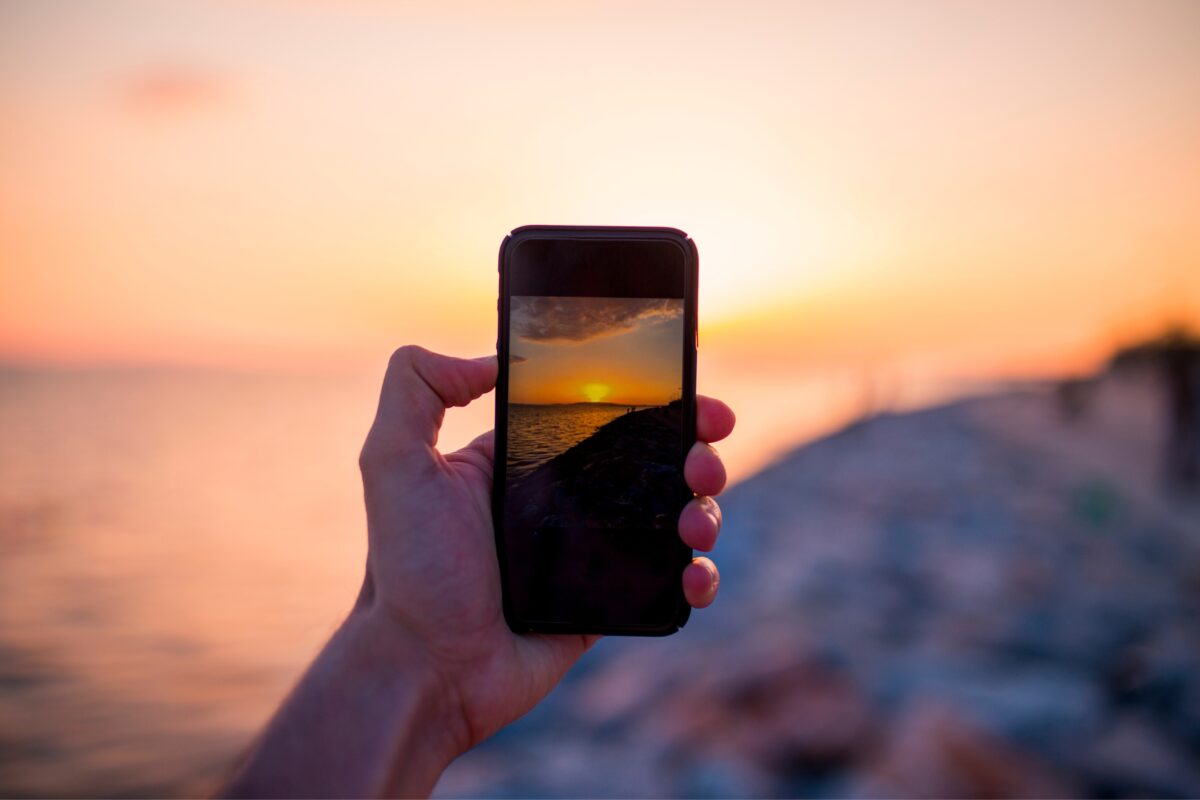
Your phone’s resolution and image quality settings are like the hidden spices in a gourmet dish—they can turn a good photo into a masterpiece. Explore your camera’s settings and move past default modes.
Choose the highest resolution possible for crisp, detailed images. Avoid using digital zoom, which often reduces quality, and use your legs to get closer instead. If your phone has image stabilization, enable it to reduce blurriness from shaky hands.
Play with the burst mode when capturing action shots; you can always select the best one later.
Creative Uses of Focus and Movement
Manual controls can let you adjust focus to create that creamy, blurred background (bokeh) while keeping your subject sharp.
If your phone offers manual focus, use it to direct your viewer’s eye exactly where you want it. Experiment with panorama mode not just for landscapes but also for a unique take on group photos.
Introduce controlled movement – like panning your phone with a moving subject – to infuse a sense of motion.
The Art of Smartphone Videography
Now, let’s switch gears to moving images.
Your phone isn’t just for stills; its camera capabilities can create high-quality videos too. To elevate your video game, consider using a video editing app to splice, dice, and polish your footage right on your device.
Use features like slow-motion or time-lapse to provide a new perspective on everyday scenes. With these apps, you’re not just shooting clips; you’re crafting stories.
Stepping beyond basic point-and-click photography opens up a world where your smartphone is a powerful creative tool, capable of capturing images that resonate and captivate.
28 Practical Mobile Photography Tips:
- Understand Your Phone’s Camera: Spend time exploring and understanding the settings and capabilities of your phone’s camera. Knowing what your camera can do will help you take better photos.
- Use Gridlines to Balance Your Shot: Turn on the gridlines in your camera app to utilize the rule of thirds. This will help you align your shots and balance the composition.
- Focus on One Subject: Many great photos focus on one interesting subject. Tap the screen to focus on your subject and use features like portrait mode to keep the subject sharp against a blurred background.
- Find Different Perspectives: Take photos from unique perspectives to make your shots more interesting. Try shooting from high above, down low, or from the side to add depth and originality.
- Play with Reflections: Water, mirrors, sunglasses, and metallic surfaces can be used creatively to produce reflections and interesting compositions.
- Look for Symmetry: Symmetrical patterns can be visually pleasing. Keep an eye out for opportunities to capture symmetry in architecture, nature, or urban settings.
- Capture Small Details: Sometimes the smallest details can make the most striking photos. Get close to your subject to capture textures and nuances that might be overlooked.
- Use Leading Lines: Incorporate lines that lead the eye to your subject, such as roads, fences, or pathways, to create depth and perspective.
- Adjust Exposure Manually: Swipe up or down on your screen (in most camera apps) to adjust the exposure and get the right light in your photos.
- Keep Your Lens Clean: A dirty lens can result in blurry, smudge-filled photos. Regularly wipe your lens with a soft, clean cloth.
- Avoid Using Zoom: Instead of zooming, which can decrease the resolution and clarity of your photo, try to move closer to your subject.
- Experiment with Movement: If your subject is moving, play with slow shutter speeds to create a sense of motion in your photos. Some phones have a manual mode or apps that allow you to slow down the shutter speed.
- Edit Your Photos: Use photo editing apps to enhance your images after you’ve taken them. Simple edits like cropping, adjusting brightness and contrast, or adding filters can elevate your photos.
- Use Natural Light: The best light for photos is during the golden hour, just after sunrise or before sunset, when the light is soft and warm. Avoid harsh midday sun, which can create unwanted shadows and highlights.
- Capture Candid Moments: Instead of always staging your photos, try to capture candid moments. These often convey more emotion and tell a story.
- Use Negative Space: Negative space is the area around and between the subjects of an image. It can help to emphasize the subject and create a clean, uncluttered look.
- Try Black and White: Shooting in black and white can give your photos a timeless feel and can help focus on the subject without the distraction of color.
- Keep the Horizon Straight: When taking landscapes, ensure your horizon is straight to avoid a tilted appearance unless you’re intentionally aiming for an artistic angle.
- Use the Volume Button as a Shutter: This can help you take steadier shots, as tapping the screen might move the phone.
- Take Advantage of the Burst Mode: This is great for capturing action shots. Hold down the shutter button to take multiple shots and then select the best one.
- Control the White Balance: If your phone allows, adjust the white balance to match the lighting conditions, ensuring that whites are true to life and colors are accurate.
- Look for Patterns and Textures: A pattern interrupted by a subject can create a powerful composition, as can the texture in a detailed close-up.
- Use the Volume Down Button to Take a Photo When Shooting Selfies: This can be more natural than stretching your thumb to the screen.
- Keep an Eye on the Background: Make sure there’s nothing in the background of your shot that could distract from your subject, like a tree appearing to come out of someone’s head.
- Shoot in RAW If Possible: If your phone supports it, shooting in RAW saves the image without internal modifications. This gives you more control over editing the photo later.
- Don’t Overprocess: When editing, it’s easy to go overboard. Aim for a natural look to keep your photos looking professional.
- Practice, Practice, Practice: The more you shoot, the better you’ll get. Take your phone with you everywhere and practice taking photos every day.
- Stay Inspired: Look at the work of professional photographers for inspiration. Try to understand what makes their photos good and how you can incorporate those elements into your own work.
Frequently Asked Questions
Diving into mobile photography can be as simple or complex as you’d like, but there’s a handful of insightful questions that come up often. Below you’ll find a guide to the most commonly asked questions designed to help you elevate your mobile photography game.
What are the best tricks to enhance photos using my phone camera?
To enhance your photos, first ensure your lens is clean for clarity. Use your camera’s manual focus and exposure to control how your images turn out. Employ HDR mode to balance light in your compositions and try shooting in bursts to capture the perfect moment.
Can you recommend some mobile photography rules for better pictures?
Apply the rule of thirds by dividing your frame using two horizontal and two vertical lines and placing your subject at the intersections. Always seek natural light and avoid zooming in, instead, move closer to your subject to maintain image quality.
How can I improve the quality of pictures taken with my mobile camera?
Boost picture quality by setting the focus to your subject for a sharp image. Keep your hands steady or use a tripod for stability. Explore your phone’s different camera modes to fit the scene you are capturing.
Which techniques will make me look better in my mobile photography?
Use portrait mode to blur the background and bring focus to the subject. Experiment with angles and lighting to find the most flattering setup. Remember, good posture and a genuine smile go a long way in enhancing your personal photos.
What are some essential tips for taking high-quality photographs with a smartphone?
To take high-quality photographs, maximize the use of natural light for illuminating your subjects. Work on your composition skills, such as symmetry and leading lines, for a stronger impact. Learning to adjust your camera settings manually can also significantly improve photo quality.
How can I develop expertise in the art of smartphone photography?
Practice is key in developing expertise. Engage with online tutorials and communities. Take photos regularly to understand what works and what doesn’t. Review your images with a critical eye and keep experimenting with new techniques and perspectives.
