12 Mistakes Photographers Make
I admit, being a photographer is exciting!
But when you’re new, the amount of buttons, settings, and “rules” can be overwhelming.
This confusion can lead to mistakes photographers make. These mistakes are pretty common, like unfocused images, bad exposure, and bad composition. And all of these things can lead to poor-quality photos.
They also dampen your confidence and hold you back as a photographer.
But we’ll go over how you can avoid these 12 common mistakes photographers make.
You’ll learn what they are and how to avoid them. And you’ll be empowered to take control of your camera and become a better photographer!
Key Takeaways – Mistakes Photographers Make
- Knowing your camera’s settings improves picture quality.
- Proper lighting and composition are needed for great photos.
- Continuous learning and practice are how you develop your photography skills.
So, without any further delay, here are the most common mistakes photographers make.
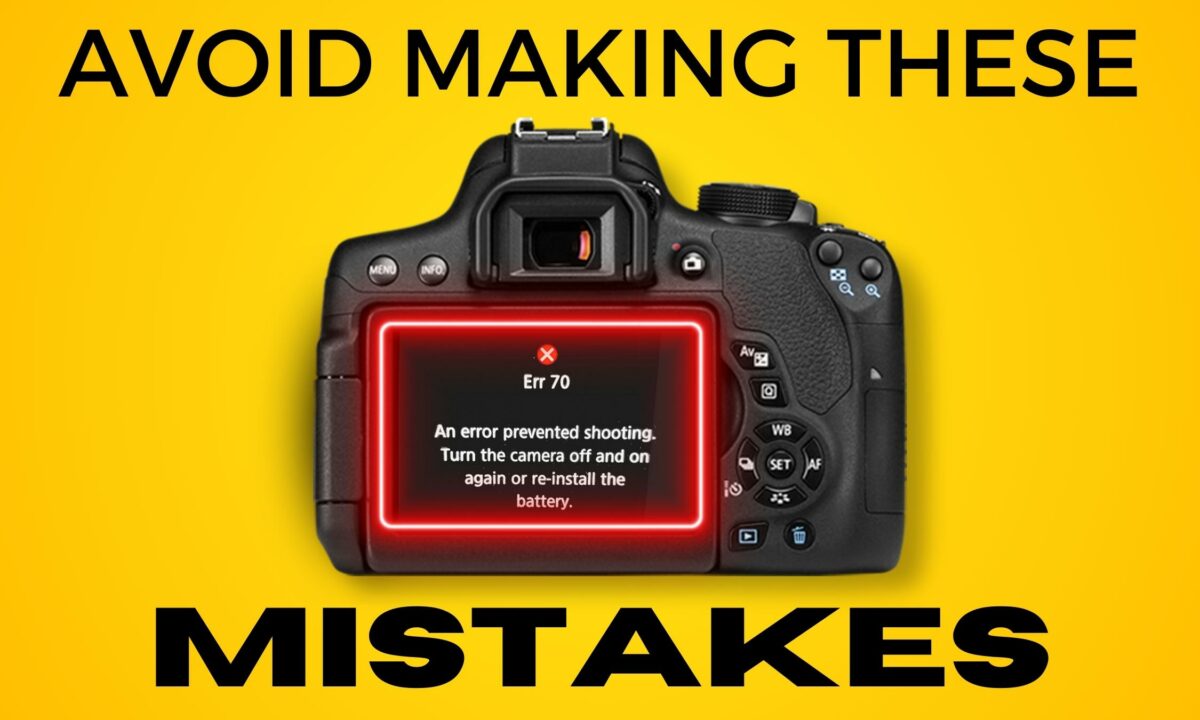
1. Not Understanding Their Camera Settings
As a photographer, you have to understand your camera’s settings.
Mistakes are often made due to a lack of knowledge in tweaking ISO, aperture, and shutter speed. ISO controls the sensor’s sensitivity to light, aperture affects the depth of field, and shutter speed determines the exposure time.
Also, many photographers overlook the importance of shooting in manual mode.
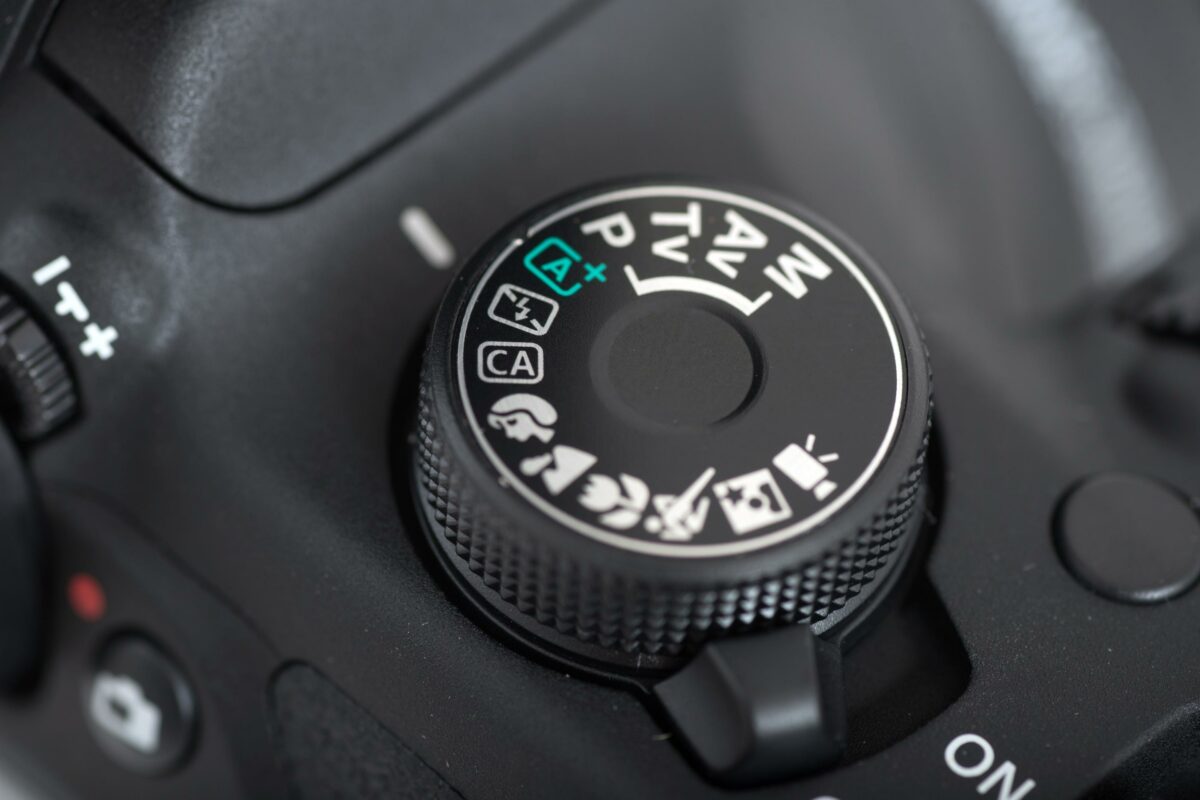
This setting gives you complete control over the exposure triangle — ISO, aperture, and shutter speed. And using manual mode instead of auto mode allows for better management of light and depth in your photos.
Learning about white balance is also important.
White balance adjusts the colors in your images, affecting overall saturation and tones. Incorrect white balance can cast unrealistic colors onto your subject. Also, it’s important to select accurate settings to avoid under or over-saturated colors.
Learn to manage these settings, and with practice, your command over your equipment will get better.
2. Overlooking Composition When Taking Photos
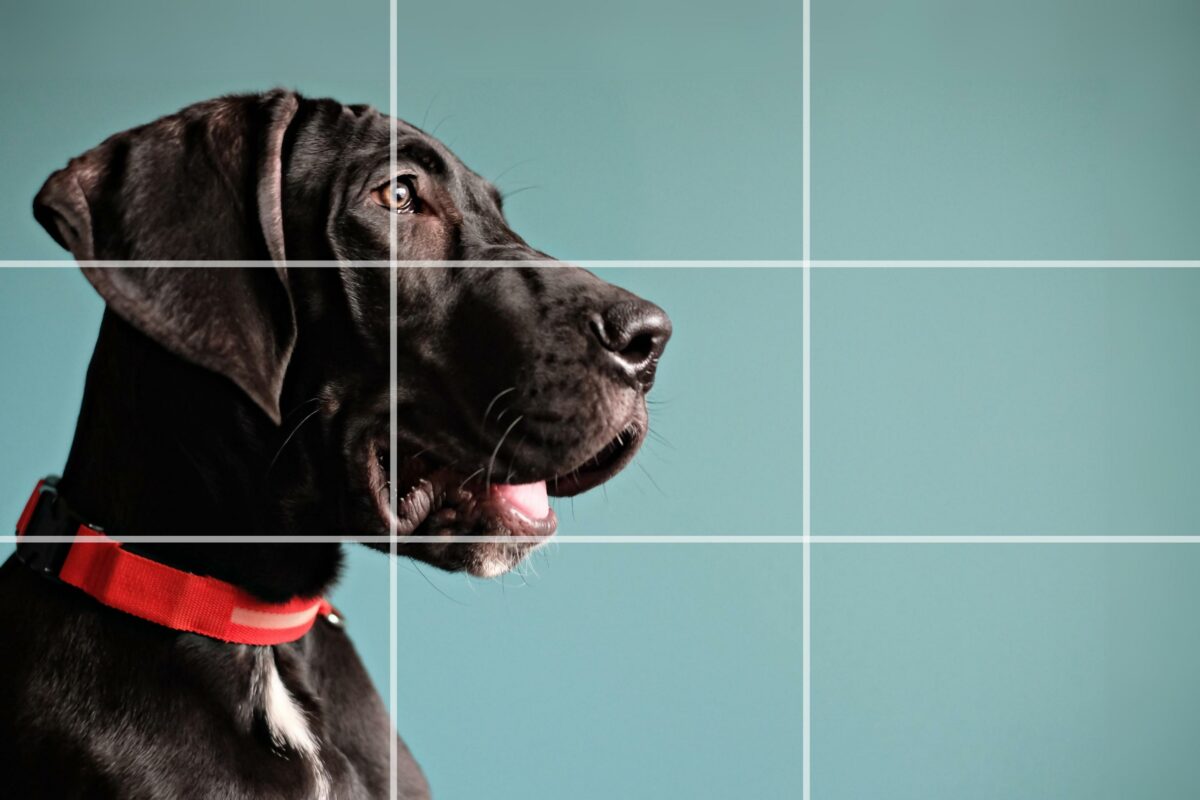
Understanding the Rule of Thirds is a foundational step in achieving balanced compositions in your photography.
It involves dividing your image into two horizontal and two vertical lines, creating nine equal segments. The points where these lines intersect are strategic spots to place the subject for a more dynamic photograph.
In addition to this rule, pay attention to the edges of your frame.
Unwanted elements can sneak into the periphery of a photo, distracting from the main subject. So, be vigilant about scanning the entire frame before taking your shot to maintain a clean and focused composition.
3. Ignoring Lighting
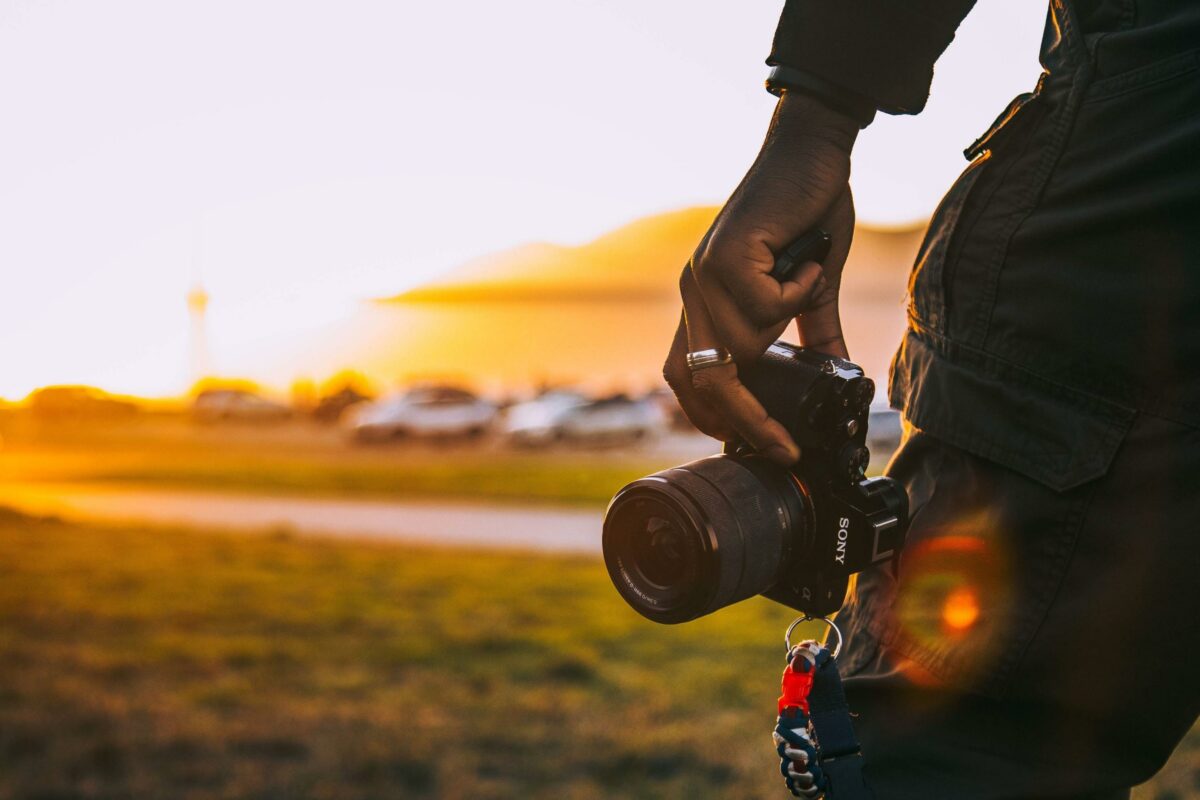
As a new photographer, don’t underestimate the significance of lighting.
It sets the tone of your photographs, influences the mood, and will determine if you like an image or not. You want to be mindful of the light’s quality, direction, and hue.
These elements vastly affect your photo’s aesthetics.
You should also learn about exposure because neglecting it can lead to underexposed shadows or blown-out highlights. Use your camera’s histogram to ensure proper exposure.
It should display a balanced graph without clipping on either end. This way, you maintain detail in both the highlights and shadows, preserving your photo’s dynamic range.
Lighting conditions fluctuate throughout the day. Golden Hour provides a soft, diffused light that’s perfect for capturing warm tones with a balanced contrast. In contrast, midday light can cast harsh shadows and produce a stark contrast.
Adjusting exposure settings or using spot metering allows for precise control over which areas of your frame are properly exposed.
And always consider the balance of light in your composition. Too much or too little can distract from your subject and affect the visual impact.
So, whether you’re shooting in natural or artificial lighting, strive for a harmonious balance that complements your subject matter.
4. Camera Shake
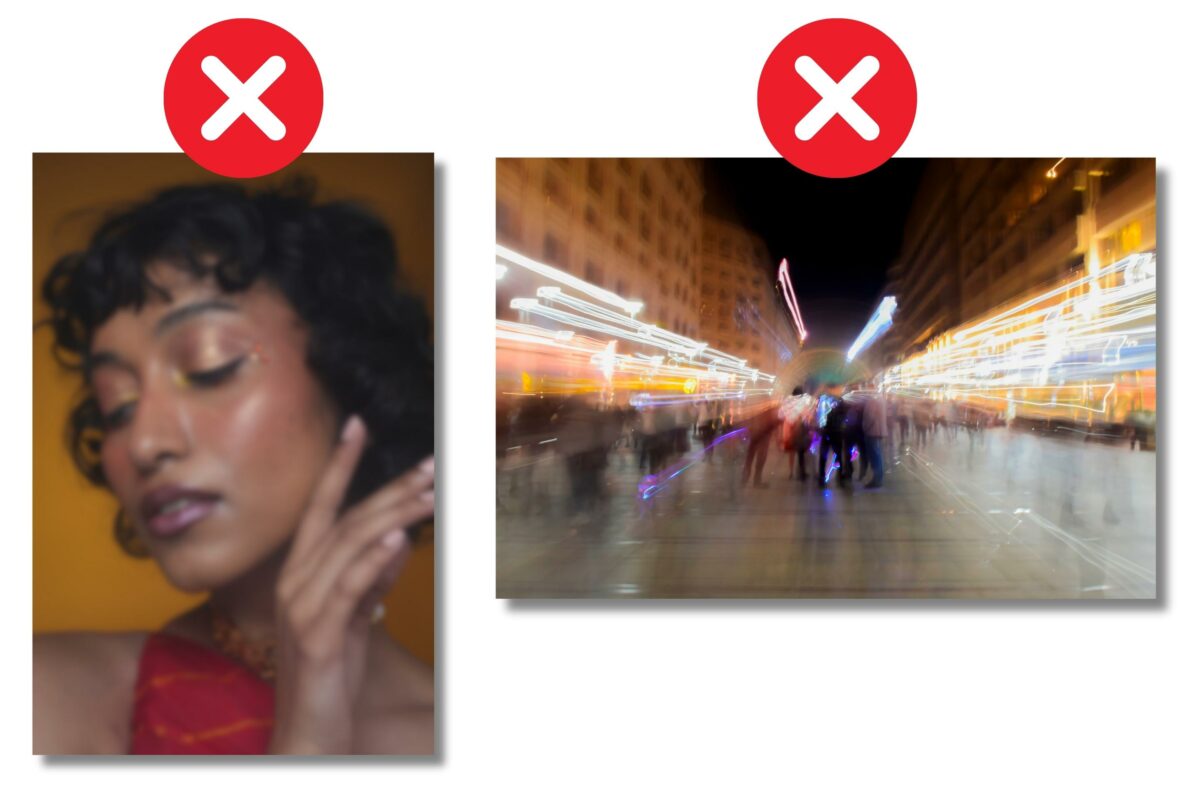
Another mistake photographers make is taking pictures when their camera is not stable. Here are some tips to reduce camera shake.
Stabilize Your Hold: Making sure your camera is held correctly to minimize camera shake. To do so, firmly grip your camera body with your right hand, support the lens with your left, and tuck your elbows close to your body. Or vice versa.
Use Support Equipment: A tripod provides a stable platform for your camera. It reduces the likelihood of camera shake and improves the sharpness of your photos. Especially in low-light conditions where slower shutter speeds are necessary. When portability is a concern, consider using a monopod or even a simple bean bag to support your camera.
- Opt for Faster Shutter Speeds: To avoid blurry photos from hand movements, increase your shutter speed. And stick to the reciprocal rule, where your shutter speed should be at least 1/focal length of the lens. For example, if using a 50mm lens, aim for a shutter speed of 1/50 seconds or faster.
Activate Image Stabilization: Many modern cameras and lenses come equipped with image stabilization (IS) systems. Turn this feature on to reduce blurring caused by minor movements. This can be particularly effective when hand-holding your camera at slower shutter speeds or when you’re unable to use a tripod.
- Refine Your Technique: Beyond gear and settings, your stance matters. Stand with your feet shoulder-width apart to form a solid base, and be mindful of your breathing; gently exhale when you’re ready to take the shot to decrease movement. Lean against a solid object or kneel down for increased stability when needed.
5. Over or Under-Exposing Images
When you’re behind the camera, achieving the correct exposure is required for capturing an image that mirrors your vision.
Heavy-handed adjustments to aperture, shutter speed, or ISO can lead to overexposure—where the image is flooded with light, washing out the highlights.
In contrast, an underexposed photograph is too dark, with the finer details lost in the shadows.
Adjusting exposure is a balancing act. Here are a few things you should keep an eye on:
- Aperture: The lens opening that controls light entry. Too wide can overexpose; too narrow can underexpose.
- Shutter Speed: The duration your camera’s shutter is open. Longer speeds might overexpose an image, while faster speeds can cause underexposure.
- ISO Sensitivity: The camera sensor’s sensitivity to light. A high ISO may result in overexposed photos, especially in well-lit conditions.
To manage proper exposure:
- Use your camera’s exposure control tools, like the histogram, to gauge the balance of light.
- Monitor the environment’s lighting conditions and adjust camera settings accordingly.
- Practice bracketing—a technique where you take multiple shots at different exposures to guarantee you get a well-lit image.
6. Backdrop Awareness
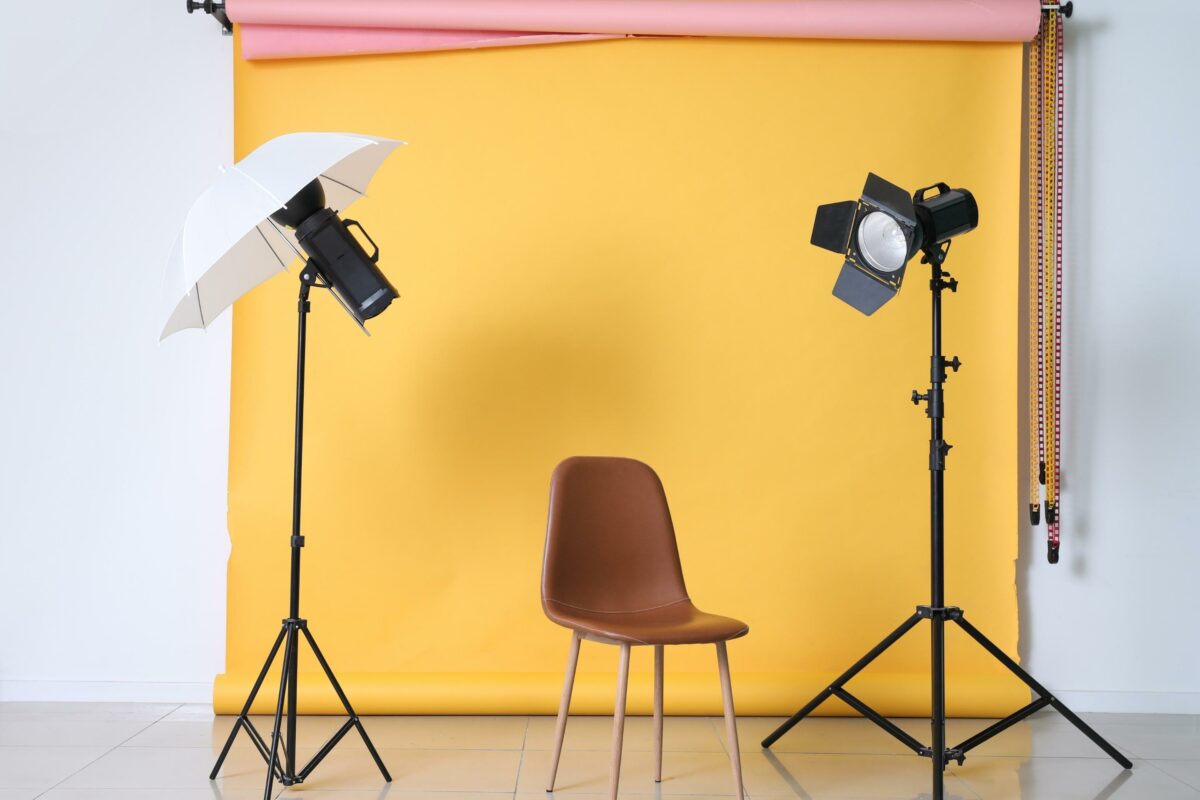
Okay. Now for backdrops!
As a photographer, it’s important to know how to handle backgrounds and depth of field effectively.
If your background is cluttered, you can soften it by using a shallow depth of field. You can achieve this by adjusting the aperture setting.
So, when setting up your photography scene, always check your background for unwanted items or visual distractions. A clean backdrop (or background) improves the overall mood of the photo and helps draw attention to your main subject.
I always keep an eye out for anything that could mess up the composition, like bright colors, patterns with high contrasts, or objects sticking out behind the subject.
Here’s a quick checklist for making sure your backdrop/background looks it’s best:
- Check for distractions: Make sure there are no disruptive elements in the background.
- Mind the colors: Choose a backdrop color that complements the subject and doesn’t overpower it.
- Secure the backdrop: Use clamps or weights if necessary to keep it smooth without creases. If wrinkles are present, they can be visibly distracting in the final photo, as noted by insights on managing backdrops.
7. Not Editing Photographs
When you capture an image, most of the time post-processing is a necessary step that transforms your photos.
When you don’t edit, you miss the opportunity to enhance the exposure, refine colors, and express your unique style.
Editing allows you to correct any lighting or color balance that may not have been apparent during the shoot.
Also, the saturation slider is a powerful tool, and without editing, your images might lack vibrancy or, conversely, exhibit an unnatural intensity of colors. Adjusting tones and tweaking saturation can significantly impact the mood and feel of your photographs.
So don’t skip this step. You don’t want to present work that fails to mirror reality or your photographic style.
Note: Editing isn’t just about color. It involves cropping and enhancing photo composition. For a more engaging image, you might need to remove distracting elements or use the rule of thirds to get an aesthetically pleasing balance.
8. Shooting Only in JPEG Format
As a new photographer, I did this way longer than I should have.
When you choose to shoot photographs only in JPEG format, you prioritize convenience. JPEG files are compact and ready to use straight out of the camera, which is useful when you have limited storage or need to share images quickly.
However, this convenience comes at a cost.
It limits your creative control during post-processing compared to RAW files.
RAW files, compared to JPEG, provide a higher level of detail and dynamic range. This difference is critical when adjusting exposure, recovering shadows, or enhancing highlights in an image.
And when you opt for JPEG formatted images, it means you’re working with a compressed file. A file that has already lost some of this valuable information.
But if that’s not enough to convince you, here are some more reasons why you might reconsider shooting solely in JPEG:
- Editing Limitations: JPEGs have less data, constraining your editing capabilities.
- Quality Loss: Each time a JPEG is edited and saved, it loses quality due to compression.
- Lack of Flexibility: RAW files offer more options for correcting lighting and colors.
So, understand your needs and decide accordingly if the benefits of JPEG outweigh the advantages of other formats like RAW. Choosing your file format is a significant aspect of your processing workflow and can greatly impact the final quality of your photographs.
9. Focusing Too Much on Gear
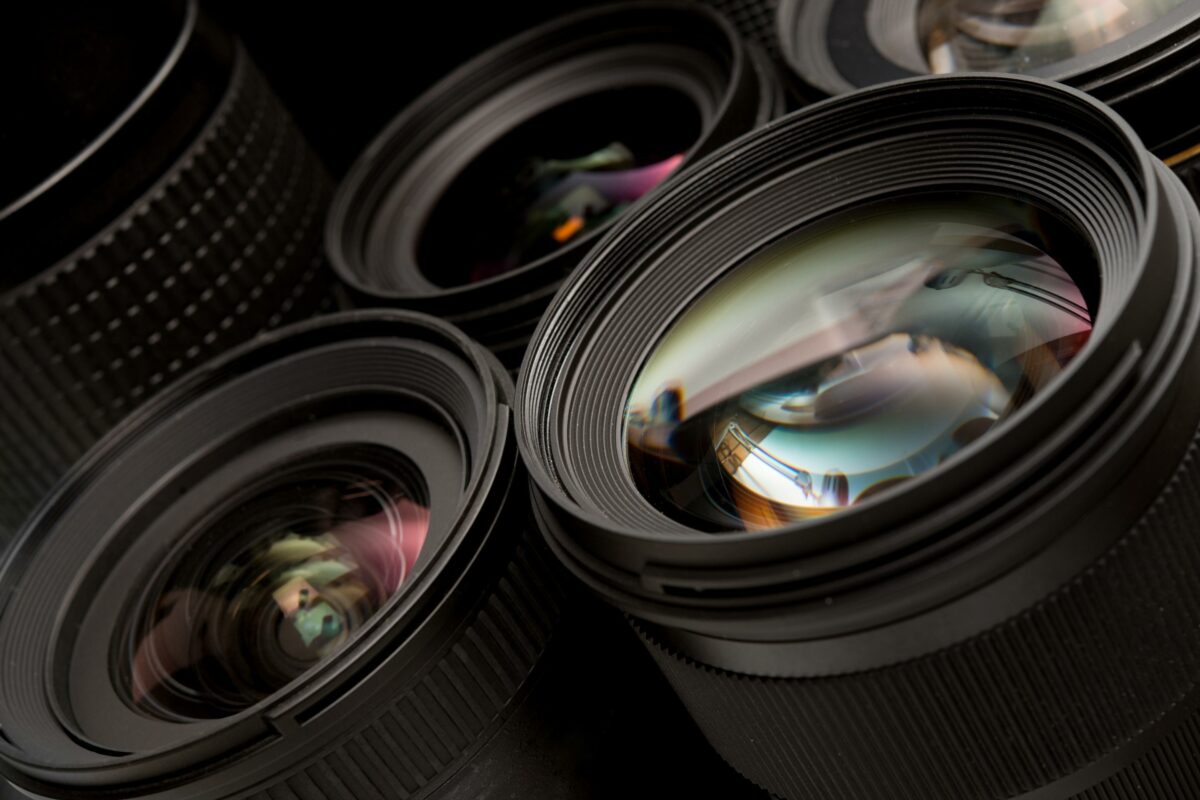
In photography, you might think getting the latest camera or lenses will instantly improve your photos.
But it’s not true. And it’s a trap many fall into.
So don’t prioritize gear over developing your skills. Your ability to photograph great images often relies more on understanding composition, lighting, and perspective than simply owning the newest equipment.
Camera and lens: It’s tempting to invest in a high-end camera or a variety of focal-length lenses, but mastering a few key lenses can be more beneficial. Learn how each lens impacts your images, and focus on getting the most out of your current gear. Many professional photographers achieve remarkable results with the most basic setups.
Tripods and other equipment: While a sturdy, high-end tripod is a valuable tool, it’s not always needed. And before adding more gear to your collection, consider whether it will significantly contribute to the quality of your photography or just add complexity. Because creativity and vision can’t be bought. They are honed through practice and experience.
10. Not Practicing Enough
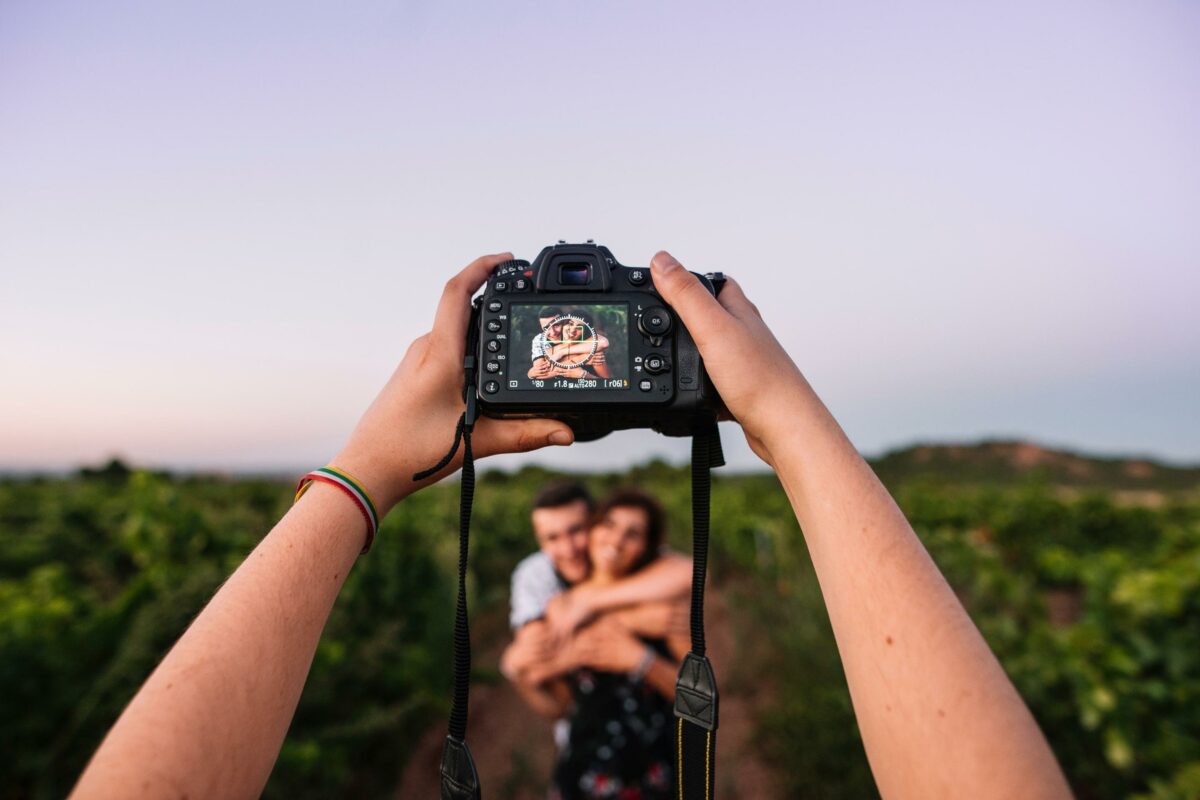
To grow as a photographer, you need both dedication and consistency.
Your progress is a direct product of the time you invest in learning and practicing. Because the more you shoot, the more you learn about the nuances of camera settings, lighting, and composition.
Allocate time for posing practice. Or try out to refine your seeing—the art of observing your environment to create compelling images. Build a habit of trying new techniques.
Even small, regular practice sessions can lead to substantial improvements over time. And remember, patience is key: don’t get discouraged by mistakes.
Each error is an opportunity for learning.
I also recommend analyzing your photos to identify areas in need of improvement and seek constructive feedback. And approach each photography session with a focus on practicing a specific skill.
For example, it can be mastering exposure, experimenting with depth of field, or perfecting your post-processing workflow.
11. Continuous Learning
As a new photographer, continuous learning is a must.
Your progression from a novice to a professional photographer is marked by a series of learning curves that contain both technical and creative elements.
And like many other art forms, becoming proficient in photography involves understanding the intersection of science and expression.
Your education can be formal or self-directed. But either way, it should be ongoing and reflective.
12. Equipment Maintenance
Finally, proper equipment maintenance is essential in photography.
Your camera’s longevity and the quality of your images are directly impacted by how well you maintain your gear. To start, always ensure your camera bag is clean and free from dust, which can be detrimental to your equipment.
Lens Care: Regularly clean your lenses using a lens-specific cleaning solution and a microfiber cloth. Careless handling may lead to scratches or build-ups that can degrade your image quality.
Sensor Cleaning: Clean your camera’s sensor periodically for clear images. However, this process requires precision. Consider hiring professional cleaning services for your sensor to avoid costly damage.
| Maintenance Task | Frequency | Notes |
|---|---|---|
| Lens Cleaning | As needed | Use proper lens cleaning tools |
| Sensor Cleaning | Bi-annual/Annual | Prefer professional services |
| Overall Inspection | Every 6 months | Check for wear and tear |
And remember, when it comes to camera care, be methodical and gentle.
Keep all equipment free from moisture, and never force parts that seem stuck or unresponsive. Your camera is an investment, and treating it as such will ensure its best performance for years to come.
And that’s it for my list of 12 common things photographers overlook.
Want to Learn More About Photography?
If you’d like to learn photography from me in a more structured and detailed way than just reading and watching different videos online, I’m making a course just for you!
It’s my debut video course, “Intro to Photography,” where I’ll teach you the ins and outs of photography in a fun, easy-to-understand way.
If you’re interested, type your email in the form below!
FAQs
How can beginners avoid overexposing photos?
To avoid overexposed photos, get familiar with the exposure triangle—aperture, shutter speed, and ISO. Think of your camera like your eye: too much light will wash out the scene. Use your camera’s light meter as a guide, and practice shooting in manual mode to fine-tune your exposure settings.
What steps can a novice photographer take to prevent blurry images?
Sharp images are the hallmark of a good photograph. For crisp results, ensure your shutter speed matches your lens focal length. If you’re using a 50mm lens, your shutter speed should be at least 1/50th of a second. Additionally, use a tripod or steady your hands to act like a human tripod.
What are the pitfalls of not understanding camera settings for beginners?
Not understanding your camera settings can leave you with images that don’t match your vision. It’s like trying to bake a cake without knowing how to set the oven. Spend time reading your camera’s manual and experimenting with different settings to see their effect on your pictures.
What should beginners know about composition to enhance their photography?
Good composition is storytelling with visuals. The rule of thirds is a good starting point—divide your frame into a grid and place key elements along these lines or at the intersections. Imagine you’re arranging furniture in a room; where you place each piece can define the room’s character.
How can new photographers steer clear of poor lighting mistakes?
Lighting can make or break a photo. To avoid poor lighting, observe how light interacts with your subject. For outdoor photography, the golden hour provides soft, diffused light. Indoors, use window light, and avoid harsh overhead lights that can create unwanted shadows, like a campfire casting spooky shadows on a storyteller’s face.
What are the best practices for beginners to maintain sharp focus in their photos?
To maintain sharp focus, use autofocus to your advantage. Place the focus point where you want the sharpest area to be, usually on the subject’s eyes when taking portraits. Think of it as pinpointing where you want your audience to look first, like putting a spotlight on an actor on stage.


