How To Use A Camera: A Guide For New Photographers
So, you’ve got your hands on a camera, and you’re excited to start shooting!
But… you have no idea where to start. Or how to use it.
No worries. Almost every new photographer experiences this, so you’re not alone.
And let’s be real, cameras can be intimidating with all those buttons and settings. It’s like you’re trying to solve a Rubik’s cube that takes pictures.
But guess what? Learning how to use your camera doesn’t have to be hard. Because with a few tips, you’ll be taking better pictures in no time.
And I’m going to share how to use a camera in this guide for new photographers.
Getting to Know Your Camera
Let’s start with the basics and talk about camera types, settings, and sensors.
An Overview of Different Camera Types
When you’re starting out, you need to know the type of camera you own.
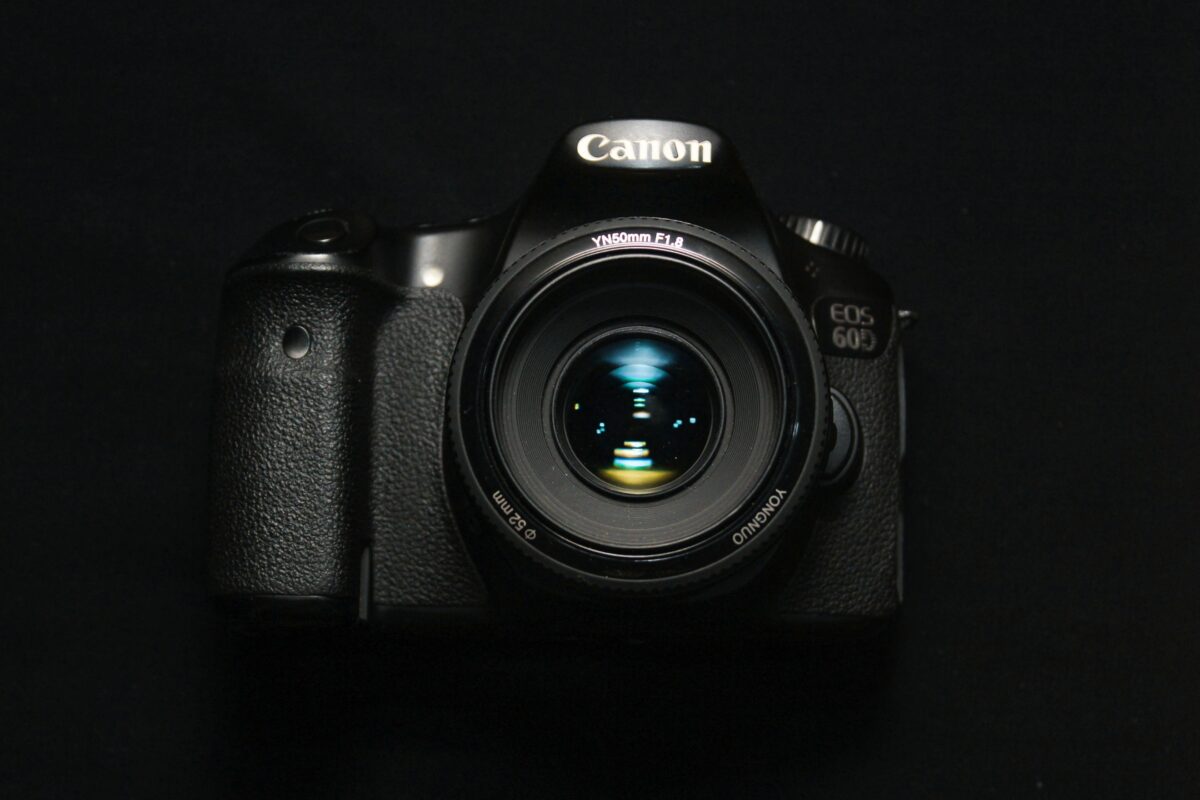
If it’s a DSLR (Digital Single-Lens Reflex) camera, it comes with a mirror mechanism that allows you to see directly through the lens using an optical viewfinder.
On the other hand, a Mirrorless camera, as the name suggests, doesn’t have this mirror.
It also has a lighter and more compact camera body and usually features an electronic viewfinder or just a digital display.
| Camera Type | Features | Viewfinder Type |
|---|---|---|
| DSLR | Mirror mechanism, bulkier, optical viewfinder | Optical |
| Mirrorless | No mirror, lighter, electronic viewfinder or digital display | Electronic or None |
Exploring Camera Settings
You also need to learn about the different settings that affect your photographs. The Aperture Priority (A / Tv) mode allows you to control depth of field by adjusting the aperture while the camera selects the shutter speed.
Learning how to adjust exposure compensation can help you control the brightness of your scene.
Mastering focus is also key. Use Single Area AF for stationary subjects and Continuous AF if you’re on the move.
- Aperture Priority: A / Tv
- Exposure Compensation: +/- Buttons
- Focus Modes: Single Area AF, Continuous AF
Deciphering Camera Sensors
The heart of your digital camera is its sensor.
It takes the image and determines the quality of your photos.
And your sensor size has a direct impact on image quality. For example, a larger sensor generally provides better low-light performance and a shallower depth of field.
Also, sensors come in different sizes, from the smaller Four Thirds to full-frame sensors that match 35mm film size.
- Four Thirds: Smaller sensors, good for portability
- Full-Frame: Large sensors, excellent for low-light and professional work
The Basics of Photography
When learning photography, it’s like learning how to drive.

At first, the dashboard of your car seems overwhelming. But soon, it becomes second nature as you understand each control’s role.
Photography is the same, and once you master a few key concepts, they’ll quickly transform your pictures.
Your boring images will eventually become good-looking photographs once you know what you’re doing.
Learning Photography Terms
Here are some important terms you need to know:
- Aperture: Think of it as the pupil of your camera’s eye, adjusting how much light reaches the sensor. Picture a window with blinds, where the size of the opening controls the sunlight flowing into a room.
- Shutter Speed: This determines how long your camera’s ‘eye’ is open to take in the scene. Imagine blinking; a quick blink lets in less light than holding your eyes open does.
- ISO: This indicates the sensitivity of your camera’s sensor to light. Higher ISO values are like having night-vision goggles; you see more in the dark but potentially with more ‘noise’ or grain in the image.
- Focus: Sharpens the subject in your photograph, ensuring that details are crisp.
The Exposure Triangle Explained
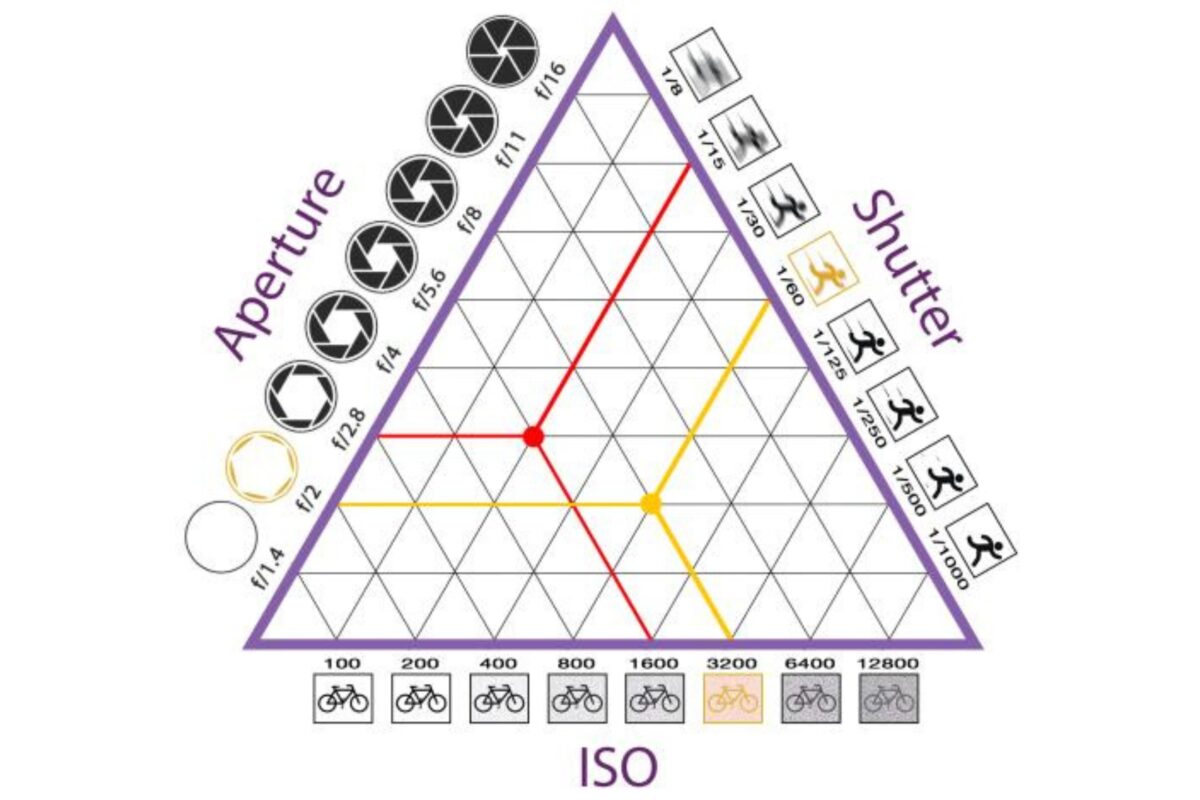
At the heart of photography basics lies the Exposure Triangle, composed of aperture, shutter speed, and ISO.
Each element of this triangle influences exposure—the total amount of light that reaches the sensor to create your photograph.
- Aperture – Controls depth of field. A wide aperture (small f-number, like f/2.8) creates a shallow depth of field, blurring the background, while a narrow aperture (large f-number) keeps more of the scene in focus.
- Shutter Speed – Affects motion blur. Fast speeds freeze action, and slow speeds allow motion to blur, illustrating movement in your photographs.
- ISO – Determines image noise. Higher ISO allows shooting in low light, but beware of the increased risk of grainy images.
Understanding these settings is pivotal in crafting the image you envision because they give you control over the mood and narrative of your photograph.
Think of yourself as an Artist, with your camera as the brush and these settings as your colors.
When you learn how to blend them perfectly, it allows you to paint a scene in a way that shows what you want to portray.
Lenses and Composition
As a photographer, the lens you choose and how you compose your shot are the building blocks of creating images.
Let’s explore the separate roles both of them play in your photography.
Choosing the Right Lens
When starting out, understanding lenses can be like finding the perfect pair of shoes.
Each has its occasion and offers a different look and feel.
Selecting a lens is similar.
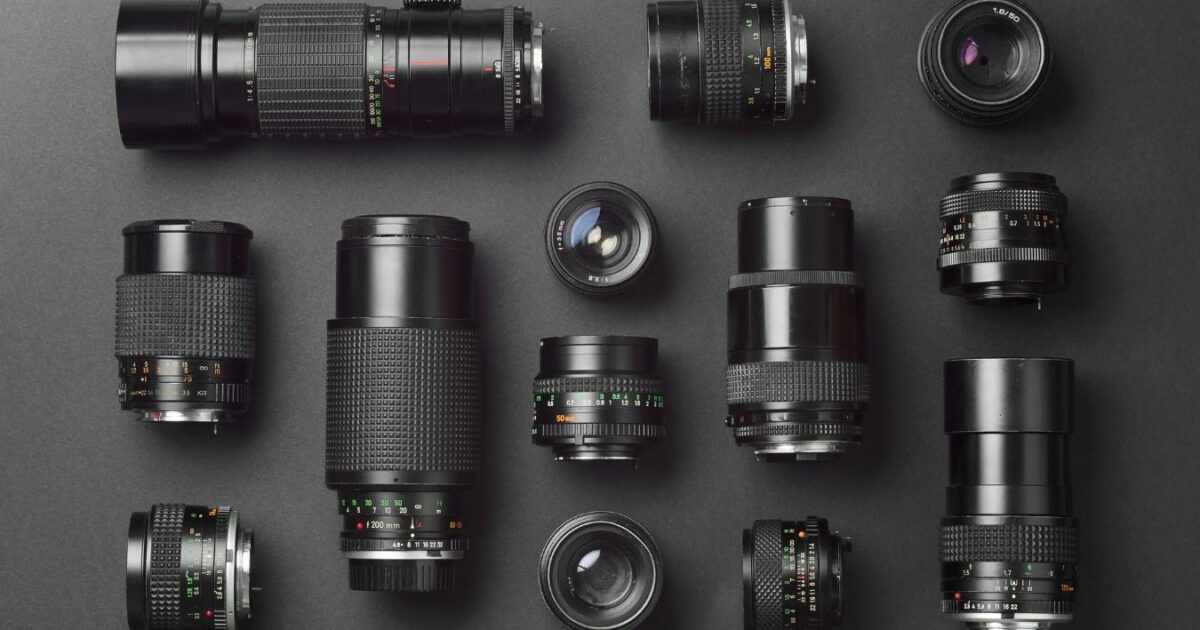
Lenses are defined by their focal length, which determines the scope of what you capture:
- Wide-Angle Lens: These lenses, with a focal length typically between 14mm-35mm, allow you to capture more of the scene. They’re perfect for expansive landscapes or tight interiors where you want to include as much as possible.
- Telephoto Lenses: On the other end, telephoto lenses, starting from 70mm to 200mm and beyond, let you zoom in on distant subjects. They’re ideal for wildlife or sports photography where closing the physical gap isn’t possible.
So, the lens you choose alters the relationship between subjects in your frame. Affects the depth of the scene. And can even manipulate the perceived distance between objects.
Composition Techniques as a New Photographer

Think of composition as the art of storytelling within the frame of your photo.
It’s about guiding the viewer’s eye to the subject and creating a visual journey.
What you need to know about composition as a new photographer:
- Rule of Thirds: Imagine your image is divided into nine equal segments by two vertical and two horizontal lines. Place your subject along these lines or their intersections to create a well-balanced and interesting shot.
- Leading Lines: Use natural lines in your shot, like roads or fences, to lead the eye toward your main subject, adding depth and perspective.
- Cropping: Sometimes, what you leave out is as crucial as what you include. Cropping can help eliminate distractions and focus on what’s important.
- Multiple Focal Points: If you have several subjects, use composition to balance the image, making sure each subject adds to the story without overwhelming the viewer.
For composition, this is a great starting point. And eventually, you’ll know the rules well enough to know when to break them creatively.
Lighting and Exposure Control
Mastering lighting and exposure allows you to work with what nature provides and supplement to with artificial help to create great shots.
Working with Natural Light
Natural light is provided by the sun.
It’s a dynamic and sometimes unpredictable part of photography. But understanding how it works can seriously improve your photos.
Golden hour—just after sunrise or before sunset—offers soft, diffuse, and warm light that can bring a magical quality to your images.
It’s perfect for that sought-after bokeh effect where the background is beautifully blurred, emphasizing your subject.
Here’s what you should keep in mind when working with natural light:
- Time of Day: Shoot during golden hours for gentle lighting.
- Shadows: Use the direction of light to create depth with shadows.
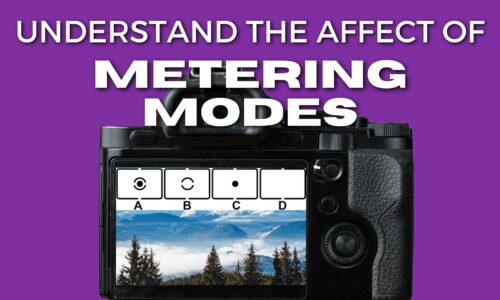
- Metering Modes: Your camera’s metering modes help measure the light. Spot metering allows for precise control, often necessary when working with harsh sunlight.
Using Artificial Lighting
When natural light isn’t enough, or you’re aiming for a specific effect, artificial lighting is your friend.
This can be through a straightforward flash or advanced studio lights.
With artificial lights, you can control shadows and highlights to brighten images and shape the mood.
Also, a handy format to remember when adjusting artificial lighting is the exposure triangle:
| Setting | Affects | Useful for |
|---|---|---|
| Aperture | Depth of field (bokeh effect) | Controlling how much light enters |
| Shutter Speed | Motion blur | Freezing or blurring action |
| ISO | Sensor’s sensitivity to light | Brightening images in low light |
You can also adjust these settings in your favorite image editor, like Lightroom, to fine-tune the exposure post-shoot.
But don’t worry about editing images too much just yet. We’ll talk about it shortly.
How to Use a Camera for Landscape and Portrait Photos
As a new photographer learning how to use a camera, practice is what you need.
And what better way to practice than actually going out and taking some photos?
You gotta get your reps in!
Will the photos you take be perfect?
Absolutely not! But you’ll know the basics of working your camera with everything we’ve talked about so far.
Taking photographs is as much about technical skill as it is about a creative eye. And repetition.
So let’s talk about taking some landscape photos, portraits, and still-life images. These are some of my favorite photos to take.
Landscape Photography
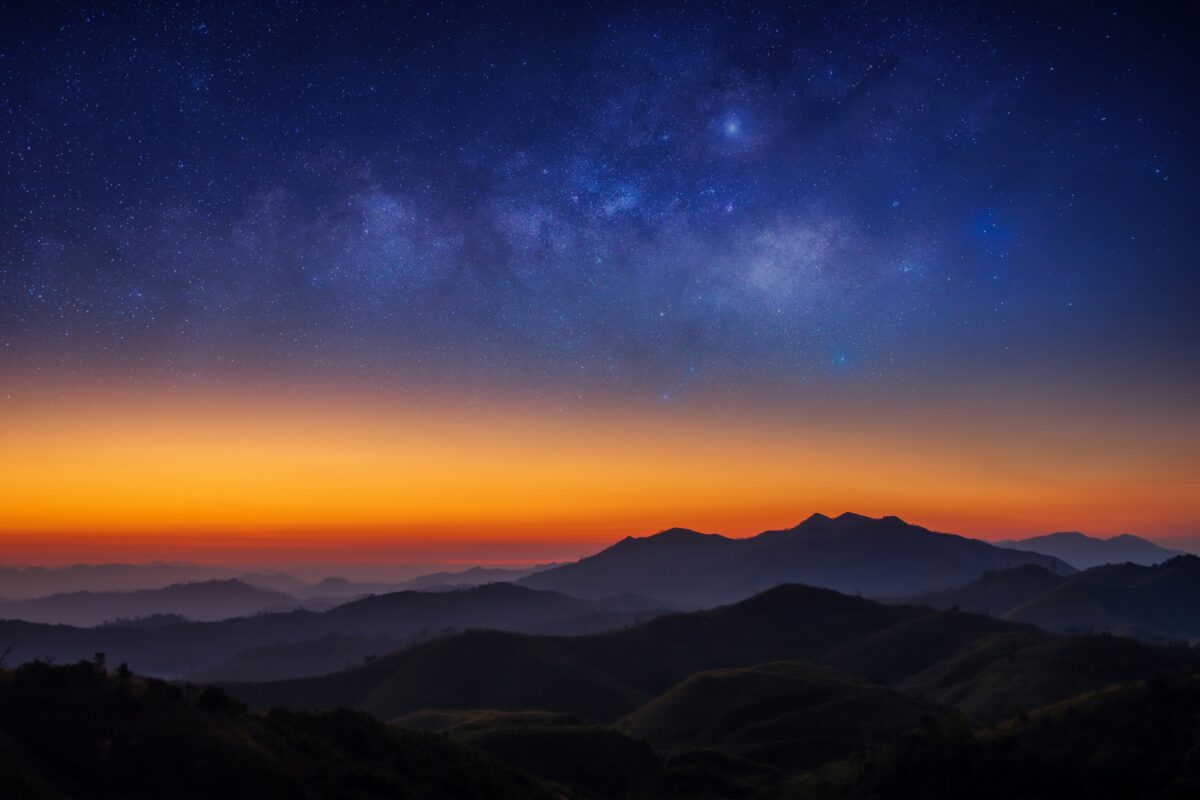
When you’re out in nature, there are so many different things you can take photos of. As a beginner, here’s what I recommend:
- Camera Settings: Use a small aperture (high f-stop number) to keep everything from the foreground to the horizon sharp.
- Composition: Apply the rule of thirds by imagining your viewfinder is divided into a grid and align the points of interest along the grid lines.
- Time of Day: Golden hour, the time shortly after sunrise or before sunset, provides warm lighting and long shadows that enhance the texture of your landscapes.
And with landscape photography, you often have to be patient.
Sometimes the weather isn’t the best, and you have to adapt and work with what nature gives you lighting-wise.
Portrait Photography
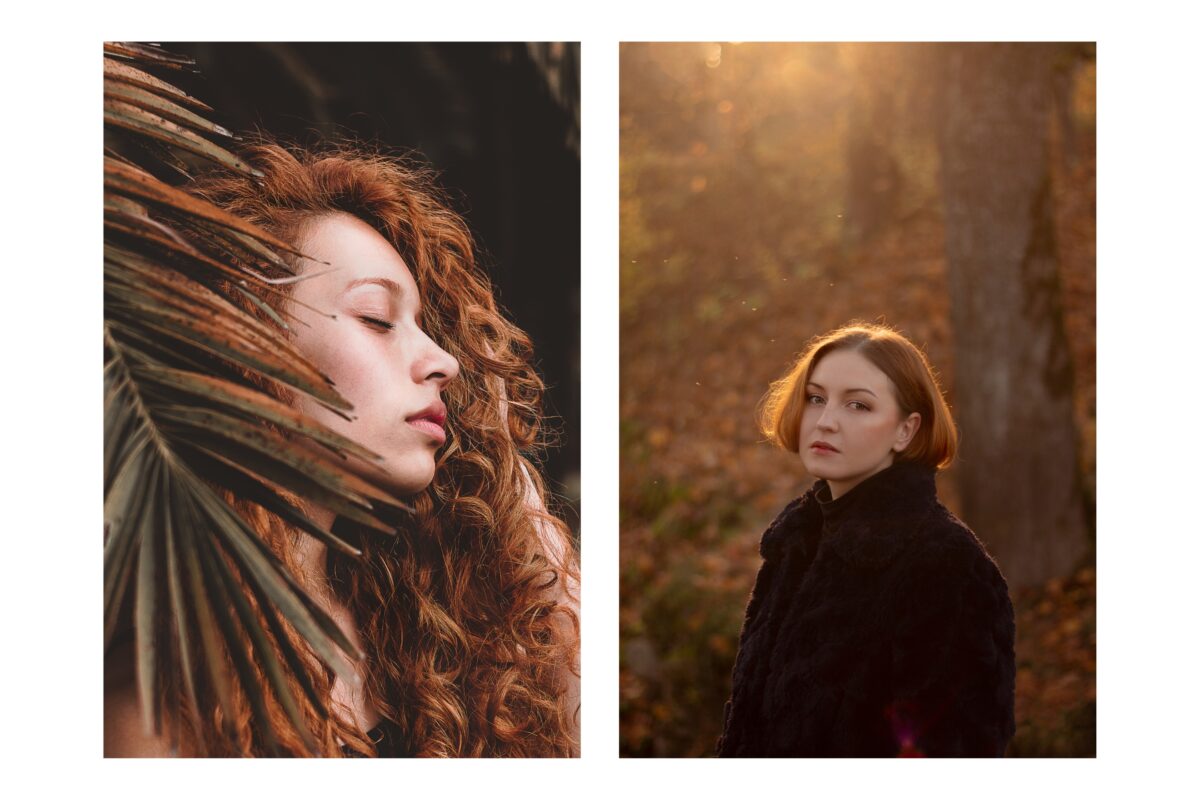
Portraits and still-life photos demand attention to detail and a connection with your subject.
- Lighting: For portraits, soft and diffused lighting flatters the subject’s features. A window or an overcast sky can be your best friend here.
- Depth of Field: A shallow depth of field, achieved by using a large aperture (low f-stop number), isolates your subject from the background, creating a bokeh effect where the backdrop blurs artistically.
Post-Processing and Editing in Photography
Introduction to Photography Editing
Okay, so you’ve taken some photos. Now it’s time to edit them.
Your first step when editing will be selecting the best images and narrowing them down. The proper term for this is known as culling.
You also eliminate any duplicates at this step.
The transformation from a good photo to a great one frequently happens in post-processing. This is where RAW files—the uncompressed image files that are your blank canvases—turn into even better visuals. (I recommend only shooting in RAW format, not JPEG.)
Photo Editing Software
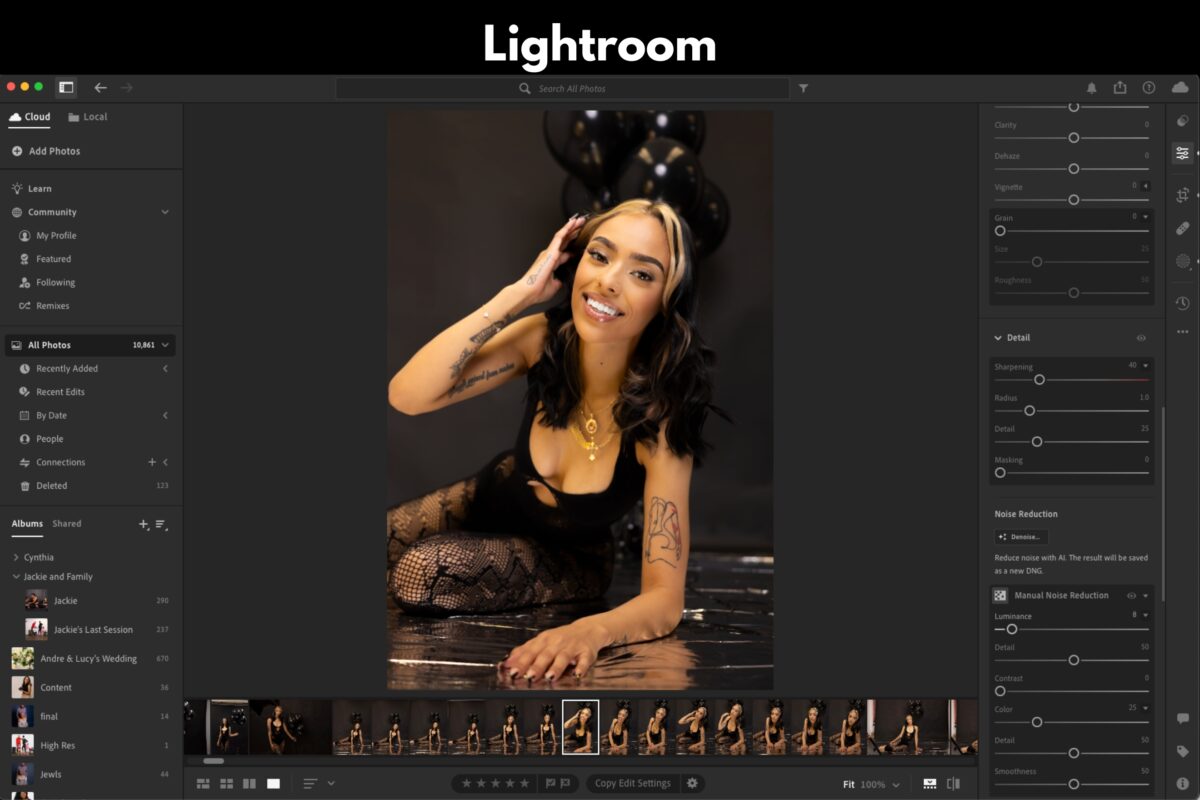
- Adobe Lightroom: A go-to editing software for many, Lightroom speeds up your workflow efficiency and non-destructive editing. Here, you can adjust lighting and color, apply blur effects for emphasis, and even correct lens distortions, keeping your original files intact.
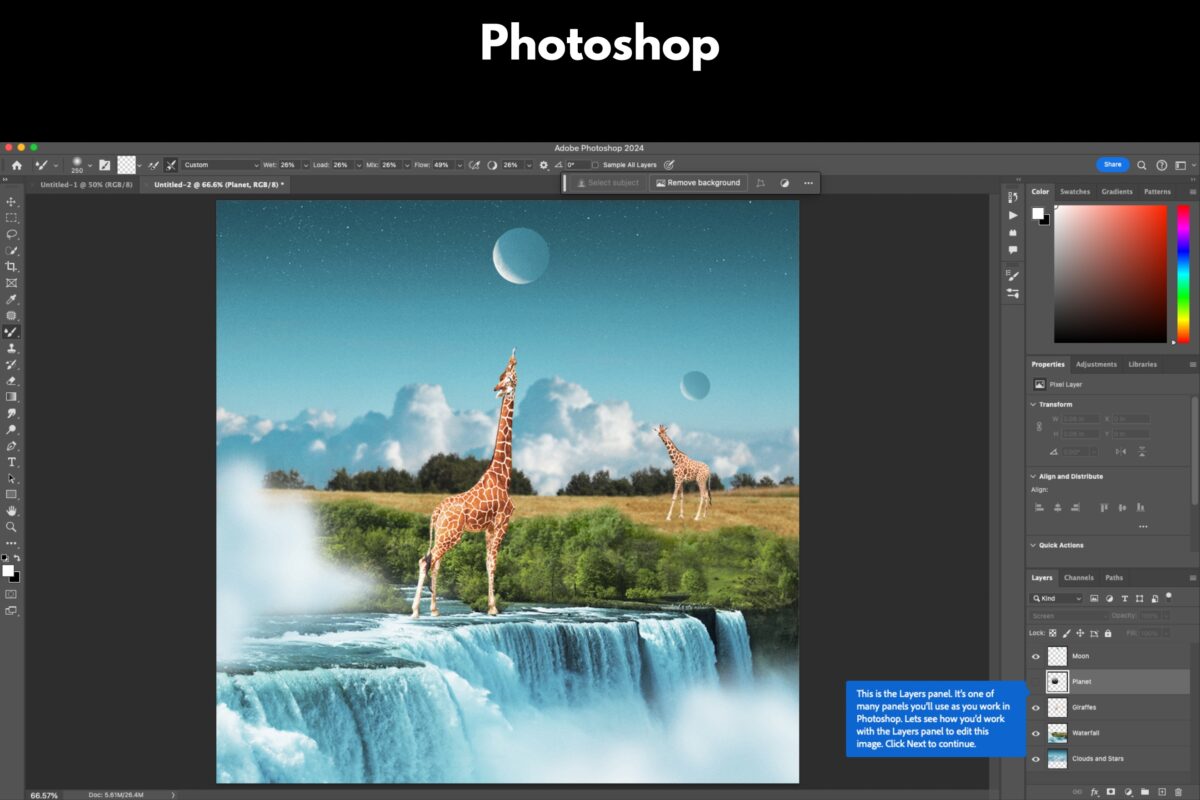
- Adobe Photoshop: For complex edits requiring layers and intricate manipulation, turn to Photoshop. It’s the artist’s laboratory where double-exposure compositions or composite images can be made.
I also recommend learning the following:
1. Get Familiar With The Software
- Photoshop: Get to know the workspace, toolbars, and basic panels.
- Lightroom: Understand the Library and Develop modules for photo management and basic editing.
- Adobe has made it very easy to learn how to use its software with built-in tutorials.
2. Fundamental Editing Techniques
- Photoshop: Learn basic tools like the move tool, brush tool, and how to work with layers.
- Lightroom: Practice basic photo adjustments like exposure, contrast, and color balance.
3. Simple Photo Retouching
- Photoshop: Try out simple retouching, like removing blemishes or minor unwanted elements.
- Lightroom: Use basic presets to quickly enhance your photos.
4. Organizing Your Photos
- Lightroom: Learn how to import, organize, and manage your photo library efficiently.
5. Basic Exporting
- Photoshop & Lightroom: Understand how to save or export your edited photos in different formats.
6. Regular Practice and Experimentation
- Dedicate time to practice regularly.
- Experiment with basic edits to understand their impact on photos.
7. Use Learning Resources
- Follow beginner-friendly tutorials for both Photoshop and Lightroom.
- Join online forums or communities for beginners to seek advice and feedback.
Closing Thoughts
Welp, there you have it!
You should now feel more comfortable and know the basics of using a camera as a new photographer.
Just remember, every pro was once a beginner, just like you. So grab your camera, embrace those early learning curves, and start taking photos.
And if you still need some help, we’ve got something in the works just for you!
Our debut video course “Intro to Photography” will teach you the ins and outs of photography in a fun, easy-to-understand way.
If you’re interested, drop your email in the form below!
Frequently Asked Questions
What are the top camera settings a beginner should learn first?
When you’re starting out, familiarize yourself with three key settings: Aperture, Shutter Speed, and ISO. Think of these as the foundational trio that governs the amount of light that enters your camera (aperture), the duration for which light is let in (shutter speed), and the camera’s sensitivity to that light (ISO).
What is the best way to learn and master manual mode on my camera?
First, read your camera’s manual to understand the controls. Then, practice, practice, practice. Start with simple subjects in controlled lighting, make adjustments, and observe the results. Think of it as learning to cook; you adjust the spices (settings) until the dish (photo) looks just right.
Can you provide tips for setting up a smartphone camera to take professional-quality photos?
Absolutely! Start with cleaning the lens for a clear shot. Then, explore your phone’s pro or manual mode. Adjust the focus and exposure manually for better control over the image. Use the rule of thirds for composition, which many smartphones can display as grid lines on the screen. And use natural lighting when you can.
What steps should a new photographer take to quickly improve their photography skills?
Start by shooting regularly and reviewing your pictures critically. And use different settings to see how they affect your images. You can also learn from experienced photographers and consider their techniques. Another option is to join a photography group or class for feedback and support. But, most importantly, enjoy practicing and the process of learning and creating.

