Learn All The Different Types of Lighting in Photography
Whether you’re a new photographer or a professional, the different types of lighting in photography makes such a huge difference in photos – it’s nuts!
Imagine you’re at your favorite beach watching the sunset.
That golden hour light hitting the water is pure magic, right? It makes everything pop. Now, imagine the same beach under an overcast sky. It’s a whole different vibe.
That’s the magic of lighting in photography.
But how well do you know the different types of lighting? How does the slightest shift in angle or light source transform your subject?
These are questions you might not know the answer to. But when you do, it can be the difference between a photo you never look at again and one you love.
So, in this article, I’m going to share what I know about the different types of lighting in photography!
Understanding Light
Qualities of Light
The properties of light are:
- Direction: The angle at which light falls on your subject. It affects the appearance of shadows and highlights. Try different directions for different outcomes.
- Intensity: The brightness of the light source. Controlling the intensity will change the mood of a photograph.
- Color: Both natural and artificial light sources show different colors that influence the tone of your images.
- Hardness or Softness: Hard light creates well-defined shadows and higher contrast, while soft light provides diffused shadows and lower contrast.
Types of Light
There are two primary types of light used in photography: natural and artificial.
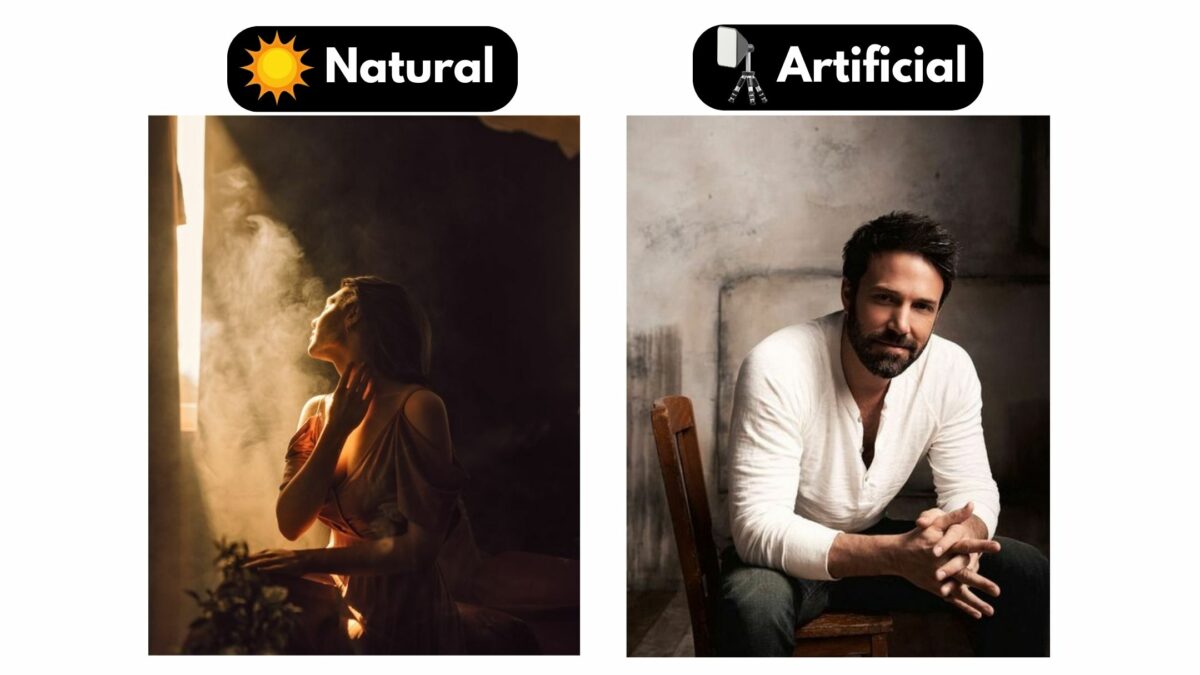
Natural light includes sunlight, moonlight, and other sources found in nature. It can be unpredictable. But when used correctly, natural light creates some of the best images. Examples of natural light include:
- Front Light: When the light source is in front of your subject
- Backlight: When the light source is behind your subject
- Rim Light: When the light illuminates only the edges of your subject
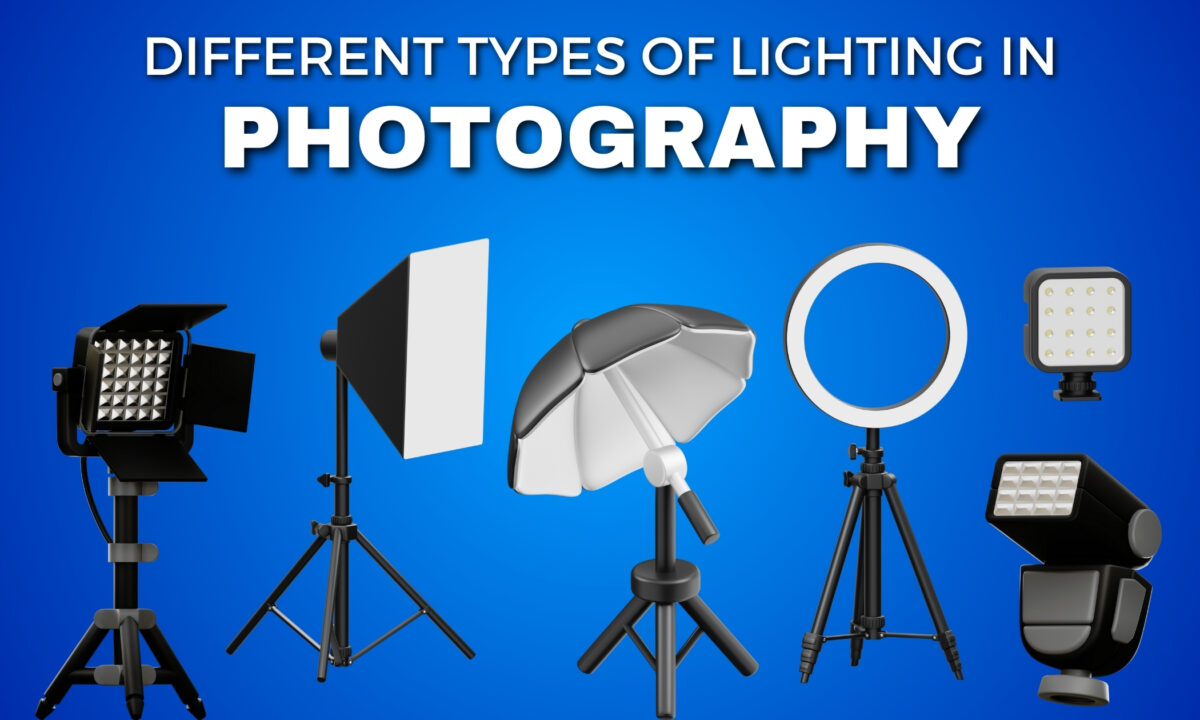
Artificial light is any lighting intentionally added by the photographer. This can include flash units, studio lights, lamps, and more. Some examples of artificial light are:
- Softbox: A diffused light source that creates soft shadows
- Ring Light: A circular light source that evenly illuminates the subject
- Strobe Light: A high-intensity, brief light source often used in fashion photography
How Light Affects Your Photography
Light has a significant impact on the mood, composition, and storytelling of your photographs. Here are some factors to consider when using light in your work:
- Shadows: The ratio of light and shadows can add depth and drama to your images.
- Contrast: The difference between the darkest and lightest parts of your image. Higher contrast images typically have more impact, while lower contrast photos can appear softer and more subdued.
- Reflector: A tool that redirects light towards your subject to fill in shadows, manage contrast, and create a more evenly lit scene.
- Position: The placement of your light source will change the appearance of your subject. Experiment with various positions to enhance the subject’s features or create cool shapes and patterns.
Lighting Sources
In photography, there are two main categories of light sources: artificial light sources and natural light sources.
Artificial Light Sources
Artificial light sources are man-made and can be controlled to get the desired effect in your photographs. Common artificial light sources include:
- Camera flash: This is a built-in or external light that provides a quick burst of light to illuminate your subject, often used in low-light situations.
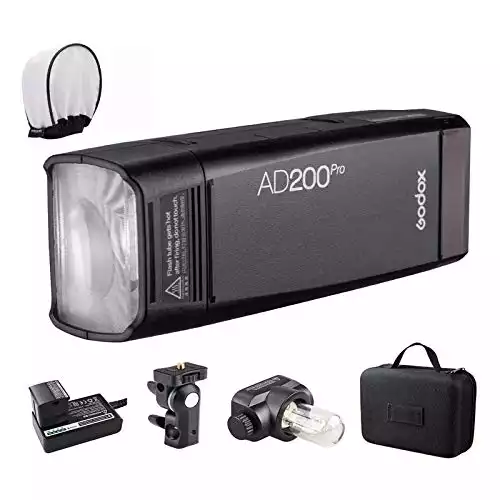
- Strobe light: A strobe light is a powerful flash unit that can be synchronized with your camera. They’re typically used in studio settings and can create dramatic lighting effects.
- Lamps: Lamps are a continuous light source that can create soft, even lighting, which is excellent for portrait photography.
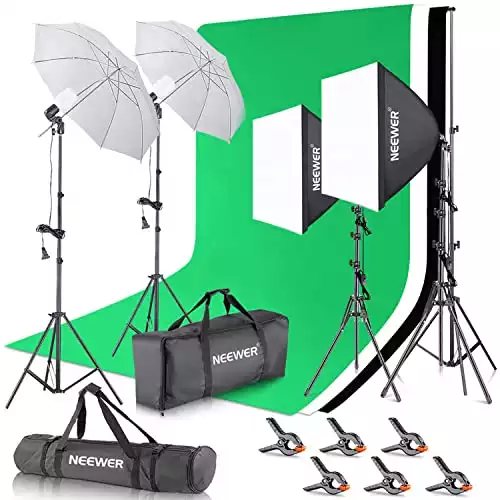
The Neewer lighting kit is designed for superior photo studio quality, ensuring well-lit, professional-looking photos and videos in a variety of settings.
When using artificial lighting sources, you’re in complete control of the intensity, direction, and quality of light.
Natural Light Sources
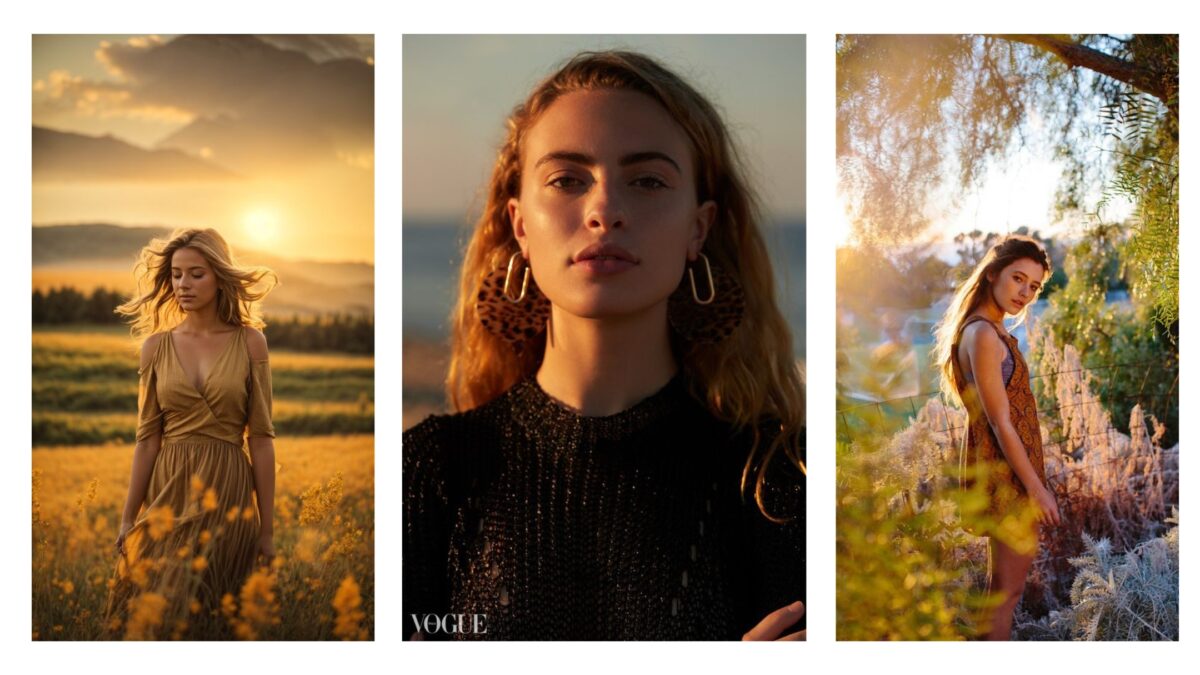
Natural light sources are those provided by nature. They include:
- Direct sunlight: This light source can be harsh, creating strong shadows and highlights in your photos. But, when used correctly, it can produce beautiful images. For example, shooting during golden hour (shortly after sunrise or before sunset) will provide warm tones and softer shadows.
- Natural sunlight: Sunlight is a light source that can be filtered and diffused through various elements, such as clouds, windows, or curtains, which can create a soft and flattering light.
- Shadow: Shadows can be created by various objects, like trees or buildings, blocking the sunlight. Using shadows in your composition can add depth and interest to images.
The Fundamental Types of Lighting in Photography
Now let’s discuss some lighting setups you can use in your photography.
Soft Light
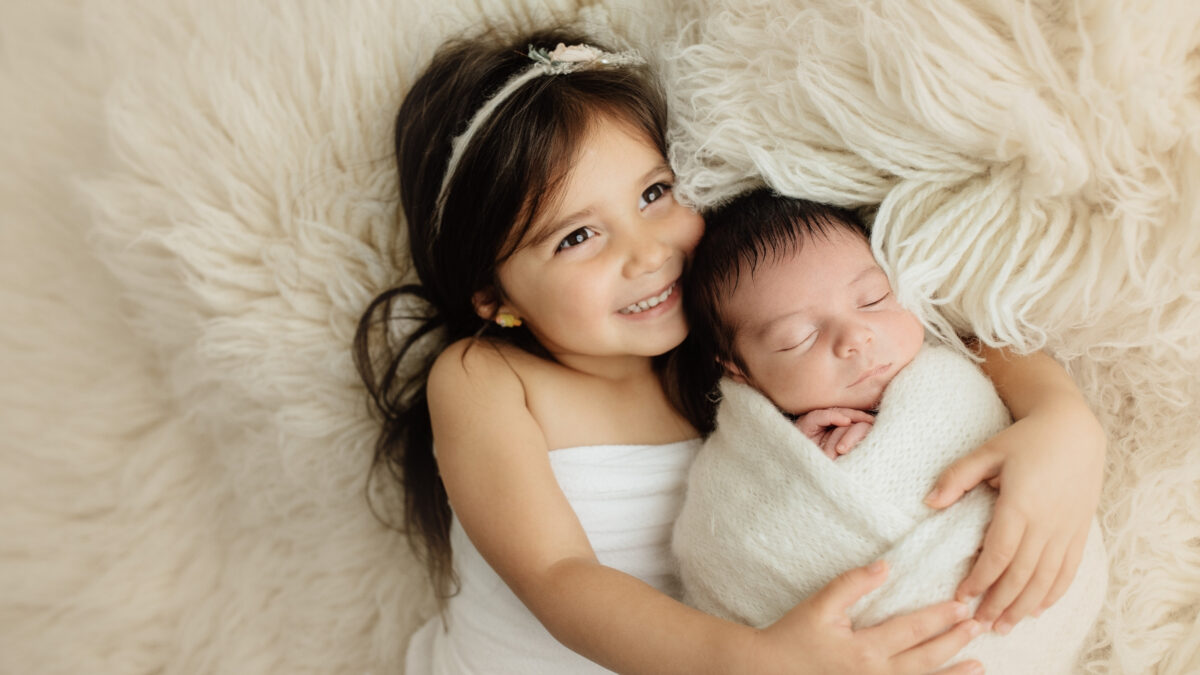
First, consider using soft light for a gentle and well-balanced feel in your photos. Soft light reduces harsh lines and shadows, perfect for portrait photography where you want to eliminate shadows under the eyes and lighten darker areas. You can get this type of lighting with overcast skies, using diffusers, or bounce flash techniques.
Hard Light
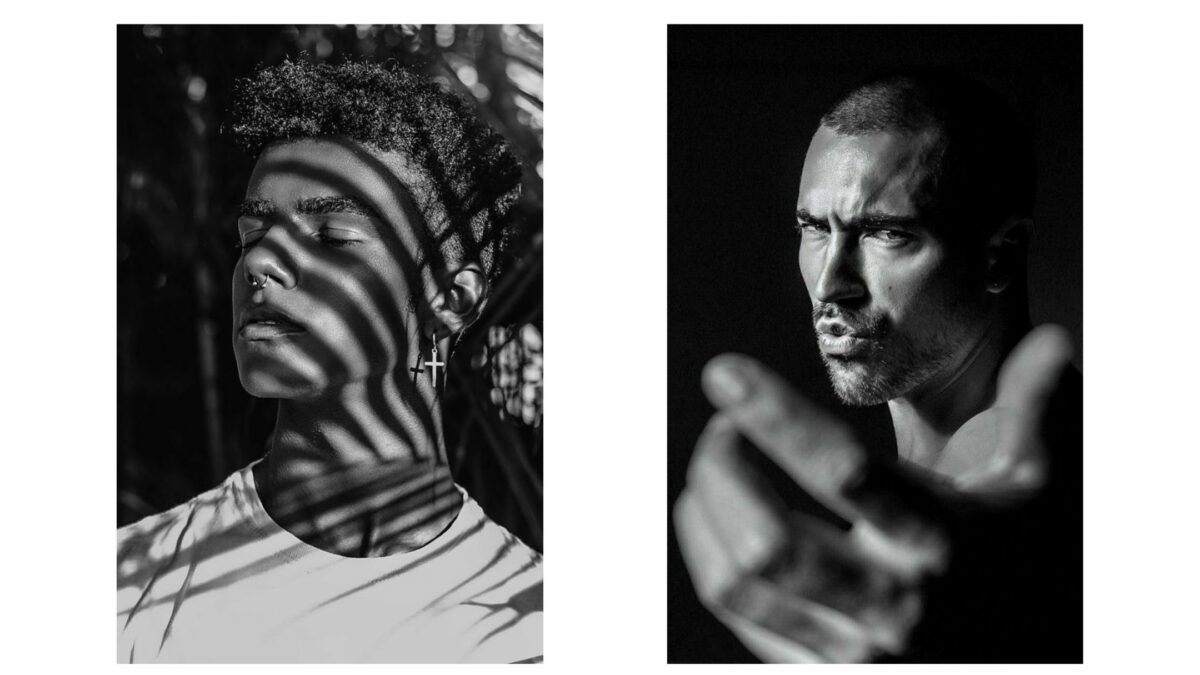
Hard light creates strong and sharp shadows, adding drama to your images. You can use hard light to emphasize texture and form, great for architectural and still life photography. Direct sunlight or an undiffused flash can create this type of lighting.
Front Light and Backlight
Front light, also known as flat lighting, illuminates your subject from the front, minimizing shadows. It’s great for capturing vibrant colors and details. But, it can sometimes result in a lack of depth and dimension.
Then there’s backlighting which creates dramatic and impactful photos by making silhouettes and emphasizing the subject’s shape. For backlighting, all you have to do is place the light source behind the subject and point it towards the camera.
Directional Lighting Techniques
Loop, Butterfly, Rembrandt, and Split lighting are common directional lighting techniques you can use to help create different effects in your photographs.
- Loop lighting contours the subject’s face with a small shadow.
- Butterfly lighting forms a butterfly-shaped shadow under the nose.
- Rembrandt lighting produces a distinct triangular illumination on one side of the subject’s face.
- Split lighting divides the subject’s face into two equal halves.
Broad and Short Lighting
Finally, don’t forget about broad and short lighting, essential for portrait photography.
Broad lighting illuminates the side of the face closest to the camera, creating a fuller appearance. And short lighting highlights the side of the face furthest from the camera, causing a more slender, sculpted look.
Why The Position of Your Lighting Matters
You might have the most expensive camera on the market, but without mastering lighting, your photos won’t look their best.
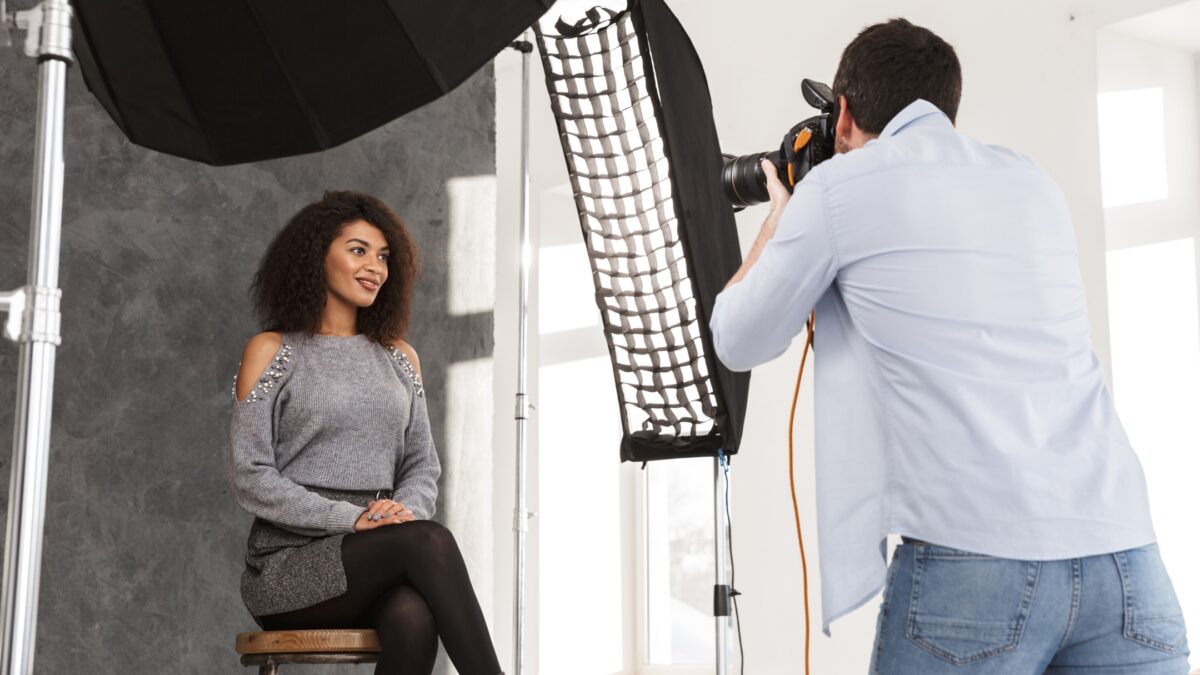
The position of your lighting plays a huge role in photography, impacting the mood, emotion, and composition of your images. Here’s why the position of your lighting matters.
Directional light, as the name implies, refers to light coming from a specific direction. The direction of light can create depth and definition in your subject. For example, when taking portraits, a good lighting position will help you sculpt a person’s face, bringing out their best features while reducing unwanted shadows.
Another aspect to consider is the angle between your camera and the light source. This directly affects how brightness, contrast, and shadows are distributed in the photo.
Also, the position of your lighting influences the feeling your photos evoke. For instance, side lighting can create a dramatic and mysterious effect, while backlighting can produce a dreamy, ethereal atmosphere.
And how your subject interacts with the light source. Reflective surfaces, like water or glass, will bounce light in specific patterns. While textured surfaces have a unique play of light and shadow.
Indoor Lighting Techniques
Studio Lighting
You may often find yourself in a photography studio with controlled lighting conditions. So, we need to understand how studio lighting can be used to create the perfect atmosphere for your photos.
Studio lighting typically consists of three main components: the key light, the fill light, and the backlight.
These lights create a balance between shadows and highlights in your photos.
- Key Light: This is the primary light source, often placed at a 45-degree angle from your subject. It helps to define the shape and texture of the subject.
- Fill Light: This light source softens the shadows caused by the key light. Place it opposite the key light but at a lower intensity to maintain depth and contrast.
- Backlight: Positioned behind the subject, it helps separate your subject from the background by creating a subtle glow around their edges.
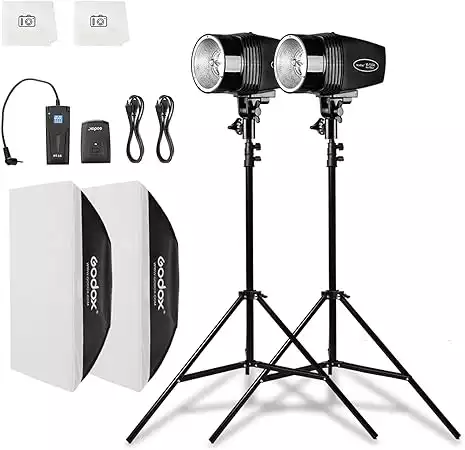
This kit is designed for beginners and offers straightforward setup and use, along with powerful, adjustable lighting.
Product Photography Lighting
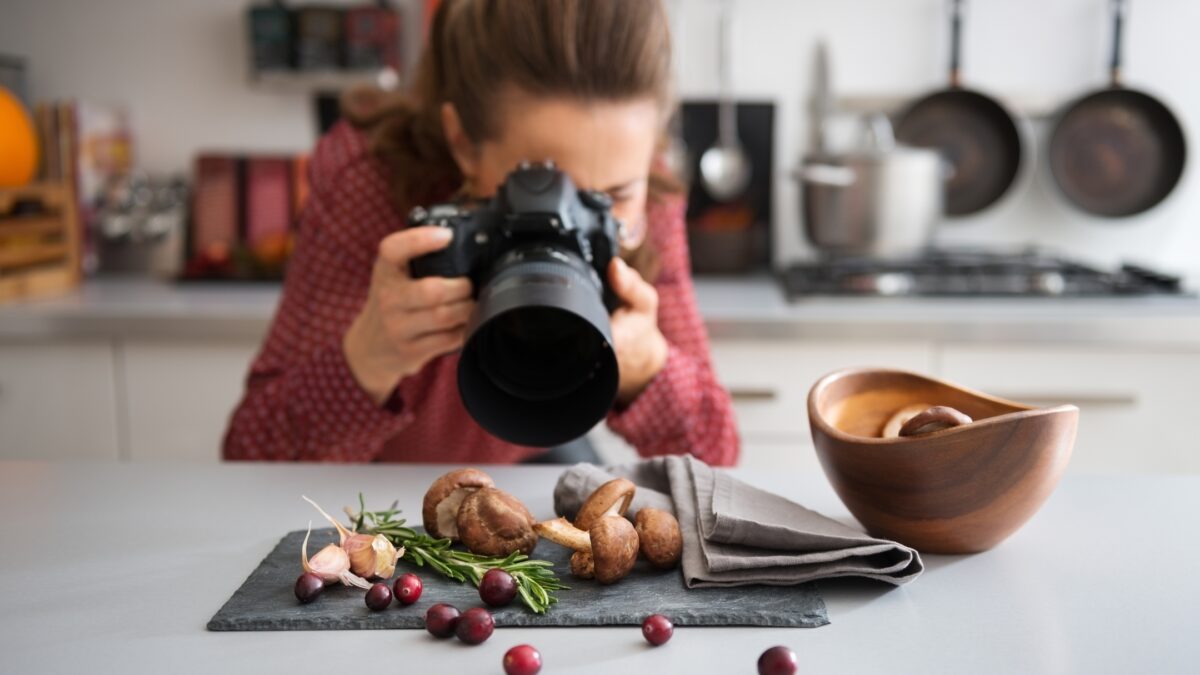
When shooting products, the aim is to make them look appealing and highlight their key features. This typically involves using a soft light to create even illumination, minimizing harsh shadows or reflections.
- Softbox: A softbox is popular for product photography because it produces a soft, even light that wraps around the subject. Place the softbox close to your subject and at a suitable angle.
- Umbrellas: Reflective or shoot-through umbrellas can also be used to diffuse light, creating a gentle and even illumination.
- Reflectors: Maximize the use of your light sources by bouncing light. This can fill in shadows and balance your overall lighting.
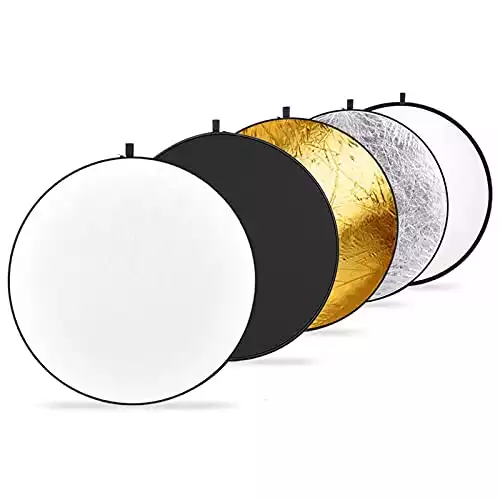
This reflector is super handy and all you need. It's also heavy-duty and works well in many different lighting conditions.
Backgrounds and surfaces can also affect the overall look of your images, so don’t be afraid to change them up as needed.
Outdoor Lighting Techniques
Landscape Photography Lighting
One great setup for shooting outdoors is side lighting, where the light source is coming from the side of the scene. This highlights the texture and contours of the landscape, giving your photograph depth and dimension.
Another setup is backlighting, where the light is coming from behind your subject. This creates beautiful silhouettes and can add a layer of mystery to your image.
Golden Hour Photography
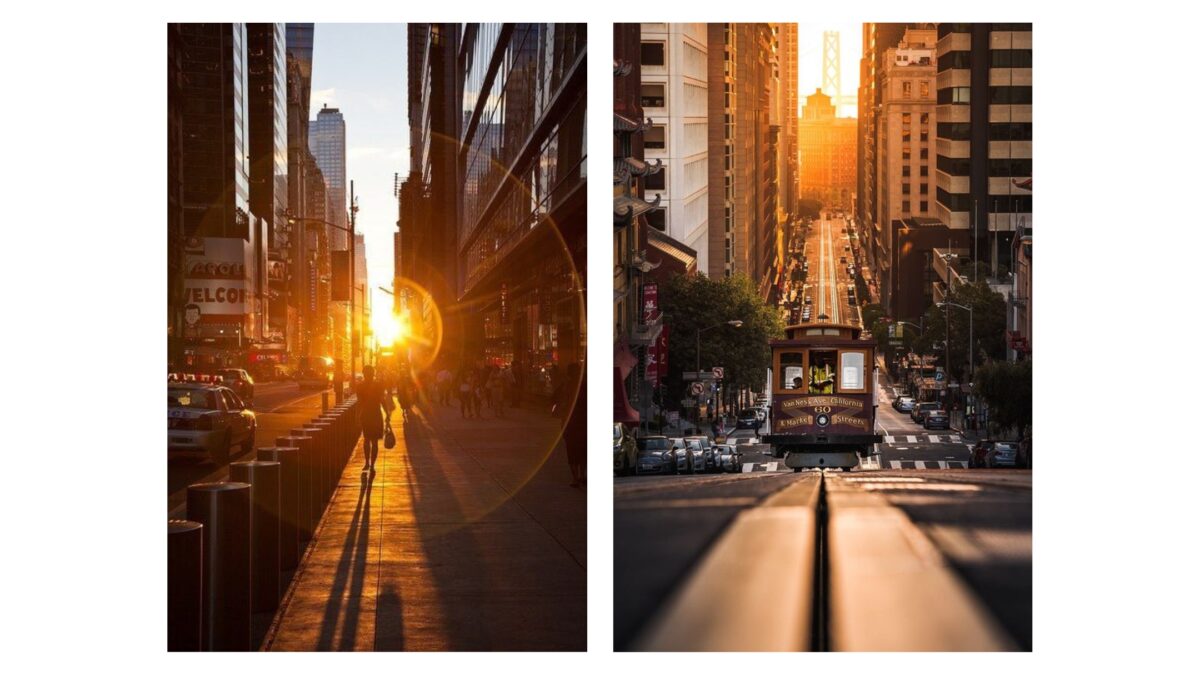
This special time of day provides some of the best lighting for outdoor photography. The warm tones enhance colors. And the lower angle of the sun casts long, gentle shadows that add depth to your images.
Here are some tips for capturing the photos during golden hour:
- Plan your shoot: Check when the golden hour will occur and scout your location beforehand.
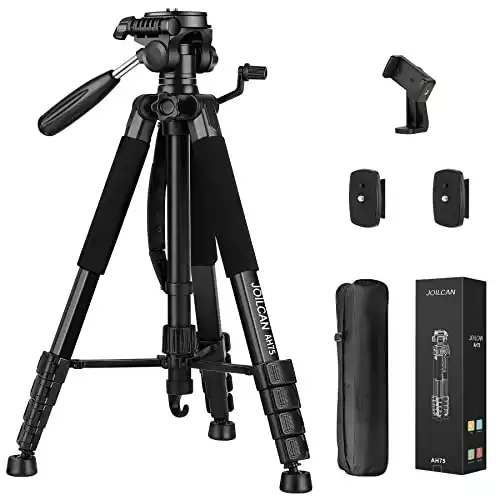
- Use a tripod: The lower light levels may require slower shutter speeds, which can cause camera shake if handheld.
- Experiment with different angles: Try shooting with the sun at your back for warm, front-lit images, or use the sun as a backlight for rim lighting around your subject.
Midday Sun Photography
Although many photographers prefer to avoid midday sun due to its harsh, direct lighting, there are still ways to use this light source to your advantage.
Here are a few ideas for midday sun photography:
- Look for shade: Place your subject in the shade for more even, diffused light. Alternatively, you can create your own shade with a reflector or a large umbrella.
- Use a polarizing filter: This can help you minimize glare and enhance colors, especially in landscape photography.
- Play with shadows: Embrace the contrast and create bold, dramatic images by using the deep shadows cast by the midday sun.
Successful outdoor photography lighting is about understanding the qualities of the available light and learning to adapt and use those qualities to your advantage.
Event, Wedding, and Locational Photography
In event, wedding, and locational photography to make the most out of your photography, you should be well-prepared and familiar with various lighting techniques.
Ambient light is the natural light available in the shooting environment. Observe and use it when capturing images at weddings or events. Use windows, open doors, and any other sources of natural light to take beautiful, well-lit photographs.
For indoor events or in low-light situations, on-camera flash is needed. Although it’s a simple flash lighting technique, it effectively illuminates the subject. And diffusing your on-camera flash can help soften the light and minimize harsh shadows.
Bounce flash is another useful technique in event and wedding photography. This method involves bouncing the flash off a nearby surface, such as a wall or ceiling, to create softer and more even light. It can be used to enhance your photos with the right balance of light and shadow.
Strobes can also be a valuable asset in your photography toolkit. These off-camera lights allow you to control and direct the lighting more effectively, resulting in well-lit photographs.
Note: Every event is unique, and no one-size-fits-all solution exists. Adapt your approach and photography gear to each situation.
Photography Equipment You’ll Need for Lighting
There are 3 basic types of equipment you’ll need to achieve well-lit photos: continuous lights, strobes, and modifiers.
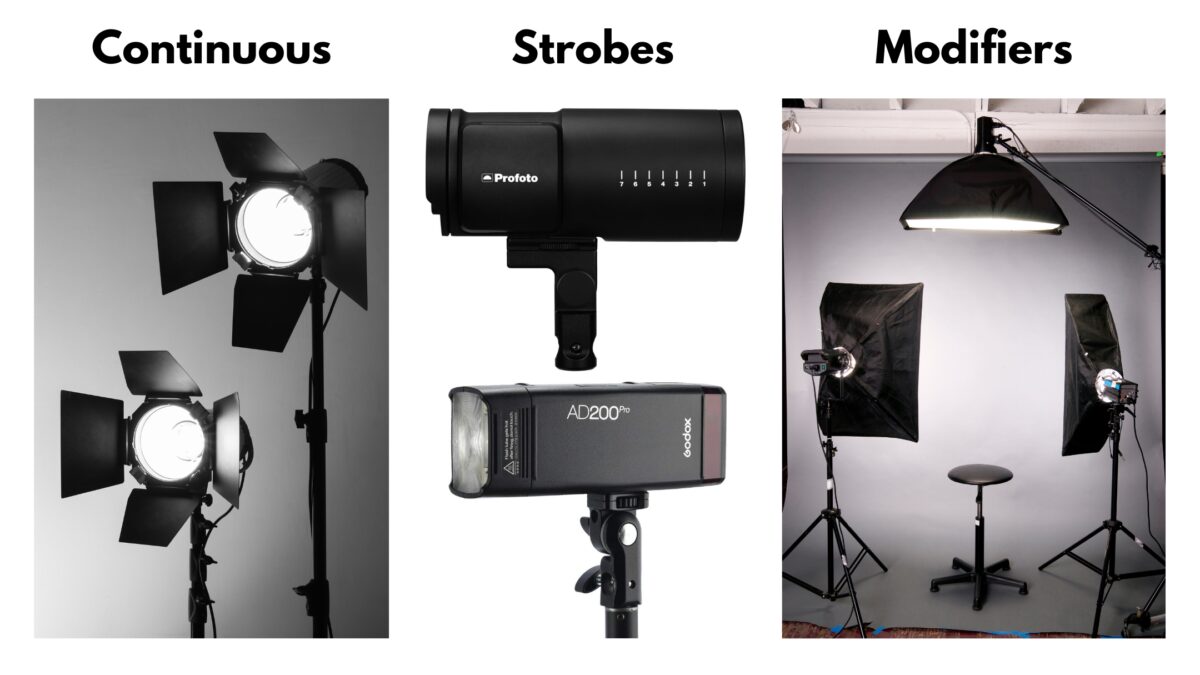
Continuous lights are always on and produce a soft light. These lights are easy to work with since you can see its effects in real-time, helping you make adjustments accordingly. This type of lighting is ideal for beginners since it’s less complex than other options.
Strobes are powerful flash units commonly used in studio photography. They provide short bursts of light and can be either manual or TTL (through the lens). Manual strobes give you more control, while TTL automatically adjusts the flash output based on the subject’s distance. Strobes are great for freezing motion and capturing well-exposed images in many conditions.
Modifiers are tools that change the direction, intensity, or quality of light. There are countless modifier options, including:
- Softboxes: Diffuse light for softer shadows and even illumination.
- Umbrellas: Reflect or diffuse light for a broader coverage.
- Reflectors: Bounce light onto your subject, filling in shadows.
- Grids and snoots: Concentrate light for a focused, spotlight effect.
When selecting your photography lighting equipment, consider what kind of photos you want to take and your personal style. While it might be tempting to purchase every piece of lighting equipment available, start with the basics and build upon your collection as you grow more comfortable and skilled.
The Benefits of a Continuous Lighting Kit
Great for Beginners
Continuous lighting kits are an excellent choice for those new to photography. Since the lights are always on, you can see exactly how the lighting looks on your subject before you take the shot, making it much easier to achieve the desired effect. As a beginner, this helps save time in positioning, adjustments, and overall understanding of how lighting works in photography.
Used a lot in Videography
Continuous lighting is used a lot in videography since video cameras constantly record images and light. In this context, a continuous lighting kit can be versatile, as it provides a steady source of illumination for both photography and videography. Many continuous lighting kits even feature adjustable color temperatures, letting you adapt the light to different situations and ensuring your footage maintains a consistent, balanced look.
The Benefits of a Monolight Strobe Lighting Kit
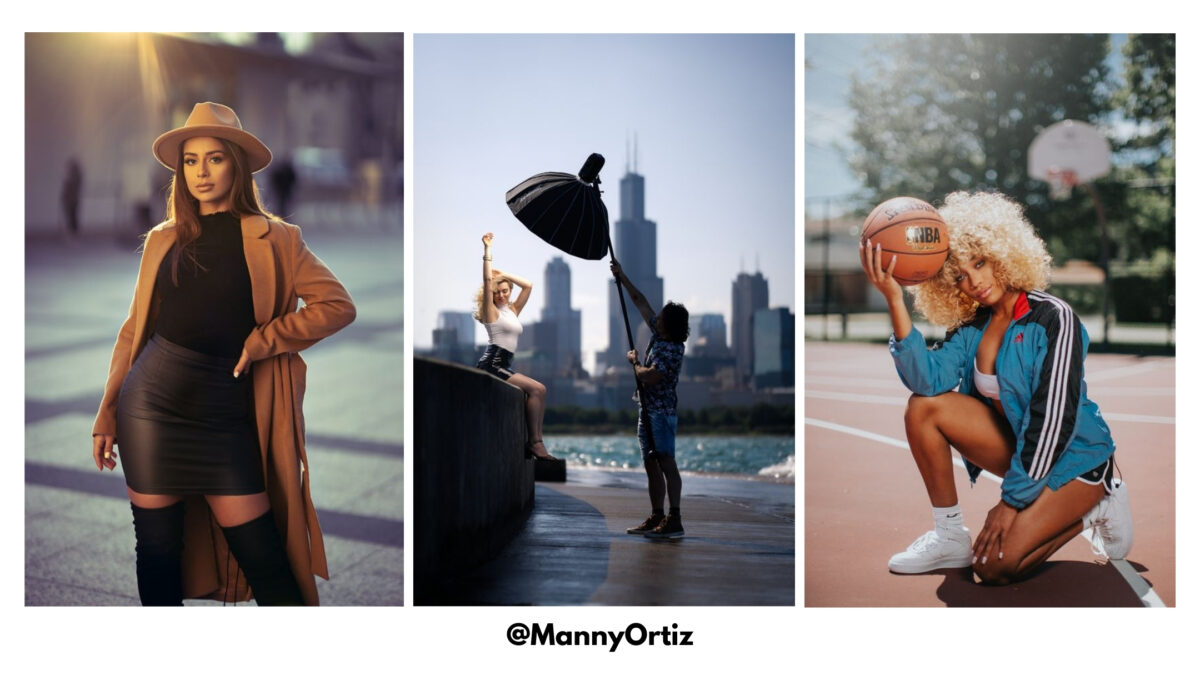
Self-Contained Power Supply
One benefit of using a monolight strobe lighting kit is the self-contained power supply. This means you don’t have to deal with bulky power packs or long cables running all over your studio. Instead, the monolight has its own built-in battery, which gives you the freedom to move it around as needed. This makes your workspace neat and organized, allowing you to focus on capturing the perfect images and not tripping over cords.
Provide Great Directional Lighting
Monolight strobe kits excel at providing directional lighting for your photographs.
With a monolight, you can easily adjust the angle and intensity of the light to create various moods and emphasize specific aspects of your subject. This is especially useful in studio photography when you want precise lighting.
The powerful flash of a monolight covers a larger area and travels farther than traditional camera-mounted speedlights. This means you can illuminate a larger scene more easily.
Monolights also have advantages in terms of flash duration and recycle time. They can fire quickly and repeatedly, allowing you to capture fast-paced action without sacrificing lighting quality.
With a monolight strobe kit, you also have features like proportional modeling, which provides a truer sense of the lighting and contrast in your scene. This is achieved by having the modeling lamp track the output of the flash, so you have an accurate preview of how the final photograph will be lit.
Here’s a quick summary covering the benefits of a monolight strobe lighting kit:
- Self-contained power supply for a clutter-free workspace
- Great directional lighting for precise control and emphasis
- Powerful flash that covers a larger area and travels farther
- Fast flash duration and recycle time for capturing action
The Benefits of Speedlights
They’re Adaptable
Speedlights are highly adaptable and versatile in terms of lighting solutions. You can use them in many situations as a flexible tool to create different lighting effects. They also have the ability to be used on-camera or off-camera, which means you can easily adjust the direction and intensity of the light to suit your needs.
Lightweight
One major advantage of speedlights is their lightweight and compact design. This makes them easy to carry around, especially when you’re out and about on photoshoots. The lightweight nature of speedlights not only makes transportation easier, but also allows for quicker and more efficient setups. Photographers often prefer them over bulkier equipment, which can be a hassle to set up and move around during shoots.
Westcott's universal flash is compatible with multiple camera brands. And it's LCD touchscreen makes it user-friendly and easy for beginners to navigate and control flash settings.
Perfect for Locational Shoots Outside The Studio
Speedlights are the ideal choice for photographers who shoot in various locations and environments, as they’re easy to carry and use. They allow you to bring professional lighting to any location, giving you the tools needed to produce images, even in challenging conditions. The portability of speedlights also means you’re not limited by access to power sources or large pieces of equipment.
Frequently Asked Questions About Types Of Lighting In Photography
How can I use natural light effectively?
To use natural light effectively in your photography, observe how it changes throughout the day and the weather. Start by taking photos during the golden hour, which is early morning or late afternoon when the sunlight is soft and warm. Be aware of shadows and take advantage of diffused light on cloudy days. Also, use reflectors and diffusers to help control and manipulate natural light.
What is Rembrandt lighting and when to use it?
Rembrandt lighting is a portrait lighting technique that creates a triangle of light on the subject’s cheek, opposite the light source. This technique is named after the Dutch painter Rembrandt, who frequently used it in his art. To achieve Rembrandt lighting, position your subject at a 45° angle to the light source and slightly elevate the light. This technique is great for capturing dramatic portraits and emphasizing facial features.
What’s the difference between hard and soft light?
Hard light creates strong contrast and sharp shadows, while soft light produces a more even and diffused illumination. The difference between them lies in the size of the light source and its distance from the subject. A large, close light source will create soft light, whereas a small, distant light source will produce hard light. For example, direct sunlight is a hard light, while sunlight diffused through clouds creates a soft light.
How do different types of lighting impact mood in photos?
The type of lighting you choose can greatly impact the mood and emotion of your photos. Soft, diffused lighting can create a warm, inviting atmosphere, while harsh, direct lighting can produce dramatic and high-contrast images. Experiment with different types of lighting, including natural light, artificial light, and mixed lighting, to create a desired mood in your photography.
What are the main lighting setups used in portrait photography?
There are several popular lighting setups used in portrait photography to create various effects and styles. Some of these include:
- Butterfly lighting: A front-facing light positioned above the subject, creating a butterfly-shaped shadow under the nose. This setup flatters most face shapes and is commonly used for beauty and fashion portraiture.
- Loop lighting: The light is positioned slightly to one side and above the subject, creating a small loop-shaped shadow on the cheek. This is a versatile lighting setup that adds depth to facial features.
- Split lighting: The light is placed to one side of the subject, creating a division between illuminated and shadowed areas. This setup lends a dramatic, mysterious look to your portraits.
- Rembrandt lighting: As mentioned earlier, this setup creates a triangle of light on the subject’s cheek, and is ideal for dramatic and expressive portraits.
- Broad lighting: The side of the subject’s face facing the camera is fully illuminated, making the face appear wider. This is suitable for slim faces and can convey an open, approachable mood.
