Photography Lighting Setup for Beginners (An Easy Guide)
As a photographer, there are a few photography lighting setups you absolutely need to know if you want to capture images with precision and clarity.
And there are a few that are good to know but not really necessary.
But learning how to arrange each piece of equipment for your photo sessions isn’t something you’ll be great at if you’re just starting out. Positioning the wrong equipment in the wrong sequence can create poor lighting conditions and lead to bad photos.
So I wrote this article to share some setups, tips, and techniques that’ll help you get the perfect lighting for your photoshoots.
What is Good Light in Photography?
When it comes to photography, getting the right quality and type of light can make all the difference. Good light in photography is needed to properly showcase your subject and create a great image.
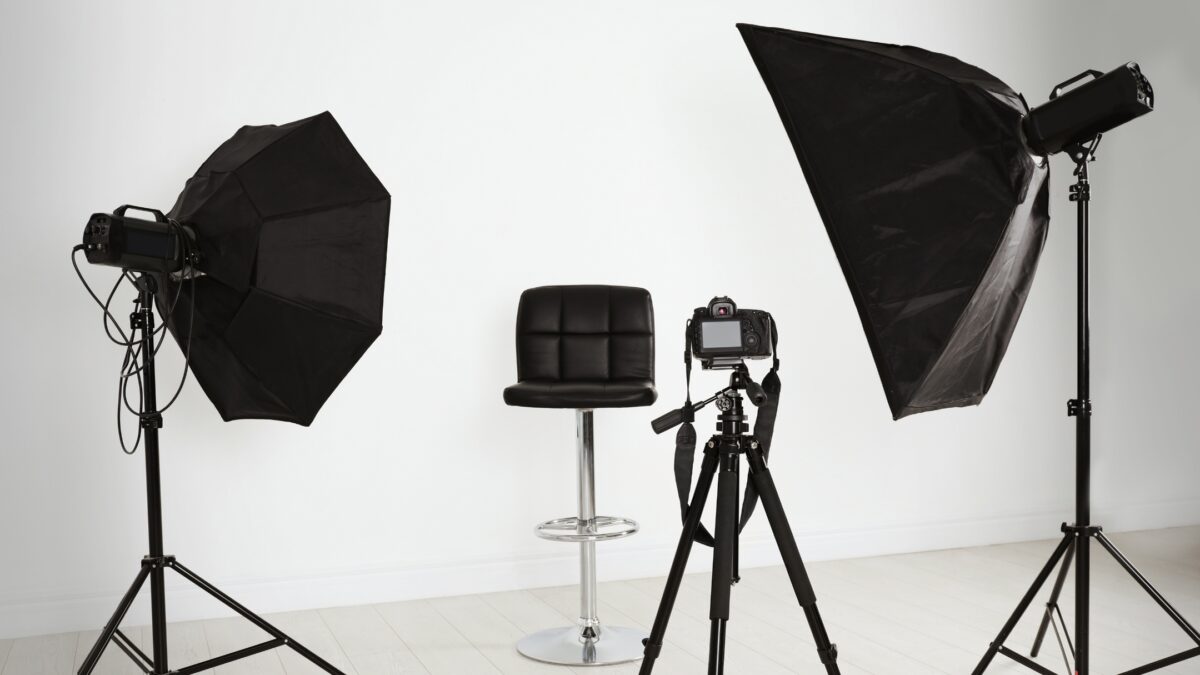
The easiest way to understand good lighting is by thinking about how it illuminates your subject. Good lighting should:
- Enhance textures
- Reveal important details
- Create an eye-catching balance between the light and shadow areas in your photos
It should not wash out or cast harsh shadows on your subject. Instead, it should help create a visually pleasing scene.
For great lighting, make use of natural light sources, like the sun, whenever possible. Golden Hour is perfect lighting, in my opinion. It’s the period shortly after sunrise or before sunset, and it’s popular among photographers because of its rich, warm light.
The changing of natural light throughout the day can help you create a variety of moods and atmospheres within your photographs.
But if you’re unable to work with natural light, artificial lighting sources like flashes and constant lights will help you get the look you want.
Experiment with different types of lights and the different setups we’ll cover below to create good light for your images.
Consider factors like color temperature, diffusion, and the direction from which the light is coming, as they all play a role in achieving good light.
And remember that the concept of good light is subjective.
What one photographer may consider great lighting could be undesirable for another. The quality of light in your photographs should depend on your creative vision and the feel you want to transfer through your images.
Why Lighting in Photography is Important
Light is the foundation of photography because, without it, you wouldn’t be able to capture any images.
Here are eight reasons why lighting in photography is important:
- Determines Exposure: At its core, photography is the art of capturing light. The amount and quality of light will influence the exposure settings on your camera, affecting how light or dark the image appears. A well-lit subject can be captured clearly, while poor lighting conditions may result in grainy or blurry photos.
- Creates Depth: Lighting can create shadows and highlights, which establishes depth in an image. This three-dimensionality can make subjects look more lifelike and engaging.
- Highlights Details: Good lighting can bring out intricate details, whether it’s the texture of an old tree’s bark or the subtle nuances in a portrait subject’s face. On the contrary, poor lighting can obscure these details.
- Sets the Mood: Lighting greatly affects the mood and emotion of a photograph. Bright, soft lighting can convey happiness, warmth, or tranquility. In contrast, hard, dramatic shadows can create a sense of mystery, tension, or foreboding.
- Directs the Viewer’s Eye: The human eye is naturally drawn to the brightest part of an image. Photographers can use this to their advantage by manipulating light to guide the viewer’s attention to specific elements or focal points within the frame.
- Enhances Color: Lighting affects the vibrancy and accuracy of colors in an image. Different light sources (e.g., sunlight vs. fluorescent lighting) have varying color temperatures, which can influence the overall color tone of the photograph.
- Defines Textures: The angle and quality of light can accentuate textures, giving a tactile sense to your images. For instance, side lighting can emphasize the rough texture of a rock or the softness of a fabric by casting shadows across its surface.
- Provides Creative Flexibility: Different lighting setups allow photographers to experiment and get creative with their shots. Techniques like backlighting, silhouette photography, or using colored gels can provide unique and striking results.
How to Modify Natural Light When Shooting Outdoors
Shooting outdoors is great when you know how to control the available natural light. Here are a few ways to modify natural light for better outdoor photos.
Using Diffusers with Natural Light
Diffusers play an important role in natural light photography. They help you soften direct sunlight and turn harsh shadows into soft, flattering light.
On sunny days, use a diffuser between your subject and the sun. This will help avoid harsh shadows and blown-out highlights in your photos. There are many types of diffusers available, from small handheld ones to larger ones that can be mounted on stands. Choose one that suits your needs and style.
Tip: On cloudy days, the natural light from the sun is already diffused due to the cloud cover. As such, diffusers may not be necessary. But you can still experiment with them to enhance the softness of the light.
Reflectors and Natural Light
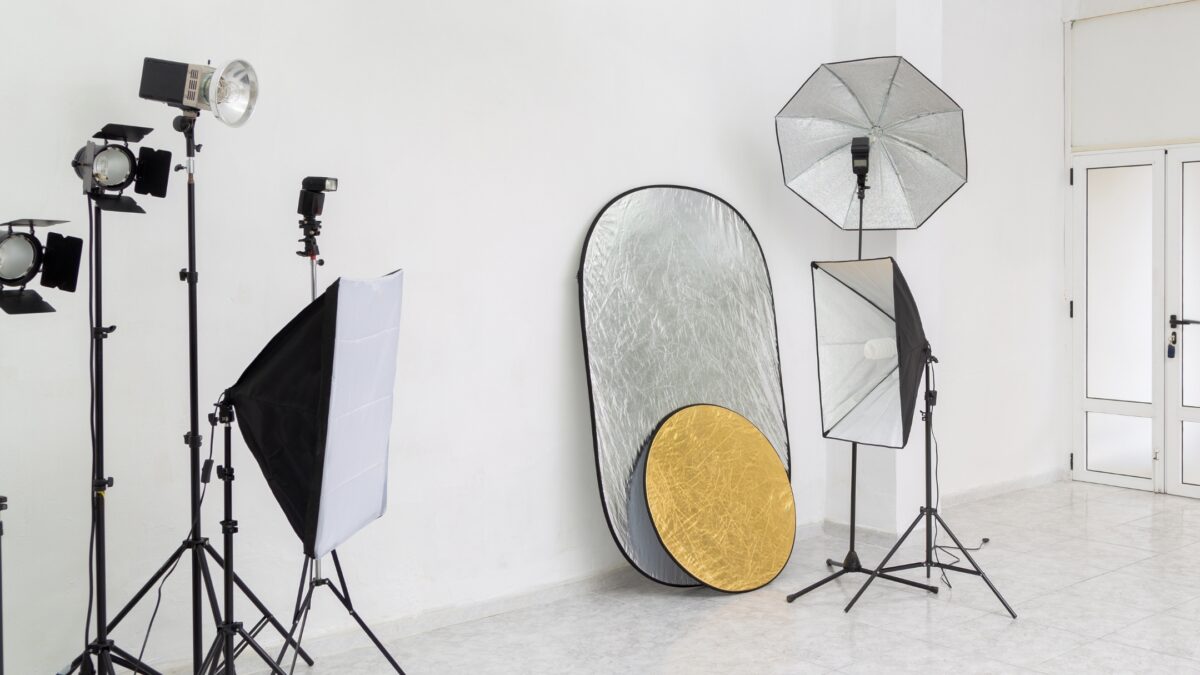
Reflectors are another great tool for controlling natural light. They are designed to bounce light back onto your subject, filling in shadows and adding brightness where it may be lacking.
When shooting outdoors, position your reflector at an angle that catches the sunlight and bounces it onto your subject.
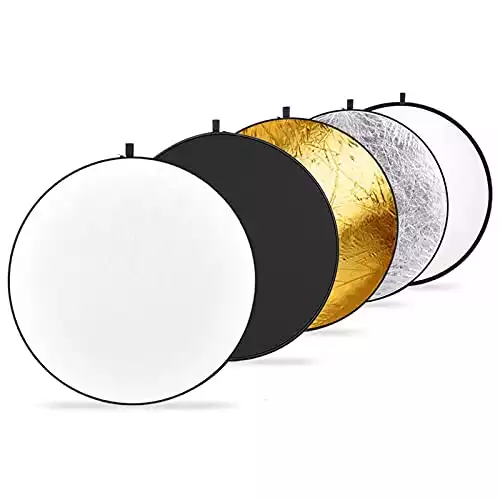
You can get reflectors in silver, gold, and white. Each with its own characteristic effect on the light’s color:
- Silver Reflectors: Produce bright, neutral-colored light, ideal for adding contrast and detail to your photos.
- Gold Reflectors: Warm up the light, making them perfect for creating a golden hour effect even when the sun isn’t quite low in the sky.
- White Reflectors: Offer a softer, more natural fill light, which can be particularly helpful for portraiture or when you want to maintain the color balance of the scene.
This reflector is super handy and all you need. It's also heavy-duty and works well in many different lighting conditions.
When using reflectors, don’t forget to monitor your subject’s position in relation to the natural light source.
Because as the sun moves throughout the day, you may need to reposition and adjust your reflector for optimal light reflection.
The Complete List of Studio Lighting Setups
Now I’m going to share every different studio lighting setup I know to help you achieve professional results with your photography. We’ll cover key light, fill light, accent/hair light, and many other lighting techniques.
Key Light
A key light is the primary source of light in your setup. It’s typically placed at an angle in front of your subject, illuminating one section of them. Angles can range from 15 to 70 degrees, with 45 being the most common. The key light creates the main directional light and sets the tone of the image.
Fill Light
The fill light is a secondary light source used to balance the key light and reduce shadows. It provides softer, more diffused light. Position your fill light on the opposite side of the key light and adjust its power to control the shadows and contrast of your subject.
Accent or Hair Light
An accent or hair light is used to highlight specific parts of your subject, such as the hair or shoulders. These lights help separate your subject from the background and add depth to the image.
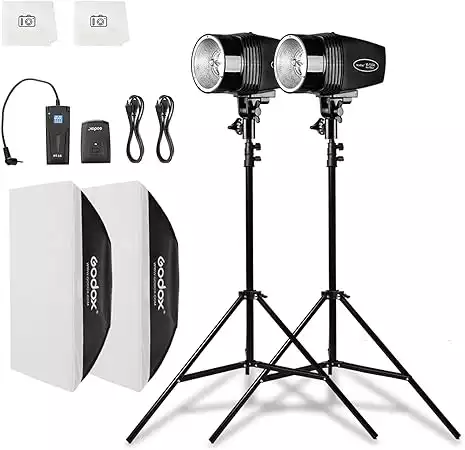
This kit is designed for beginners and offers straightforward setup and use, along with powerful, adjustable lighting.
Key, Fill, and Hair Light Comparison
Here’s a quick recap of each light:
- Key Light: Primary light source, sets the overall tone
- Fill Light: Balances key light and reduces shadows
- Accent/Hair Light: Highlights specific parts, adds depth
Kick Light
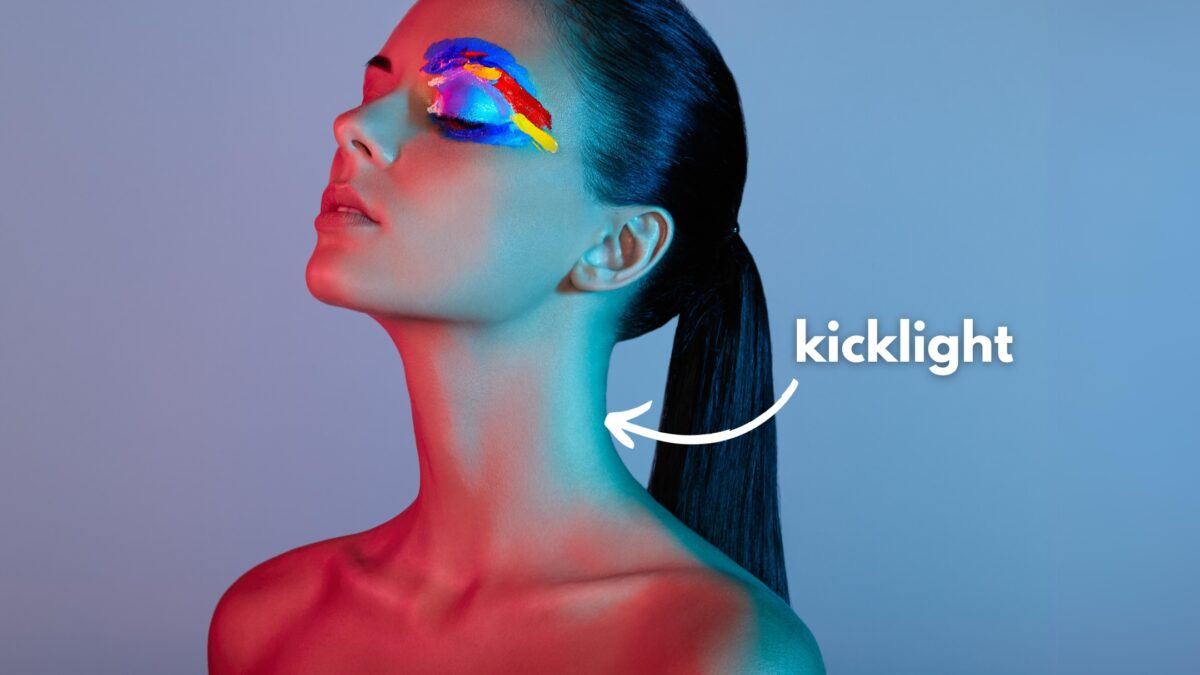
A kick light is an additional light used to create a subtle outline or highlight on your subject, often placed behind or to the side of them. This can help add more definition to your images.
Catchlight
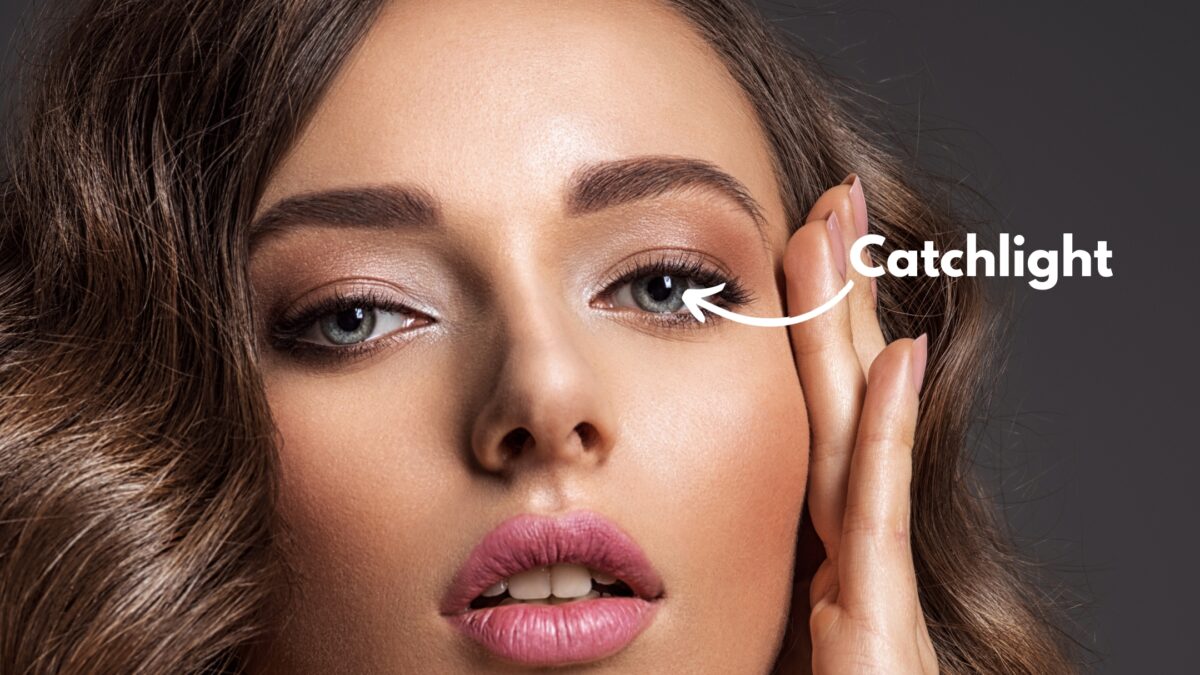
Catchlight refers to the reflections of light that you see in a subject’s eyes. Adding catchlights can bring life and emotion to portraits.
Flat Lighting
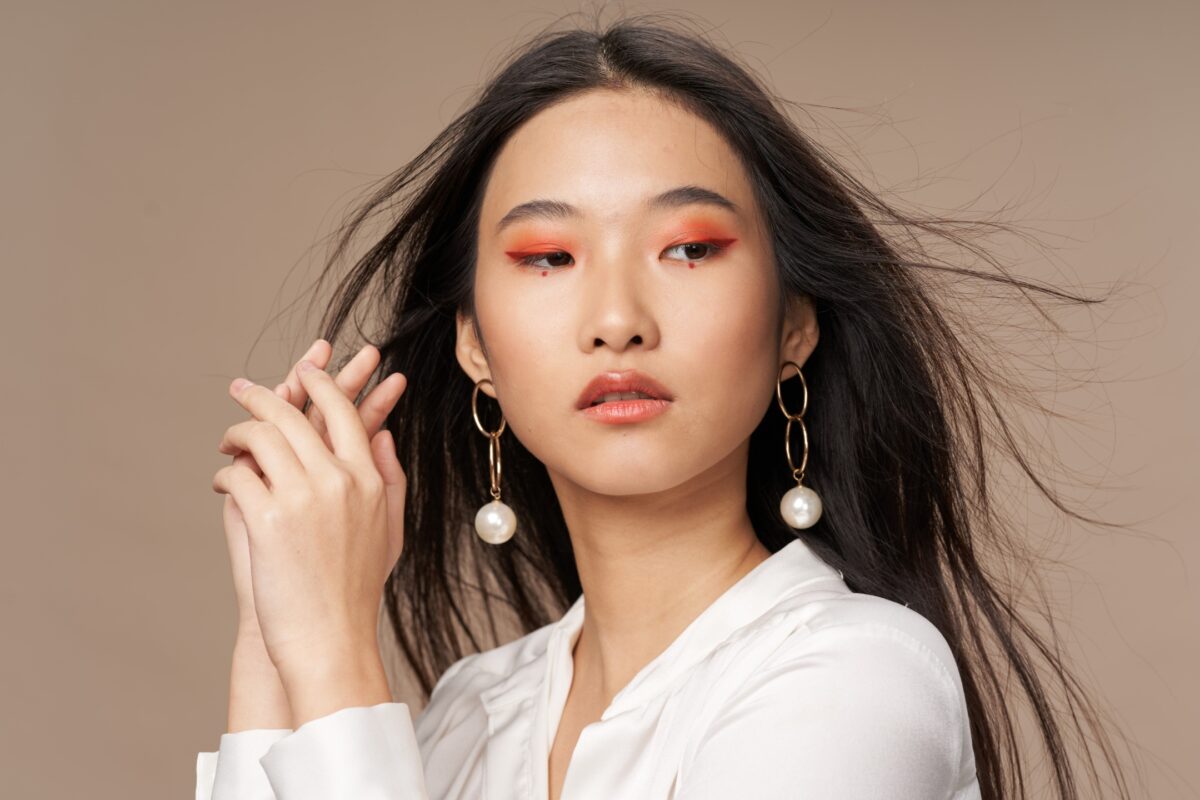
Flat lighting is when you position your light source directly in front of your subject, creating an evenly lit scene with minimal shadows. This technique is often used for beauty shots or to minimize imperfections.
Parallel Lighting
Parallel lighting is when your subject is lit from the side, creating a dramatic effect with a strong contrast between shadows and light.
High vs Low Key Lighting
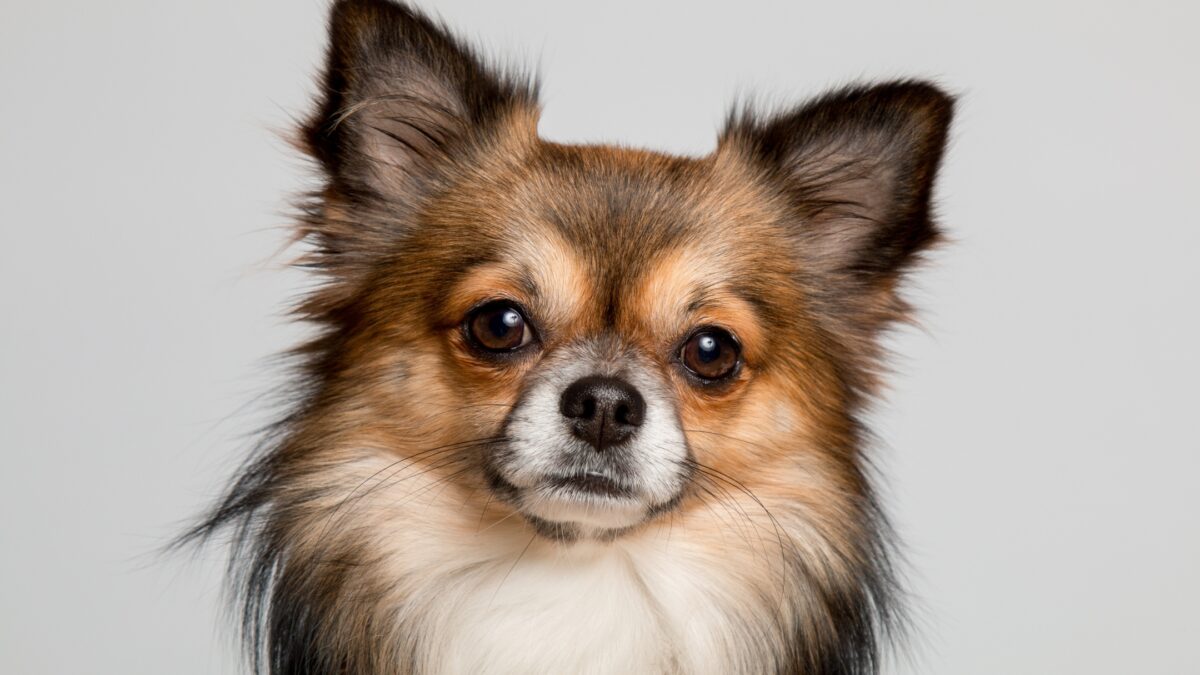
High-key lighting features bright, evenly lit scenes with minimal shadows, while low-key lighting creates a moodier atmosphere with more contrast and pronounced shadows.
Broad Lighting vs Short Lighting
Broad lighting illuminates the side of the face closest to the camera, creating a more open and inviting look. While short lighting illuminates the side of the face away from the camera, emphasizing shadows and creating a more dramatic effect.
Rim Lighting
Rim lighting is when a light is positioned behind and above your subject, creating a thin, bright outline at the edges. This technique helps separate your subject from the background.
Profile Lighting
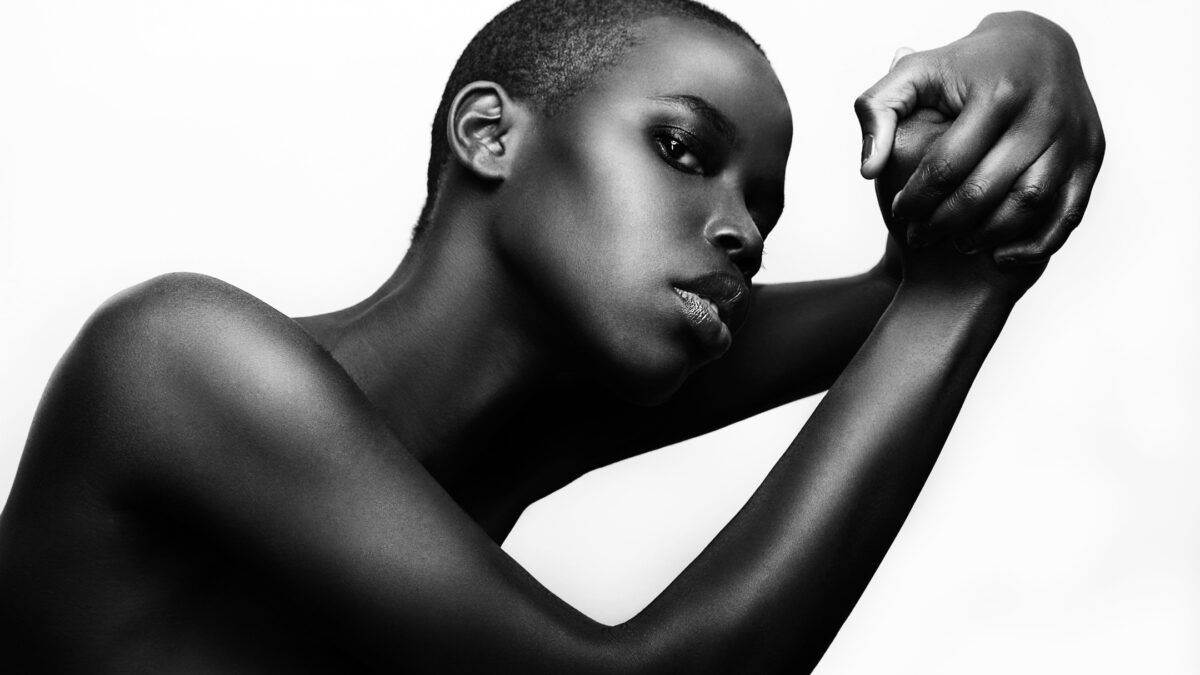
Profile lighting is used to emphasize the facial features or contour of a subject in profile view. Place the key light directly to the side of the subject, casting a strong light on one side of the face and a shadow on the other.
Split Lighting
Split lighting divides your subject’s face in half, with one side in light and the other in shadow—creating a dramatic contrast.
Backlighting
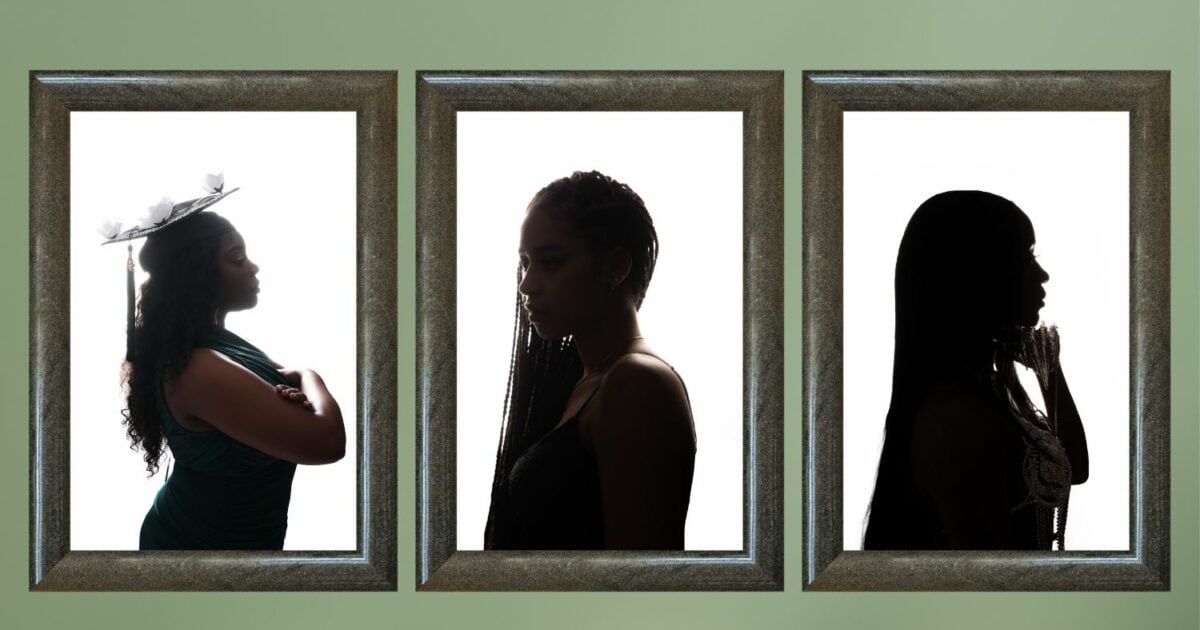
Backlighting involves placing a light source behind your subject, creating a silhouette effect. This technique can create depth and drama, especially when shooting low-key photography.
Rembrandt Lighting
Named after the Dutch painter, Rembrandt lighting creates a distinct triangle of light under one eye, achieved by positioning the key light at a 45-degree angle from the subject and above their eye level.
Butterfly Lighting
Butterfly lighting is characterized by a small shadow under the subject’s nose, resembling a butterfly. This lighting setup involves placing a key light above the subject’s face and pointing downwards.
Clamshell Lighting
Clamshell lighting involves placing two lights or reflectors, one above and one below the subject’s face, creating soft, even light and reducing shadows. This technique is popular for beauty portraits.
Badger Lighting
Badger lighting is a moody, low-key lighting setup that combines split and butterfly lighting techniques, casting deep shadows on the subject’s face and creating a striking, mysterious look.
Loop Lighting
Loop lighting creates a small loop-shaped shadow under the subject’s nose. To achieve this look, position the key light slightly above eye level and to one side of the camera.
Single and Multiple Light Setups
We’ll now explore several types of lighting setups for photography, ranging from basic single-light setups to more advanced multi-light configurations.
These setups will help you get professional results at home or in the studio.
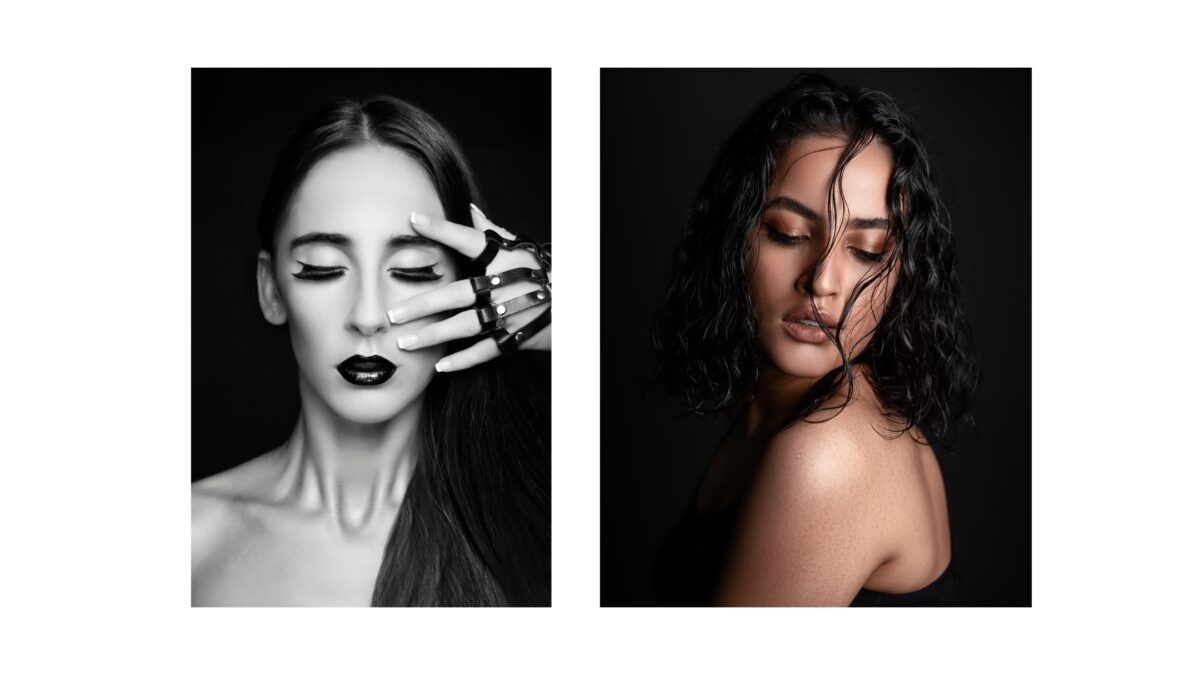
Single Light Setup
Using a single light source can be an excellent way to begin learning about photography lighting. You should master this setup before moving on to more complex configurations.
Normally, the light source is a strobe or an off-camera flash placed on a light stand. You can achieve various effects using a single light, like creating a spotlight or producing directional light that adds depth and dimension to your subject.
To get the best results from a single light setup, try different angles and distances between the light and your subject. Also, add modifiers like softboxes, umbrellas, or reflectors to help soften the light, control the direction, and create more flattering pictures.
Two Light Setup
A two-light setup provides more control over your lighting and can help you get more creative effects. It typically involves one main light source, also known as the “key light,” and a second light source, called the “fill light.”
The key light should be placed at an angle, illuminating the front of your subject, while the fill light helps balance the shadows created by the key light. Adjusting the intensity and positioning of the fill light can create different moods and styles in your final image.
Bouncing light off of a V-flat or reflector can be a useful technique for a two-light setup without using additional flashes.
Three Point Lighting
Three-point lighting is a popular setup in both photography and filmmaking. It consists of three lights: the key light, the fill light, and the “backlight” or “rim light.” This setup provides greater control over the overall look and mood of your photo.
The backlight or rim light is placed behind your subject, opposite the key light, to add separation between the subject and the background and create a sense of depth. This setup can produce a dramatic and professional-looking result even for beginners.
Four Point Lighting
A four-point lighting setup builds on the three-point lighting system by adding a fourth light source, often called the “background light.” This light serves to illuminate the background and create a more balanced and visually interesting scene.
The background light allows you to have more control over the entire frame, giving you the flexibility to add texture, color, or gradients to the backdrop.
This type of setup is especially useful when working with larger sets, multiple subjects, or when looking for greater creative control in your photography.
How to Build The Perfect Portrait Lighting Setup
To create your portrait lighting setup, you should first understand the intent of your image.
Consider why you’re making the portrait, the message you want to convey about your subject, and any features you’d like to highlight or hide.
Next, choose a suitable light pattern that aligns with the image’s intent. For example, if you’re aiming for mystery and drama, it may be best to avoid a high-key, soft-light setup. Now it’s time to set up your key light. This is the primary light source for your portrait, so you’ll want to think about its quality, quantity, color, and direction. Decide on the characteristics: should it be hard or soft? Warm or cold? Make sure the light flatters or highlights important aspects of your subject.
After setting up the key light, take a photo to evaluate its impact. Check that details are retained in the highlights without clipping the shadows. Adjust as necessary, considering angle changes, diffusion additions, or modifier swapping.
Evaluate if you need a fill light by examining the shadows’ darkness; do they fit the image’s intent? If needed, decide on the intensity required to lighten the shadows. Consider whether another light source is necessary or if a reflector or v-flat could suffice to reflect light into the shadows.
Take a photo with the fill light-activated and analyze if any adjustments need to be made. If the lights are too harsh or too soft, tweak them as needed to create a more balanced and flattering portrait.
Finally, consider if any accent lights are needed to enhance specific parts of the image.
For example, differentiating hair from the background or highlighting details in clothing. If so, install the accent lights and take a photo to assess their effectiveness. And adjust as needed to make sure they serve their purpose.
While doing this, continuously evaluate if the results match your initial photography intent. If they don’t align, modify your setup based on your understanding of light behavior and different manipulation techniques.
Frequently Asked Questions About Setting Up Your Photography Lights
How can I set up lighting for portraits at home?
To get great portrait lighting at home, you can start by using the natural light from your windows. You can also use artificial lights in combination with reflectors and diffusers to get a softer light. Place the main light (either natural or artificial) at a 45° angle from your subject, and use a reflector on the opposite side to fill in shadows. Then, adjust the intensity and distance of the lights for the desired look.
What tools are available for studio lighting setup design?
Several tools are available to help you design a studio lighting setup, including software and apps like Set.a.Light 3D, which allows you to design your lighting setup in 3D and see the effect on your subject. There are also free online tools and tutorials that can guide you through various lighting setups.
What are the best types of lights for studio photography?
The best types of lights for studio photography depend on your specific needs and preferences. Continuous lights (such as LED panels or fluorescent lights) offer a constant light source, making it easier to see how the light affects your subject. Flash or strobe lights provide a burst of light and can be more powerful, allowing you to freeze motion and use higher shutter speeds. Try different types of lights to find what works best for you.
What equipment is needed to create a home photography lighting setup?
To create a home photography lighting setup, you’ll need some basic equipment like:
- Light sources: This can include natural light, continuous lights, or flash/strobe lights.
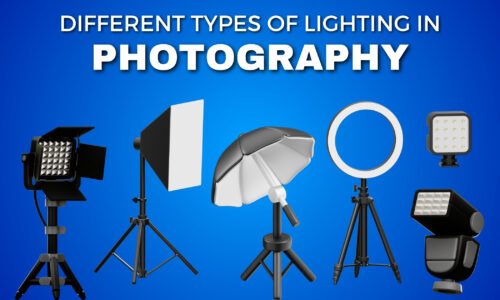
- Light modifiers: Softboxes, umbrellas, and diffusers help to control and soften the light.
- Reflectors: Used to bounce light back onto your subject and fill in shadows.
- Light stands: Useful for positioning your lights and modifiers at the desired height and angle.
- Backgrounds: Depending on your needs, these can be simple fabric backdrops or more elaborate setups.
