Photography Lighting Tips for Taking Better Photos
Photography lighting is one of THE most important components of a good photograph.
Lighting can be the difference between a good photo and a bad one.
There are also two main types of lighting in photography: natural and artificial lighting.
Natural light from the sun can create beautiful, soft, and warm lighting conditions. But, it can also be unpredictable and change quickly, making it hard to work with.
Then there’s artificial light, such as studio lights or flash. Artificial light gives you more control over your lighting conditions and creates the exact look you want in your photos.
As a photographer, understanding different photography lighting techniques and how to use and manipulate light will help you in 3 ways:
Help you take better photographs
Help you achieve the mood and atmosphere you want in your photos
Help make your indoor photography lighting skills better
So, keep reading to learn about different lighting techniques, artificial and natural lighting, and how to use them to take better photos.
Photography Lighting Basics
Quality of Light and Its Impact on Your Photo
Good light can improve your photos’ mood, texture, and detail. To create high-quality images, consider factors like intensity, direction, and diffusion when working with different light sources.
Natural Light vs. Artificial Light
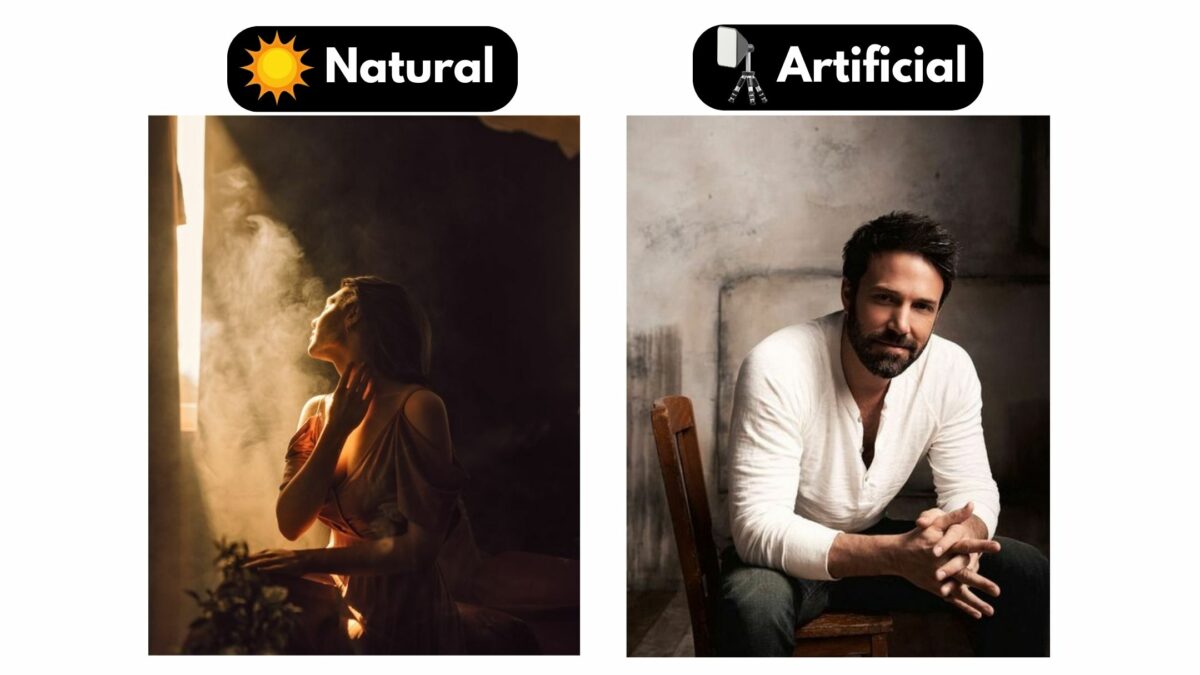
Natural light, which comes from the sun and moon, is the most accessible and versatile source of light in photography.
Also, natural light can create different effects depending on the time of day, weather conditions, and location. I recommend you learn to work with natural lighting before using artificial light sources like flashes or studio strobe lights.
On the other hand, artificial light gives you more control over the lighting conditions or studio lighting.
This kit is designed for beginners and offers straightforward setup and use, along with powerful, adjustable lighting.
When using studio lights, you can manipulate the intensity and direction of light to create your desired effect. But artificial lighting requires more equipment, knowledge, and practice to get the final image you’re looking for.
Hard Light vs. Soft Light
Hard and soft light are the two main categories of light in photography.
Hard light comes from a small or distant light source, creating distinct shadows and high contrast. It’s great for adding dramatic effects to your images.
Soft light, however, is diffused and creates more subtle shadows and even lighting.
It’s often used in portrait photography to give a gentler, more flattering appearance. You can soften hard light by using diffusers and reflectors or modifying the position and distance of your lighting source.
Color Temperature and White Balance
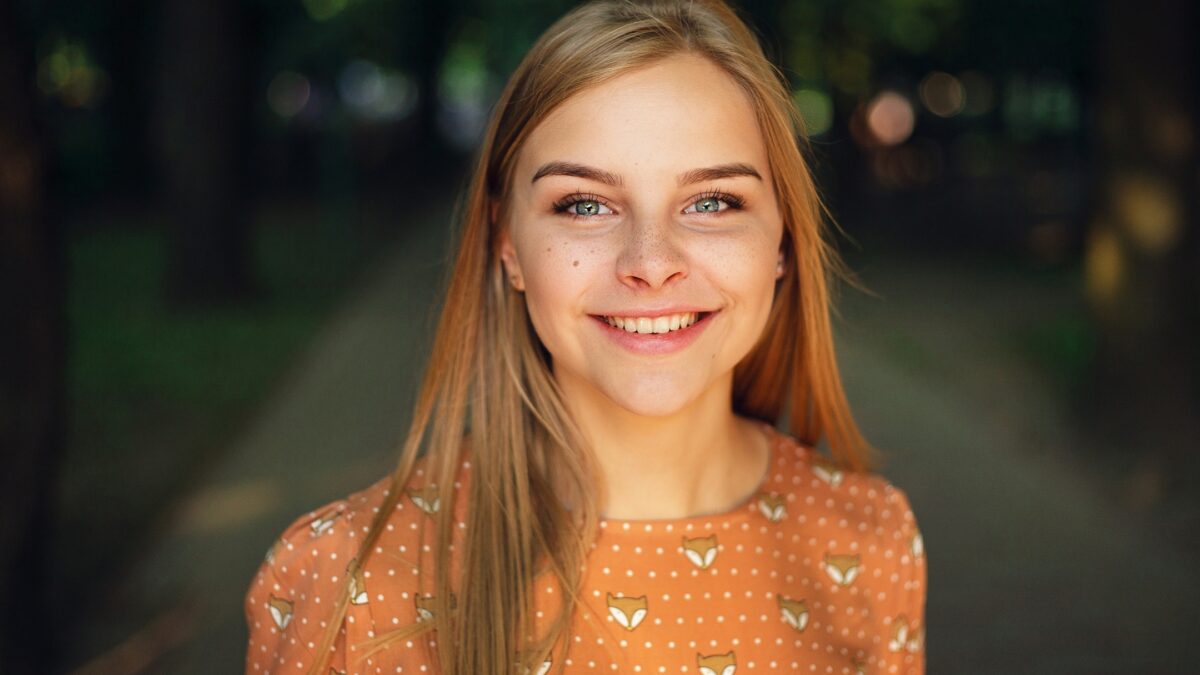
The color temperature of a light source is measured in Kelvins (K) on the Kelvin scale.
Different light sources emit various colors, ranging from warm (yellowish) to cool (bluish) tones.
For example, sunlight during golden hour has a low color temperature. And a cloudy day has a higher color temperature.
To capture accurate colors in your photographs, you should adjust the white balance setting in your camera. White balance compensates for the light source’s color temperature, making your images display true-to-life colors.
Types of Lighting in Photography
Direct and Diffuse Lighting
You should also understand the difference between direct and diffuse lighting when taking photos.
Direct light is intense and comes straight from the source, creating strong highlights and dark shadows. This type of light can be difficult to work with but can produce dramatic and eye-catching images.
On the other hand, diffuse light is softened and spread out. This results in more even illumination with less contrast between highlights and shadows.
You can create diffuse light using a light diffuser or diffusion panel, which will help soften and spread the light, making your photos look more natural and balanced.
Side, Front, and Backlighting
The position of your lighting source to the subject greatly impacts the outcome of your photos.
Let’s look at three common lighting positions: side, front, and backlighting.
Side lighting helps emphasize texture and depth in your photos. Placing the light source on one side of your subject will create shadows and highlights that bring out the details and give a more three-dimensional appearance.
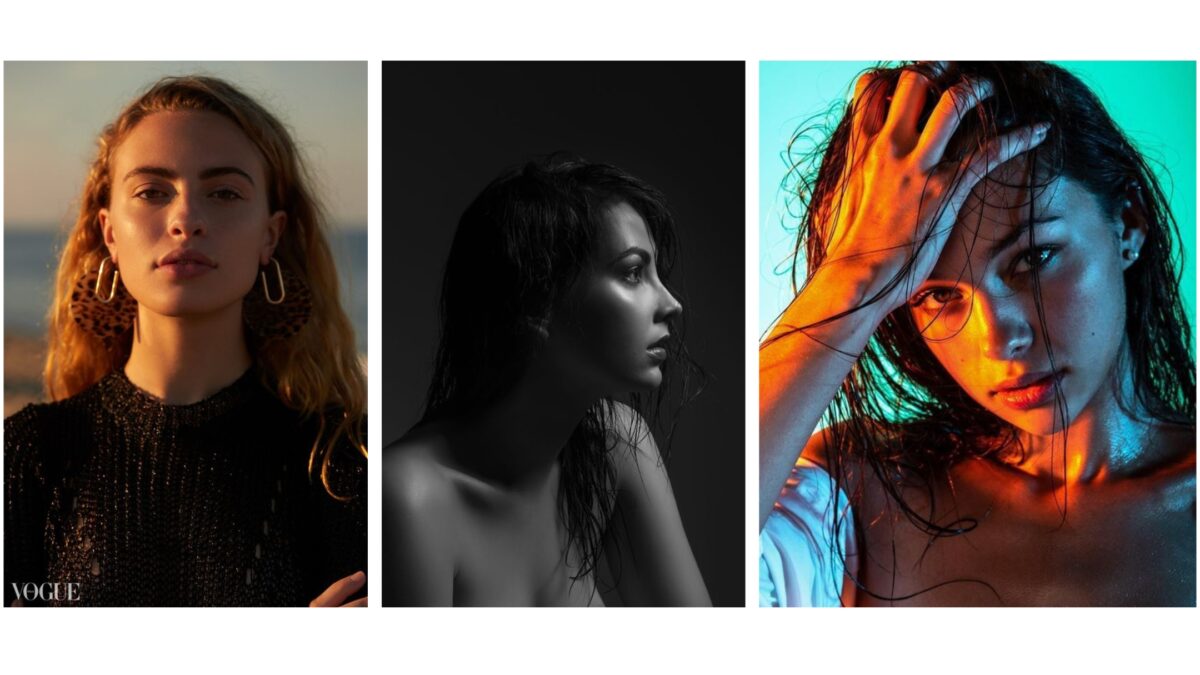
Front lighting is when the light source is positioned in front of the subject, directly illuminating their face or main focal point. This type of lighting tends to flatten the subject and minimize shadows, which can be useful for a clean and simple look but might not be as busy as side lighting.
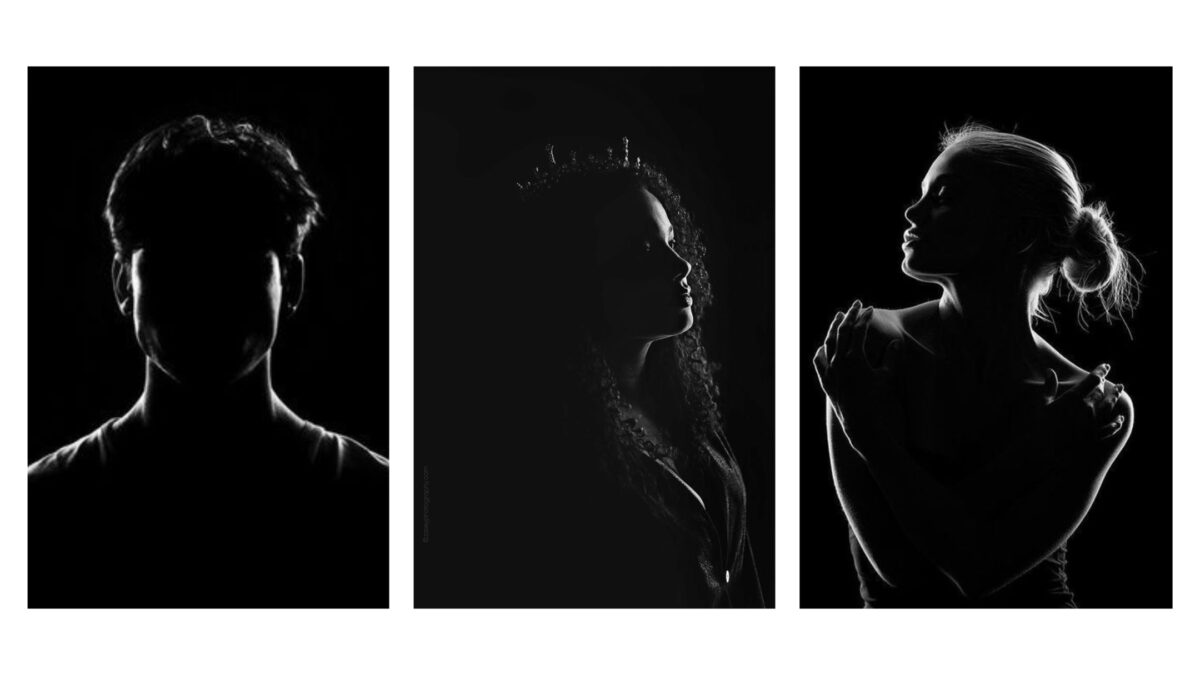
Backlighting, or backlight, is when the light source is positioned behind your subject. This creates a silhouette or halo effect. This lighting style can be challenging because it often results in a loss of detail in your subject. But don’t let this stop you from using this lighting position. Backlighting creates beautiful and dramatic images when done correctly.
Low and High Key Lighting
Now, let’s discuss low and high-key lighting techniques.
These terms describe the overall tonal range of your images. Both uniquely impact the mood and style of your photographs.
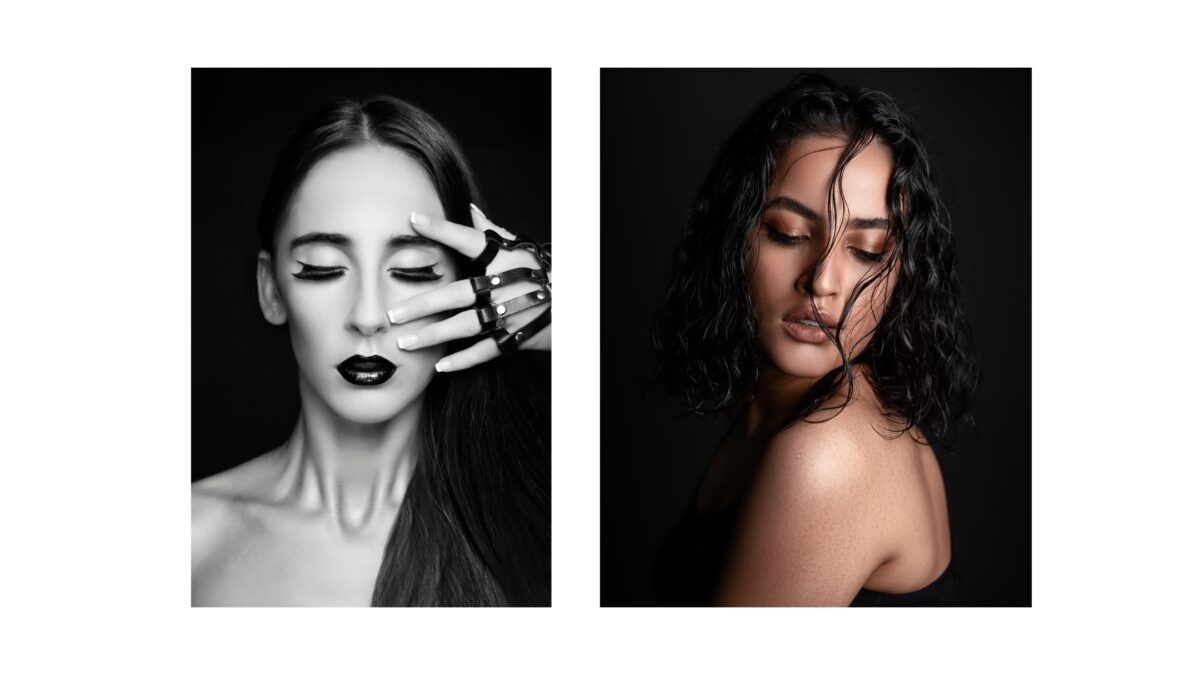
Low-key lighting focuses on dark tones and deep shadows, often producing images with a moody or dramatic atmosphere. To create this effect, you’ll need to work with minimal light sources and carefully control the shadows in your scene.
High-key lighting, on the other hand, features bright tones and minimal contrast, which can create light, airy, optimistic images. To produce high-key lighting, you must ensure ample light and limit the number of dark shadows and dark areas in your photos.
Must-Have Photography Lighting Equipment for Perfect Photos
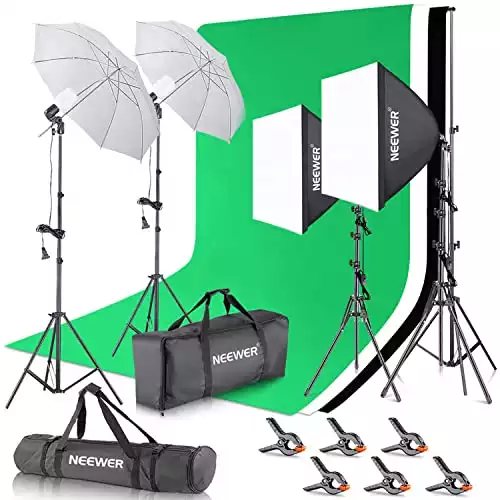
Continuous Softbox Lighting Kit: An essential piece of lighting equipment you should have in your lineup is a continuous softbox lighting kit. These provide a constant source of soft, diffused light that can be easily adjusted and controlled to get the desired effect you want in your photos.
The Neewer lighting kit is designed for superior photo studio quality, ensuring well-lit, professional-looking photos and videos in a variety of settings.
Umbrella Lighting Kit: The umbrella lighting kit is another versatile option for creating evenly lit and professional-looking photos. Umbrellas are designed to bounce light off their reflective interiors, offering a flattering, diffused light source.
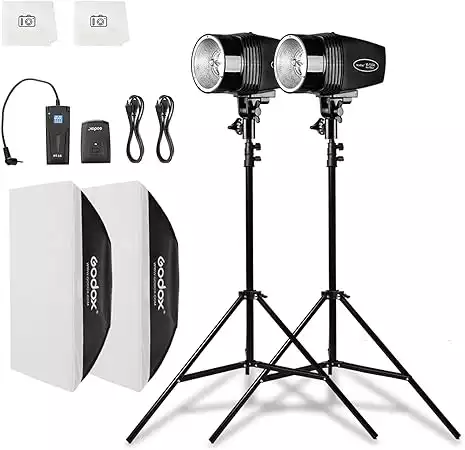
Strobe or Flash Lighting: Flash lighting, also known as strobe lighting, is crucial for freezing movement and providing powerful bursts of light. Strobes can be easily synced with your camera and adjusted for various effects.
Westcott's universal flash is compatible with multiple camera brands. And it's LCD touchscreen makes it user-friendly and easy for beginners to navigate and control flash settings.
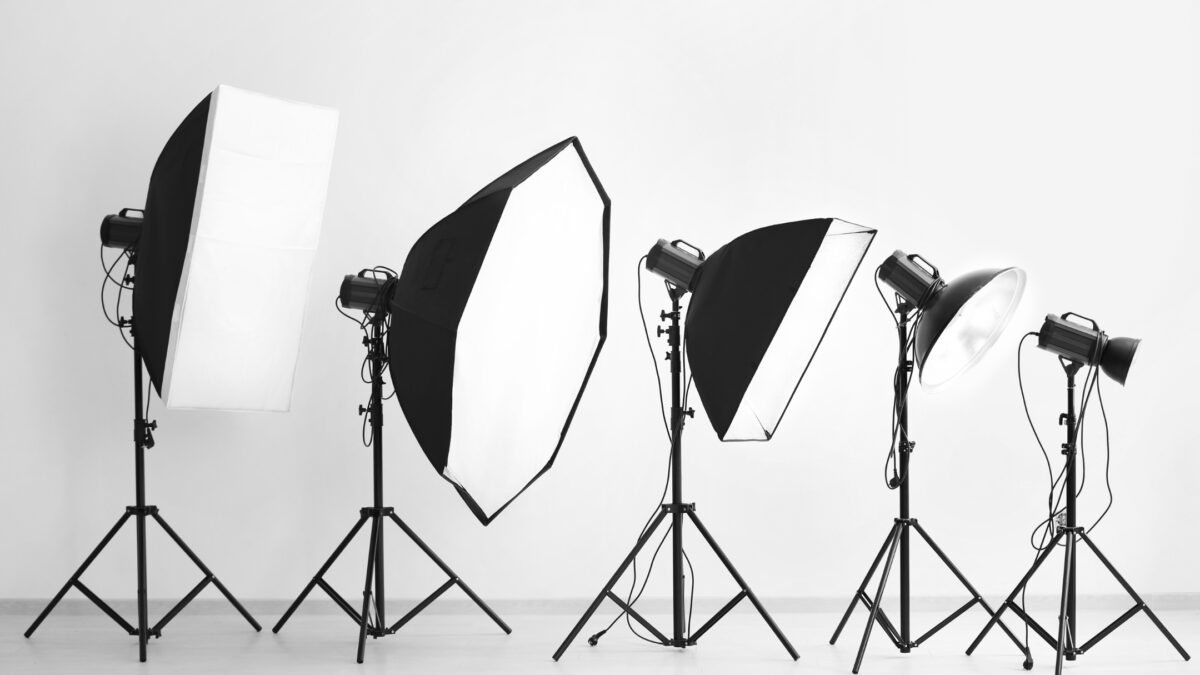
Lighting Modifiers: To further control and shape the light in your images, you should have a variety of light modifiers like softboxes, beauty dishes, and grids. These accessories help soften, direct, or concentrate the light emitted from your chosen source. Having these accessories allows for greater precision and creativity in your work.
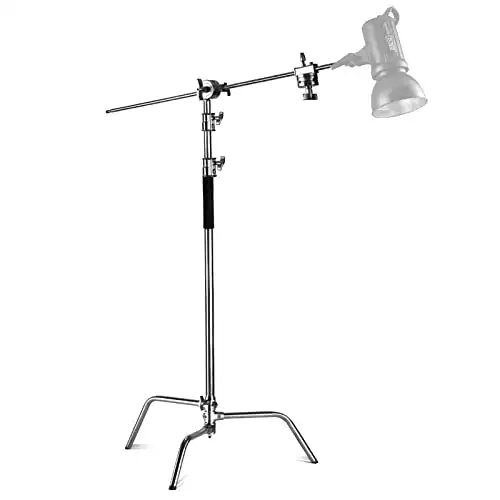
Light Stands and Booms: Just as important to your lighting equipment is your ability to position these tools as needed. Investing in a few sturdy light stands and booms will provide the necessary support and flexibility to achieve your desired lighting setup. Light stands also help to keep your gear organized and safe from damage during shoots.
This heavy-duty light stand is easy to install and perfect for securely positioning studio lights and other equipment.
Different Lighting Setups
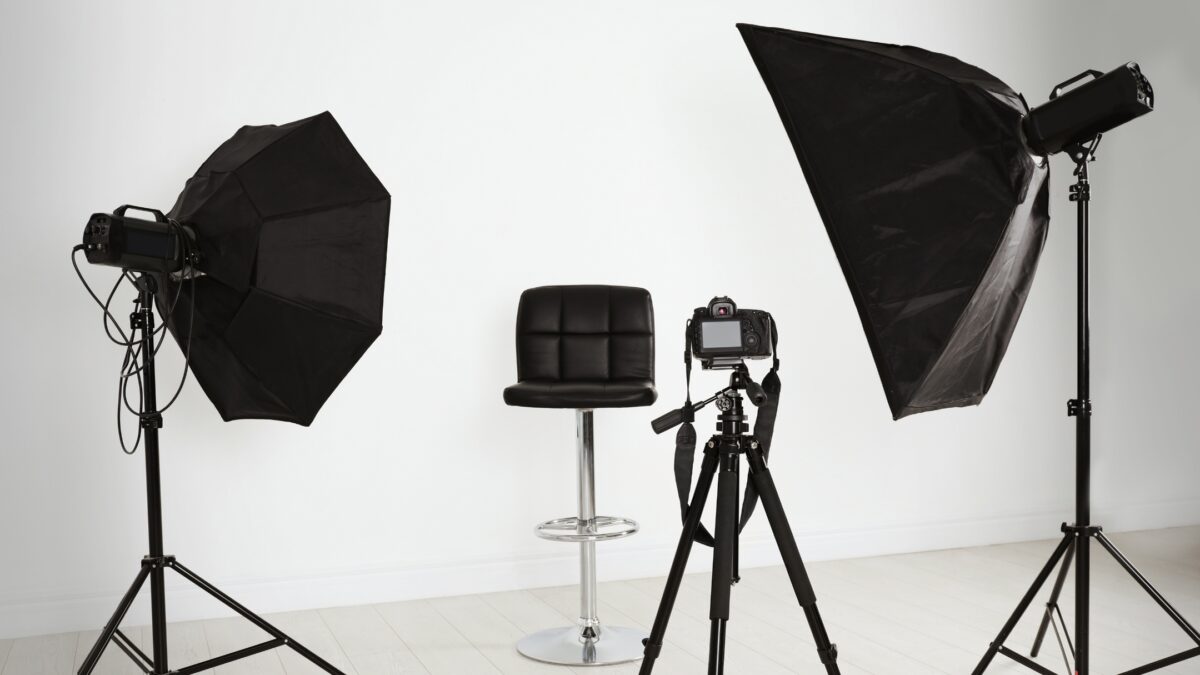
The Role of Position in Photography Lighting
As I’ve said, the position of your light is important when it comes to photography lighting setups. It affects the shadows, highlights, and overall mood of your shot.
You should experiment with different angles and distances to find the best photographic lighting for your subject.
Remember, moving your light source closer to your subject will create a softer light, while moving it away will produce harder, more defined shadows.
Rembrandt, Butterfly, and Loop Lighting
Three popular lighting setups you should try include Rembrandt, Butterfly, and Loop Lighting:
Rembrandt Lighting is known for creating dramatic, moody images. To achieve this effect, position your lighting source at a 45-degree angle from your subject and above their eye level. The key characteristic of Rembrandt’s lighting is the small, triangular highlight on the cheek opposite the light source.
Butterfly Lighting gets its name from the butterfly-shaped shadow it creates under the subject’s nose. To set up butterfly lighting, place your light source directly in front of your subject and slightly above their eye level. This technique accentuates facial features and is often used in portrait and beauty photography.
Loop Lighting is a great lighting setup that works well for most subjects. Place your light source at a 30 to 45-degree angle from your subject and slightly above their eye level. The resulting shadow will loop down and away, giving a natural and flattering look.
Split, Broad, and Short Lighting
In addition to the previous setups, there are also Split, Broad, and Short lighting techniques:
Split Lighting divides your subject’s face into two halves: one side is lit, while the other remains in shadow. To do this, position your light source at a 90-degree angle to your subject’s face. This technique is excellent for creating dramatic and mysterious images.
Broad Lighting refers to lighting the side of your subject’s face facing the camera. But doing this can make your subject appear wider, so it’s best used on slender faces or when you want to create a sense of breadth in your image.
Short Lighting illuminates the side of your subject’s face that’s away from the camera. It adds depth and dimension to your subject and is suited for many situations.
Choosing the Right Lighting for Your Studio
The key to effective studio photography lighting is understanding your subject and selecting the appropriate lighting setup. Consider both the mood you want to convey and the specific features of your subject.
Familiarize yourself with the lighting techniques mentioned above and practice using them to find the perfect combination for your needs.
Even slight adjustments to your light source’s position can dramatically change the outcome of your shot, so experiment and refine your lighting setup.
Lighting Modifiers
Softboxes, Umbrellas, and Reflectors
When it comes to lighting modifiers, some of the most popular options are softboxes, umbrellas, and reflectors.
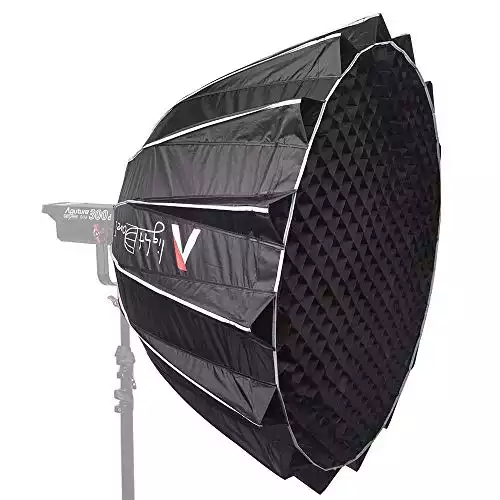
Softboxes are perfect for creating soft, even lighting and reducing harsh shadows, making them ideal for portrait photography. They also come in various shapes and sizes to suit your subject and requirements.
A high-quality, easy-to-use softbox lighting modifier.
Umbrellas are another option for diffusing and spreading light over a larger area. They’re easy to set up and also available in many sizes, reflective or shoot-through styles.
Reflectors work with natural and artificial light sources, bouncing light to fill in shadows and add a desired brightness level to your subject.
Specialized Modifiers: Grids, Snoots, Diffusers, and Barn Doors
Some more specialized light modifiers include grids, snoots, diffusers, and barn doors.
Grids help focus the light beam and control spill, which is great for creating specific lighting effects and directing the light exactly where you want it.
Like grids, snoots are designed to narrow the light beam and create a spotlight effect on your subject. They’re mainly used for hair or background lighting to add depth and drama to an image.
Then there are diffusers.
Diffusers spread the light more evenly, softening shadows and producing a more natural look. They can be used on flash units or continuous light sources.
Finally, barn doors attach to your light source and give you even greater control over the direction of light. With these adjustable panels, you can shape and control the light beam. This lets you shield your subject from spills or unwanted highlights if needed.
How to Modify and Control Natural Light in the Studio
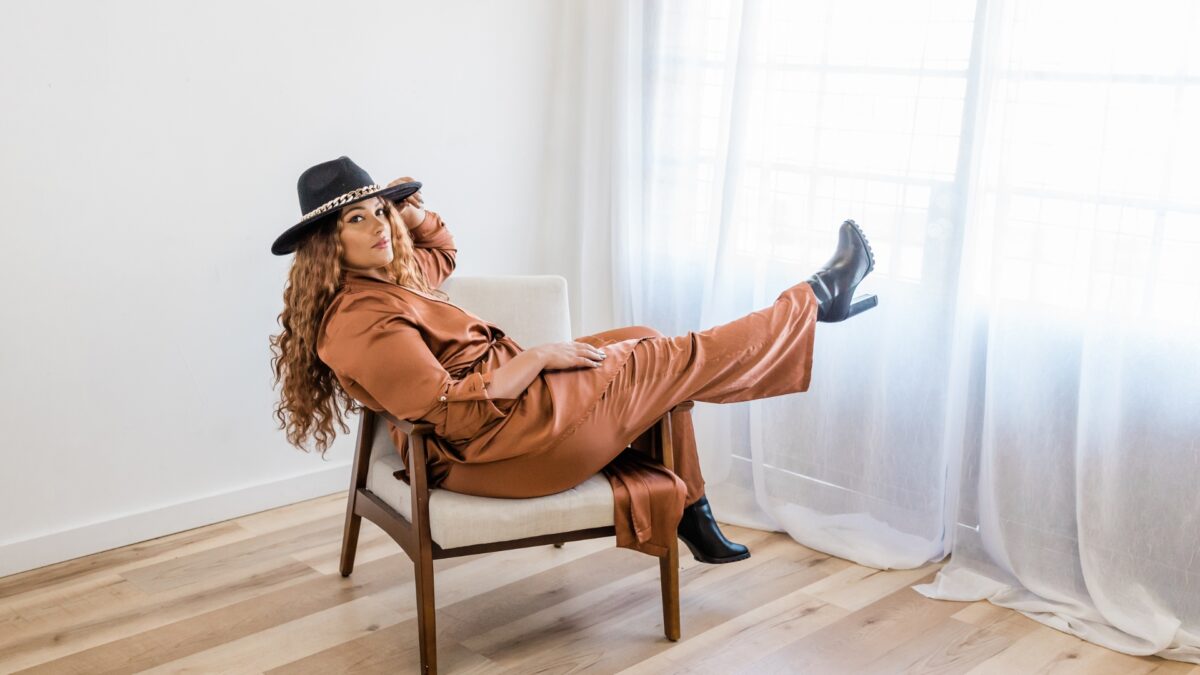
You can also use modifiers to enhance your photographs, even when working with natural light.
Before using artificial lighting, use large windows or open and adjust your outdoor shades. Another option is using reflectors to bounce light back onto your subject or diffusers to soften harsh direct sunlight.
Working With Different Types of Lights
Studio and LED Lights
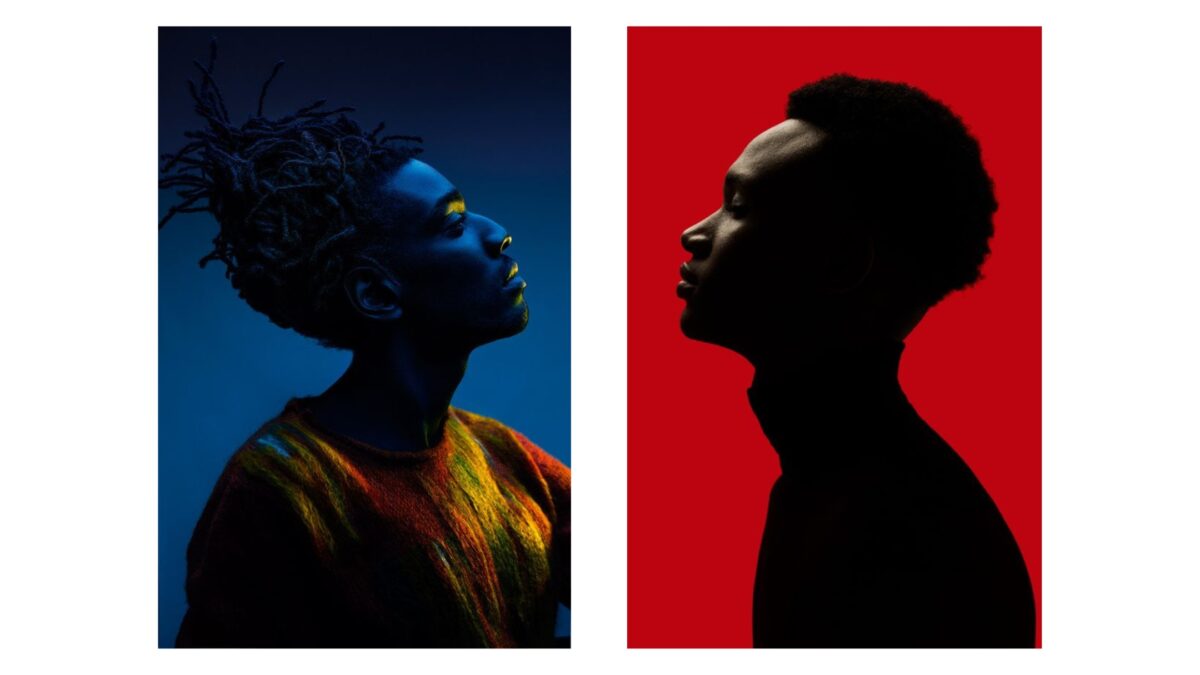
In a photography studio, you’ll typically have studio and LED lights.
Studio lights are professional lighting equipment that can help you create your photos’ desired mood and atmosphere. On the other hand, LED lights are energy-efficient and have a longer lifespan, making them ideal for continuous use.
When working with these lights in your studio, understand their basic features, such as color temperature, power output, and light modifier compatibility.
This will help you achieve the right lighting conditions for your photos.
Flash and Continuous Lights
As stated, flash lighting is brief and powerful, emitting a burst of light only when you take the photo. This light source is perfect for capturing fast-moving subjects or freezing action.
Consider using an off-camera flash or a flashgun to make the most of your flash.
As the name suggests, continuous lights emit a steady and constant light during your photoshoot session. This type of lighting is great for studio sessions, as it allows you to see the exact effect of the light on your subject before capturing the image.
Speedlight and Monolight
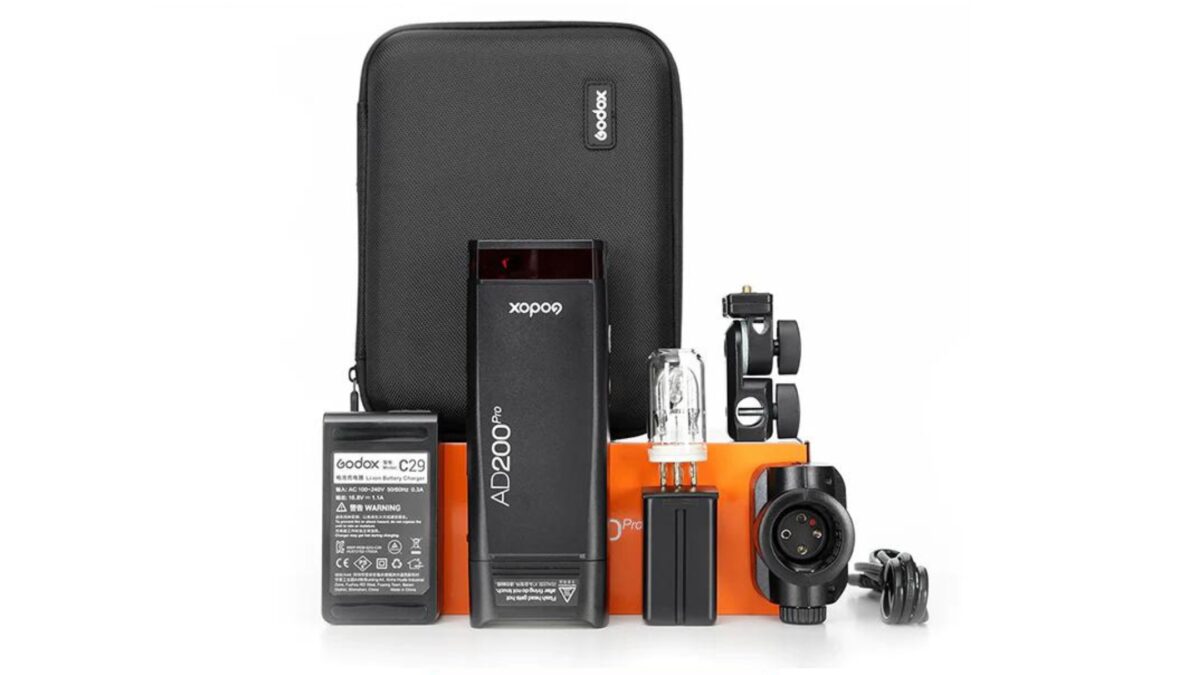
Regarding portable light sources, you have two main options: speedlights and monolights.
A speedlight is a small, battery-powered flash that you can mount on your camera or set up off-camera. Speedlights are an excellent choice for outdoor photography and on-location shoots because of their compact size and versatility.
Then there is a monolight, a self-contained studio light with a built-in flash and power supply.
It’s typically used in studio settings and offers more power output than speedlights. Monolights also provide faster recycling times and longer battery life, making them ideal for high-volume photography sessions.
And since monolights are also bigger, they require dedicated stands but contain integrated battery packs. Pack and head systems sit at the very top.
How to Use a Light Meter
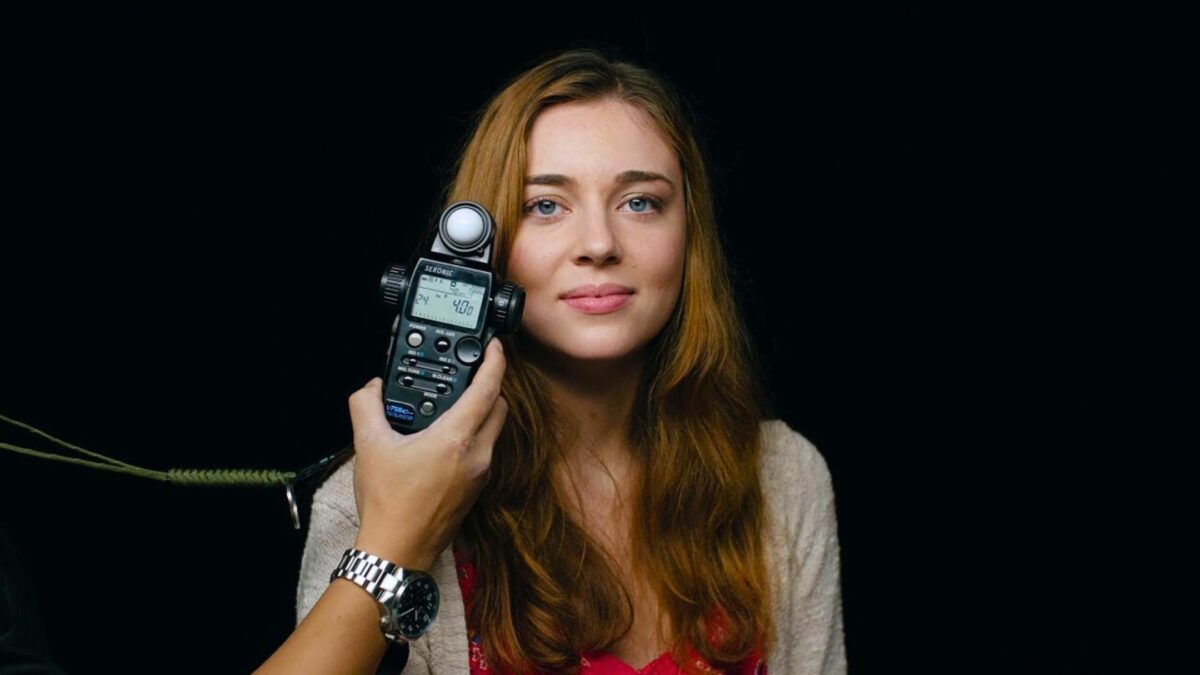
A light meter is a tool in photography that helps you measure the amount of light in a scene and suggests the best settings for shutter speed, aperture, and ISO.
You can avoid underexposed (too dark) or overexposed (too bright) images using a light meter.
First, before using a light meter, understand your camera’s built-in light meter uses reflective light metering. This means it measures the light reflected off your subject.
But, this may not always give you an accurate exposure reading, especially if your subject is unusually bright or dark. That’s where a handheld light meter comes in handy.
A handheld light meter reads the light in a narrow portion of the scene. This lets you choose a mid-toned area and precisely take the light readings.
To use a handheld light meter:
Choose a mid-toned area in your scene: Look for a portion of the scene that represents average brightness, avoiding too dark or too-light regions.
Hold the light meter close to the subject: Point the light meter toward the light source, ensuring the sensor is at the same angle as the subject.
Take a reading: Press the button on your light meter to measure the light, and it will provide you with the suggested shutter speed, aperture, and ISO settings.
Set your camera accordingly: Use the suggested settings from the light meter to adjust your camera, ensuring an accurate exposure.
Using a light meter might not feel natural initially, but if you like and continue using one, you’ll get used to it. Over time, you’ll notice a notable improvement in your photography’s consistency and quality.
Try different lighting situations and see how your light meter helps.
And feel free to return to these instructions as needed.
Choosing Lighting Equipment Based on Your Budget
When it comes to photography lighting equipment, you don’t need to spend a lot of money on equipment to get great results.
Set a lighting budget, stick to it, and find a few suitable options. Here are some lighting equipment options for various budgets.
Budget Options: Consider a Neewer 600W Battery Powered Lighting Kit if you’re low on cash. This budget-friendly option provides plenty of light without costing a fortune. It’s also a great choice for someone starting in photography or considering upgrading their current lighting setup without overspending.
Mid-Range Options: If you have more to spend, the Bolt VB-22 Bare-Bulb Flash Photography Lighting Kit is versatile, providing a classic strobe look. The flash is mountable directly on your camera, giving you flexibility and a relatively easy setup for its price range.
High-End Options: When you have a large budget and can afford the best, consider investing in the Broncolor Siros 800 2-Monolight Kit. It’s great for outdoor photography. But it’s expensive. This lighting kit provides professional-level quality and power.
Best Tips for Different Types of Photography
In this section, we’ll cover some helpful tips for various types of photography, including portrait, landscape, and low-light photography.
Portrait Photography
In portrait photography, lighting is essential for capturing your subject’s best features and creating the perfect mood. Here are some tips:
Use soft light to avoid harsh shadows on your subject’s skin and bring out their natural beauty. This can be done using a bounce flash technique or diffusing your light sources.
Experiment with different lighting setups like loop, butterfly, or Rembrandt lighting to create unique and interesting portraits.
Don’t forget the importance of natural light, especially during the golden hour when the light is warm and flattering.
Landscape Photography
For landscape photography, consider these photography lighting tips when capturing landscapes:
Chase golden hour just after sunrise or before sunset when the light is soft, warm, and ideal for landscape photography. It can add depth and texture to your images.
During midday sun, use the harsh light to your advantage by seeking out interesting shadows and contrasts in nature.
Don’t dismiss cloudy days. They provide a soft, even light that highlights details and colors in your scene. Plus, you can capture spectacular skies full of dramatic clouds.
Low Light Photography
Low-light photography can be challenging. But you can get great results with a proper understanding of lighting techniques. Keep these tips in mind:
Embrace natural light sources like street lights, window lights, and even moonlight. They can add character and ambiance to your images.
Use a tripod to stabilize your camera and prevent camera shake due to slow shutter speeds. This will help you capture crisp and clear images in low-light conditions.
Experiment with long exposures to create a sense of movement and drama in your low-light photography. This often works well with nighttime cityscapes or light trails.
Common Mistakes in Photography Lighting and How to Avoid Them
One common mistake in photography lighting is having a background that diverts attention from the main subject, often due to a bright light source or reflection from behind your subject.
To avoid this, try adjusting the positioning of your subject or find a more suitable background without distracting light sources.
Also, watch for unwanted shadows on your subject. This is another common mistake that can arise due to exceeding your camera’s maximum flash sync speed.
Working with natural light can be tricky, especially during midday when the sunlight creates harsh shadows or washes out your subject. Limitations due to natural light can lead to bad lighting mistakes, so photographers prefer shooting in the golden hours – early morning or late afternoon – when the light is more flattering and less harsh.
To overcome lighting challenges, consider using a collapsible light reflector or a flash to balance shadows and highlights, giving your subject more depth and definition. But be cautious when using Flash.
Overdoing it can result in an unnatural-looking photograph.
Another useful tip to improve your lighting is to experiment with the position of your light source. Placing the light at different angles can enhance the drama or mood of your photograph, helping you create captivating images that tell a story.
Finally, practice and experience play a huge role in mastering photography lighting. Remember this, and keep going and keep trying if your lighting setup isn’t working how you’d like.
Frequently Asked Questions About
Photography Lighting
What kind of lighting is best for indoor photography?
Indoor photography often benefits from using soft, diffused light sources to create pleasant, natural-looking photos. Natural, soft, or diffused light alone, such as sunlight streaming through windows, can be a great option. And if natural light is not available or insufficient, use artificial light sources. For example, continuous lighting, hotlights, or speedlights, combined with light modifiers like umbrellas or softboxes to diffuse the light and avoid harsh shadows.
What are the essential lighting tools for a photographer?
Some essential lighting tools for a photographer include natural light sources (sun and moon), artificial light sources (speedlights, flashguns, strobe lights, and continuous lighting), and light modifiers (umbrellas, softboxes, reflectors, and diffusers). Other helpful tools include striplights, ring lights, and light stands.
How can I set up suitable lighting for portrait photography?
To create suitable lighting for portrait photography, combine key, fill light, and backlight to get a balanced, flattering effect. Experiment with different lighting patterns, such as Rembrandt, split, butterfly, and broad-short lighting, to find the look that best suits your subject. You may also want to use soft light sources, like umbrellas or softboxes, to diffuse the light and minimize harsh shadows.
How can I improve my photography lighting skills at home?
To improve your photography lighting skills at home, practice and experiment with various lighting setups and techniques. Start by studying the natural light that enters your home and use it to your advantage when photographing pictures. As you become more comfortable with natural light, introduce artificial light sources. Things like speedlights or continuous lighting and light modifiers create different effects. Then, analyze the results of your experiments and make adjustments as needed to improve your skills.
What are the best lighting techniques for outdoor photography?
Outdoor photography offers diverse lighting possibilities depending on the day, weather, and location. Some useful techniques for outdoor photography include making the most of available natural light, using reflectors to bounce light onto your subject, and adding fill flash or off-camera flash to balance the exposure. Adapt your approach based on changing outdoor conditions, sunlight intensity, cloud cover, and shadows.
What factors should I consider when choosing a portable lighting kit?
When choosing a portable lighting kit for photography, consider the type and quality of light output, ease of use, portability, durability, and power source (battery or AC). Also, consider the light modifiers included or compatible with the kit, such as umbrellas, softboxes, or reflectors. Your choice should align with your specific photography needs, budget, and preferred shooting style.
Which types of light sources are recommended for studio photography?
A combination of light sources may be recommended for studio photography, depending on your specific goals and subject matter. Common lighting equipment used in studio photography includes speedlights, flashguns, strobe lighting, continuous lighting, and various light modifiers like umbrellas, softboxes, reflectors, and diffusers. Ultimately, the types of light sources you choose for your studio lighting setup will depend on the desired look and mood you want to achieve in your photos. Experiment with different light sources and techniques until you find the ideal combination for your studio work.
