Photo Editing for Beginners (Made Easy)
Photo editing is hard.
Especially when you’re just starting out.
There’s fear that comes with having to learn complex software, words, and processes. And this can hold you back.
But don’t worry or stress about it anymore.
Because I’m going to teach you what you need to know when starting out in this simple and easy-to-follow guide on photo editing for beginners.
So if you’re interested in editing your photos then you can do it. Without the fear of getting started.
Key Takeaways
- Master basic photo editing techniques to elevate your photographs.
- Starting with high-quality RAW images enhances editing flexibility.
- Select user-friendly tools suited for beginners to streamline your editing workflow.
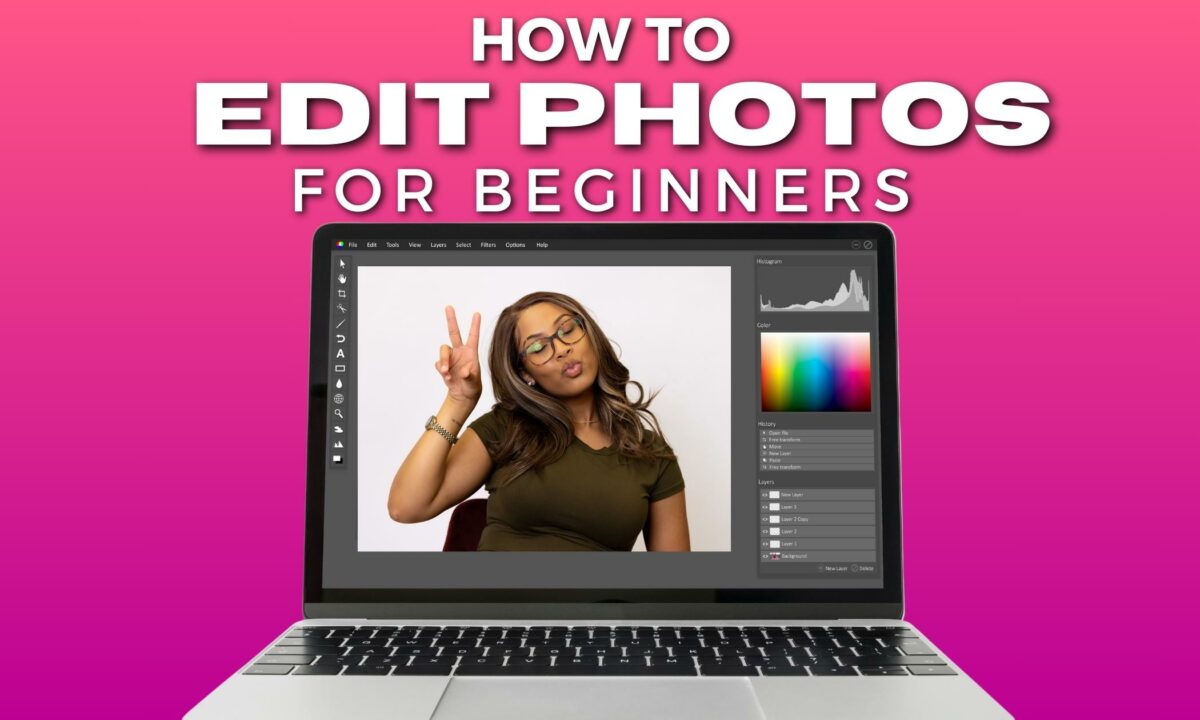
Shoot in RAW Format for High-Quality Photo Editing
When you step into photo editing, it’s essential to understand the benefits of shooting in RAW format. Unlike compressed file formats like JPEG, RAW files preserve all the data from your camera’s sensor, giving you a wealth of detail to work with during post-processing.
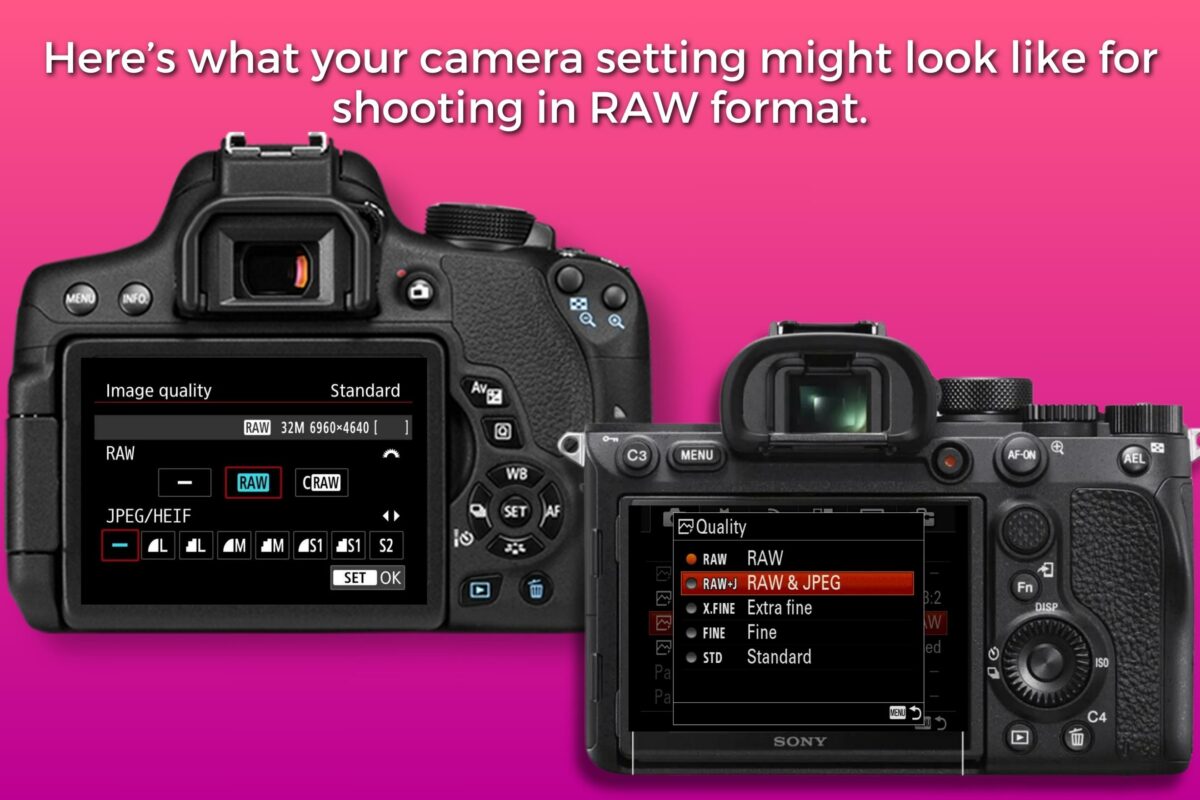
The first step I take when editing my RAW photos is to upload them to Lightroom.
I do the basic adjustments (fix lighting, crop, adjust color, use presets, etc.), and then I transport them to Photoshop to do my more detailed retouching (skin retouching, fixing the backdrop, spot healing, etc.).
Why Shooting in RAW Matters:
- Maximum Image Quality: RAW captures a broader dynamic range and more colors.
- Greater Flexibility: You can adjust exposure, white balance, and other settings after the shot is taken without a loss of quality.
- Non-Destructive Editing: Changes you make to a RAW file don’t overwrite the original data.
Here’s how to make the most of your RAW files in photo editing:
- Transfer RAW Files: Connect your camera to your computer to upload photos.
- Open Your Photo: Use software like Photoshop, which opens a RAW converter automatically.
- Adjust the Basics: Tweak exposure, contrast, and colors as needed.
- Refine Further: Address specific areas such as shadows and highlights for a balanced look.
| RAW Benefits | JPEG Limitations |
|---|---|
| Higher quality details | Compressed; less detail |
| Wider color gamut | Narrower color range |
| Better for editing | Limited editing latitude |
| Large file size (Pro) | Small file size (Con) |
Shooting in RAW = High-quality photo editing.
Yeah, you’ll have larger file sizes and need suitable editing software. But the payoff is the ability to turn an ordinary image into a polished, professional photo that stands out.
And as you grow in your photography journey, the control and quality that RAW provides will become invaluable tools in your creative arsenal.
Choosing Your Tools
Using the right photo editing software can transform your photo editing workflow.
Whether it’s adjusting RAW files for that perfect high-quality finish or merely brightening up an image, the software you choose sets the stage for everything.
Choose a Photo Editing Software You Love
When looking for photo editing software, the thing to keep in mind is your preferred workflow.
Are you someone who just needs minor adjustments and light editing?
Or are you someone who needs to have complete control over every pixel of their image in post-production?
Or do you prefer to just play around with lighting, filters, and effects on your photos without thinking about the technical stuff?
Programs like Adobe Photoshop, Adobe Lightroom, and Luminar Neo offer robust editing features for profound control over your images.
And if you shoot in RAW, consider applications like Capture One or ON1 Photo RAW, designed to specifically handle RAW files with powerful post-processing capabilities.
But make sure you’re using software that lines up with what you want to accomplish—be it intricate edits or straightforward corrections.
Paid vs. Free Photo Editing Software
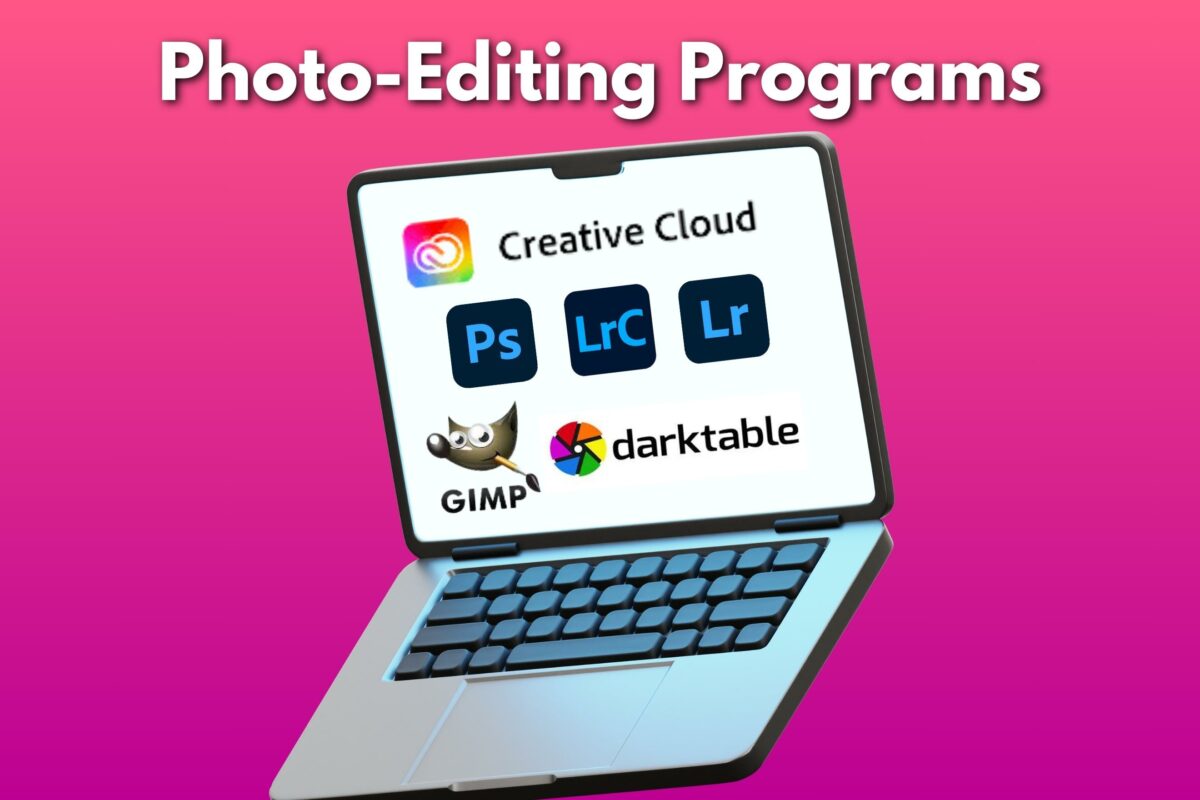
When it comes to editing software, you have a range of options that are paid or free.
Paid programs, such as Adobe Lightroom, offer comprehensive tools along with cloud storage options and are frequently updated with the latest features.
But free photo editing programs like GIMP are quite capable and an excellent starting point for while you’re still learning or if you’re budget-conscious.
| Software | Cost | Best For |
|---|---|---|
| Adobe Photoshop | Paid | Comprehensive Editing |
| Adobe Lightroom | Paid | Precision in Color & Exposure |
| GIMP | Free | Basic to Moderate Editing |
| Capture One | Paid | Detailed Raw File Editing |
| Luminar Neo | Paid | Creative and Aesthetic Edits |
| ON1 Photo RAW | Paid | High-Quality Raw Processing |
The best photo editing programs for you will depend on personal preference, the complexity of edits you wish to achieve, and whether you are willing to pay for high-end features.
How to Edit Your Images in 7 Steps
When you begin editing, you’ll discover various tools and sliders. These will become your partners in transforming a good photo into a great one.
1. Crop and Clean Up Your Images
Your editing journey starts by framing your image perfectly with the Crop tool.
You’ll need to consider the composition and how best to highlight your subject. Aim to remove distractions, align the horizon by straightening, and decide on the final aspect ratio that best suits your image.
Think about adhering to the rule of thirds to strengthen your composition.
2. Make Exposure Adjustments
Next, fine-tune the exposure.
The Exposure slider is your main control here, allowing you to correct the overall lightness or darkness of your photo. Using the Histogram, you can guarantee balanced tonality.
Give it a shot, and you want to aim for detail in both shadows and highlights.
You might also use the Highlights and Shadows sliders for targeted adjustments.
3. Correct Your White Balance
Adjust the White Balance so colors look natural and true to life.
The Temp and Tint sliders tweak the color temperature and can counteract unwanted color casts, so whites in your images don’t appear too cool or too warm. This correction is needed to maintain the authenticity of the photo you’ve taken.
4. Enhance The Contrast (If Needed)
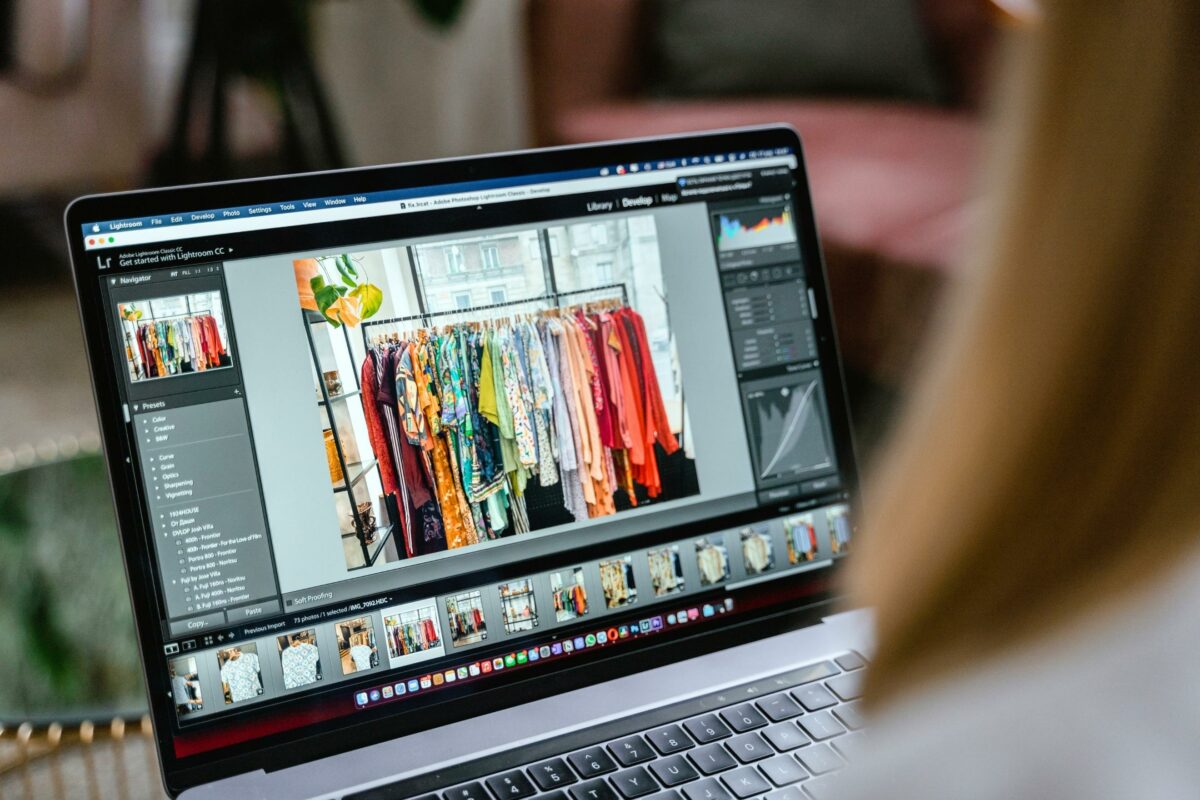
Improving contrast can give your photo more pop. Even a small boost can help define the lights and darks, making your image more vibrant.
Just be cautious not to overdo it, as too much contrast can lead to an unnatural look. Operate the Contrast slider carefully, and consider using the Whites and Blacks sliders for further refining.
5. Assess Your Saturation Levels
The Saturation and Vibrance sliders control color intensity, which can help make your image stand out. Bumping up the saturation can enrich your colors, but over-saturation can lead to an artificial-looking image.
And if you want the colors to pop a little more, try increasing the vibrancy for a more lively look.
6. Minimize Noise and Improve Sharpness
Photo clarity is what we’re going for, so use Noise Reduction and Sharpening tools judiciously.
Increase sharpening to bring out details, but avoid over-sharpening, which can introduce unwanted graininess. And if you detect speckles at 100% zoom, apply luminance noise reduction to smooth out the image without compromising sharpness.
7. Finalize Your Edits and Don’t Over Edit Your Photos
Finally, evaluate your photo editing.
You want to take a step back to see if you’ve overdone any adjustments. I recommend taking a break and coming back to your computer in about 15 minutes. Sometimes you’ll be able to see something you probably wouldn’t have if you didn’t step away.
Also, viewing them from the gallery perspective can help with checking the consistency in the style of every photo.
And remember, editing should enhance rather than overshadow the quality of your original photo.
So, maintain a non-destructive workflow—especially with layer-based editors—so you can always undo an effect that doesn’t serve your vision.
Exporting Your Work
After perfecting your photos, exporting is the final step in my photo editing workflow.
This is where you convert your edits into a suitable file format for sharing or printing. Understanding different formats and their uses is also important so your photos look their best wherever they’re displayed.

File Formats
When you export, you’ll run into various file formats. Here’s a breakdown of the most common ones:
- JPEG: Ideal for web use due to its small file size. Adjust the quality to balance between file size and image detail.
- PSD file: Adobe Photoshop’s native format preserves all your layers and edits but results in larger files, best for ongoing editing.
- PNG: Offers lossless compression, which is great for graphics with transparent backgrounds.
- TIFF: Used for high-quality prints, this format maintains image integrity but also results in large files.
Resolution and Quality
Your photo’s resolution is also a key consideration:
- Web Use: Lower resolution (72 to 96 DPI) is sufficient and helps decrease load times.
- Print: Higher resolution is necessary—aim for 300 DPI or more for crisp prints.
Step-by-Step Exporting Instructions
- In your photo editor, click on File and select Export or Save As.
- Choose your desired file format from the list.
- Adjust the quality settings—higher for print, lower for web use.
- Save your file to a designated folder.
Remember, the right format depends on your intended use: JPEG for sharing online, PSD to continue editing later, and TIFF for printing.
Each serves a unique purpose, ensuring your hard work looks its best across all mediums.
Enhancing Creativity & Style
As a photographer, your creativity and style are what sets you apart from others.
And this is true when it comes to photo editing as well.
So, let’s now talk about how you can set yourself apart from others even more by using specific photo editing tools and techniques.
Extend Your Editing with Plugins and Presets
As you familiarize yourself with your photo editor, like Photoshop, get familiar with plugins and presets to enhance your workflow.
Plugins extend the functionality of your primary software, offering specialized tools and effects that can dramatically transform your photos.
Presets, on the other hand, are predefined adjustments that can apply consistent styles across different images with a single click. By utilizing these tools, you gain flexibility and can explore a wealth of creative options without manual repetition.
- Plugins: Add new features to your photo editor (e.g., realistic film effects and advanced retouching tools). I use Retouch Academy for skin and beauty retouching.
- Presets: Save time with one-click adjustments for color grading and more.
Experiment with Textures, Brushes, and Fonts
Creativity in photo editing isn’t limited to color correction and cropping.
Textures can add depth to your images, brushes enable you to draw or add unique markings, and different fonts can make adding text to photos for graphics or collages come alive.
Use these elements to inject personality and elevate the composition of your photographs.
- Textures: Layer them to give photos a tactile quality.
- Brushes: Customize or download new ones for distinctive strokes.
- Fonts: Choose ones that complement your photo’s mood and message.
Save Templates for Consistent Branding
Consistency is key in photography, especially if you’re looking to establish a specific style or brand.
Develop and save templates with your unique selection of fonts, icons, and styles. These become invaluable when creating a series of images or marketing materials. They help maintain a uniform look that’s recognizable as uniquely yours.
- Branding: Use consistent elements like logos and color schemes.
- Templates: Streamline your editing process for series and collections.
My Final Thoughts on Photo Editing as a Beginner
Photo editing can be a fun experience that complements your photography skills.
A well-edited photo significantly enhances the story you’re trying to tell. And while the initial steps might seem complex, your editing skills will grow with practice.
Consider each session a step towards mastering your creative expression.
Education is a part of the game. Take advantage of online tutorials and courses that explain the basics of software like Lightroom Classic, which is favored for its user-friendly interface and powerful tools.
Use histograms. They are a valuable guide and, when used, provide insight into the exposure levels of your photographs.
And you might hear terms like color noise, which refers to the random appearance of color pixels in areas where they don’t belong. Understanding how to reduce this through editing software leads to cleaner, more professional-looking images.
Finally, when it comes to photo editing as a beginner, remember the goal of editing is to refine your work, not to overhaul it.
Frequently Asked Questions About
Photo Editing for Beginners
What are the essential techniques to master as a beginner in photo editing?
As a beginner, you should focus on learning how to crop and straighten photos for better composition, adjust the exposure to ensure your image isn’t too dark or too bright, and play with the color balance to make your photos look more natural or achieve a particular mood.
What is the most user-friendly photo editing software for newcomers?
For newcomers, software like Adobe Lightroom offers an intuitive interface with a gentle learning curve. It provides powerful editing tools in a user-friendly format that makes it easier for you to start enhancing your photos right away without feeling overwhelmed.
What are the key photo adjustment settings to know for effective editing?
Key photo adjustments that are essential for effective editing include exposure, contrast, highlights and shadows, whites and blacks, as well as clarity and vibrance. Understanding how to use these settings will greatly improve your photo editing skills.
Which is more suitable for beginners, Lightroom or Photoshop?
Lightroom is generally more suitable for beginners due to its streamlined workflow and focus on photo editing. Photoshop is more advanced, offering intricate compositing, retouching, and graphic design features that can be overwhelming for those just starting out.

