Golden Hour Photography: The Complete Guide
Have you ever wondered how photographers take those magical, golden-hour photos where the light makes their subjects and landscapes radiant?
You’ve even tried to recreate it as a new photographer.
Waking at dawn, working to catch the perfect sunrise. But your images always miss that golden glow.
Without knowing a few things, golden hour photography can remain a mystery. And that’s why I want to share with you a few tips and tricks to finally master golden hour.
So you know how to get that touch of magical light to hit your photos.

What is Golden Hour?
Golden hour, also known as magic hour, refers to a brief period just after sunrise or just before sunset.
During this time, the sun is positioned at such a low angle in the sky that it produces a soft, diffused light. This light is gentler than the harsh midday sun, creating ideal conditions for photography.
Here’s a quick glance at what makes this time so special:
- After Sunrise: The first hour of light, giving a fresh and serene feeling.
- Before Sunset: The last hour of daylight, offering a warm and inviting ambiance.
This golden lighting is famed for its ability to add a magic touch to your photographs, imparting a golden hue that makes everything it touches look better.
The Science Behind Golden Hour
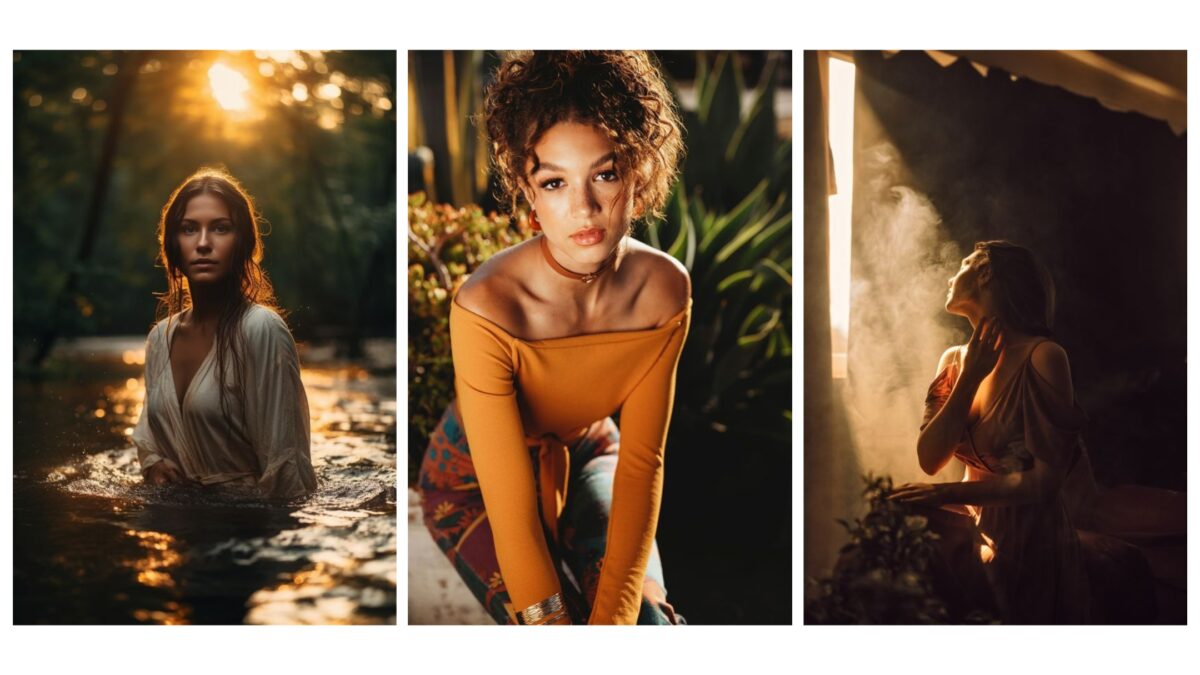
The warm glow characteristic of the golden hour is painted by Earth’s atmosphere.
During sunrise and sunset, the sun’s rays have to pass through more of Earth’s atmosphere than when it’s high overhead.
As these rays travel, the shorter blue wavelengths are scattered out of your line of sight, leaving the longer red and yellow wavelengths to reach you and paint the world in warm colors.
So, imagine the atmosphere as a giant filter.
It transforms the glaring white light of the sun into a golden brush that colors the landscapes and subjects with a soft, warm light.
This process creates a natural, flattering light that can make your photographs exude warmth and intimacy.
- Color Temperature: Lower than during the midday, yielding warm hues.
- Shadows: Longer and softer, adding depth without harshness to the subject.
- Direction: Comes from a specific angle, creating dimension and texture.
All of the above is what makes golden hour in photography so special.
You’re working with one of nature’s most charming lighting setups.
How to Prepare for Golden Hour Photography
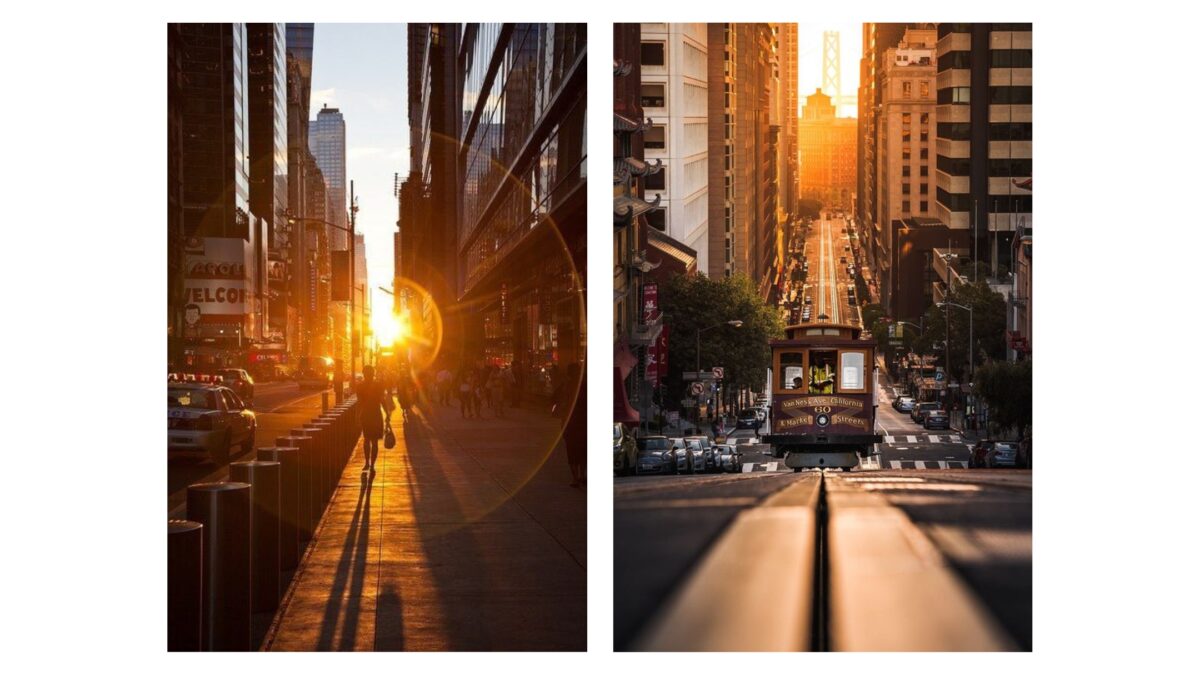
Golden hour photography hinges on timing and location. So, understanding these can dramatically improve your photos.
Scouting the Best Locations
To capture the best golden hour photos, you need to scout locations in advance.
Look for places where the sun can complement the landscape—rolling hills, beaches, or even cityscapes with interesting silhouettes.
Apps like PhotoPills can help you not only to discover new locations but also to visualize the path of the sun in relation to your chosen spot.
You’ll also want to keep an eye on how the light interacts with your surroundings.
Sunrise may offer a cool, serene tone. Whereas sunset could give you fiery warm hues.
- Observe the sky: Days prior to your shoot, watch how the light plays at sunrise and sunset.
- Use resources: Use apps and maps to find potential vantage points.
- Consider subjects: Think about foreground and background elements that will be flattered by the low, warm light.
Planning Your Shoot
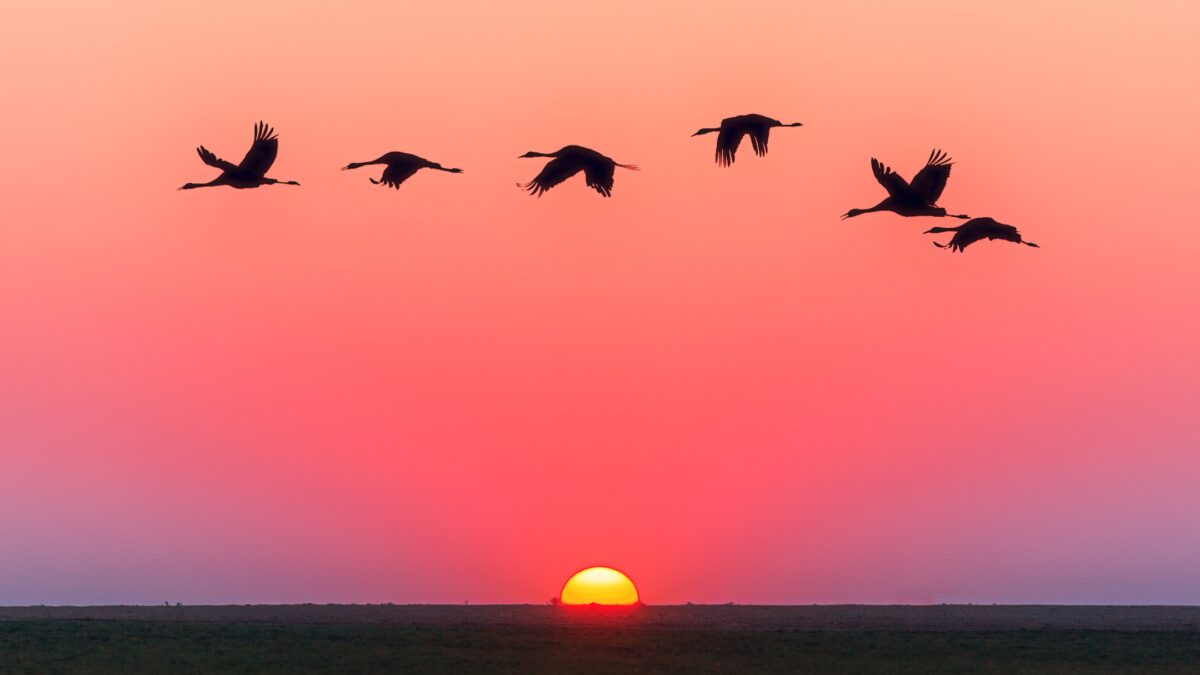
Once you’ve picked out your location, it’s time to plan.
Timing is everything; you have a limited window before sunrise or after sunset to shoot. And you’ll want to check the weather forecasts to avoid cloudy conditions that can obscure the sun.
A clear day is ideal.
Then make a checklist of gear to avoid forgetting anything in the excitement of taking photos in the perfect light.
- Set schedules: Determine the exact window for golden hour using tools or other smartphone apps.
- List your gear: Camera, lenses suited for the light, a sturdy tripod, and extra batteries or memory cards.
- Plan your shots: Arrive early to set up and have an idea of the shots you want, leaving room for spontaneous creativity.
Now, you’re well on your way to taking better golden hour photos.
Camera Settings and Techniques

Golden hour requires making a few adjustments to your camera to truly capture its beauty.
Golden Hour and the Exposure Triangle
Understanding the exposure triangle—which consists of shutter speed, aperture, and ISO—is a must if you want to take full advantage of golden hour photography.
Here are some exposure triangle recommendations for golden hour:
- Shutter speed: Aim for a faster shutter speed to capture the dynamic changes in light without blur. But, if you want to capture motion, like a flowing stream or moving clouds, try a slower speed to create a silky aesthetic.
- Aperture: A wide aperture (low f-number) allows more light into the lens. Perfect for getting a shallow depth of field with a dreamy background blur. And, closing the aperture slightly (increasing f-number) provides greater depth of field, bringing more elements into sharp focus.
- ISO: Keep ISO as low as possible to reduce noise. Thanks to the natural illumination of golden hour, you can generally avoid high ISO settings.
You’re also going to have to adjust each component of the exposure triangle to suit the changing light conditions of golden hour.
White Balance and Color Temperature
The white balance camera setting affects the color temperature of your images, which in turn impacts their mood and feeling.
- White Balance: To enhance the golden hour’s warm tones, toggle the white balance to ‘cloudy’. This setting increases the Kelvin value, enriching the golden yellows and deep reds typical of this time.
- Kelvin: For more precision, manually adjust the Kelvin temperature. Golden hour light can range from warm (approx. 3500K) to even warmer (up to 5000K), so experiment to find the best representation of the scene’s warmth.
Composition and Subject Matter
When taking photos, the way you arrange elements within the frame and the subjects you choose can transform a simple photo into a compelling story.
Photographing Subjects
When you’re behind the camera, think of yourself as a storyteller.

Your subject, whether it’s a person, a tree, or an old building, acts as the main character in your visual narrative.
During golden hour, the warm light can add emotion and depth to your subjects.
- Portraits: Place the subject off-center to make use of the rule of thirds, which can make your photos more engaging. The golden hour’s soft light reduces harsh shadows, giving your subject’s skin a smooth, flattering look.
- Silhouette: Position your subject against the light to create a silhouette effect. This adds a sense of mystery and drama as your viewers fill in the details with their imagination.
Creating Depth and Texture
Golden hour light is also perfect for revealing textures and creating a three-dimensional feel in your landscapes.
- Depth: Side lighting during golden hour can cast long shadows, which emphasize the contours of a landscape, adding a sense of depth to your photo.
- Texture: The low angle of golden hour light makes it easier to capture the roughness of tree bark or the smoothness of water. It makes things pop.
Lighting Dynamics in Golden Hour
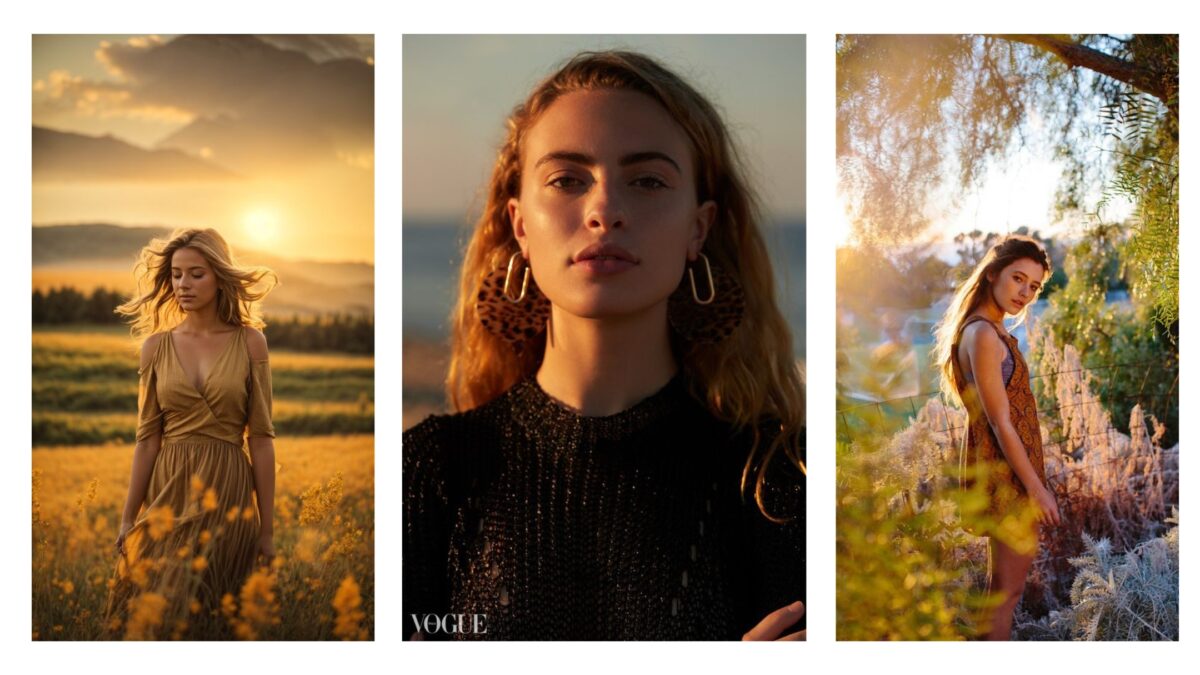
Did you know you can play with shades, tones, and angles to create different atmospheres in your golden hour photos? Let’s talk about it.
Capturing Backlight and Silhouettes
When you position the sun behind your subject, you create a backlight that can lead to stunning silhouettes. This effect outlines your subject in a bright glow, often referred to as a rim light.
To achieve this:
- Time your shoot so the sun is low.
- Place your subject between you and the sun.
- Underexpose to accentuate the silhouette effect.
Backlighting can also provide soft illumination to subjects, producing a gentle, almost dreamlike quality that enhances textures and depth.
Using Reflectors and Fill Light
Side lighting during golden hour can cast dramatic shadows, but sometimes you want to soften those shadows for a more even exposure.
Here’s how you can do that:
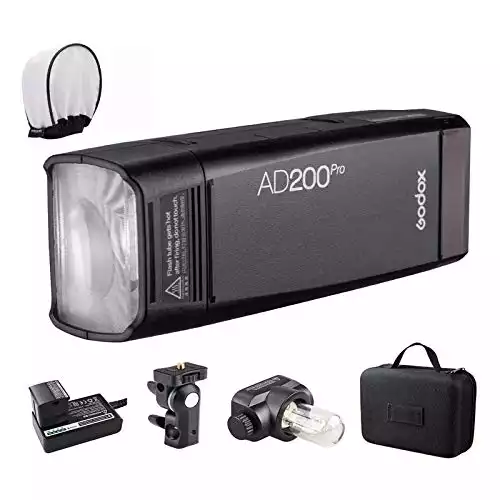
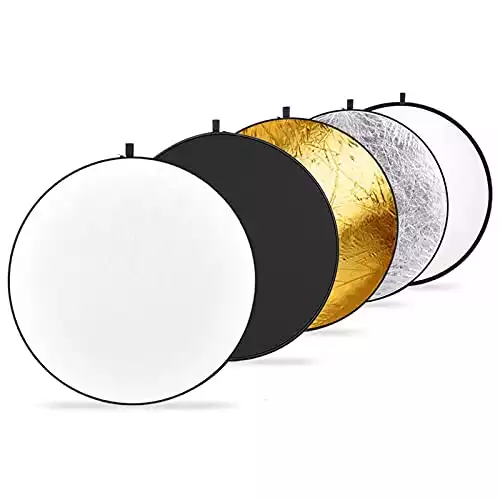
- Use reflectors to bounce the soft golden light back onto your subject. Position them opposite the sunlight to fill shadow areas.
- Introduce fill light to balance the contrast. A simple reflector or even a white card can serve as a fill light, softening shadows and illuminating the subject’s features.
This reflector is super handy and all you need. It's also heavy-duty and works well in many different lighting conditions.
These techniques allow for flexibility in exposure and can bring out details that might otherwise be lost in shadow during the golden hour’s lower light levels.
Post-Processing Golden Hour Photos
Once you’ve captured the light of golden hour, post-processing can really make those images sparkle.
You can bring out the best in your warm tones.
And balance your photography’s highlights and shadows so the unique quality of golden hour light is reflected in your final photos.
Enhancing Warm Tones
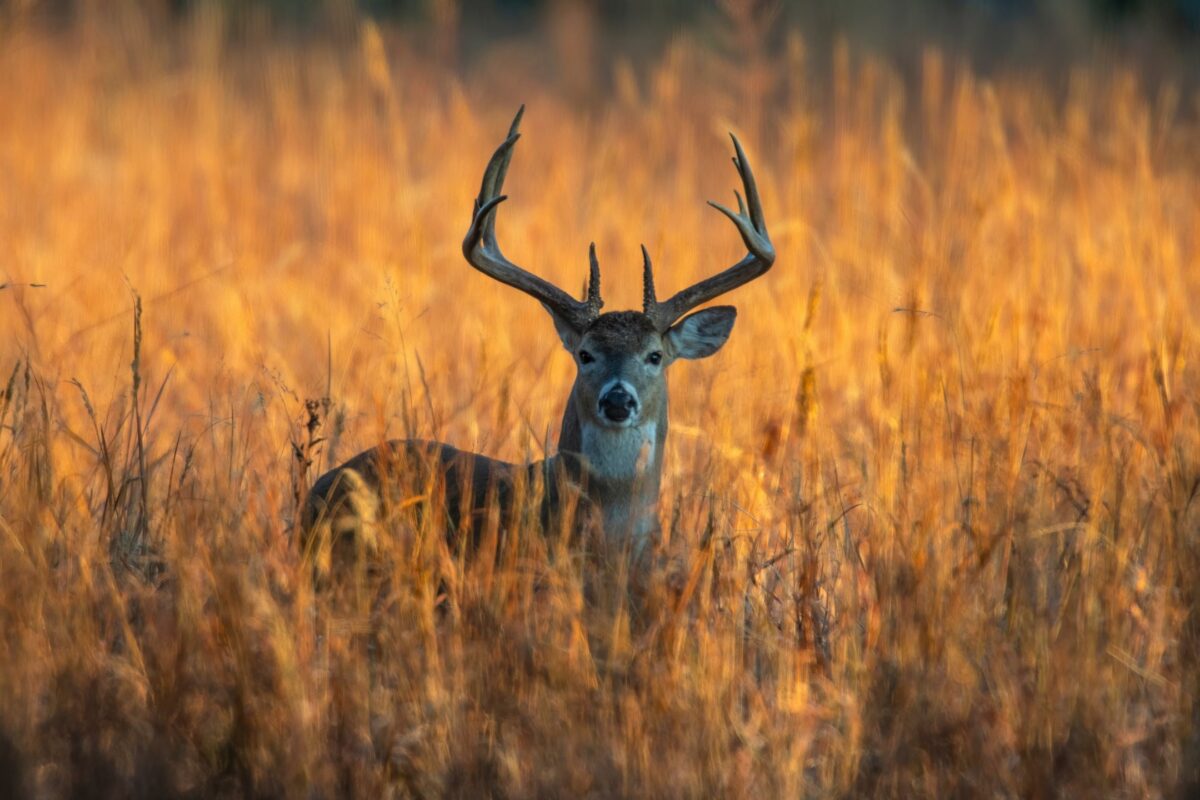
Your golden hour images should radiate warmth, drawing viewers into the scene.
And with photo editing software like Adobe Lightroom, you can accentuate warm tones without overdoing it.
- Start by adjusting the White Balance to create a warmer temperature. Play with the Temp slider to add a golden hue.
- Increase the Saturation or Vibrance slightly to enrich the colors.
- Split Toning allows you to add warmth to the highlights separately, creating a subtle yet convincing golden hour effect.
Tip: Exercise subtlety. You want to preserve the natural feel of the warm light without creating an image that looks overly edited.
Balancing Highlights and Shadows
Golden hour shots often have strong contrasts between light and dark areas, and details can easily get lost.
To combat this:
- Lower the Highlights: This can recover details in the brightest parts of your image that might otherwise be overexposed.
- Boost the Shadows: Lifting the shadows can uncover the details in darker areas without making the image appear flat.
| Tool in Adobe Lightroom | Purpose |
|---|---|
| Highlights Slider | Reduce the intensity of bright areas |
| Shadows Slider | Reveal details in the darker sections |
Adjust these gradually to maintain a natural contrast ratio that mimics the eye’s perception of light during the golden hour.
10-Step Summary of Gold Hour Photography
- Learn the Science: Golden hour happens due to the angle of the sun at sunrise and sunset. During this time, sunlight passes through more atmosphere, resulting in softer, more diffuse light.
- Plan Ahead: The golden hour only lasts about an hour, so timing is crucial. Use online tools to calculate the exact sunrise/sunset times in your location. Arrive early to scout and set up your shot.
- It’s All About The Location: Choose a compelling subject or scene that will be enhanced by golden light. Think landscapes, architecture, portraits, still lifes, etc.
- Gear Up: A DSLR or mirrorless camera works best, but you can also use a smartphone. Bring a tripod for stability and to allow longer exposures if needed.
- Camera Settings: Start with aperture priority mode. Use low ISO (100-200) for sharpness and optimal aperture (f/8-f/16) for ideal depth of field.
- Compose with Care: Use compositional techniques like the rule of thirds. Place subjects off-center for balanced, engaging photographs.
- Meter and Bracket: Light changes quickly during golden hour. Meter often and bracket exposures to get the perfect shot.
- Enhance with White Balance: Try different white balance presets to accentuate Golden Hour’s warm, golden tones.
- Silhouette and Backlight: Shoot into the light for striking backlit images. Position subjects between you and the sun to silhouette them.
- Practice and Have Fun: The more you shoot at golden hour, the more adept you’ll become at capturing its magic.
FAQs
How can I determine the precise time for golden hour in my location?
To find the golden hour in your location, you can use specific mobile apps or websites like PhotoPills or The Photographer’s Ephemeris. These tools calculate the exact times based on your geographical position. Just type in your location, and you’ll get a schedule of the golden hour’s start and end times.
What are some effective composition tips for golden hour photography?
When composing your shot during golden hour, look for subjects that will benefit from the side lighting – it accentuates textures and gives depth. Include elements like trees or buildings to break the light and create interesting shadows and highlights. The rule of thirds can be powerful here; position your horizon accordingly to balance the light and shadows.
How can I edit my photos to enhance the golden hour effect?
You can enhance the golden hour effect in post-processing by increasing the warm tones and adjusting the saturation and vibrance slightly – think about recreating the atmosphere you experienced. Play with highlight and shadow sliders to restore any details. Editing should complement the photo, not overpower the natural beauty of the golden hour lighting.
What’s the difference between golden hour and blue hour in photography?
Golden hour and blue hour are like day and night in photography, quite literally. Golden hour happens just after sunrise or before sunset, with warm orange and yellow tones. Blue hour is the twilight period when the sun is below the horizon, casting cool blue and purple hues. Both offer unique lighting opportunities, but golden hour is all about warmth.
Can golden hour lighting be favorable for wedding photography, and if so, how?
Golden hour is a cherished time for wedding photography. It offers a soft, flattering light that creates a romantic ambiance. Position the couple to take full advantage of the light – it beautifies skin tones and fills the scene with a warm, inviting glow. It’s a time for intimacy and magic in your photos – plan for it accordingly.
