How to Shoot on a White Backdrop: Photography Tips and Tricks
Have you ever tried to take a picture with a bright white background, but it just didn’t look right?
Getting the background just right makes your photo pop, but if you mess it up, your picture might not look as cool.
I’ve been taking photos for a long time and learned some cool tricks about getting that perfect white background. So whether you’re taking pics for a school project, your Instagram, or just for fun, this guide is for you!
Keep reading, and I’ll show you some easy steps to make your photos look awesome.

Understanding Light and Lighting
The Role of Light
When it comes to white background photography, light matters a lot.
Proper lighting makes your subject stand out against the white backdrop and helps prevent overexposure. An evenly lit, bright background also eliminates unwanted shadows and allows the subject to be the focus of the image.
Lighting can be natural, like the sun and moon, or artificial, like strobes and LED lights.
Lighting Setup 101
To create a great lighting setup for white background photography, follow these basic steps:
Start With a Clean, White Backdrop: Make sure your backdrop is free from wrinkles, dirt, or any imperfections that might distract from your subject.
Position Your Subject: Place your subject at least a few feet away from the background to avoid too much light spills and unwanted shadows.
Set Up Your Main Light Source: Position your primary light source at a 45-degree angle from your subject’s face to create flattering and dimensional lighting.
Add a Fill Light: Place a secondary light source on the opposite side of your subject to eliminate harsh shadows and ensure even lighting.
Control Backlighting: To prevent an overexposed background, add a backlight or use a handheld light meter to measure the light falling on the background. Then, adjust your background light as needed.
Your lighting setup may require adjustments depending on the specific situation and whether you use natural light or artificial sources like strobes.
Using a Handheld Light Meter
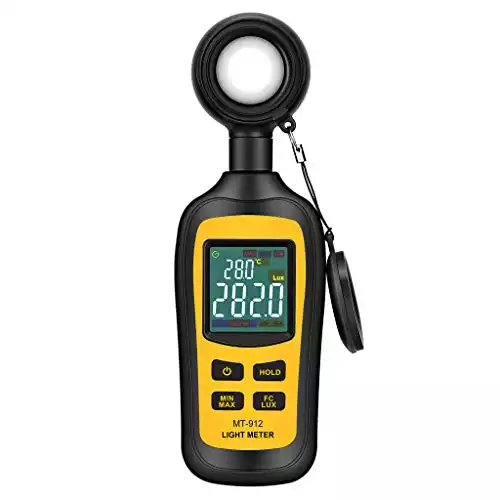
A handheld light meter is great for setting up your lighting and ensuring even light distribution.
By measuring the amount of light falling on your subject, you can avoid overexposure or underexposure to achieve the desired effect.
We recommend this one:
For a perfectly white background, a light meter will help you maintain consistent brightness throughout your images. To use a light meter, point it at the light source, measure the amount of light, and use the readings to adjust your camera settings and lighting setup accordingly.
If possible, use an incident light meter, which measures the light falling directly on the subject, rather than a reflected light meter, which measures the light reflecting off the subject.
Choosing The Right Equipment
Recommended Camera Settings
When taking white background photos, setting up your camera properly is also important.
Adjust your camera’s ISO to the lowest setting possible. This will help reduce noise and maintain image quality.
Next, set your aperture between f/8 and f/11, ensuring sharpness and depth of field while avoiding undesired softness. Finally, set the correct white balance for your lighting conditions, as this can significantly impact the overall color accuracy of your photos.
Why You Should Use a Tripod
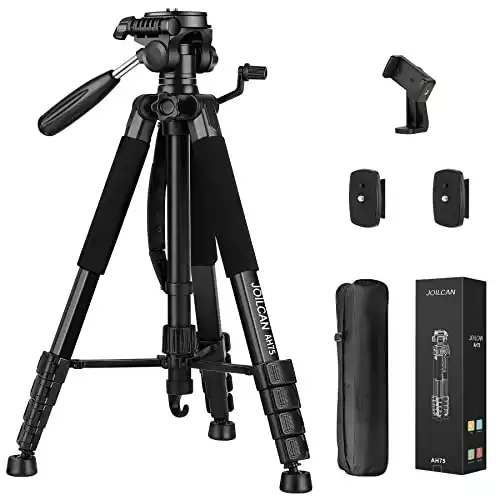
When taking pictures, using a tripod helps when you’re trying to create perfect white backgrounds. Tripods are convenient and provide stability to your shots.
Because you want to keep your camera steady as much as you can.
By doing so, you’ll shoot consistent and sharp images every time. Also, a tripod allows you to experiment with different angles and distances without constantly moving around and repositioning the camera.
Using DIY Lightboxes, Props, and Other Equipment
Creating a simple DIY lightbox can improve your white background photography.
A lightbox helps evenly distribute light onto your subject, minimizing harsh shadows and improving the overall appearance of your photos.
You can make a DIY lightbox using a cardboard box, white tissue paper, and table lamps or LED lights. Then, you can add some props to add a creative touch to your photos.
I love props during my photoshoots because they make for unique and interesting images.
For example, you can use colorful objects that complement your subject to add depth and contrast to your white background. Just avoid using props that’re too distracting or take away from the subject.
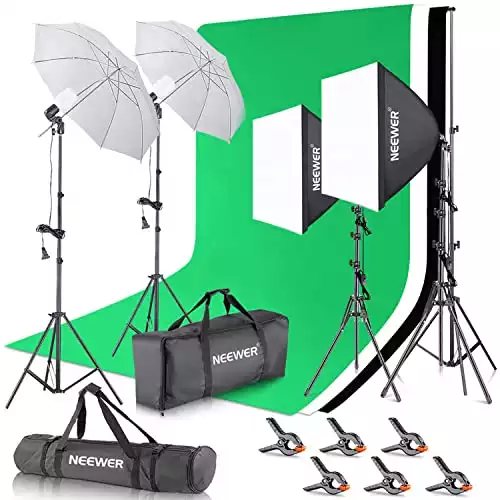
Consider investing in additional equipment like premium backdrops, lights, and reflectors to get your background pure white. These will help you achieve professional-looking results.
The Neewer lighting kit is designed for superior photo studio quality, ensuring well-lit, professional-looking photos and videos in a variety of settings.
Portrait Photography on a White Background
Portrait Photography Basics
One critical aspect to consider is lighting when it comes to portrait photography on a pure white backdrop.
Your main subject needs to be relatively darker than the bright background to get that pure white background effect. Always check your camera’s exposure to capture a well-lit portrait subject.
Compose your shots with your subject’s face well-exposed. To do this, take a spot meter reading from the person’s face. Then, adjust your settings accordingly.
Afterward, check the light on the white background to confirm it’s close to the amount of light on your subject.
Creating a Distraction-Free Frame
A significant benefit of using a plain white background in portrait photography is the elimination of distractions. This setup guarantees the viewer’s focus remains on the two main elements – the subject and the background.
To avoid the “floating subject” effect, position your subject at an appropriate distance from the background. This will reduce or eliminate undesired shadows and help maintain a clean, professional look.
Try different poses, angles, and lighting setups for the perfect white background portrait. And remember to have fun with your photography!
White Background Product Photography
Product Photography Essentials
If you’re a product photographer, using a white background can improve the appearance of your products. A clean, white backdrop makes your product images stand out and grab the viewer’s attention.
Online retailers like Amazon often require white backgrounds for product listings. Making this skill essential for success in e-commerce.
To create professional-looking product images, you’ll need some basic equipment.
Gather supplies like white seamless paper or foam boards to create a consistent backdrop.
You should also find a well-lit area or use artificial lighting sources like softboxes or umbrellas to eliminate shadows and produce even lighting.
Tips for Using a Seamless Backdrop Paper
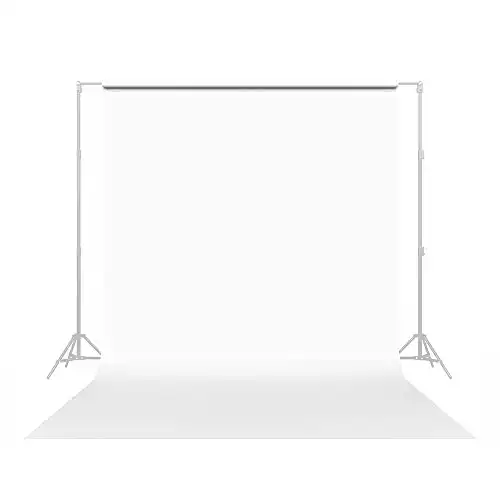
A seamless paper backdrop is an affordable and easy-to-use option for getting a pure white background in product photography.
Here are some tips for working with seamless backdrops as a product photographer:
Size Matters: Choose a width that accommodates your products comfortably, giving you enough space to work with. Common seamless paper sizes include 53 inches and 107 inches wide.
Avoid Creases and Wrinkles: Make sure your paper backdrop is smooth and wrinkle-free to prevent distracting lines or shadows in the final image. Roll out the paper evenly and use clamps or weights to secure its position.
Keep it Clean: White seamless paper can quickly become dirty or damaged. Protect your backdrop by keeping it off the floor and cleaning up any spills or debris immediately. Replace paper as needed to maintain a fresh, white appearance.
Use a Sweep: Create a gentle curve at the base of your paper backdrop by draping it over a table or other surface. This “sweep” helps eliminate sharp lines or angles between the background and surface, giving your product images a more professional look.
Post-Processing Tips for Creating Clean White Backgrounds
Editing Software Tools
Editing software like Adobe Photoshop is powerful and widely used.
It offers a range of editing options, but there are alternatives like GIMP and Affinity Photo. You can start with the software you feel most comfortable using and experiment with different features as you refine your process.
To create a clean white background, use the background eraser tool. Adjust your levels, and tweak the curves to enhance your images.
Understanding Histogram and Contrast
A histogram helps get a clean background by showing your image’s tonal range. When you learn to use a histogram, you can determine whether your photo has enough contrast and make necessary adjustments.
A histogram displays the distribution of tones, from black (0) to white (255), with the middle representing mid-tones.
When the histogram is skewed towards the left, your image is underexposed. And when it’s skewed towards the right, it’s overexposed.
To improve your white backgrounds, adjust the contrast so your background is pure white without compromising the details of your subject. Check your histogram so it’s not skewed too far right, which might cause your subject to blend with the white background.
Correcting Light and Shadows
Exposure and The Background
Always pay attention to your exposure. It can become gray or dull if you don’t expose the background evenly and correctly.
To prevent this, try to slightly overexpose the background while maintaining proper exposure on your subject. This will ensure the whole frame is bright and the white is uniform.
Managing Shadows and Negative Fill
Shadows can also be a problem when shooting on a white background.
To manage them effectively, consider using negative fill. Negative fill is blocking light to create contrast between the subject and the background. Doing so will emphasize the subject while preventing unwanted shadows from muddying the image.
To create the desired contrast, look for ways to block light, such as using black foam-core boards or flags on light stands.
Use of Flash and Plexiglass
Finally, including flash and plexiglass in your shoots can help to create a cleaner white background.
The use of a flash can brighten the scene and eliminate unwanted shadows. A great tip is to place your flash source far away from the product because this can prevent the background from turning gray.
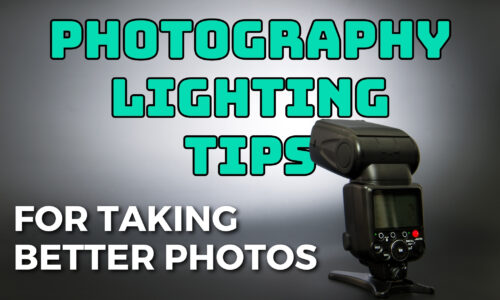
Westcott's universal flash is compatible with multiple camera brands. And it's LCD touchscreen makes it user-friendly and easy for beginners to navigate and control flash settings.
Also, plexiglass can be placed under the subject to create a reflection while maintaining the plain white background’s cleanliness. This technique adds depth and interest to the image, making your subject stand out even more.
Common Mistakes and How to Avoid Them
When it comes to white backgrounds, a few common mistakes could negatively impact your photos. Let’s go over some and how to avoid them.
1. Improperly Lit background: A common error is not lighting the background correctly. To avoid this, ensure the background is lit with approximately two stops more light than the subject. For example, if you’re shooting your subject at f/8, set your background lights to be two stops brighter so your meter reads f/16 on the background.
2. Wrong White Balance (WB): Setting the wrong White Balance can affect your photo’s overall color and tone. When photographing your scene, please get familiar with your camera’s WB settings and match them to the current light source.
3. Relying Solely on JPEG: While no rule says you have to shoot in RAW, the format offers more post-processing flexibility. By shooting in RAW, you can recover more details, correct exposure, and have better control over the final image.
4. Over-processing: In the quest for a perfect backdrop, you might be tempted to overdo it in post-processing. But your goal is a clean, bright, and natural-looking image. Watch your use of adjustments and filters to maintain your image’s integrity.
White Background Photography: A Recap
White background photography is perfect for portraits, product photography, and more.
The key to achieving a pure white background ‘in camera’ is to have more background light than light on your subject. To do that, you can use the spot meter setting on your camera to take a meter reading from your subject’s face, ensuring proper exposure.
Another common issue in white background photography is placing your subject too close to the background. This causes shadows or light to spill from the background, affecting the subject.
Creating enough distance between your subject and the background is also important, especially when working in a small space or studio. Using enough strobes and the right background material in the studio is important for getting a nice white background.
Here’s a step-by-step process for setting up your studio when taking pictures on a white background:
Set up your background about one meter from a white wall or other white surface.
Place two or more high-powered strobes behind the background, adding wide dish reflectors on them.
Point the strobes at the wall, away from the background, and set them to max output.
Set up one or more lights and reflectors to create the desired portrait style, ensuring there are at least three stops less light on your subject.
Take test photos and check them on a computer to see if your subject is well-exposed and the background is pure white.
If shooting outdoors, you’ll need the right setup and lighting conditions for outdoor photography. Backlighting your subject also helps you get a clean white background with minimal post-processing.
Frequently Asked Questions
What’s the simplest white backdrop option?
The simplest white backdrop option is probably a large white paper roll or white fabric. Just make sure it’s wrinkle-free and clean. You can even use a big sheet of white poster board for small products or portrait photography. It’s cost-effective and easily replaced if needed.
How do I achieve a perfect white background?
Getting a perfect white background requires proper lighting. Light your background separately from your subject to control the exposure. Also, use diffused lights on your subject to avoid shadows and uneven lighting. And meter your foreground and background lights to guarantee the white backdrop is well-lit.
How do you avoid overexposing a white background?
To avoid overexposing your white background, use a light meter to measure the exposure of the background and subject separately. If the background is too bright, reduce the intensity of the background lights or move the subject further away from the backdrop. Experiment with different lighting techniques, and always check your camera’s histogram to monitor the exposure of your image.
How can I create white background pictures using an iPhone?
Creating white background pictures with your iPhone is possible with the right setup and tools. First, place your subject against a white backdrop and ensure it’s evenly lit. Use your iPhone’s built-in camera settings, like AE/AF Lock, to control exposure and focus on your subject. You can also use editing apps like Snapseed or Photoshop Express to enhance the white background in your photos.
What do professionals use to obtain white backgrounds in photos?
Professionals often use seamless paper or vinyl backdrops for white background photography. They also invest in proper lighting equipment, such as softboxes, umbrellas, and reflectors, to evenly light both the subject and the background. Some product photographers use a shooting table with an infinity curve, which creates a seamless white background without the need for any post-production re-processing. But, the equipment professionals use may vary based on the specific needs of their projects.
